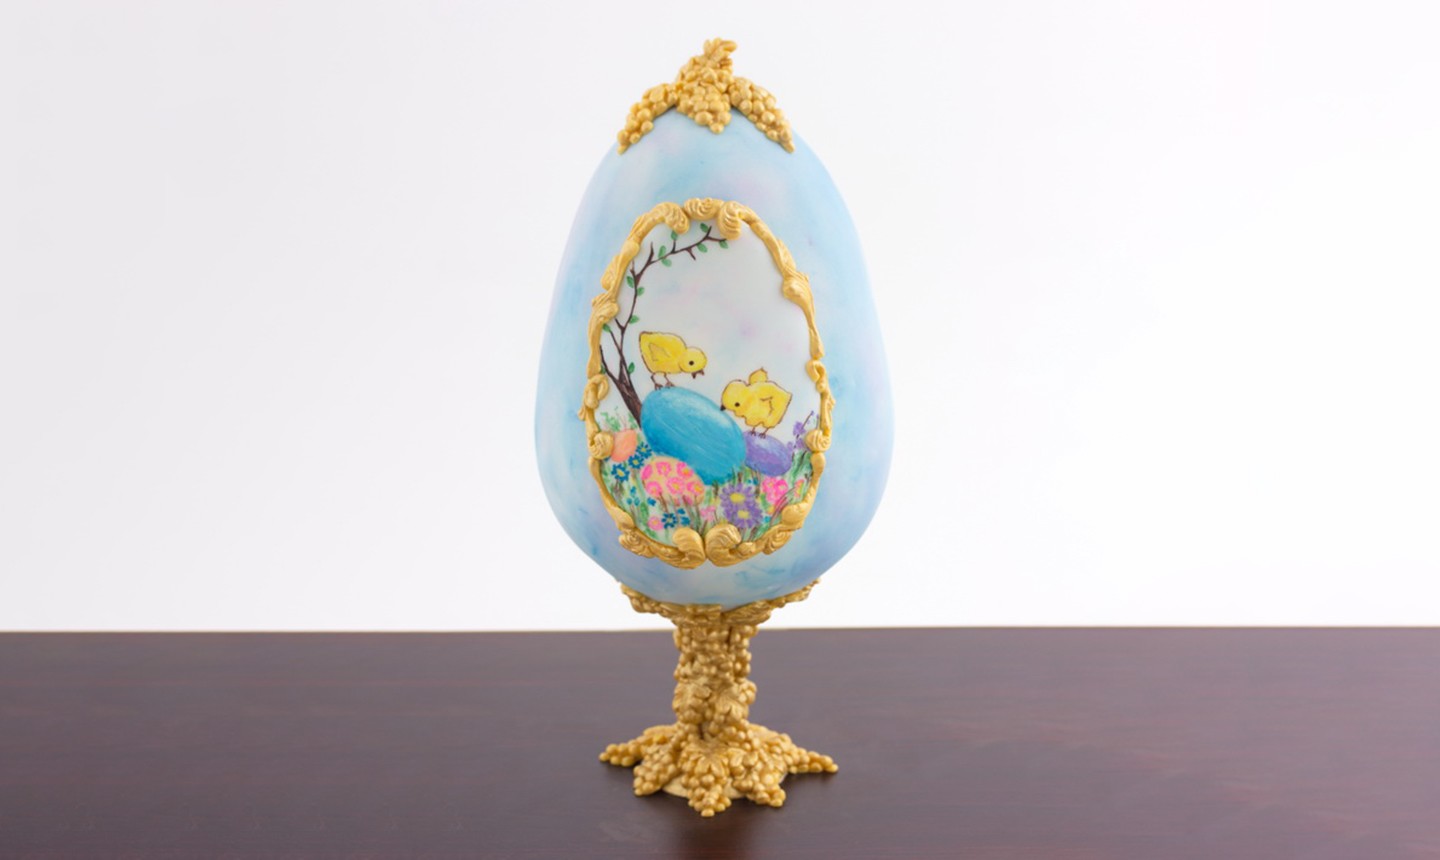
Every Easter spread needs a centerpiece, and this is a strong contender for the most beautiful option. It’s a gravity-defying, 3D egg cake decked out with hand-painted details and metallic accents that pays homage to the fine jeweled Fabergé eggs created in St. Petersburg. Make it this year and everyone at your holiday celebration will be wowed.
Easter Egg Painted Cake
Level: Intermediate
What You Need
For Sculpting and Covering
For Decorating
Instructions
1. Build the Base
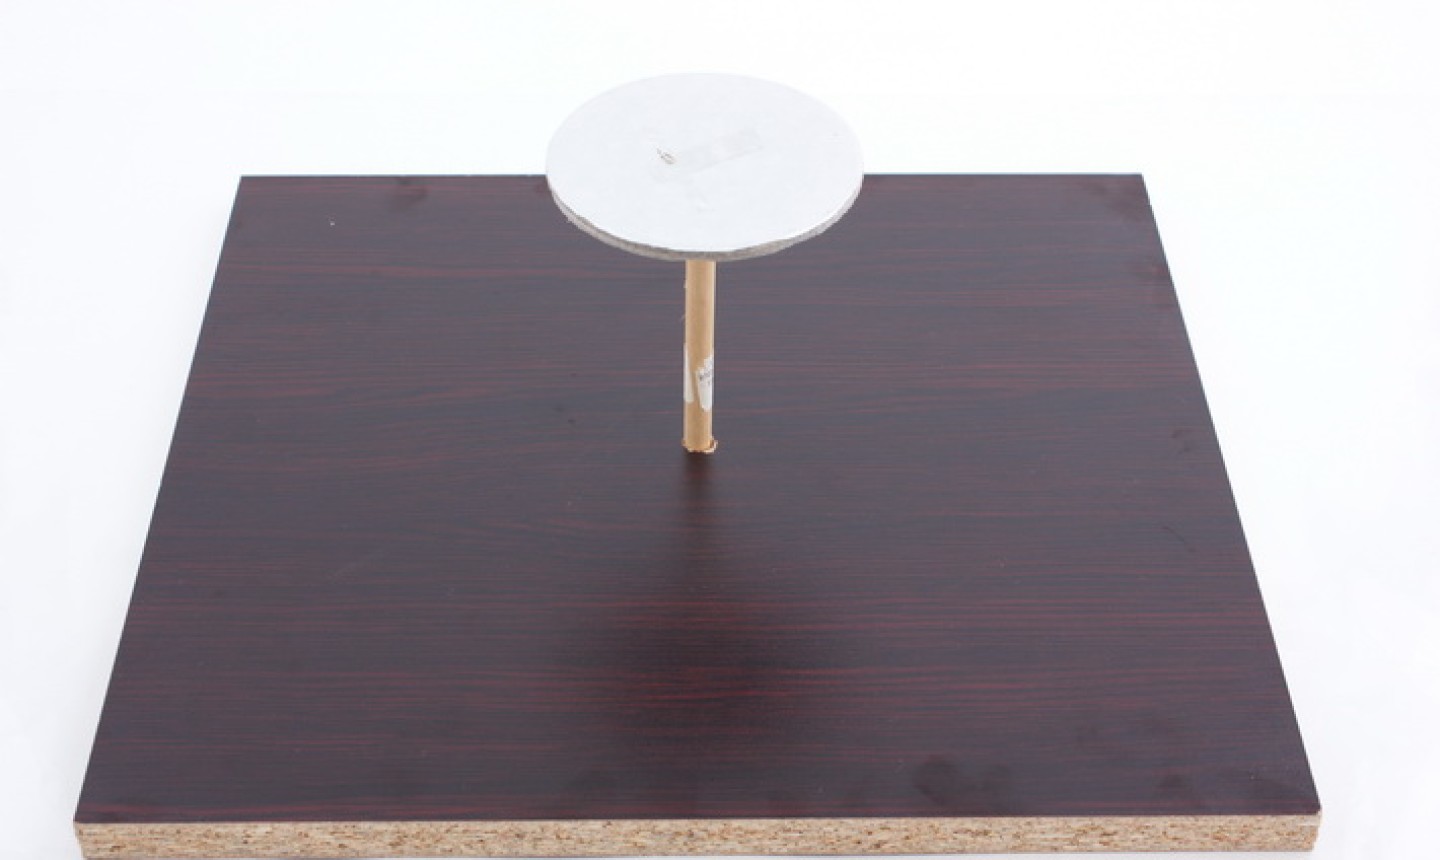
Drill a hole in the center of the 14″ square board, but don’t go all the way through. Squeeze hot glue into the hole and place the wooden dowel inside, holding it in place until the glue cools and the dowel feels secure.
Drill a hole through the center of one of the 4″ round boards and place it on top of the dowel. Squeeze glue on top of the dowel and board, then place the second 4″ round board on top.
Hold the boards tightly together at the top of the dowel, so everything attaches. Place a leveler on top of the boards to make sure they’re level before the glue sets completely.
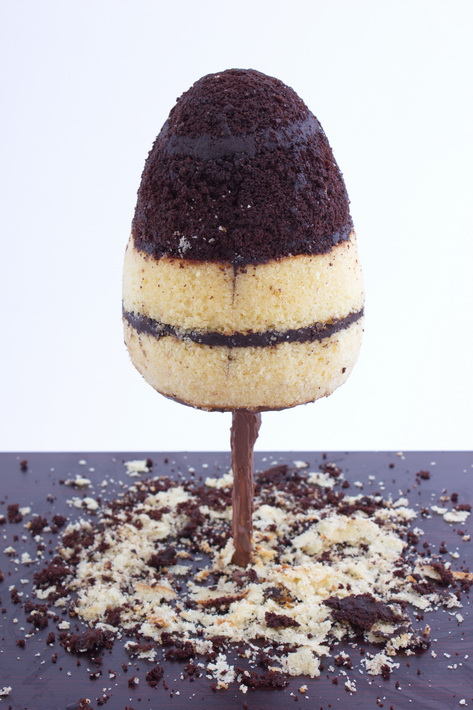
2. Add the Cakes
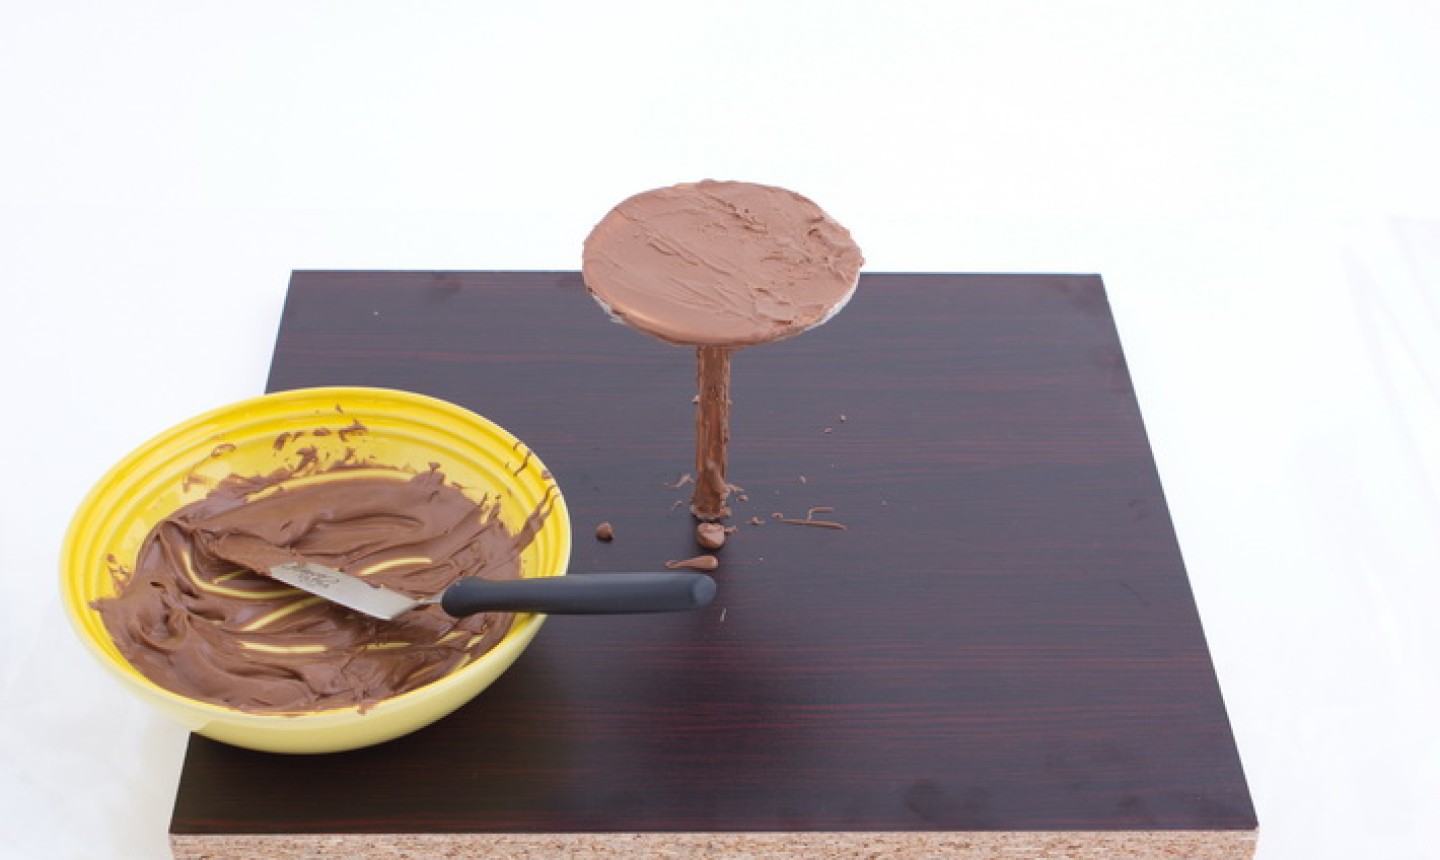
Bake the four cakes as your recipe instructs. As they bake, brush the dowel and boards with melted chocolate to make the structure food-safe.
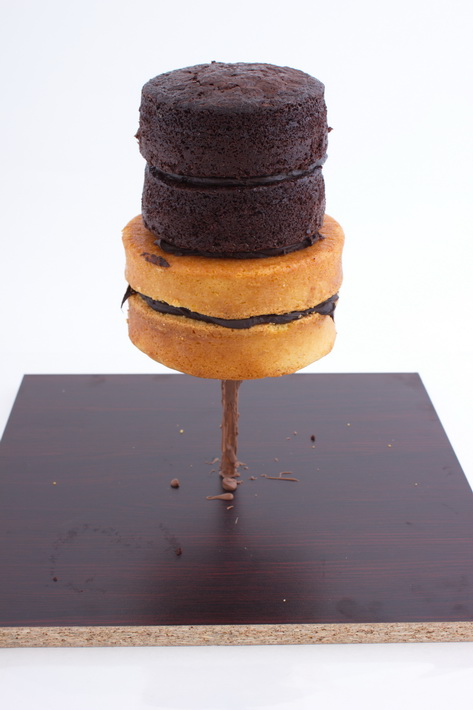
Stack the layers on top of the boards, adding buttercream between each layer. The 6″ cakes should be at the bottom and the 5″ cakes on top.
Pro Tip: You can use any cake and buttercream recipe you want. None of it will be visible on the final cake, so it doesn’t matter what colors there are. Feel free to use a few different recipes — we baked two vanilla cakes and two chocolate cakes.
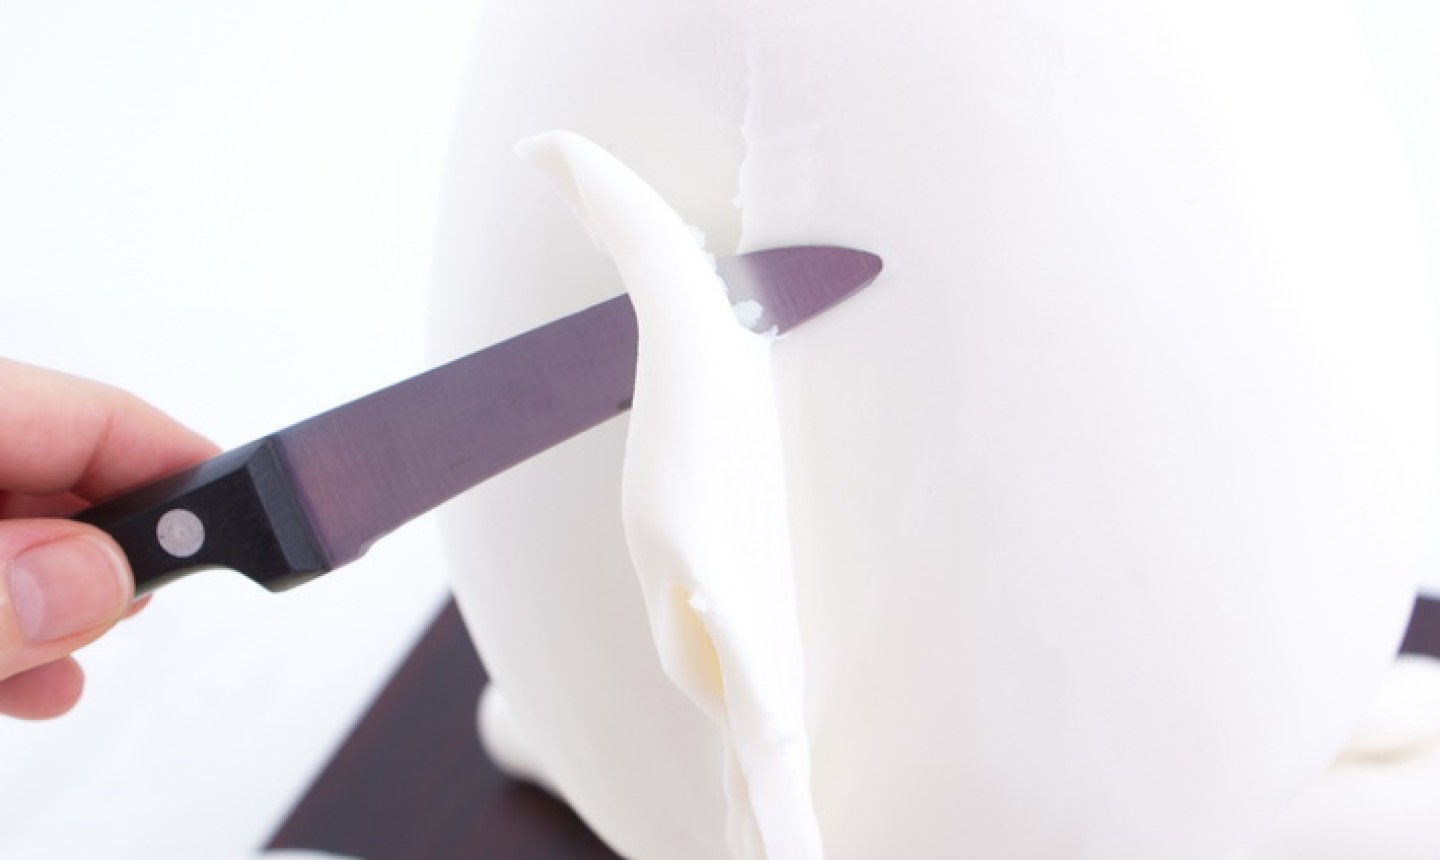
3. Sculpt the Egg
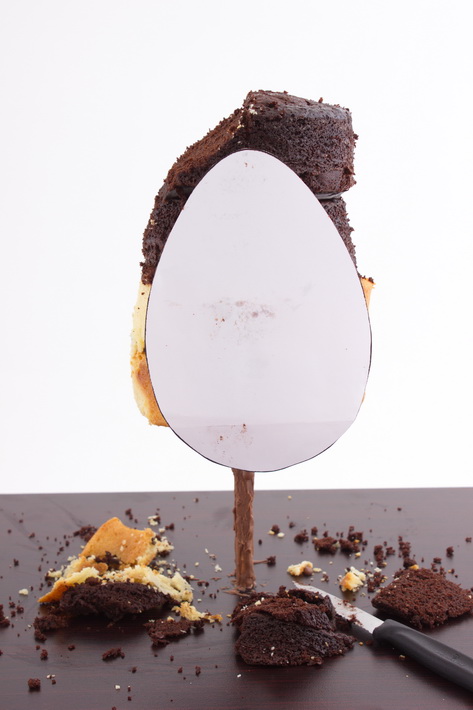
Enlarge and print the egg template onto an A4-sized paper. Cut out the template.
Place a small dollop of ganache or buttercream on the back of the template and stick it to the front of the cake. Follow the template and use your serrated knife to carve the cakes into an oval.
As you work, move the template around each side of the cake until it looks like an egg.
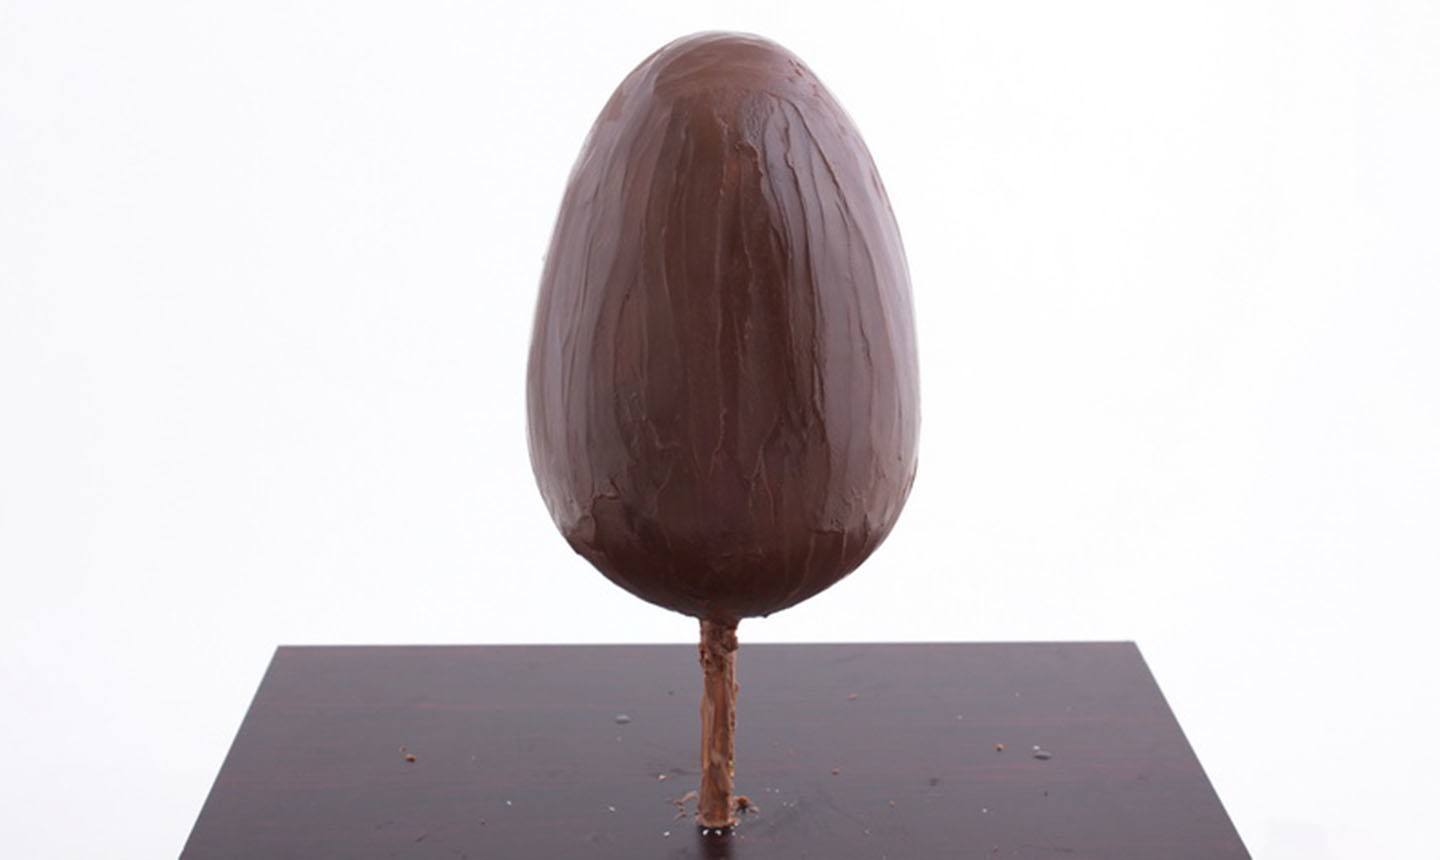
4. Mold the Bottom
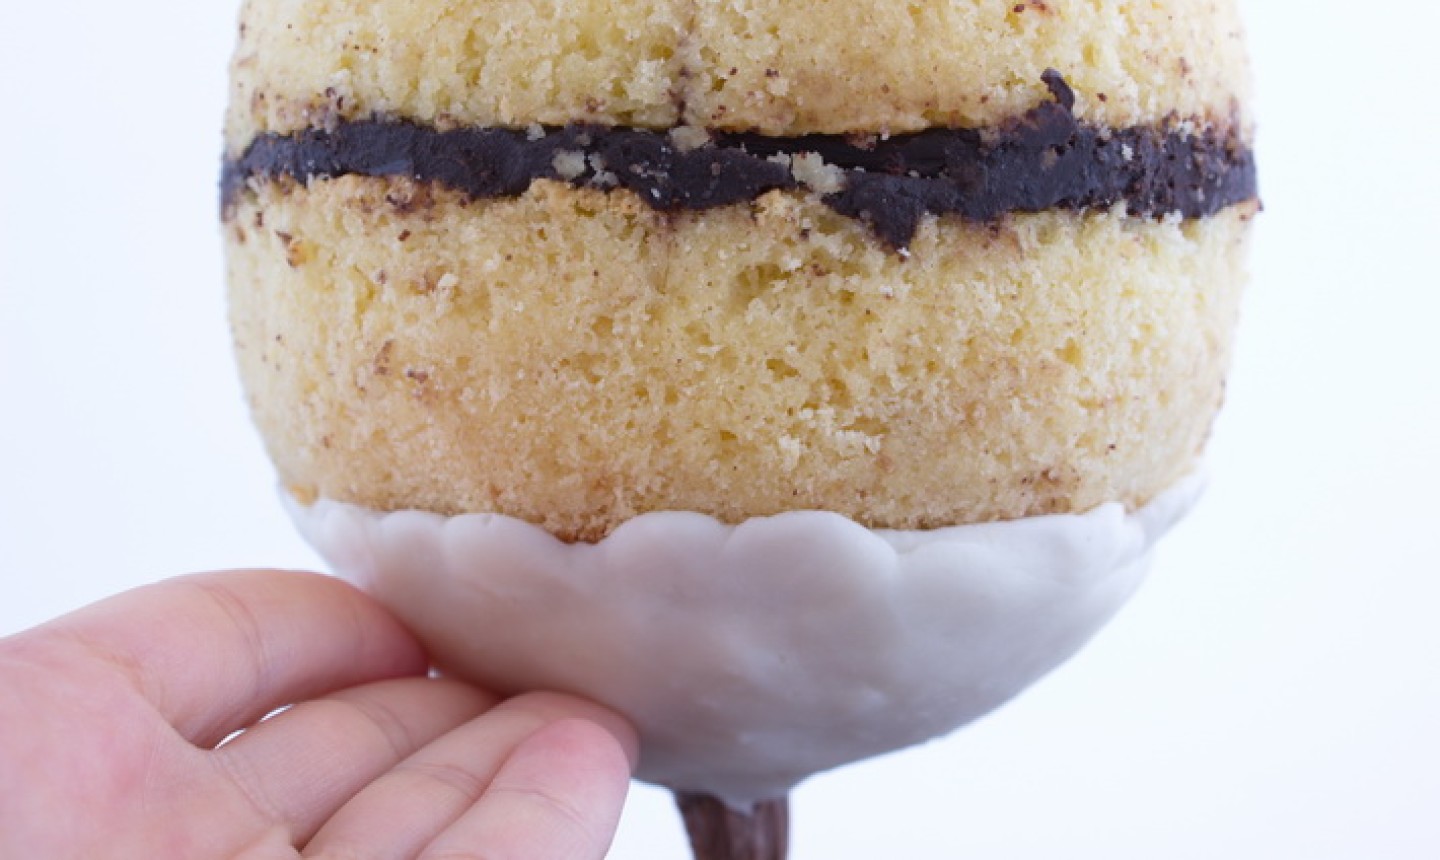
Knead some modeling chocolate until soft, then press a small piece against the bottom of the boards. Keep placing pieces until the bottom looks slightly rounded. You can also use gum paste.
Pro Tip: If you’re worried the modeling chocolate might fall off, secure the first layer with melted chocolate.
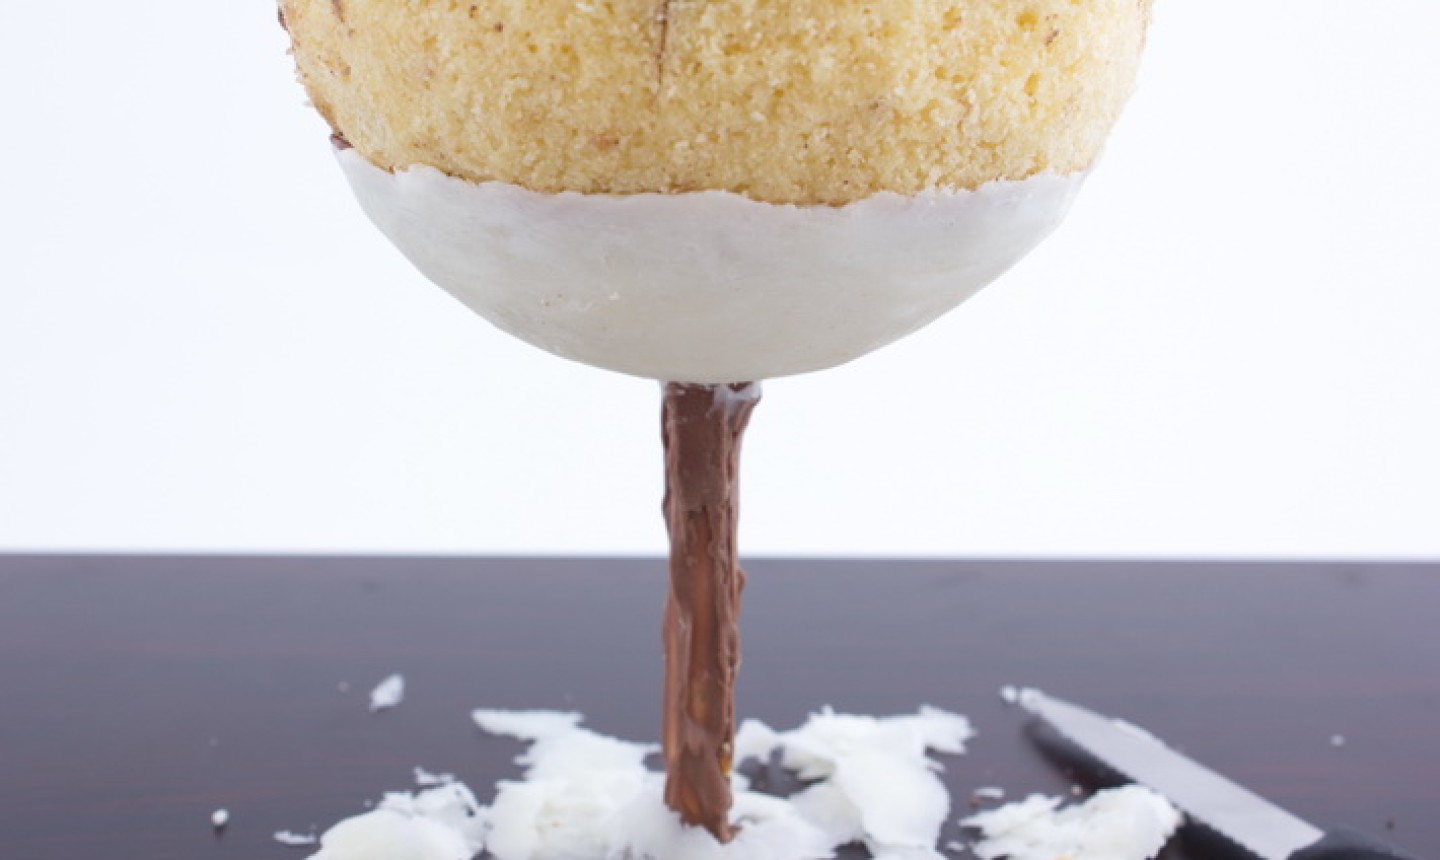
Wait a few minutes for the modeling chocolate to set, then use your serrated knife to carve it into a rounded and smooth shape. Hold the template against the cake to guide you.
5. Cover in Ganache
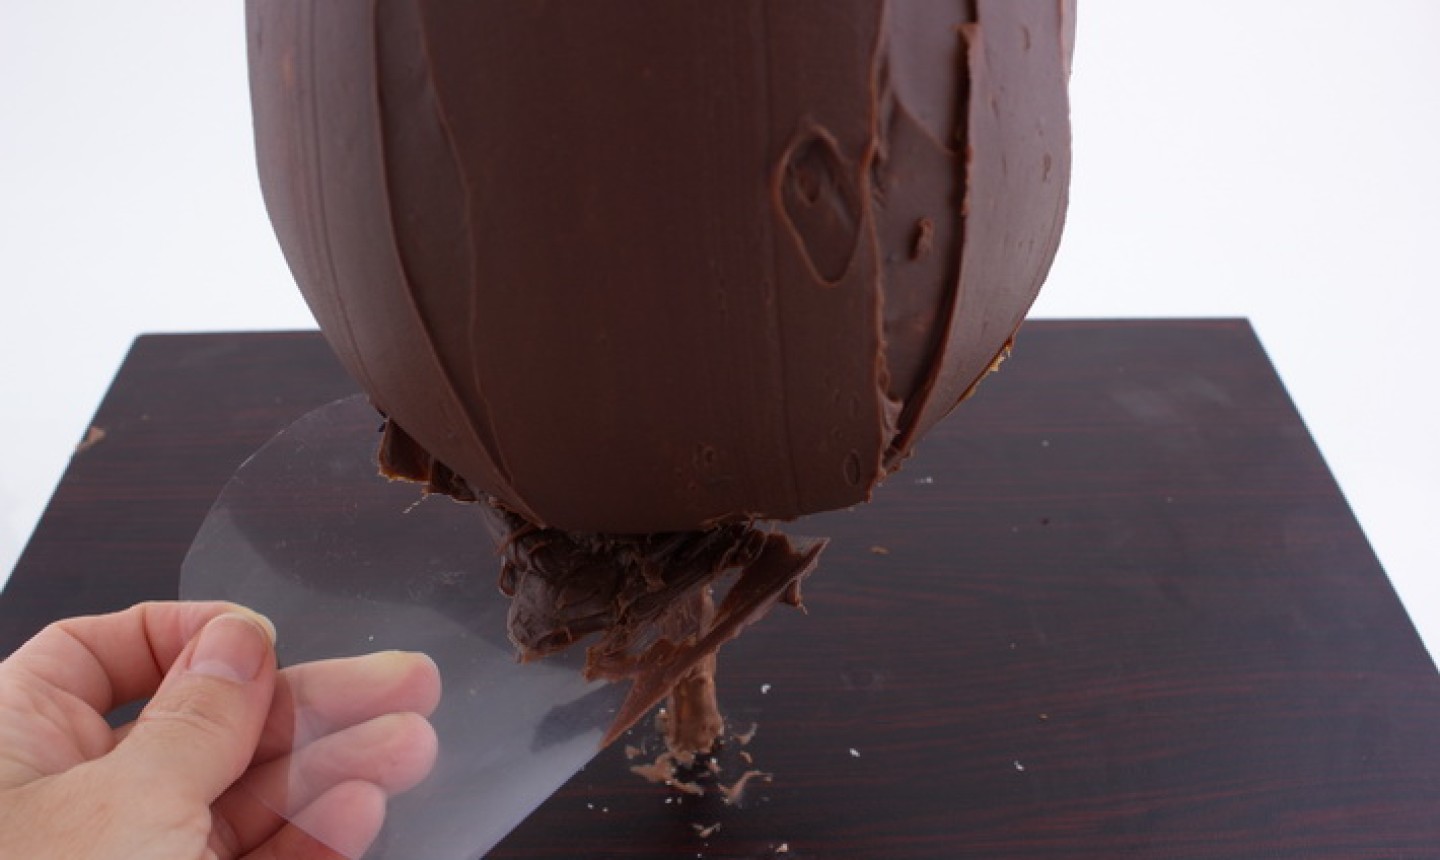
Using a palette knife, coat the cake with ganache. When finished, use a piece of acetate to scrape and smooth the rounded parts of the egg.
Dip the palette knife into hot water and wipe it off with a clean cloth. Smooth the ganache with the hot palette knife. Refrigerate the cake for 15-20 minutes for the coating to set.
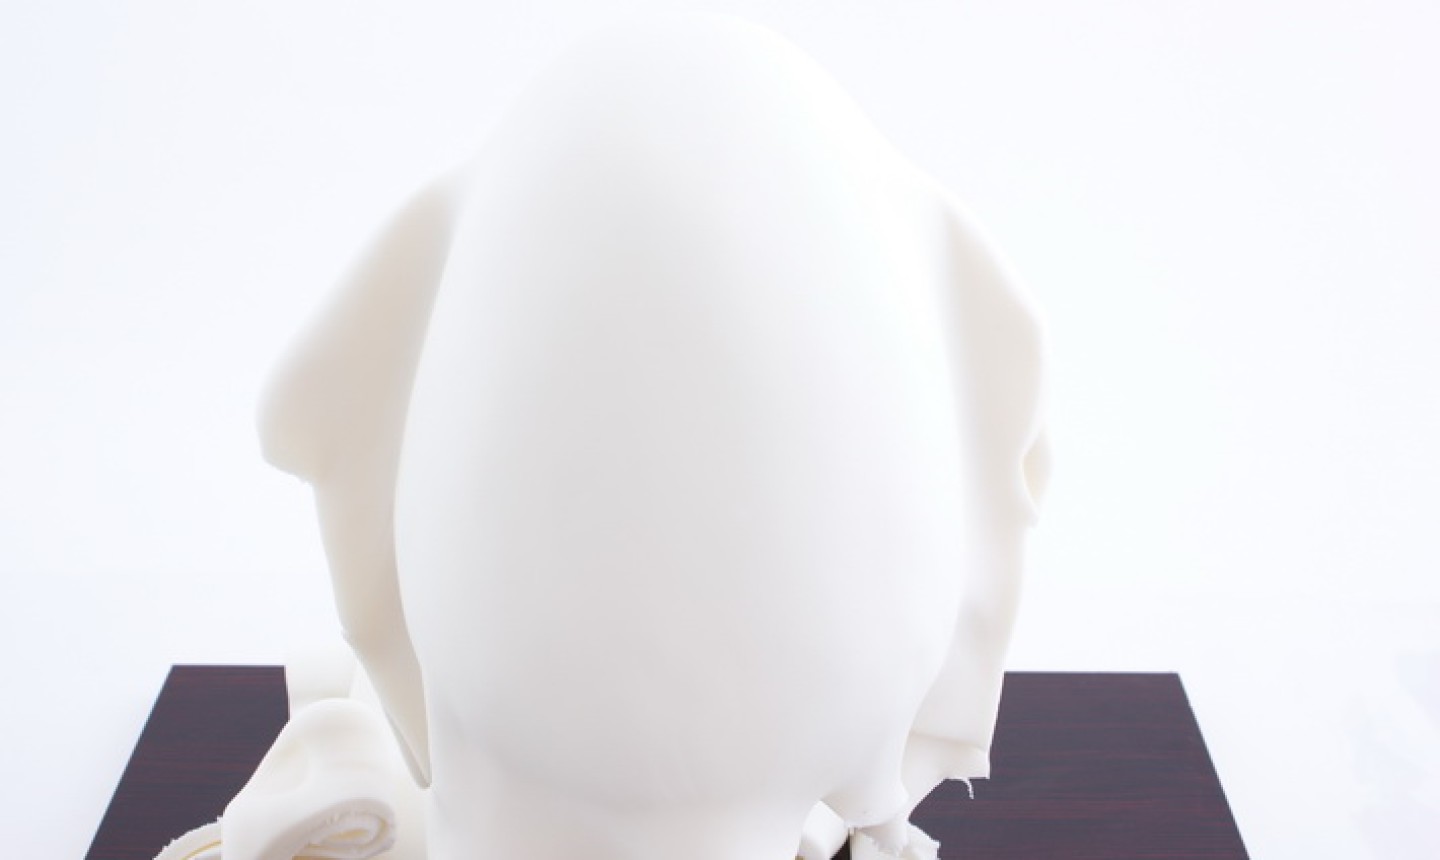
6. Drape the Fondant
Roll out white fondant on a surface dusted with cornstarch (to prevent sticking). Roll until it’s about ⅙” thick and big enough to cover the cake.
Brush smooth apricot jam, sugar syrup or piping gel over the surface of the cake. This will help the fondant adhere.
Lift the fondant and drape it over the cake. Lightly smooth the fondant over the front and back so the edges meet at the sides. Cut off any excess fondant hanging off the cake.
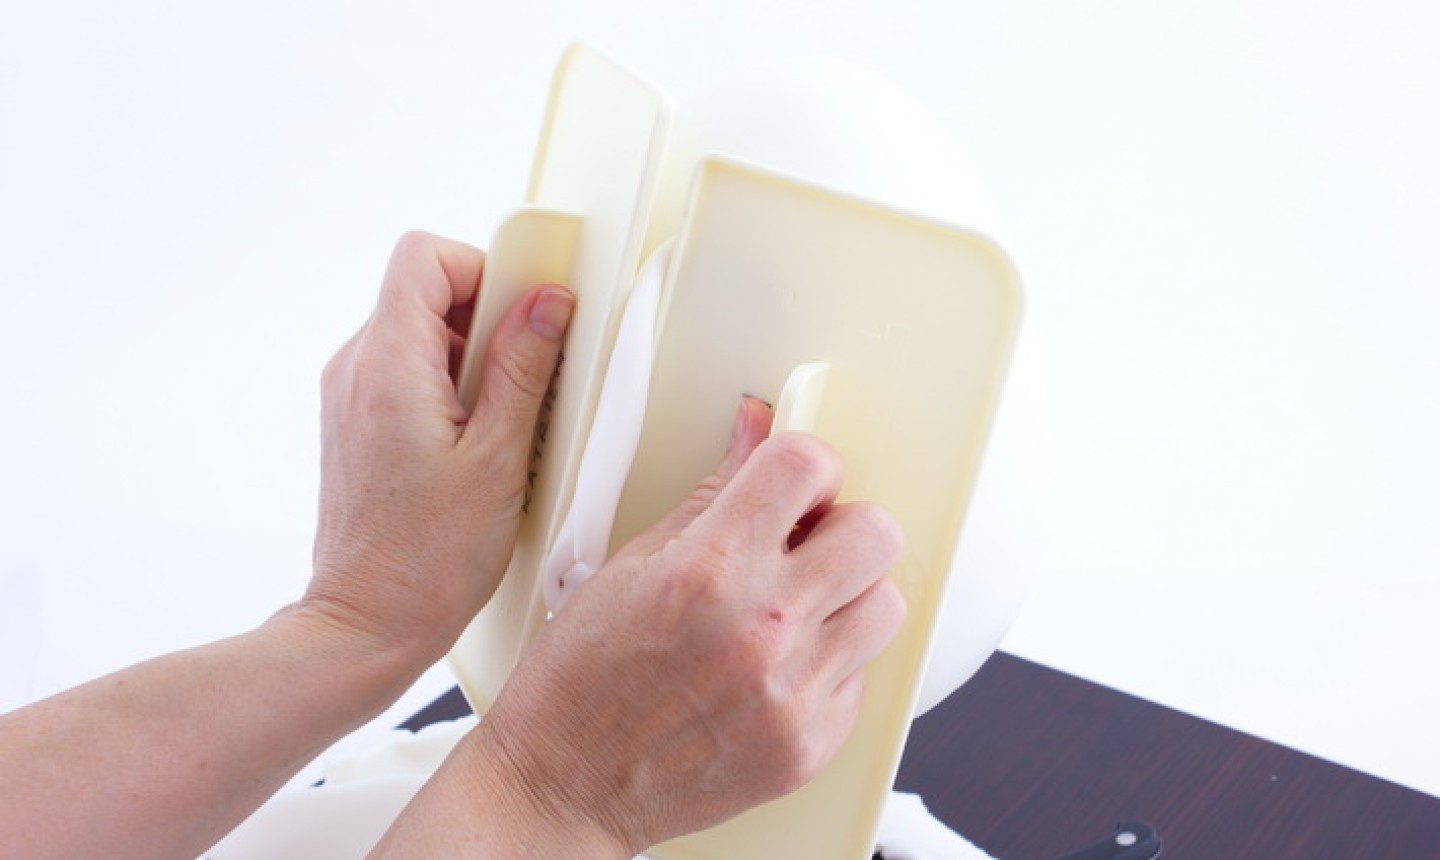
Press fondant smoothers together at the sides of the cake to squish the seams of excess fondant.
Remove the smoother and cut off the edge to create a perfect seam.

Smooth the seam using the fondant smoother or acetate until the lines on the cake disappear and you have a smooth, white egg.
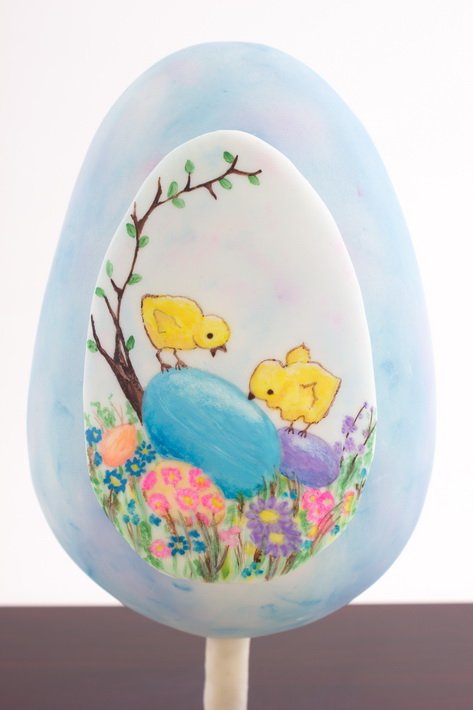
7. Color the Egg

To give the egg some color, choose a few colors of dusting powder — we used white, blue, pink and purple.
Use your fingers to gently apply the dusting powder to the cake. You can also use brushes, just be careful not to indent the fondant.

Blend the colors until you’re satisfied with how the egg looks. Leave a small area uncovered — this is where you’ll apply the painted plaque.
8. Prep Your Design
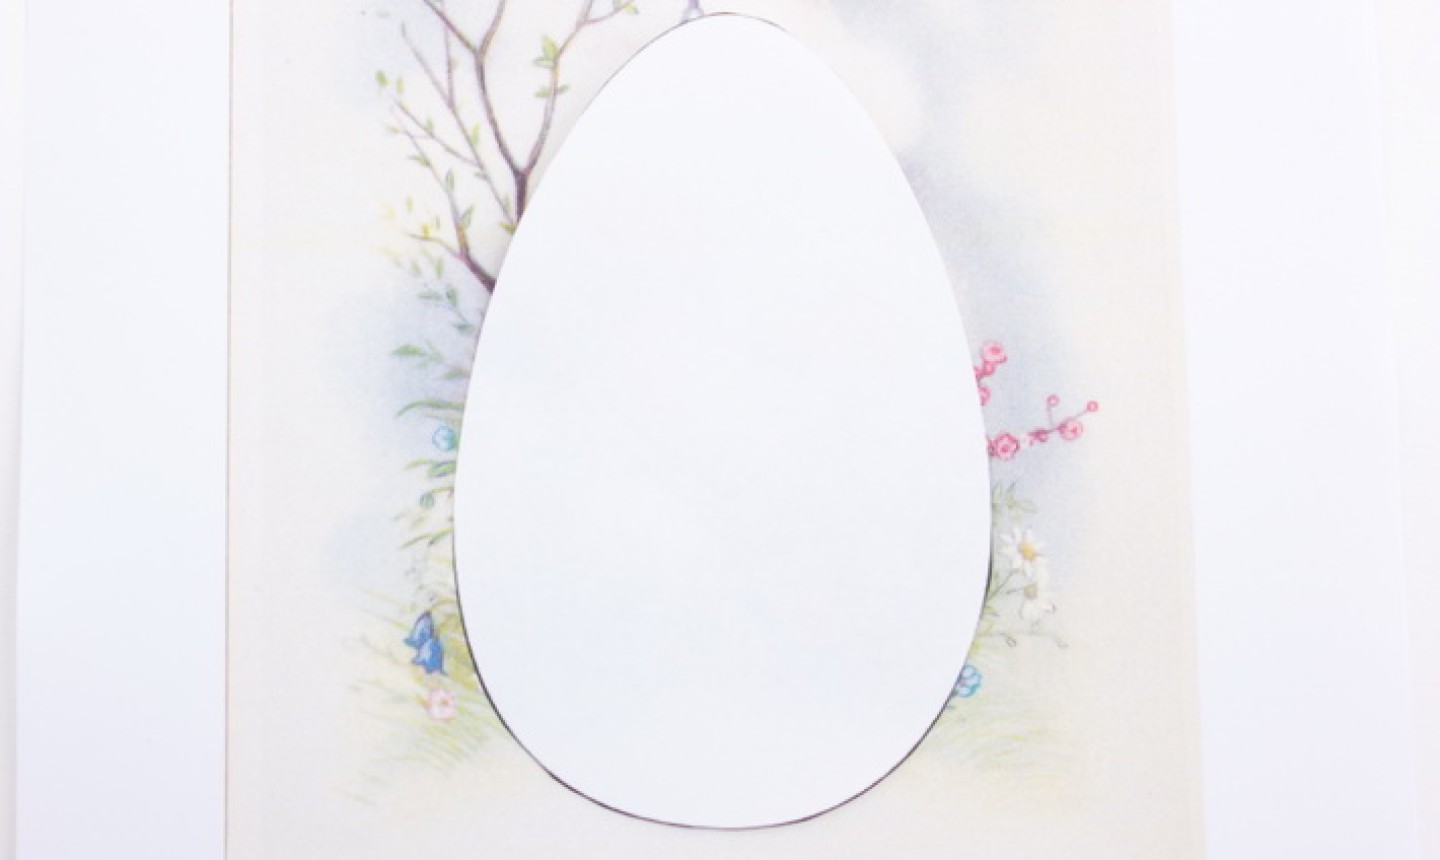
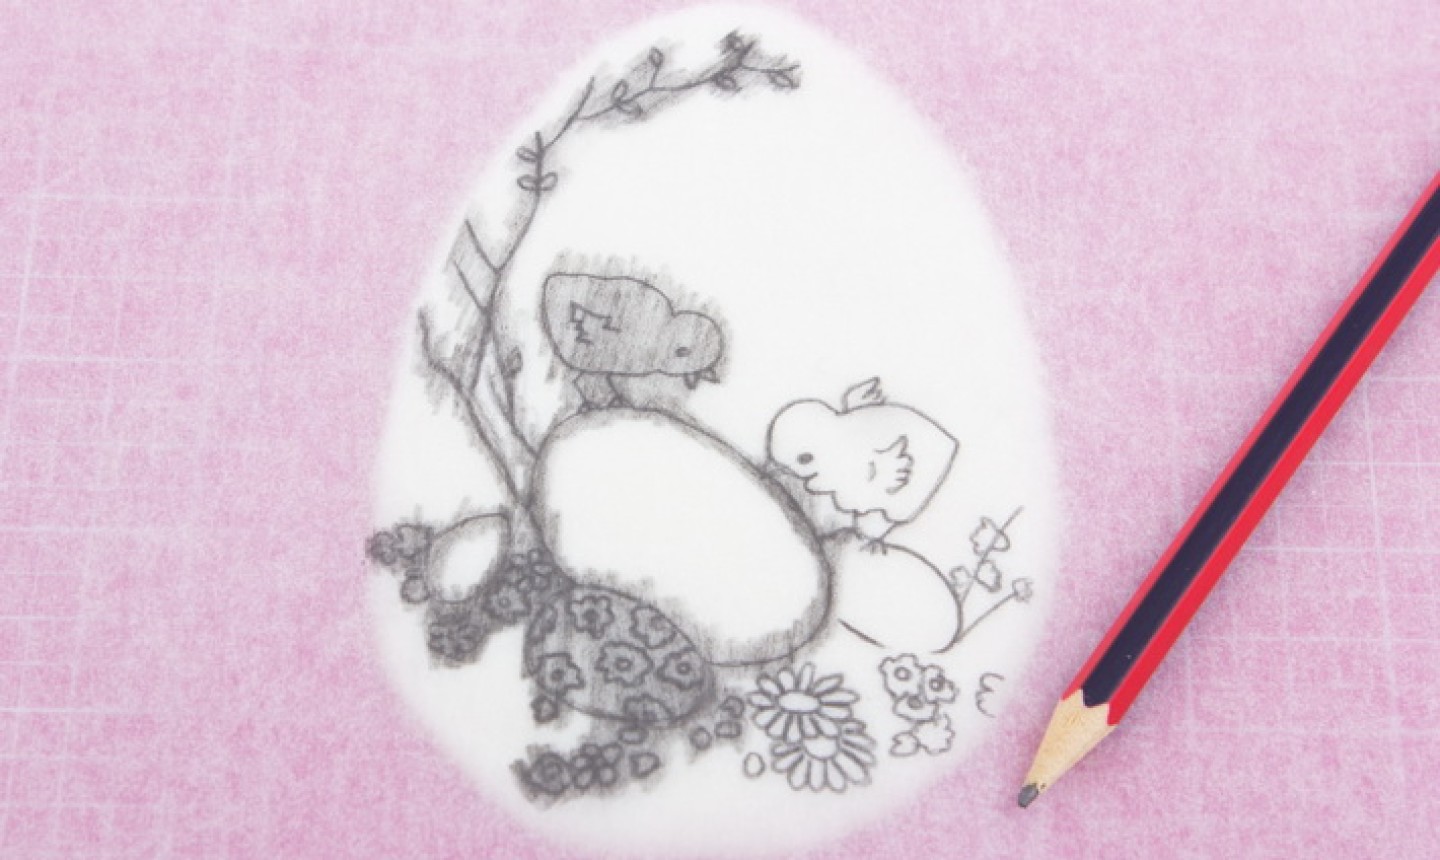
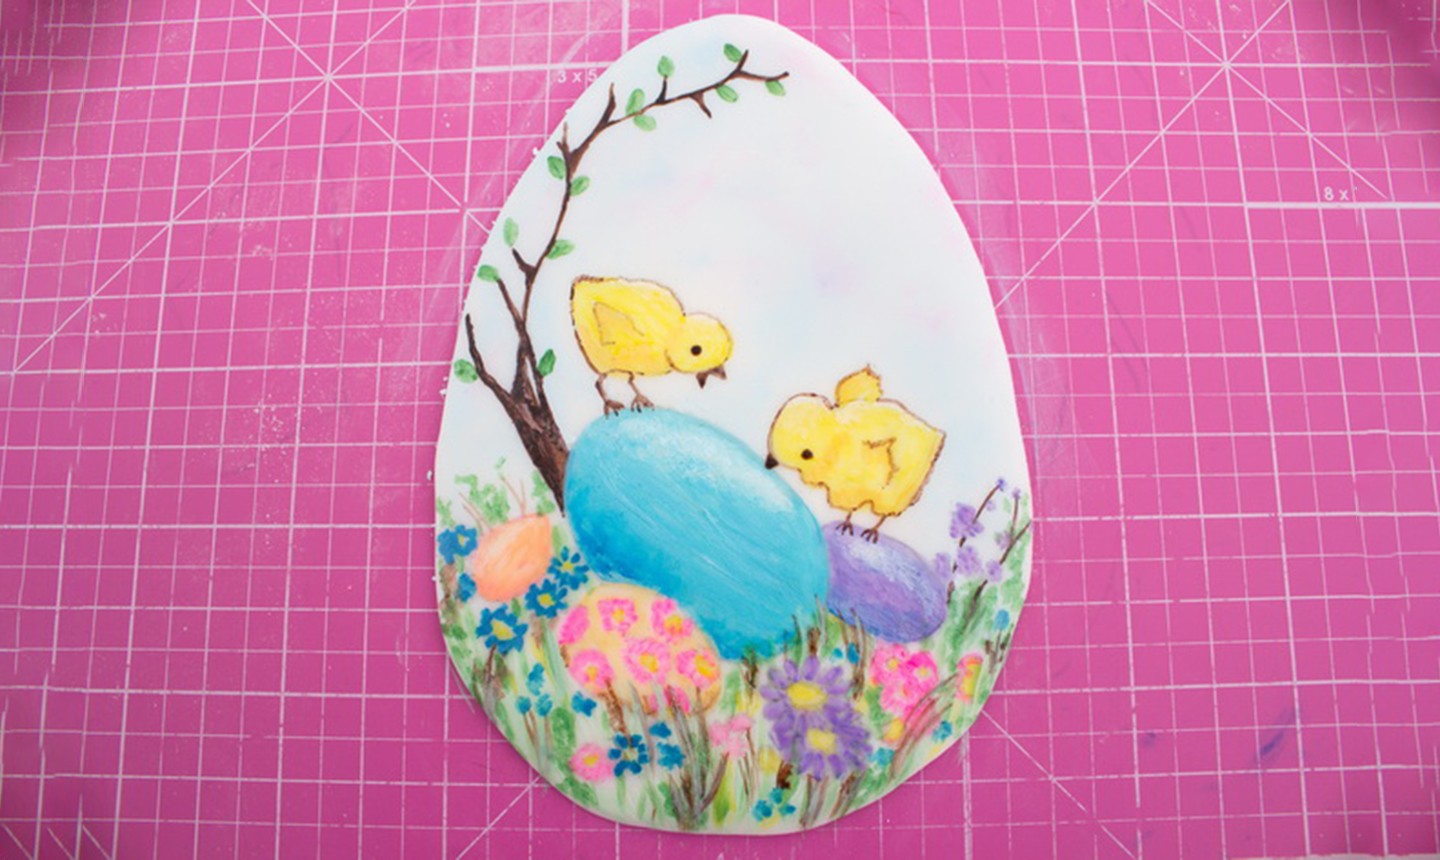
To make the painted plaque, print and cut out a smaller egg template (simply reduce the size on your computer). Then print any Easter-y design onto another piece of paper. Make sure your printed design fits into the egg template.
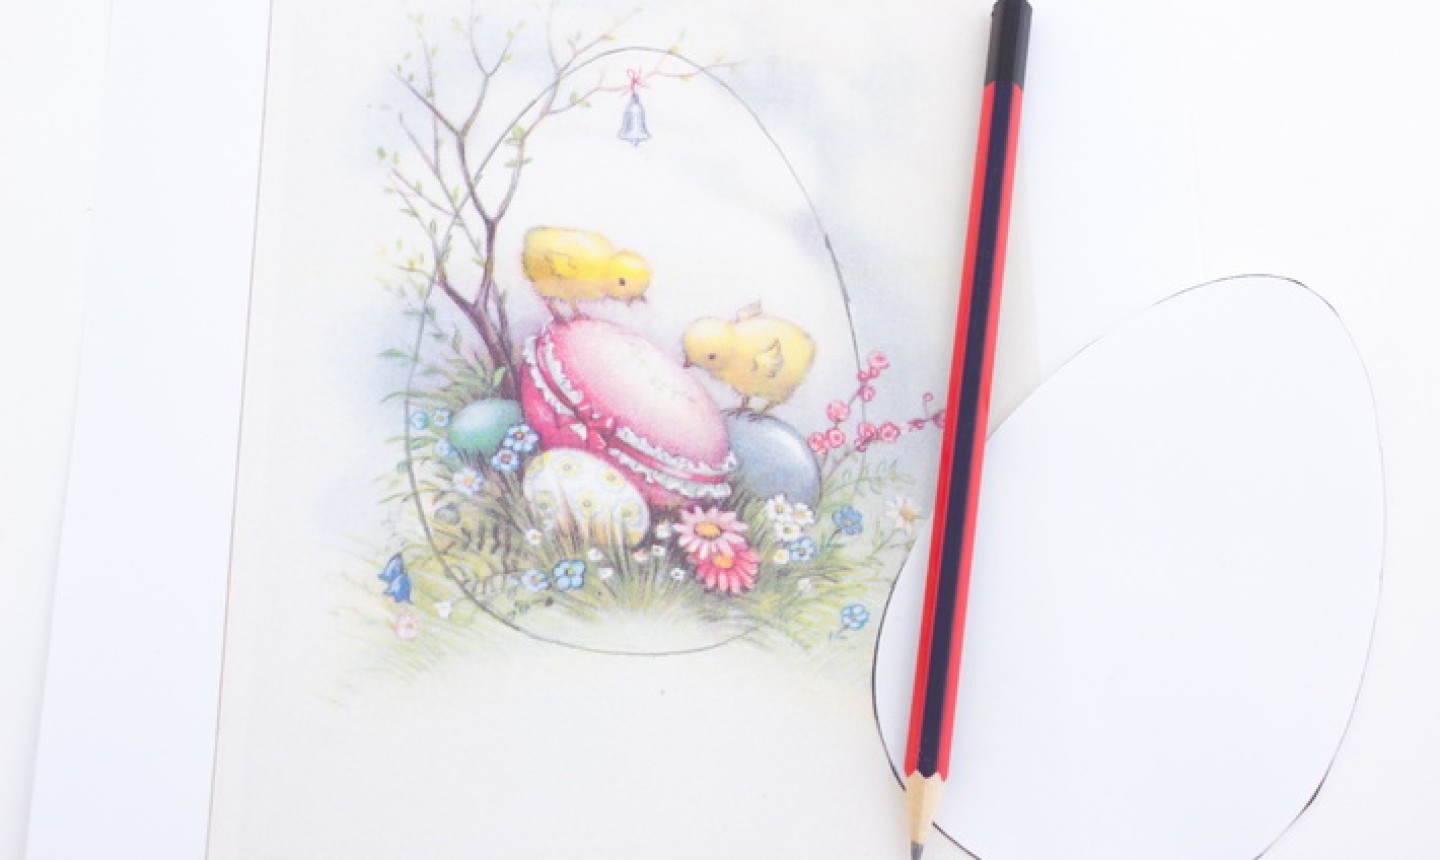
Trace the egg template around the design. This shows you which elements will fit into the egg.

Place see-through parchment paper over the Easter design and trace with a pencil.
9. Trace Onto the Plaque
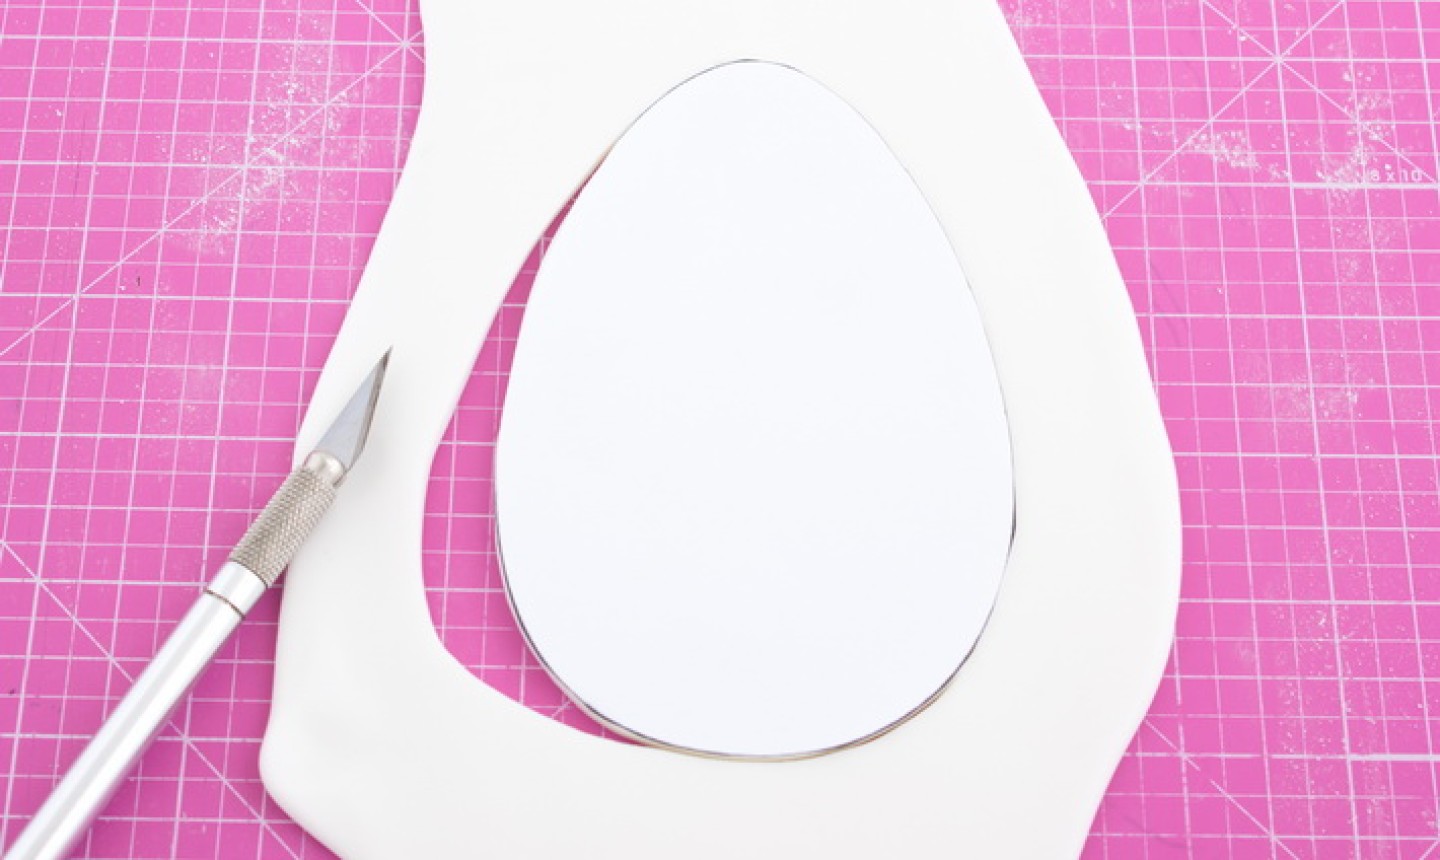
Roll out more white fondant and place the egg template on top. Cut around the template with an X-ACTO knife and remove the excess fondant.
Place the pencil drawing so the graphite tracing is against the fondant. Lightly rub over the drawing with your pencil so the design transfers onto the fondant.
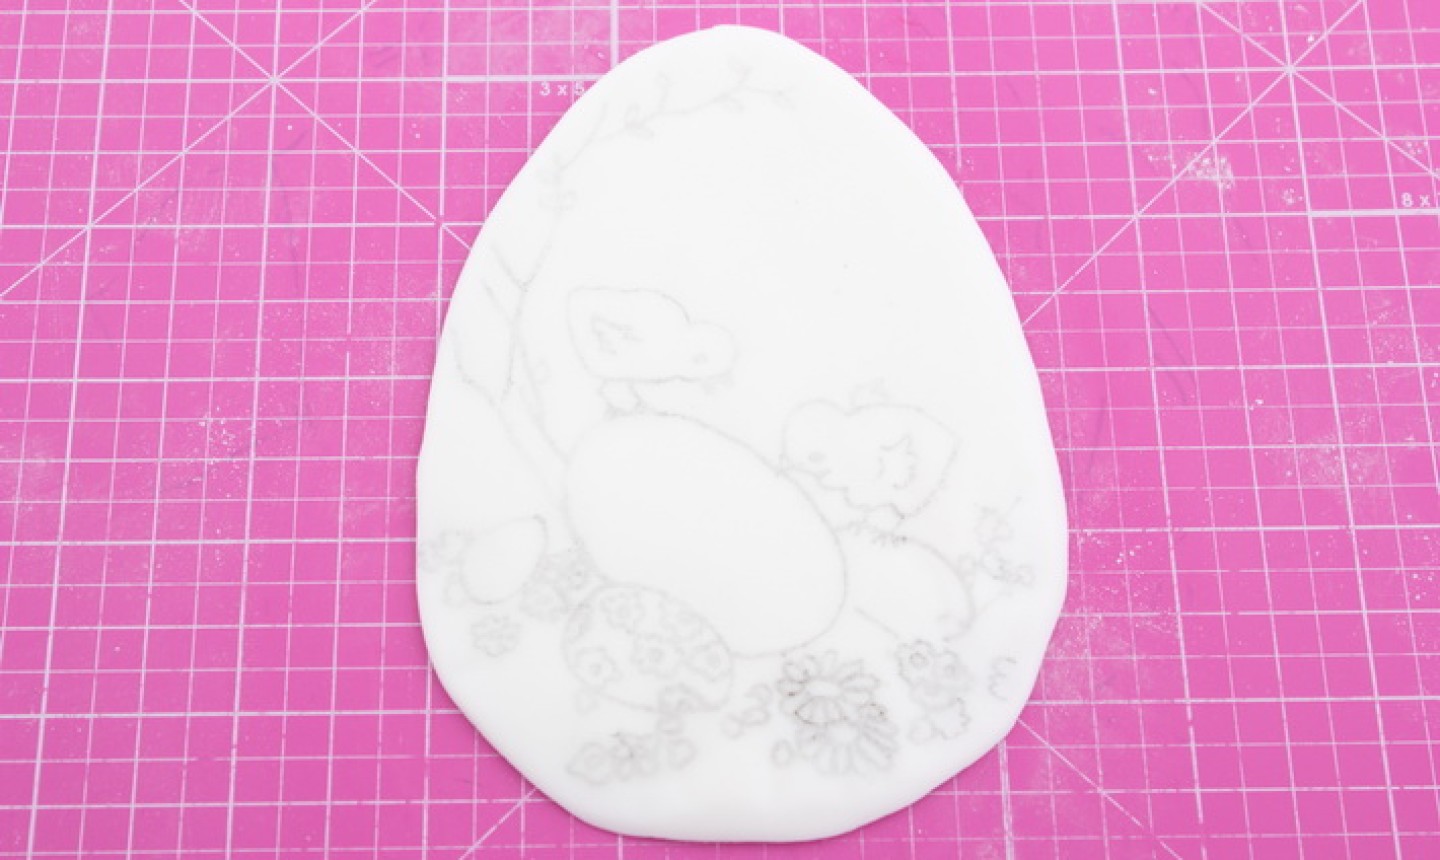
This is what your design will look like when transferred.
10. Paint the Image
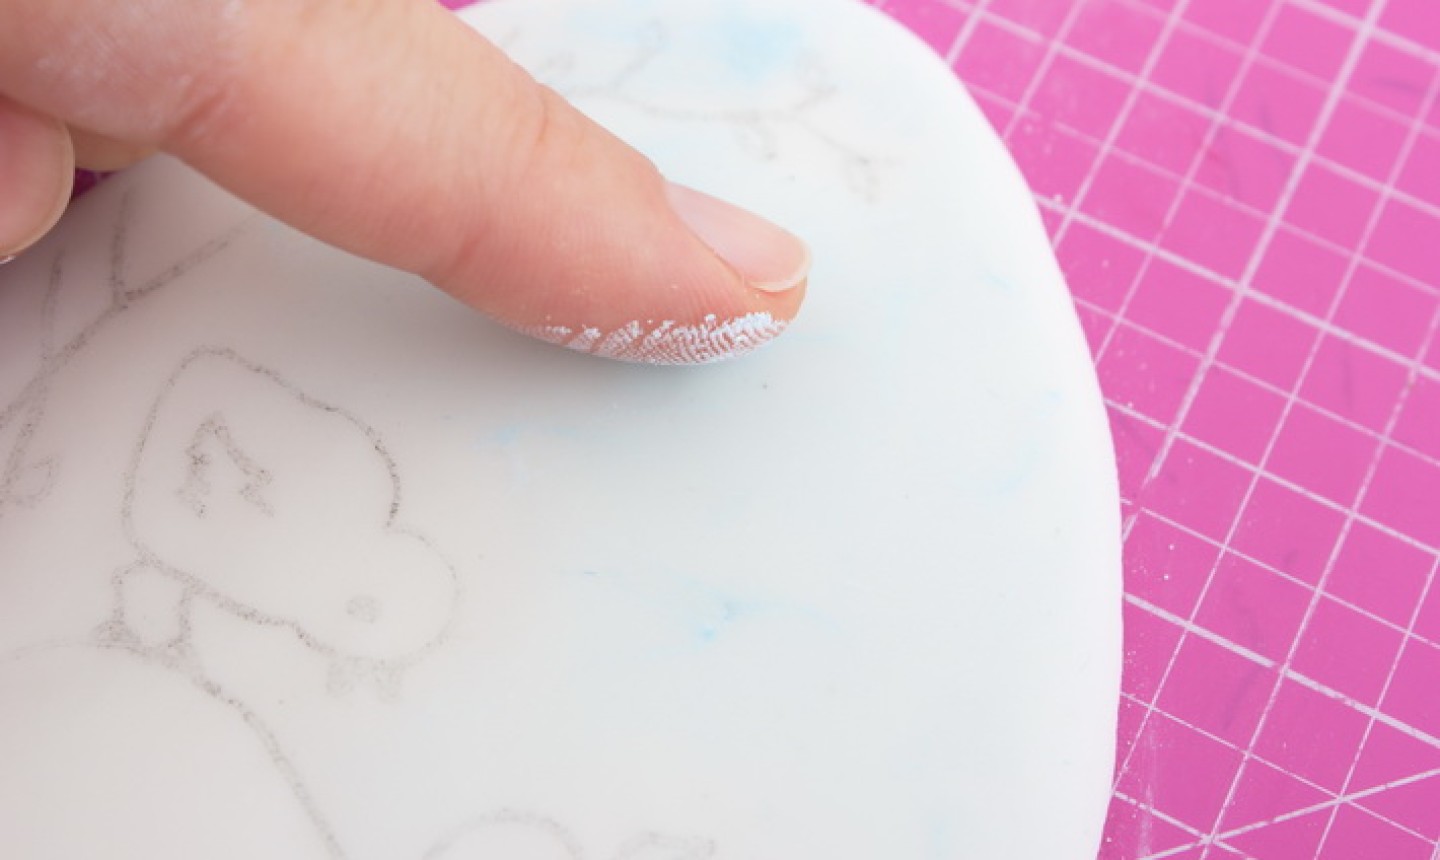
With the same color dust you used on the cake, dust all the background areas of the plaque using your fingers.
Grab any other dusting powders you want to use in the image. Pour some powder out onto a paint palette or into small bowls and mix the dusting powder with clear alcohol to make edible paint.
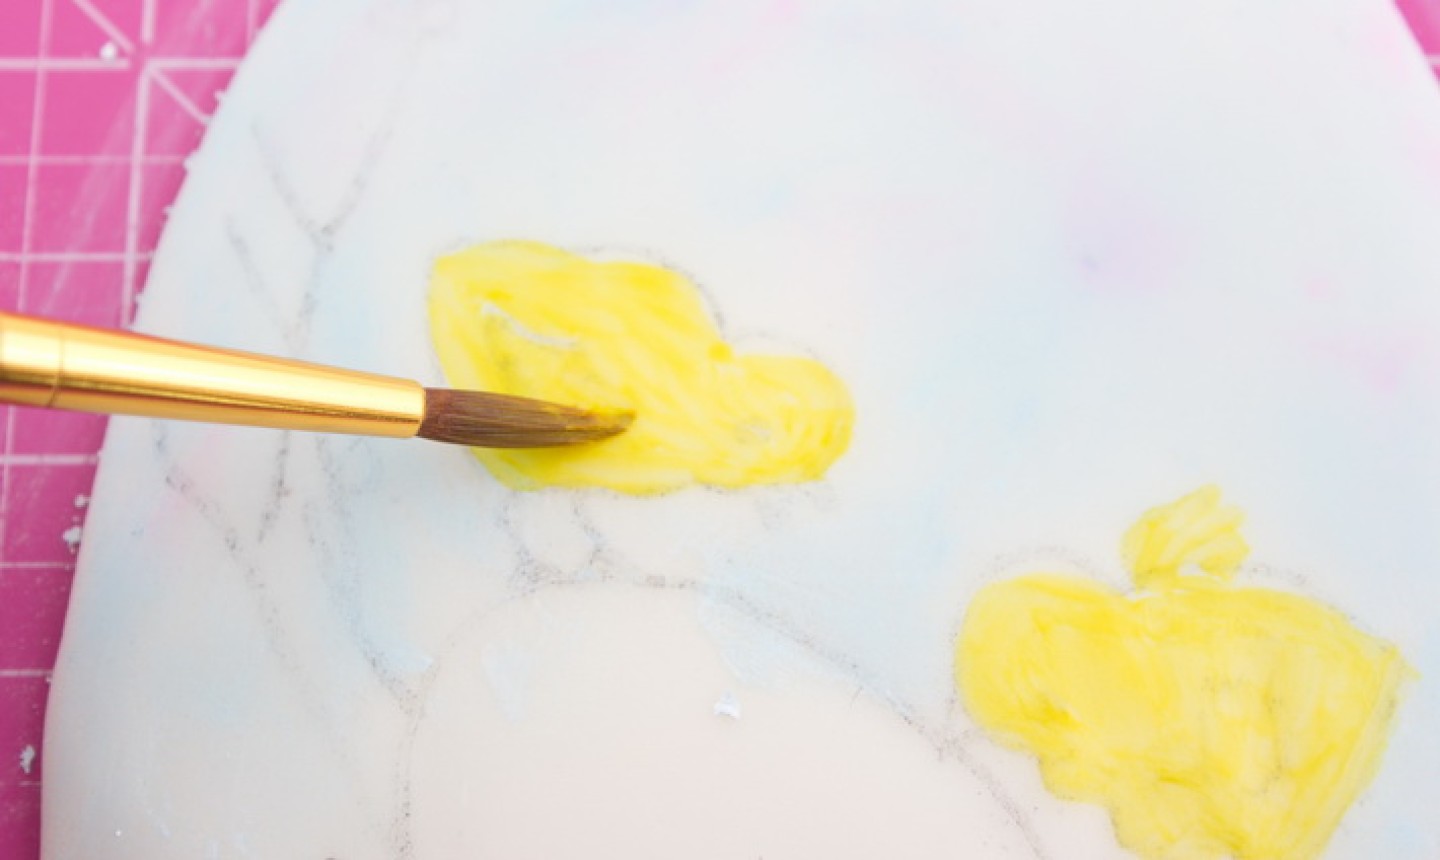
Using a small brush, paint the design.
Paint any lighter details (such as the chick and ducks) first, then paint the darker colors.
11. Glue on the Plaque
Wait a few minutes for the paint to dry, then carefully attach the plaque to the front of the cake using water or edible glue.
12. Mold
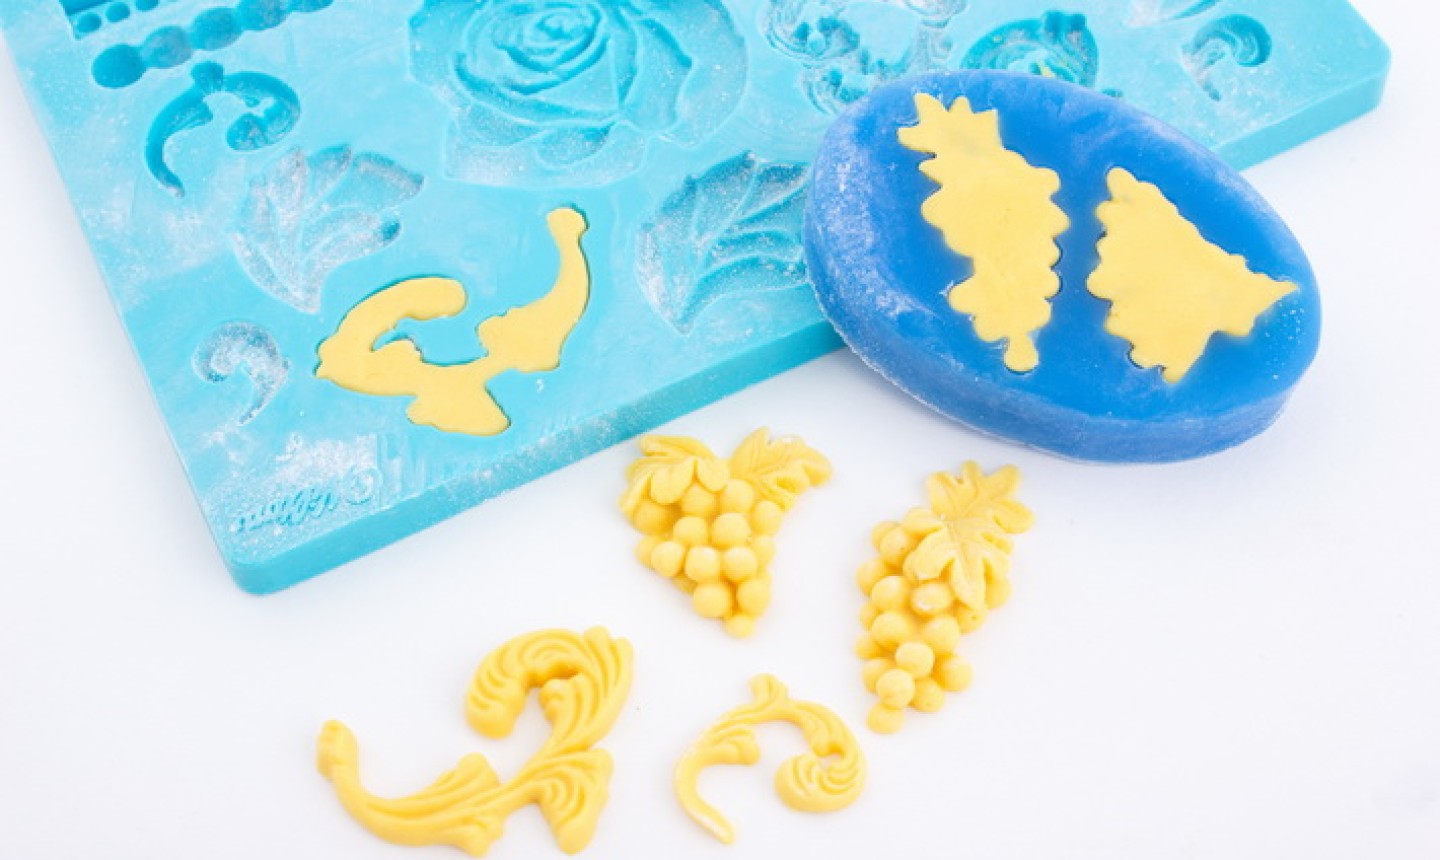
Using modeling chocolate, fondant or gum paste, make molded embellishments. We used grapes and scrolls, but you can use anything you want.
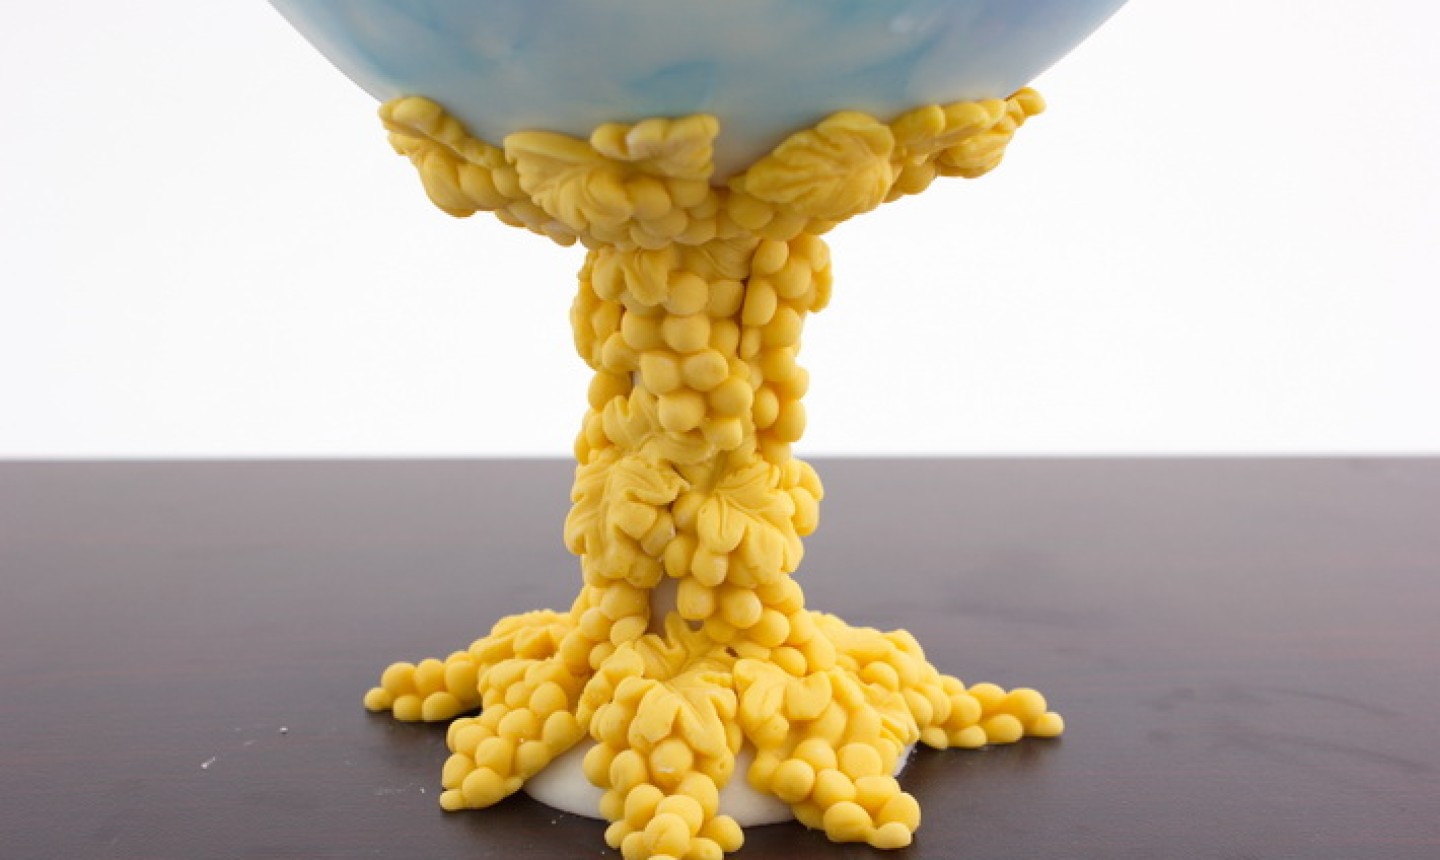
Glue the embellishments onto the dowel to create a pedestal for the egg cake.
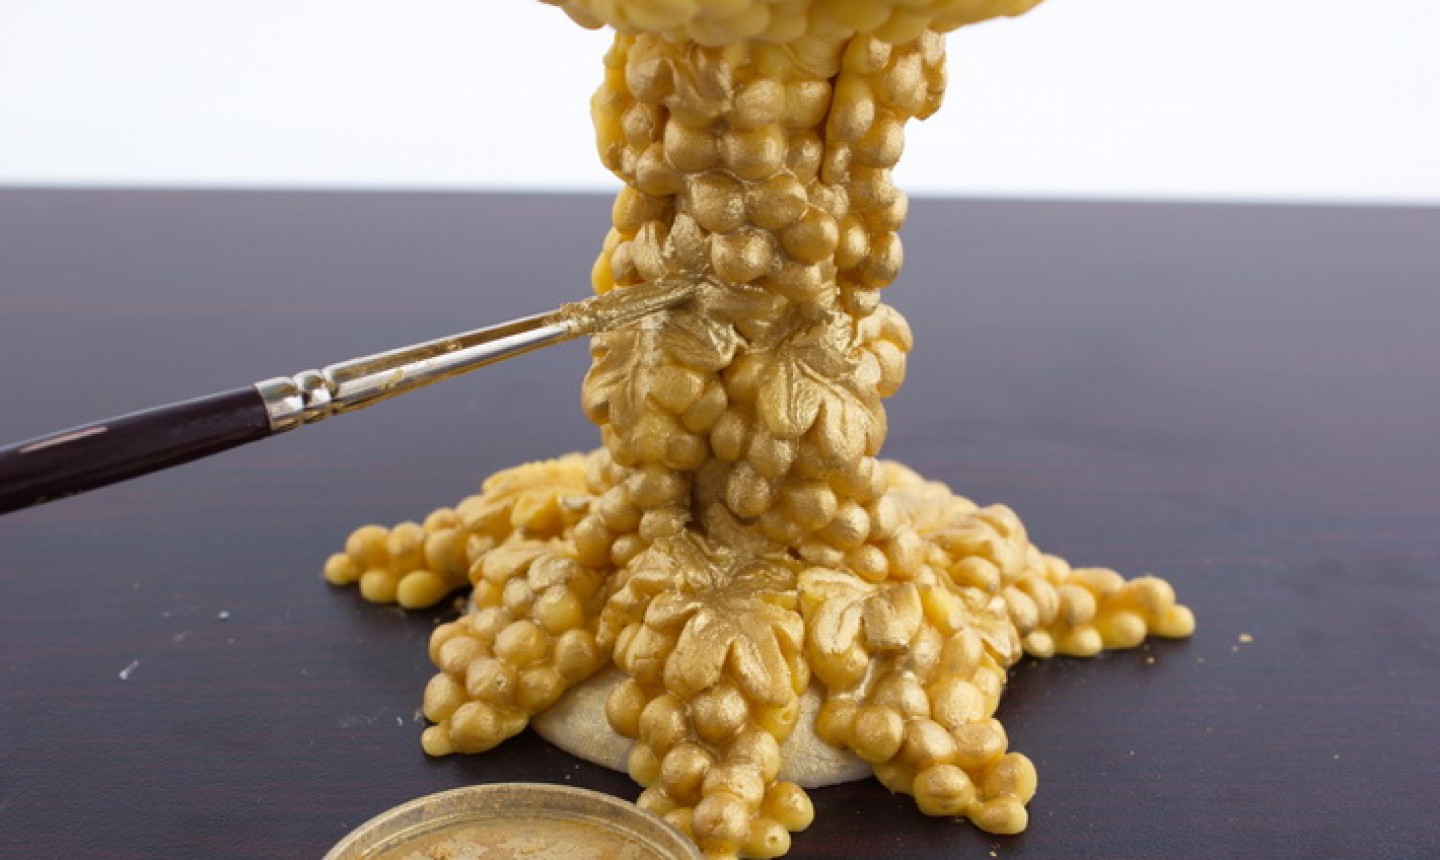
To make ’em shine, paint the embellishments with gold luster dust.
13. Frame the Cake
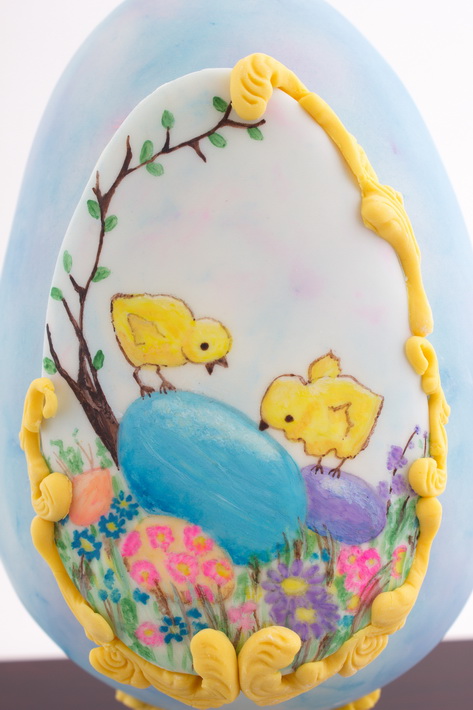
Glue the scroll embellishments around the painted plaque and cover in luster dust as well.
Place molded grapes on top of the cake, then paint them with gold luster dust. And just like that you’ve got a gorgeous ow you’ve Fabergé-like egg!
Photos by Katrien Van Zyl

Share tips, start a discussion or ask other students a question. If you have a question for an expert, please click here.
Already a member? Sign in
No Responses to “Sculpt a 3D Fabergé Egg Cake for Easter”