
Yes, these Santa cupcakes really are good (for goodness sake!). And even if you've never molded cupcake toppers before, the fondant design is totally forgiving and beginner-friendly. Make 'em and you're guaranteed to impress a crowd!
Santa Cupcakes
Level: Easy
What You Need
Instructions
1. Make Santa's Body
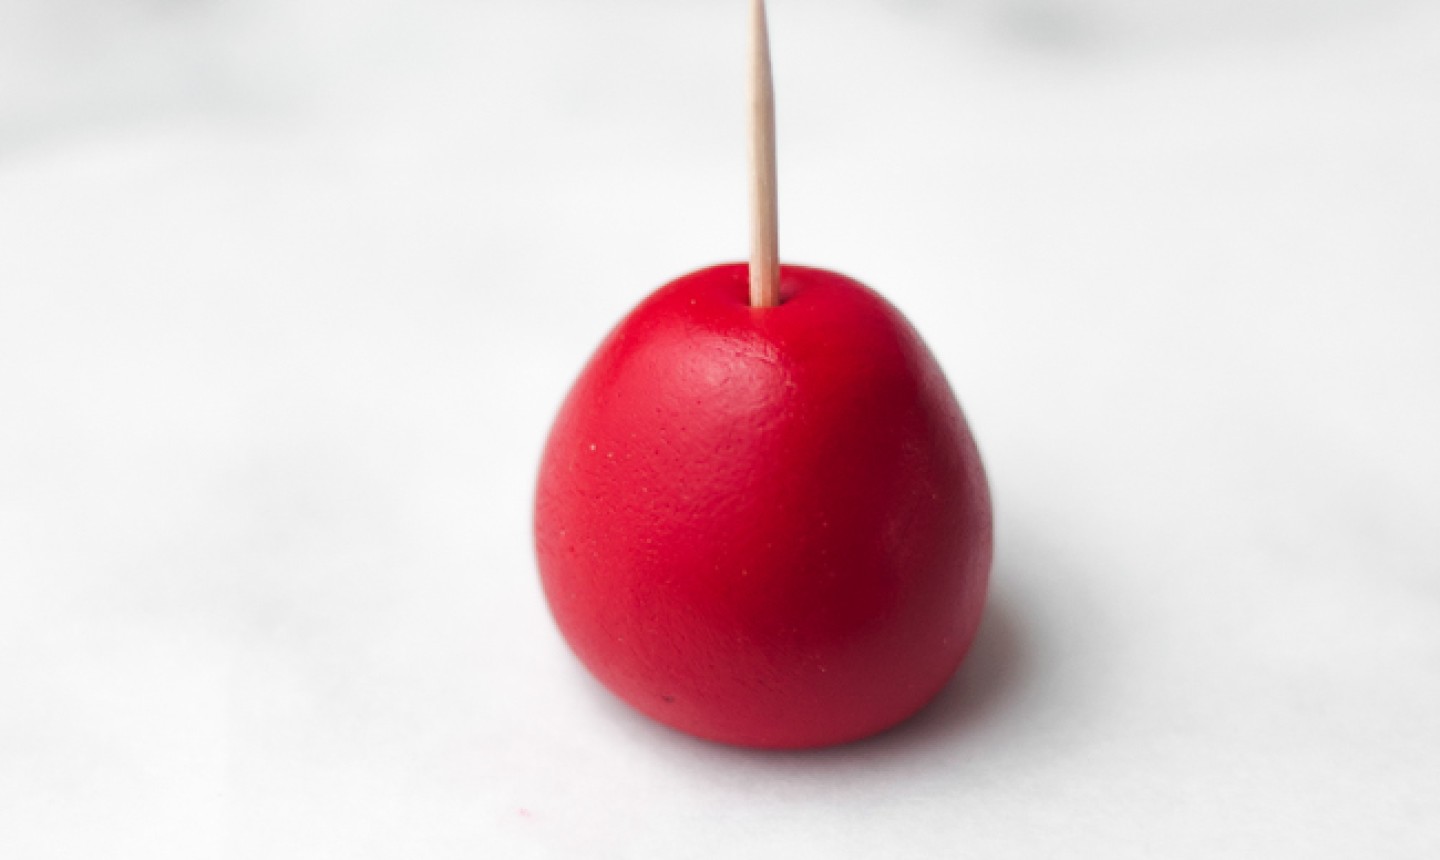
Roll some red fondant into a ball and shape it into a rounded teardrop. Skewer a toothpick down its center. Depending on how big your want your Santa to stand, you may want to cut the toothpick down a bit.
2. Add the Head
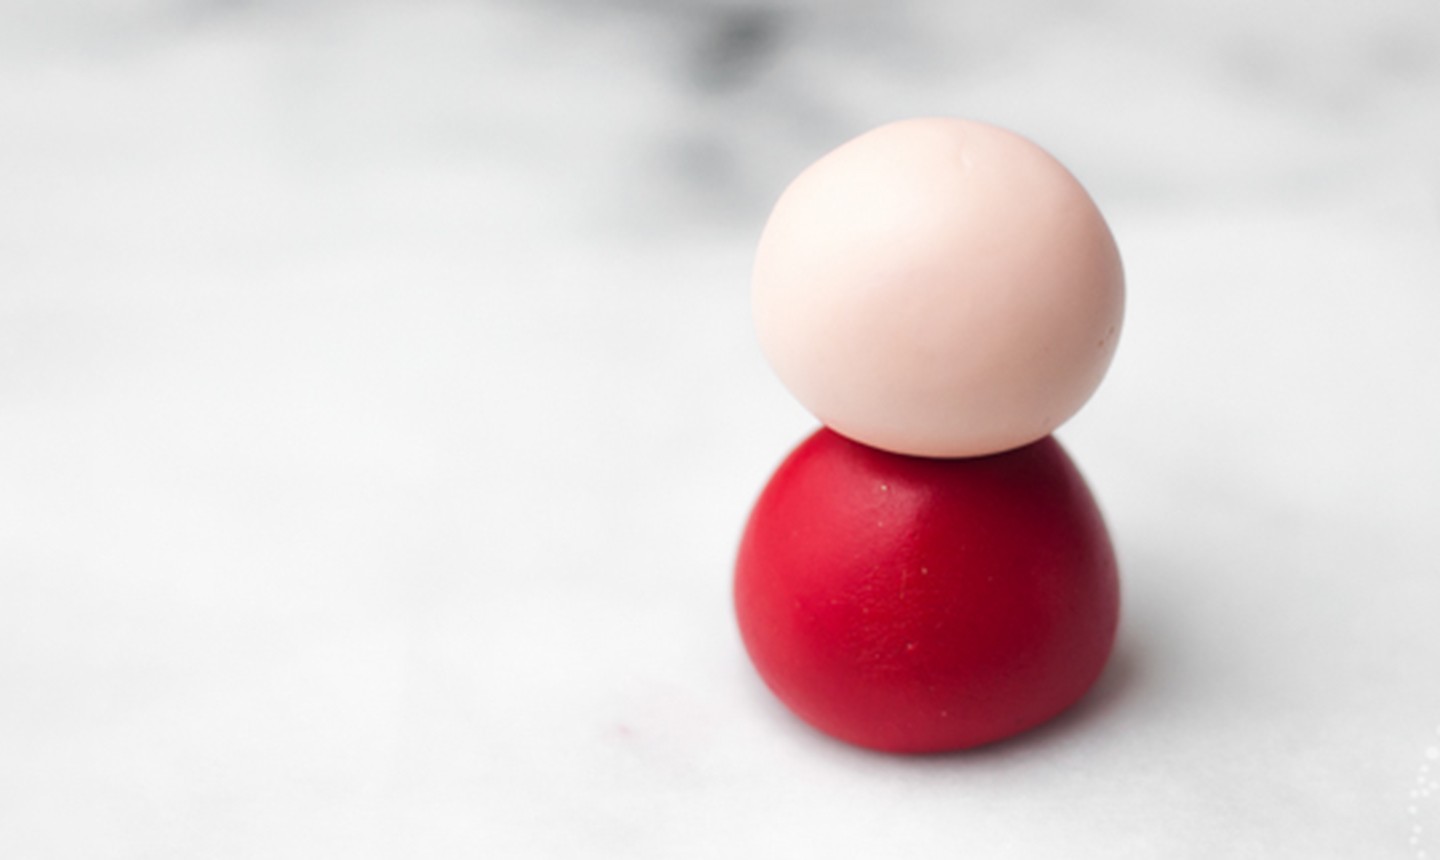
Roll peach fondant into a smooth ball. This should be a bit smaller than the body piece, but not drastically different. Brush edible glue onto the bottom and slide the ball onto the toothpick so it rests on top of the red body.
3. Bring the Buttons
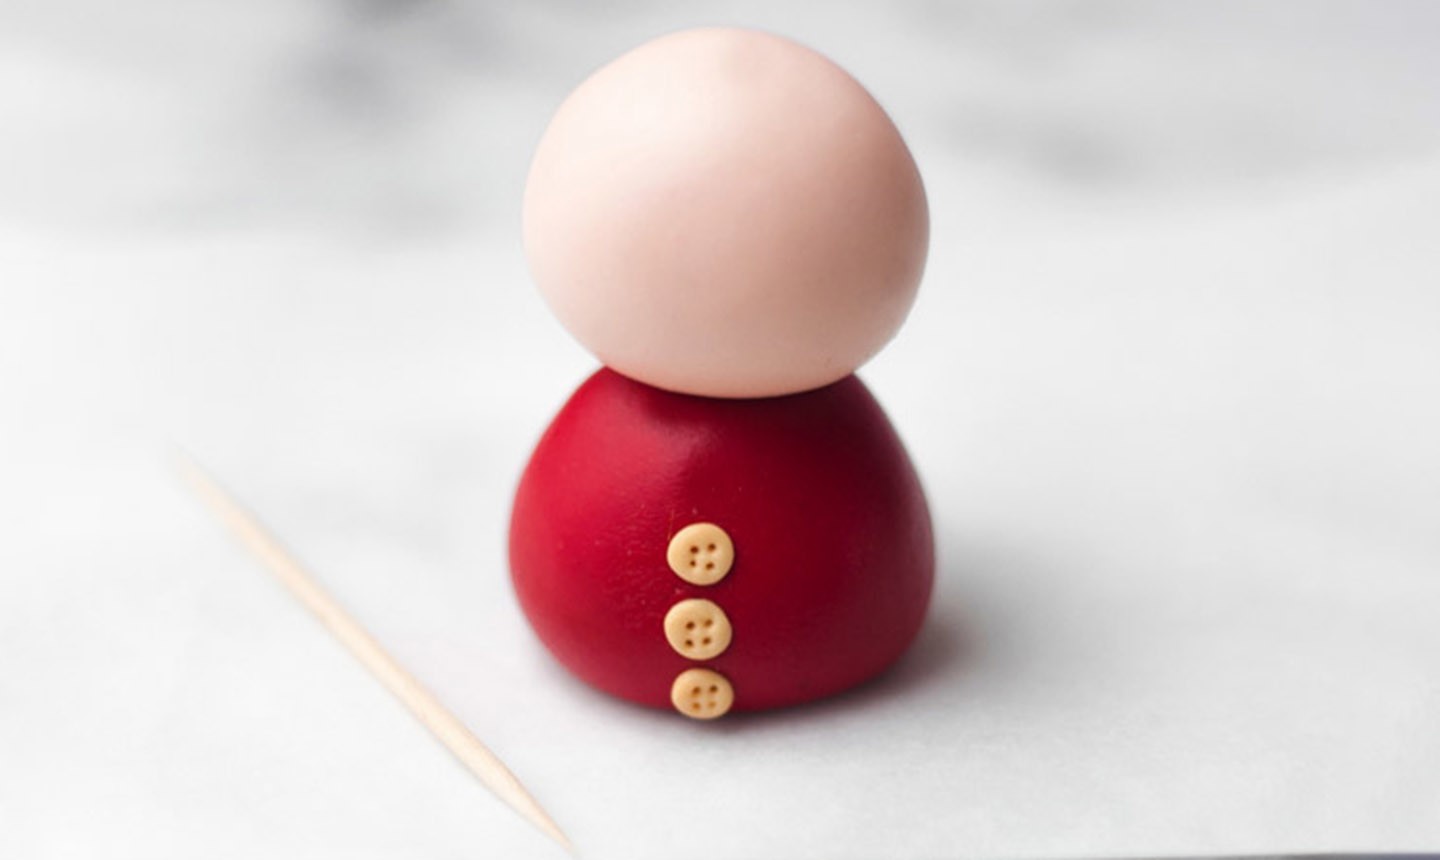
Roll out three tiny balls of caramel-colored fondant and press into flat discs. Place them down Santa's suit with edible glue. Use a toothpick to detail the button holes, then paint each with edible gold paint.
4. Make His Face
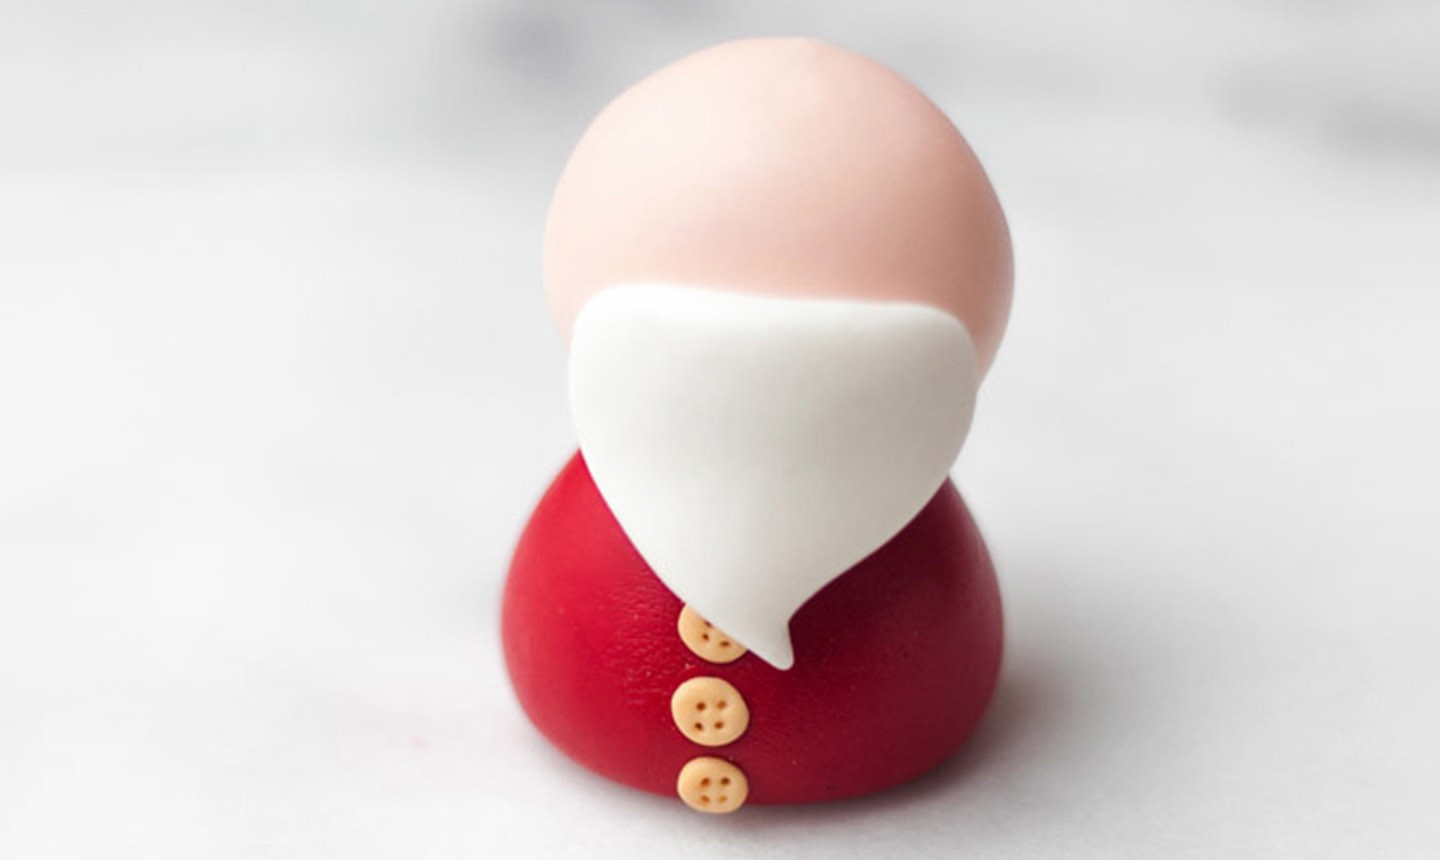
Mold and flatten white fondant into a teardrop-like shape for his beard. Attach it with edible glue to his head, just below the center.
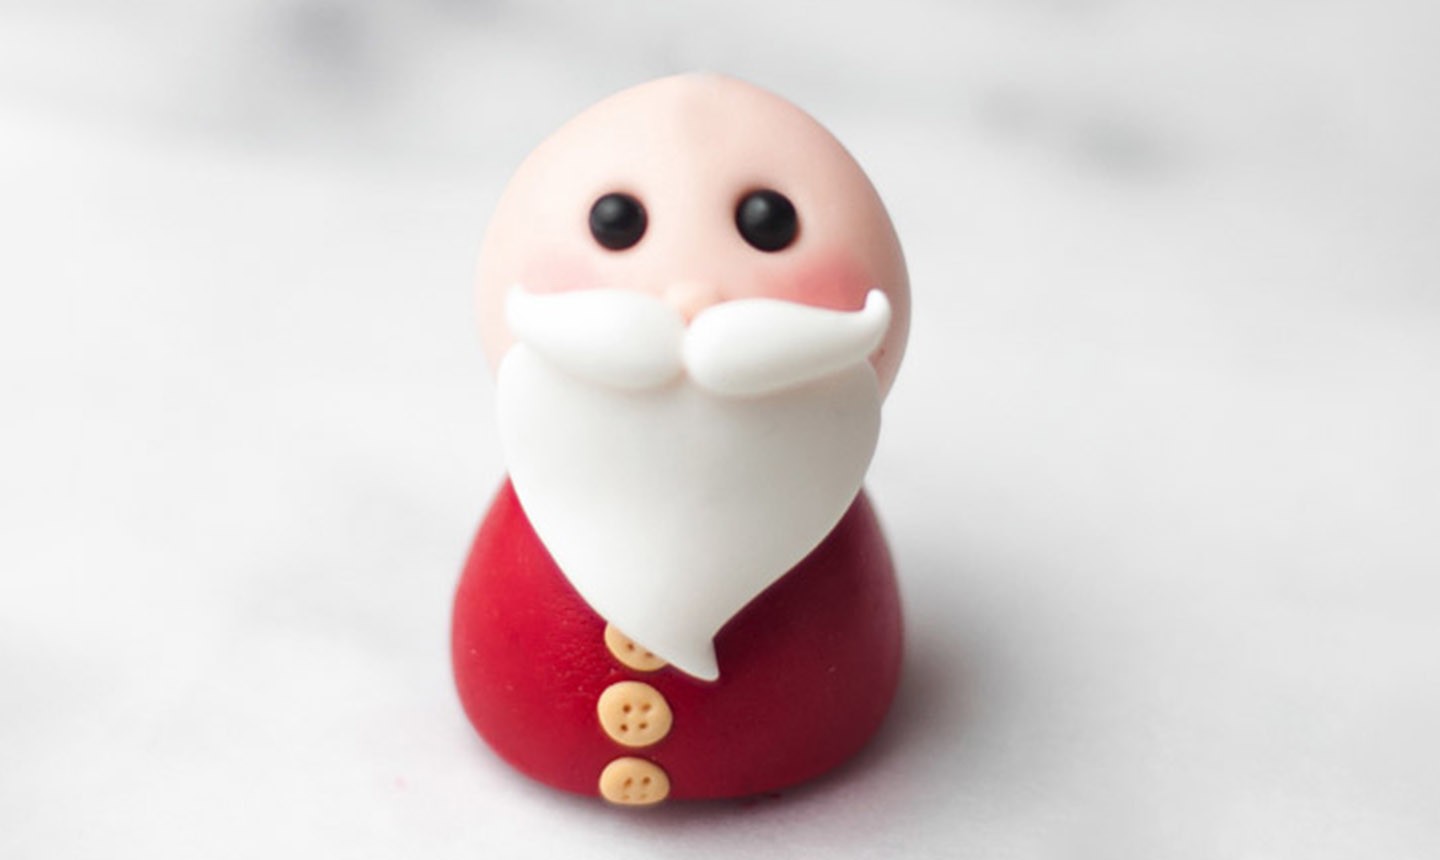
For the mustache, roll two small pieces of white fondant into teardrop-like shapes. Attach them to the top of the beard and curl the tapered ends.
For the eyes, indent sockets with your small ball tool and use edible glue to put sugar pearls inside. Make a nose by rolling a tiny amount of peach-colored fondant into a ball, then securing it just above the center of his 'stache. Lightly brush on small circles of pink luster dust under his eyes to give Santa rosy cheeks.
5. Top Him Off

Shape more red fondant into a medium-sized teardrop shape. Use a ball tool to hollow out the base of the hat so it can sit over Santa's head. Attach it with edible glue, then shape the tip to your liking.
To add the white pom pom, roll a ball of white fondant and attach with edible glue, holding it in place until secure. Finish the hat by rolling out a white fondant cuff and attaching it around the base.
Pro Tip: If you want to add texture to the fur trim of Santa's hat, use a toothpick to drag or poke the fondant.
6. Give Santa Arms
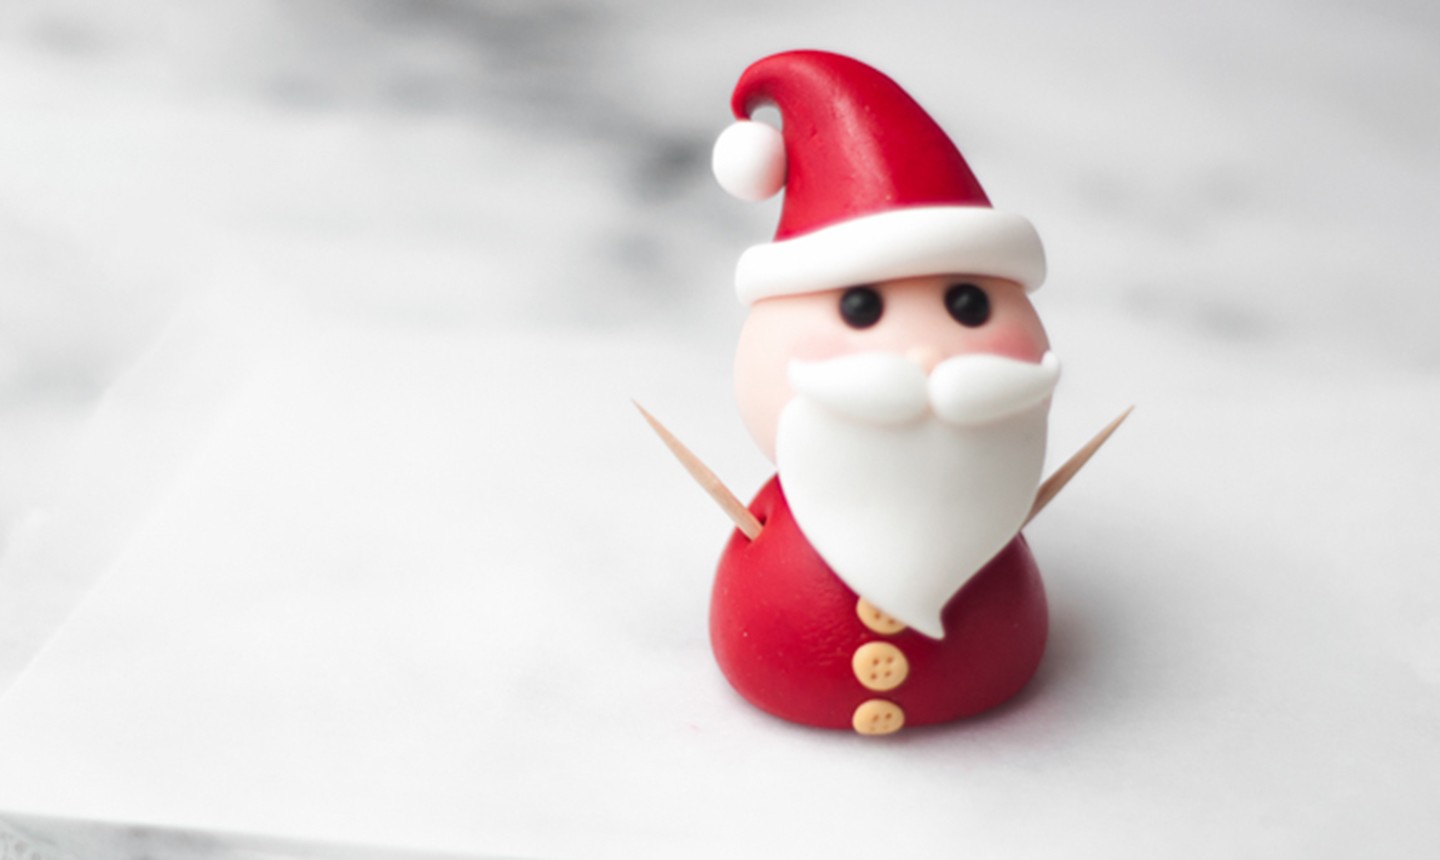
Slide two toothpicks into the body where you want each arm to go. Roll two pieces of red fondant into cylinder shapes and skewer them onto the toothpicks.
7. Add His Hands

Roll two small balls of white fondant and use a veining tool to indent them to look like mittens. Attach them to the end of the arms with edible glue.
Roll more white fondant into a rope and attach them to his sleeve cuffs.
8. Put Him On the Cupcake
Add the topper to your Christmas cake or cupcakes! We attached ours to cupcakes covered in fondant, but you can place yours on a royal icing or buttercream frosting as well.
9. Add the Gifts
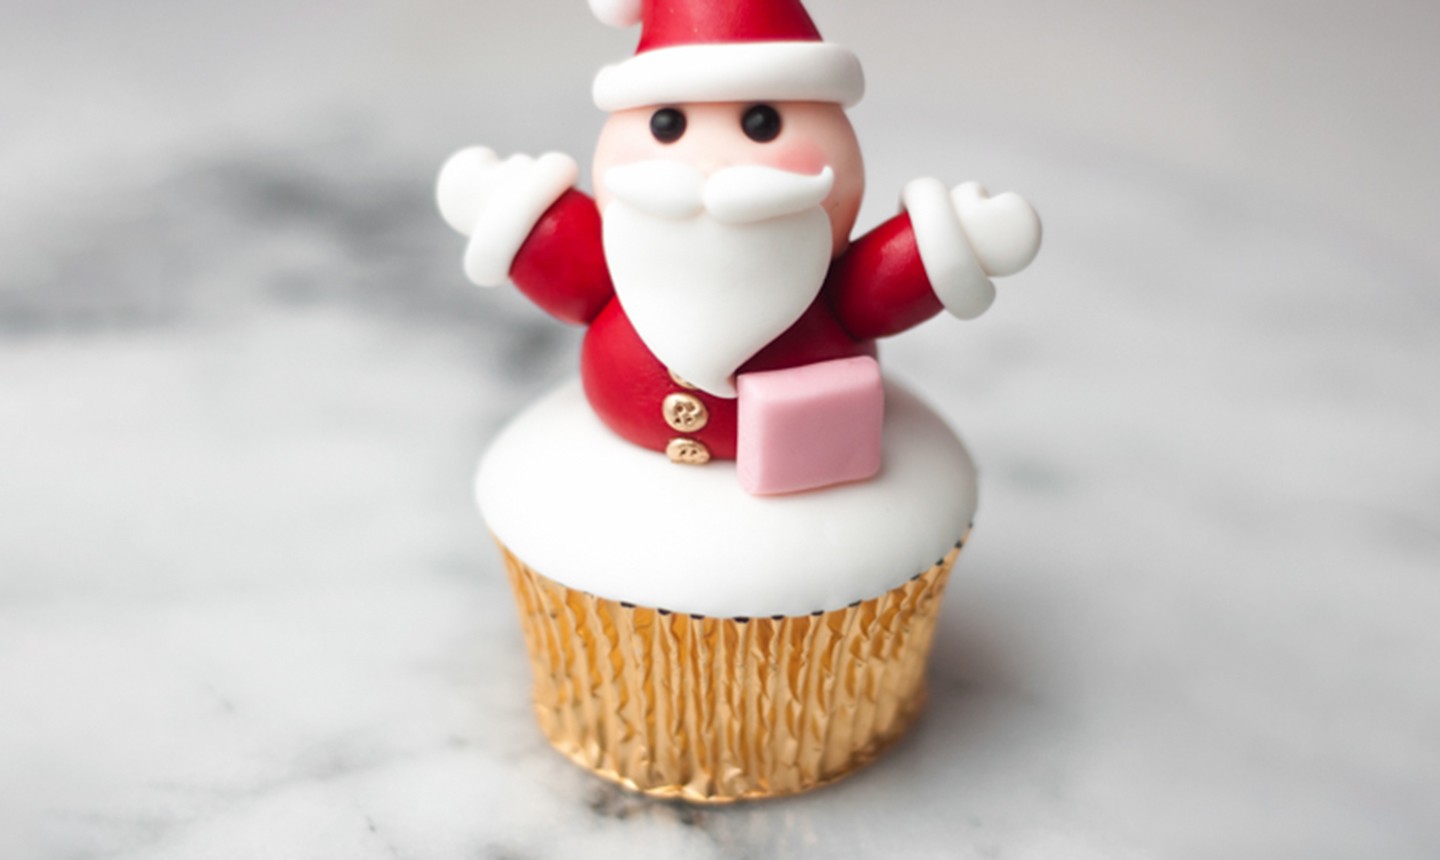
Here's the thing: Santa never visits without presents. Fill the rest of your cupcake with fondant gifts in whatever colors you like. Simply use a knife to cut out squares and rectangles, then paint them with luster dust. Stick the gifts around Santa and secure with edible glue.
For the final detailing, put royal icing in a piping bag fitted with a small writing tip. Pipe simple, decorative ribbons on each gift.

And with that, St. Nick is ready to bring jolly and cheer to all!
Photos by Juniper Cakery

Just lovely you are very cleaver Happy Christmas
Absolutely darling! Thank you sooo much! Merry Christmas!
No
I would like to make a brown , tan, black one
This is so cute I will make with my kids
Tooo CUTE & thank you for sharing, Felicity & Krystle. I think I had my FIRST Christmas cupcake similar to this, mine was a SNOWMAN, from a WONDERFUL Patisserie in PARIS… as an adult 30 years ago! Merci Beaucoup for providing a LOVELY MEMORY which is still with me… like a CHILD! JOYous HOLI-DAY season to you both & your families… Love, Elle💗