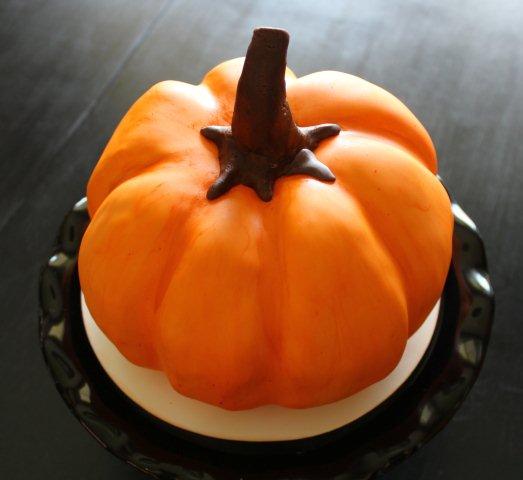
It may look like a legit pumpkin, but instead of the messy, stringy insides you'll only find sugar and buttercream. That's right: we put a sweet spin on our favorite fall gourd, sculpting a pumpkin-shaped cake that's sure to impress a crowd. Your turn!
Pumpkin-Shaped Cake
Level: Easy
What You Need
- Two round baked cakes (use your favorite recipe)
- Buttercream (Swiss Meringue or American buttercream work great)
- Orange fondant (buy it or make your own)
- Pumpkin template
- Large knife
- Offset spatula
- Scissors
- Fondant tools
- Orange and ivory food coloring
- Lemon extract or vodka
- Food-safe brush
- Fan brush
- Modeling chocolate
- Revolving cake stand
- Rolling pin
Instructions
1. Bake the Cake
Bake two round cakes according to the recipe instructions. You can use any recipe you want. Keep it simple with chocolate or vanilla, or keep the color scheme consistent and opt for orange cake.
Once baked and cooled, stack the cakes on top of each other with a layer of buttercream in the middle. (Again, you can use any recipe — the buttercream won't be visible.) Place the cake in the fridge to chill.
Good to Know: When carving, you want your cake to be cold. The frosting stays in place much better and the cake won't fall apart or shift while you cut.
2. Make Your Template
Decide what shape you want your pumpkin to be. Short and round? Tall and thin? It's up to you! Draw a pumpkin on a piece of paper or print a photo to use as a template. This will be your starting point.
3. Cut and Carve
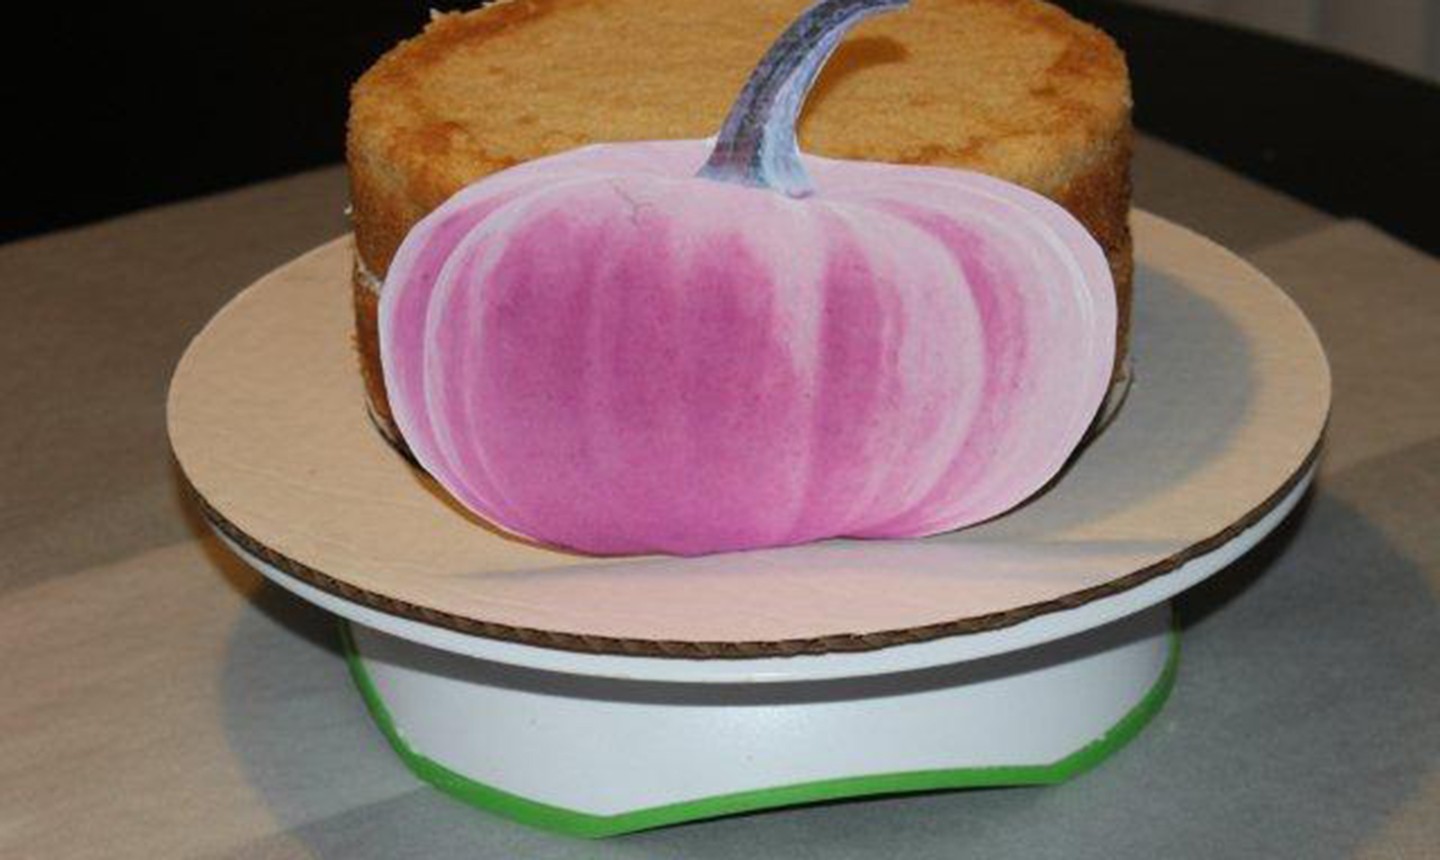
Place the pumpkin image against your cake. Grab a knife and make your first cuts to define the shape. Work around the cake, cutting small pieces off as you go. Once the cake starts taking shape, remove the template and work on the details.
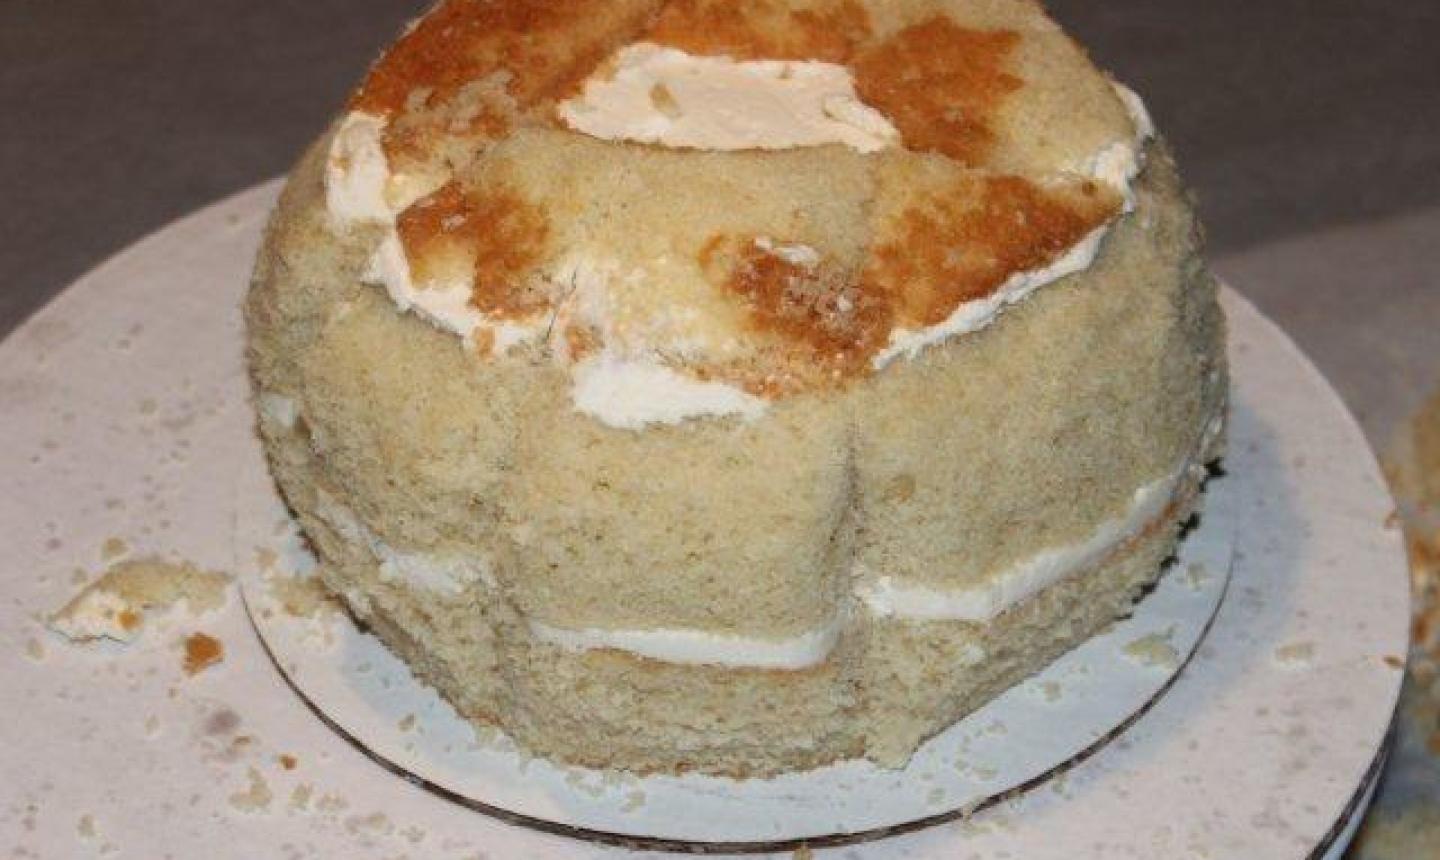
To get more height, place a few small discarded pieces of cake around the top, as shown above. Secure the pieces with buttercream as you place them. This gives your cake more dimension and rounds off the top without you having to carve it.
4. Define the Grooves
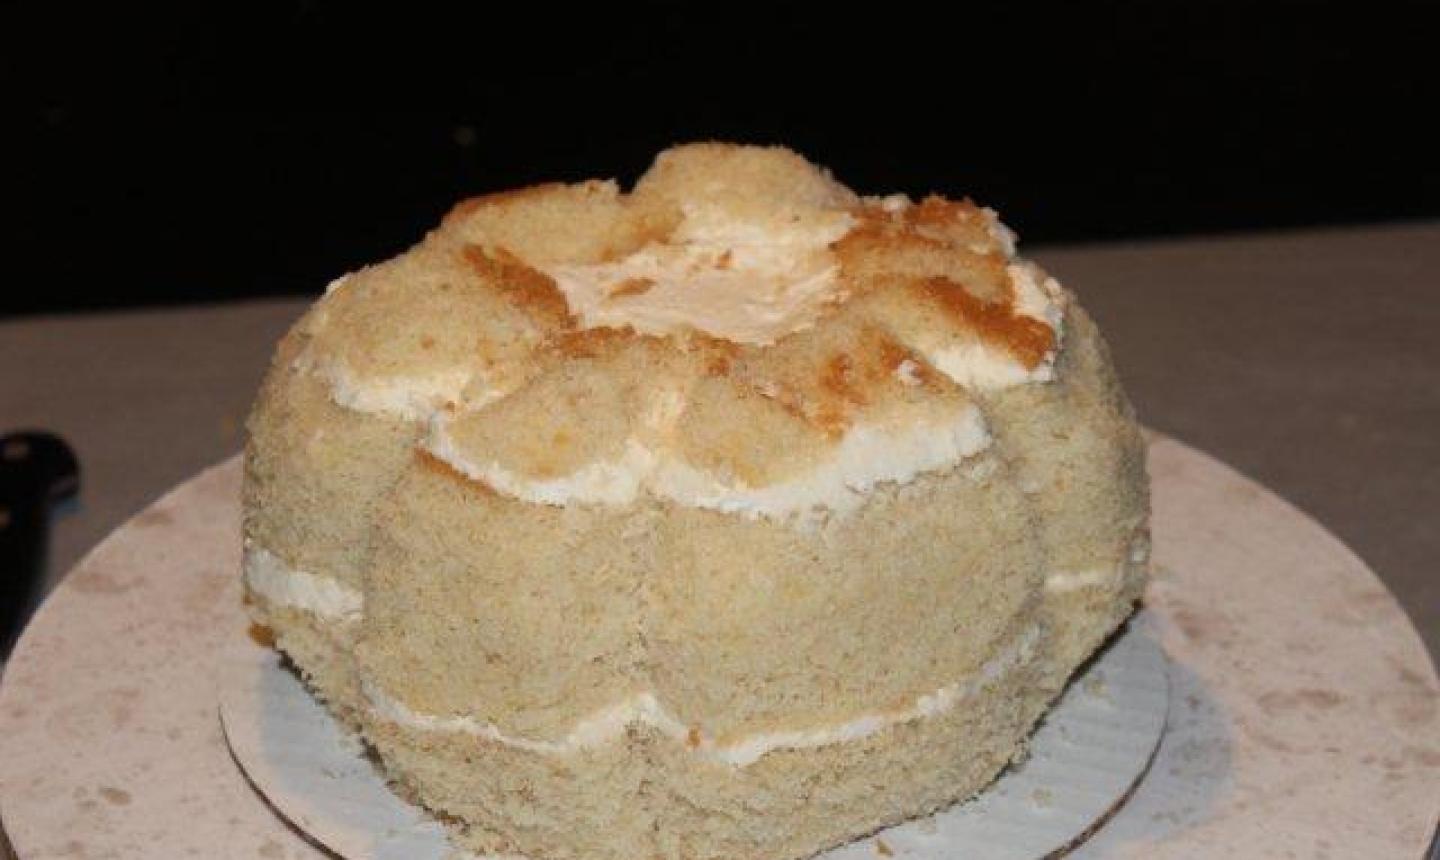
Carefully carve vertical grooves around the cake. Be careful not to remove any large pieces or cut too deep — pumpkin grooves reach from the stem to the base, so you want to take your time defining each notch. (Don't forget the top and bottom of your cake!)
Slowly deepen the grooves as you work. They'll be covered in buttercream and fondant later, so if you make them too shallow they won't be defined.
Pro Tip: Got cake scraps? Don't toss 'em! Mash up those extra pieces, mix them with buttercream and make dough for cake pops.
5. Add a Crumb Coat
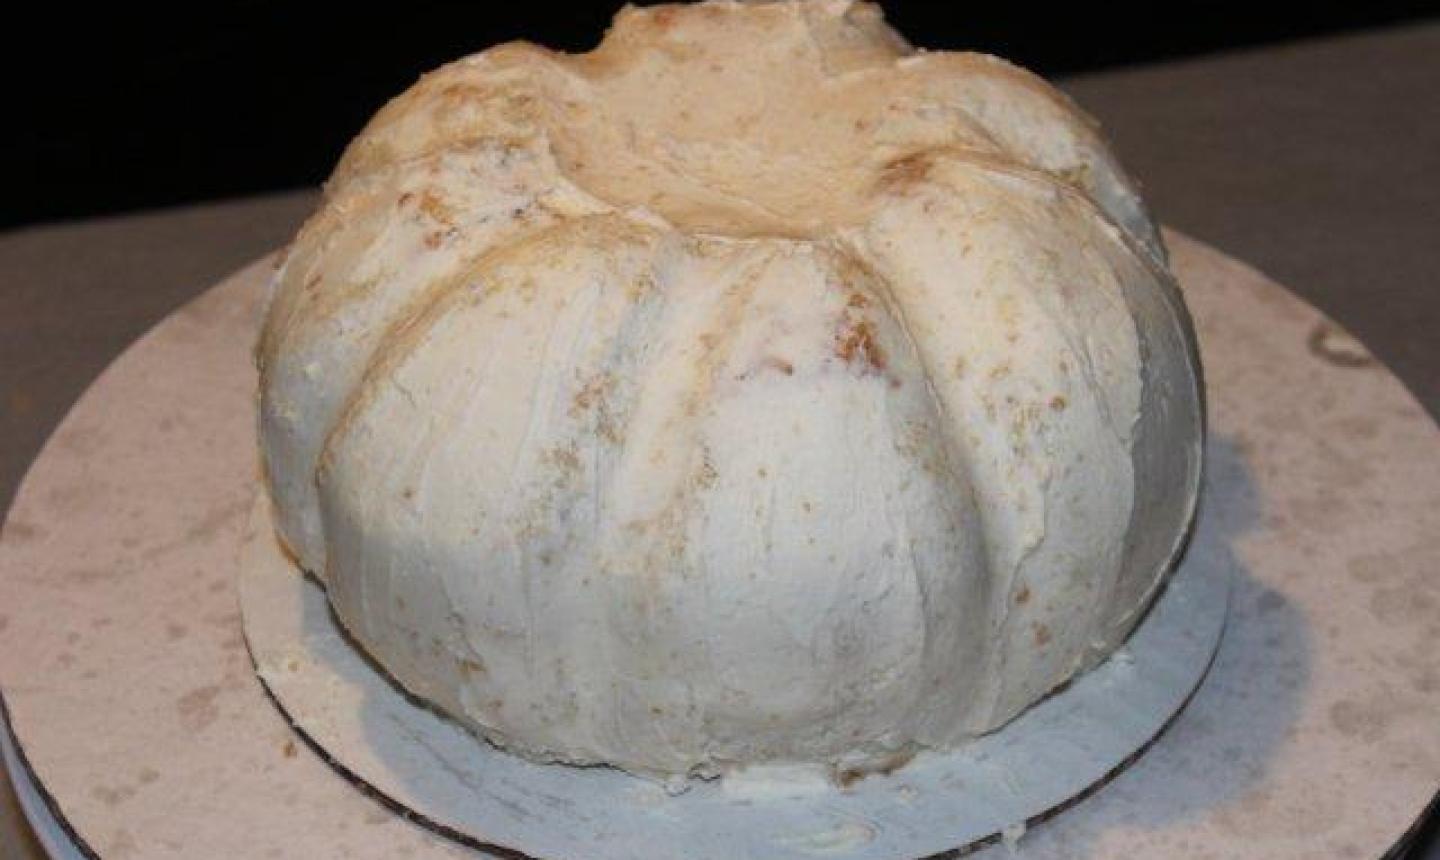
Once you're happy with the shape of your cake, crumb coat it by spreading a thin layer of buttercream over the entire surface with an offset spatula, making sure to fill in the crevices. When you're done, place the cake back in the fridge to chill for 20 minutes.
Remove the cake, add a second layer of buttercream and chill again.
6. Drape Your Fondant
Roll out your pre-colored fondant until it's ⅛" thick. Drape the fondant over the entire cake and gently press it into the grooves.
Pro Tip: Your fondant will naturally stretch, but if you pull it too far it could rip. If that happens, don't freak — there are easy ways to fix it fast.
7. Cut Away the Excess
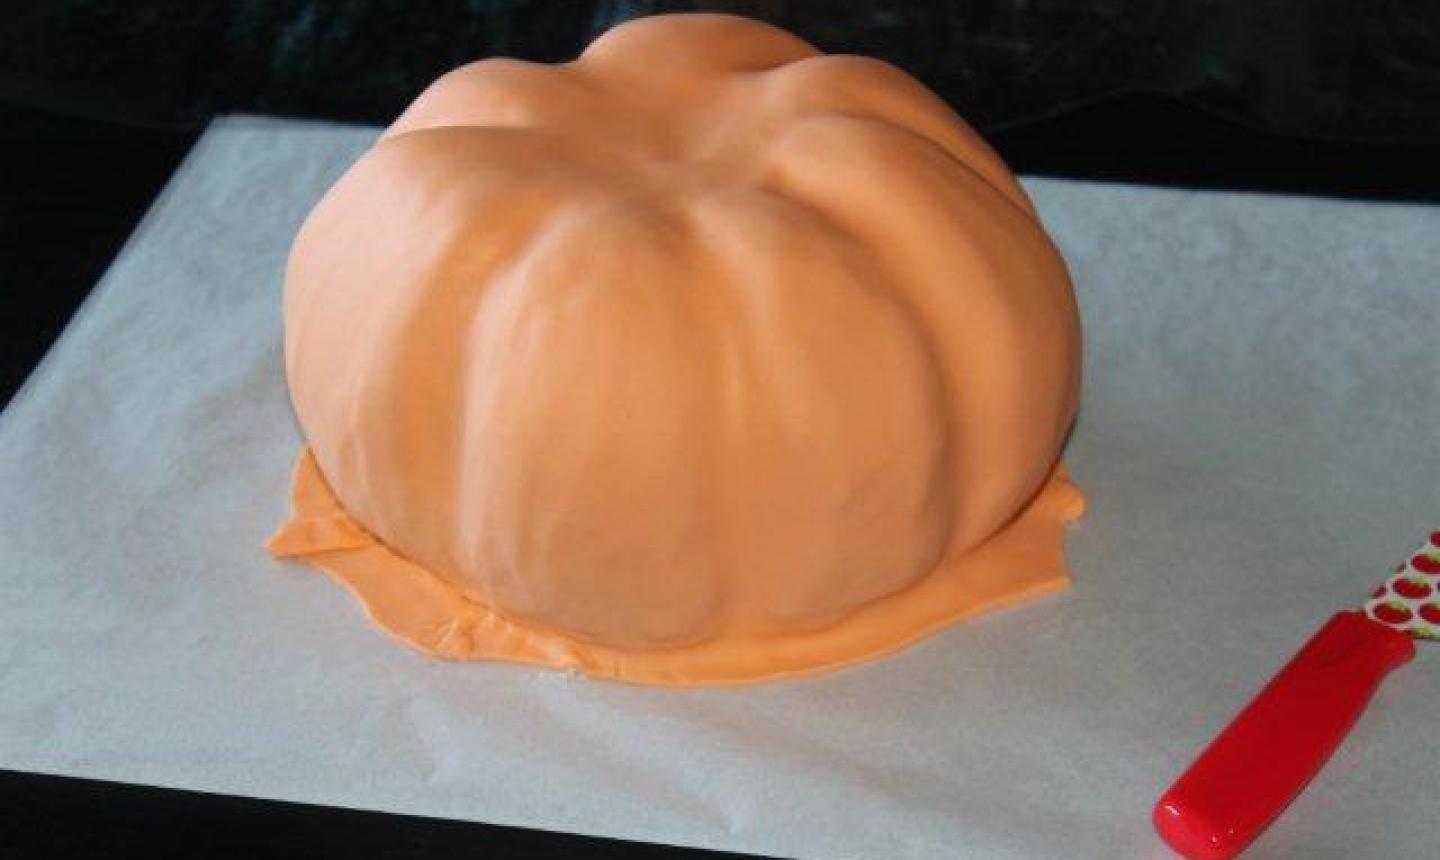
Cut off the excess fondant around the pumpkin, about 2" away from the cake. Use a fondant tool to press the extra fondant against the cake. Remove any other pieces of excess that remain.
8. Paint
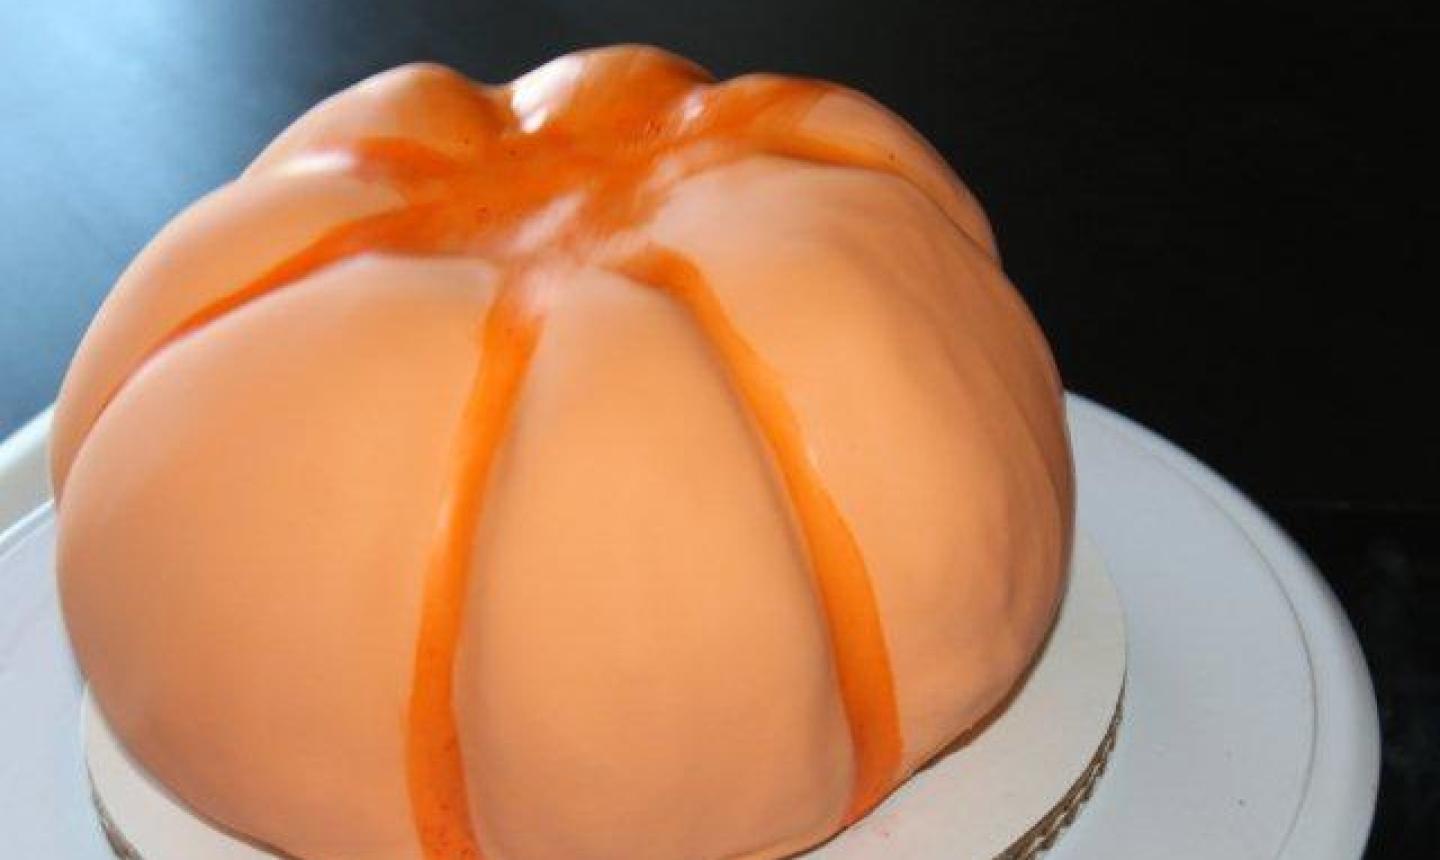
Give some life to your pumpkin with paint! We used a mixture of peach, orange and ivory food coloring mixed with lemon extract, though you can also use vodka.
Pro Tip: It might be tempting to use orange food coloring and call it good, but color mixing is important for giving your pumpkin cake a lifelike look.
Begin with a dark orange color. (We nixed the peach and mixed orange and ivory coloring with lemon extract.) Paint the shadows in the pumpkin grooves and top.
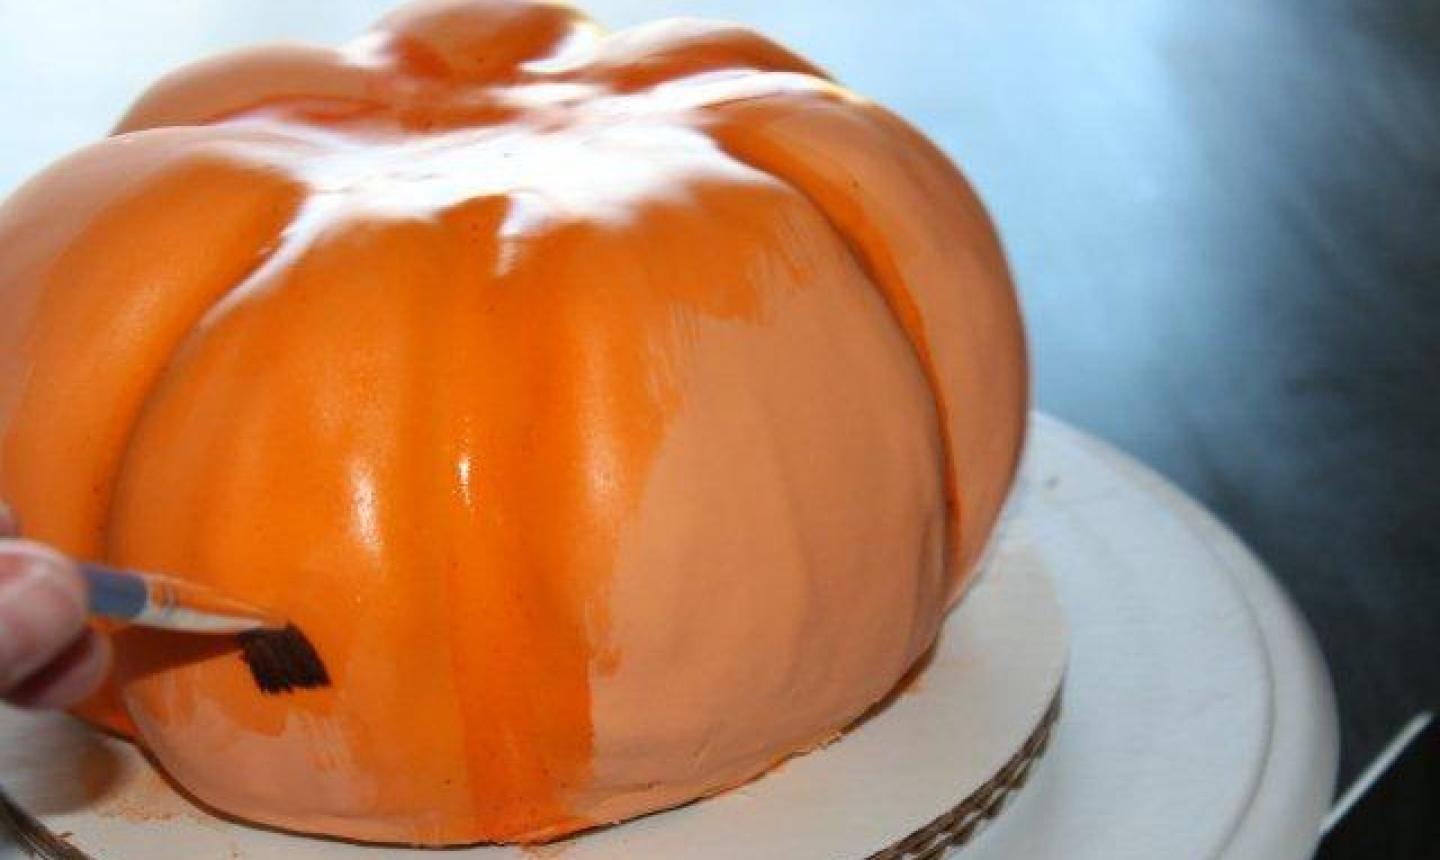
While the grooves are still wet, lighten your color by adding more lemon extract. Paint the surface of the cake wih the lighter color, then use a fan brush to blend the colors together.
9. Make the Stem
Make the stem from modeling chocolate. Simply roll out the chocolate and shape it how you want, then place on top of the pumpkin!
Photos via Wendy Woo Cakes

Share tips, start a discussion or ask other students a question. If you have a question for an expert, please click here.
Already a member?
No Responses to “Yep, You Can (and Should!) Carve a Pumpkin Out of Cake”