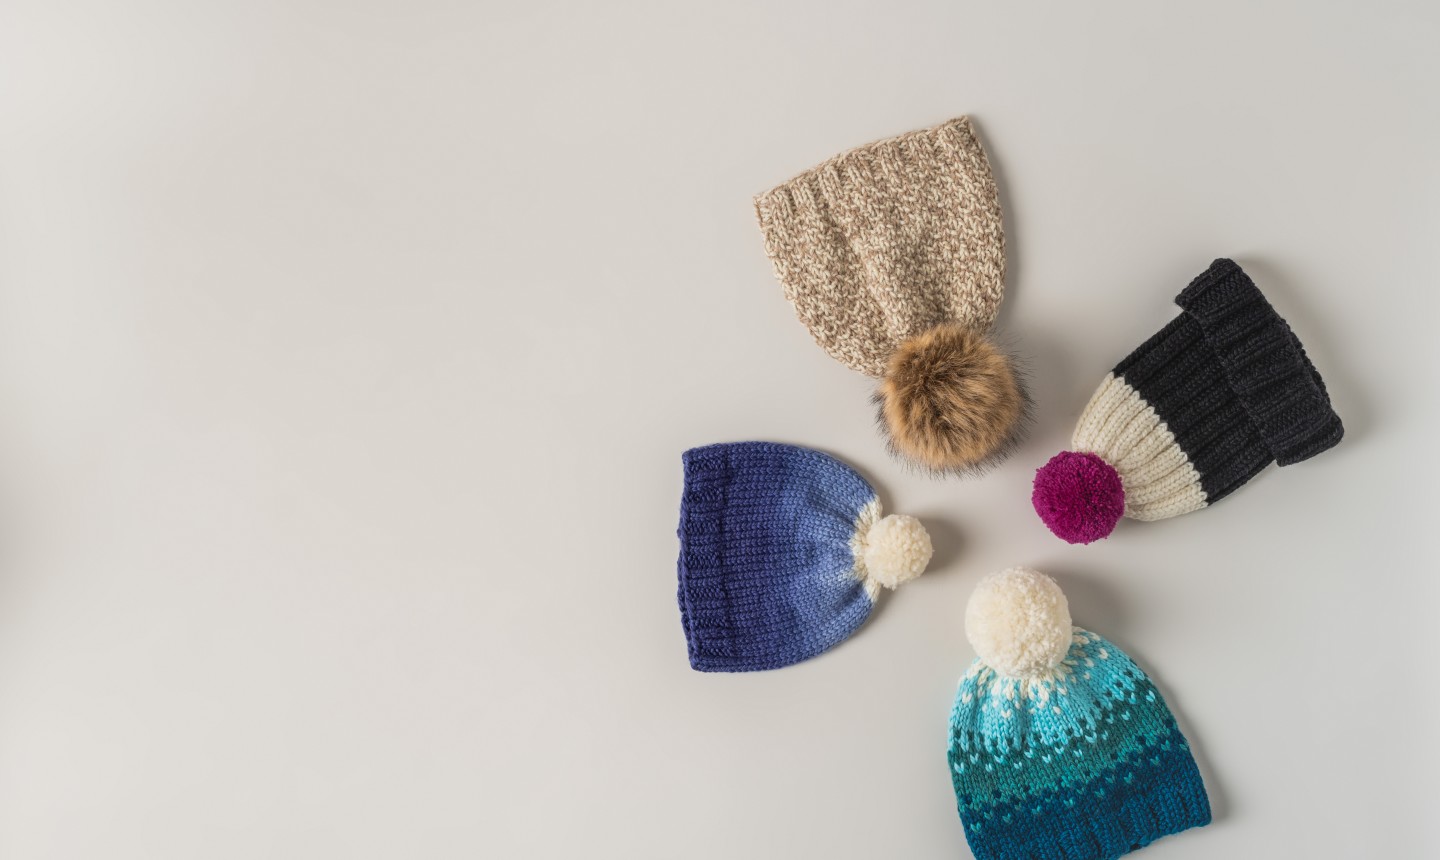
Let’s be honest: knitting from patterns is awesome. There are so many amazing designs out there that you could knit from patterns for the rest of your life and never get bored. But equally awesome is pushing yourself to create your own designs. If this sort of experimentation is your jam, hats are a great place to start.
Sure, there’s a bit of math involved in all knitting, and designing your own hats is no exception. Good news, though: the math is fairly straightforward, and even if things go off the rails, hats aren’t *that* painful to rip and reknit (practice makes perfect, or so they say).
How to Knit a Hat From Scratch
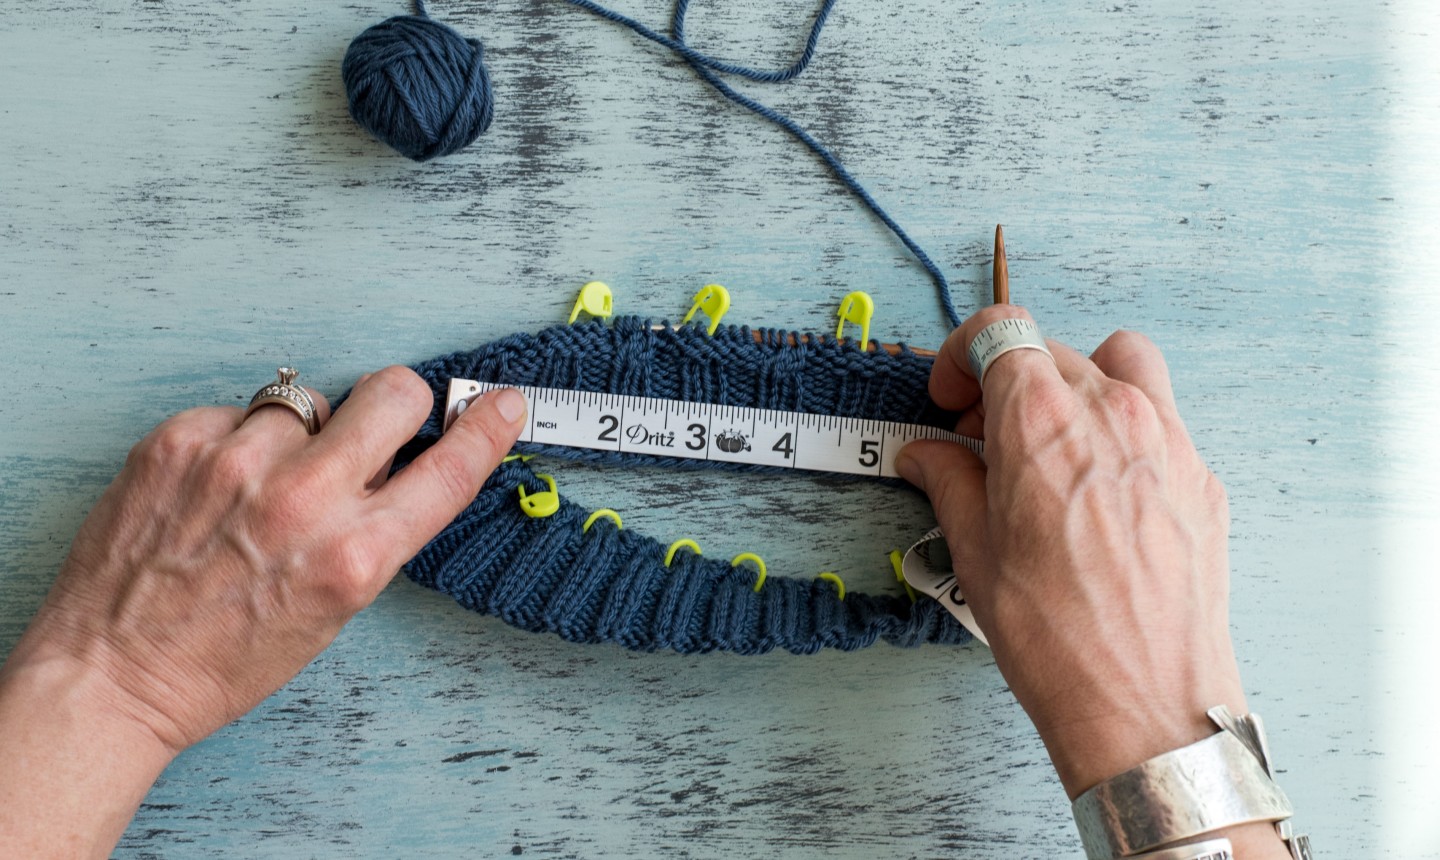
1. Measure Your Head
Grab your measuring tape. The first step to knitting a hat that fits just right is measuring the circumference of your head.
Wrap the measuring tape around your forehead, then go around the full circumference of your head. Pull the tape as taut as possible. You want to get the true measurements of your head so you don’t end up with a hat that keeps falling down over your eyes.
If you have a thick head of hair, it helps to round down your head circumference number just a bit. That will give your hat a better chance of fitting snugly on your head. Plan to round down about 2″. So if your head circumference is 22″, you’d round it to 20″ to give yourself a 2″ negative ease — or round down just an inch if you want your hat to fit more loosely.
Once you’ve got the circumference, write that number down so you don’t forget it!
Next, measure the length of your head, starting at the crown and going down to the bottom of your earlobe. This is roughly how long you’ll want to knit your hat before you start decreasing for the crown. Write this number down, too. Remember, you can go longer for more slouch, or to accommodate a folded brim, or shorter if ear coverage isn’t your thing.
2. Gauge Check
Got your yarn picked out? Now let’s swatch it!
First, check out the yarn label to see which needles work best with the weight. Don’t have a label? Take a guess at the yarn weight and experiment with a few different sizes of needles. Remember that for a hat, you want the stitches to be close together for a snug fit.
Once you’ve found the right needle size, knit a gauge swatch. The larger the swatch, the more accurate the measurements, so try to knit a swatch that’s at least a few inches in width and height. If you’re planning on using a stitch pattern (ribbing, cables, stranded colorwork, etc.), make sure you knit that stitch for your gauge swatch; that will give you the most accurate picture of what your final hat stitches will look like.
Pro Tip If you’re knitting your hat in the round, you should technically swatch in the round, too.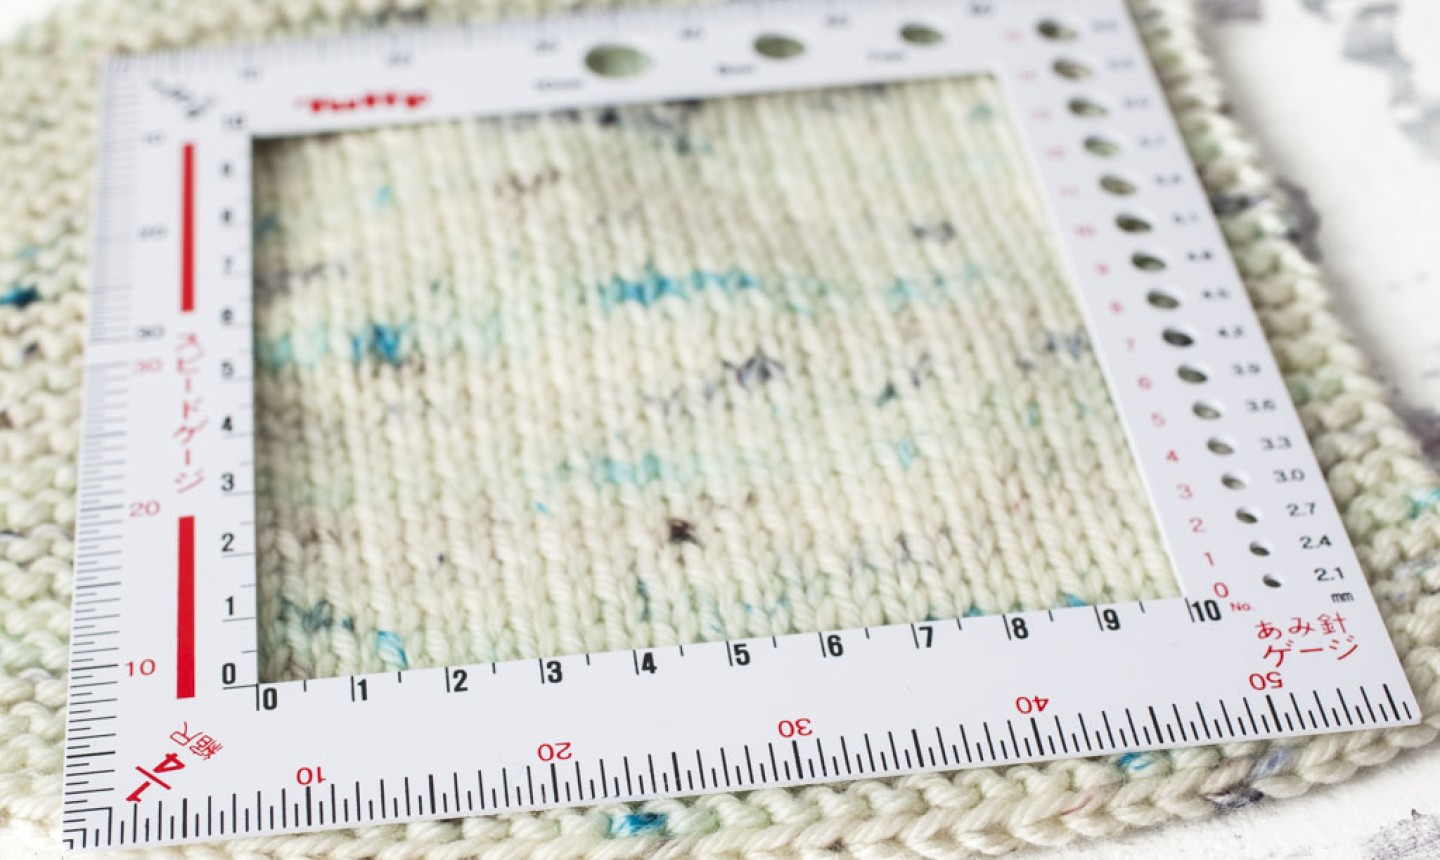
Now you need to figure out how many stitches per inch you’ve got. Use a ruler to measure how many stitches fit within 1″. Write that number down.
3. Math Time
Multiply your head circumference from Step 1 by the number of stitches per inch in Step 2. If you’re going straight stockinette or garter stitch, this is the number of stitches you’ll cast on.
If you’re venturing into fancy stitch pattern territory, you’ll need to take that number and round it to the nearest multiple of your stitch pattern (if you’re doing 1×1 rib, for example, make sure you’re casting on an even number of stitches).
4. Decrease the Crown
Knit your hat until it’s the length you measured in Step 1. Then, time to decrease. You get to play designer again here. The basic principle is that you divide the number of stitches you have into even sections, and work decreases in each of those sections every other round. Stitch markers are your friends here, and will help you keep track of where you’re placing your decreases. Once you’re down to a reasonable number of stitches, thread your tail through the live stitches, and cinch the crown up.
Now, there’s just one more decision… to pom, or not to pom. (You should probably pom.)

urenrjrjkvnm
Novost
Thanks for info. Been knitting for60yrs. Never knew how to calculate to make my own hat pattern. I'm excited - going to make a hat tonight. Thanks so much
Great! I never knew this.
That was good information! Thanks
Good to know
<strong> Thanks for the information
Thanks for the info. Very helpful
I've been knitting for about 60 years and I enjoy this type of info. I've haven't ventured on my own since I was 5 and making small clothes for my doll( nothing fancy, just for fun) Thanks for the info.
Thank you for the information!! Really needed it.