
This year, skip the paper gift tag and top your presents with something a little sweeter — cookies!
Cookie Gift Tag
Level: Easy
What You Need
Instructions
1. Shape the Cookies

Mix your dough according to recipe instructions. Roll it out to your desired thickness, then cut out a series of rectangular or square cookies.
To turn these cookies into true gift tag shapes, use your rectangle or square cutter to angle off a little of each side at one end of the cookie. Or, you can free-hand your cuts with a knife.
2. Bake
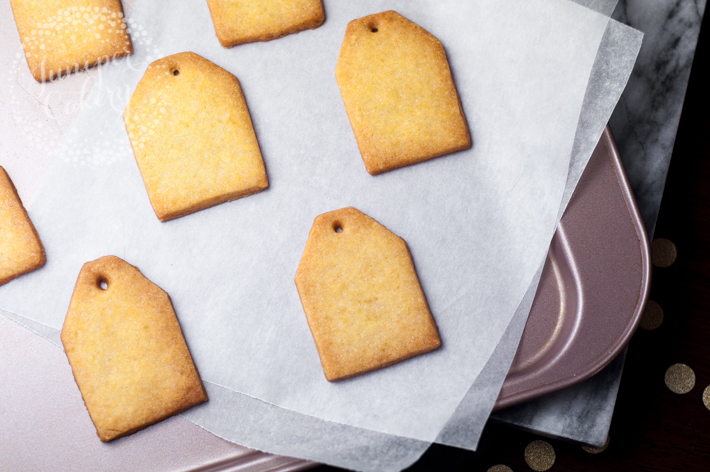
Take a small round piping tip and cut out a hole at the top of each cookie. This is where you’ll be able to thread your ribbon or twine through once baked.
Bake according to your recipe’s instructions. Let the cookies cool completely before decorating.
3. Pipe and Flood
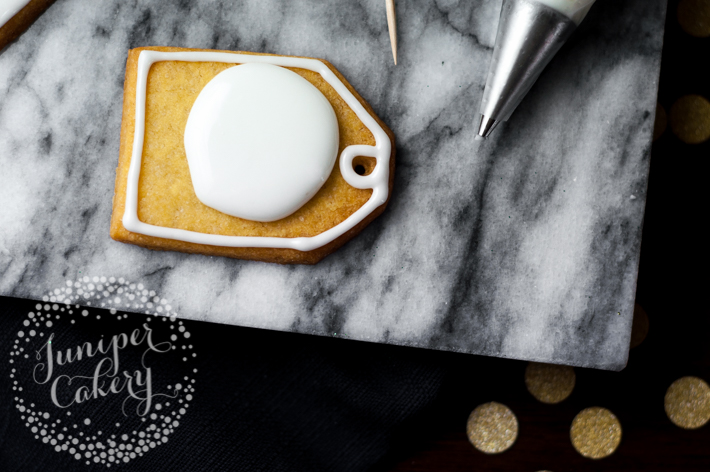
Once your cookies have cooled, mix together royal icing in both piping and flooding consistencies. We used white icing, but you can add color if you want.
Fill your piping bags and outline a cookie with piping consistency royal icing. Then flood the center of your cookie for a seamless look. If you have any air bubbles appearing in your icing, pop them with a cocktail stick.
4. Decorate

If you’d like to decorate your cookies with sprinkles like ours make sure you do this while your royal icing is still wet. We arranged glittery snowflake sprinkles at the edge before then adding tiny edible pearls and white sanding sugar.
If you want to pipe (or write with an edible marker) your recipient’s initial on the tag, wait until the cookie has fully dried. This can take up to 24 hours, depending on the humidity of where you live.
5. Top Your Gift
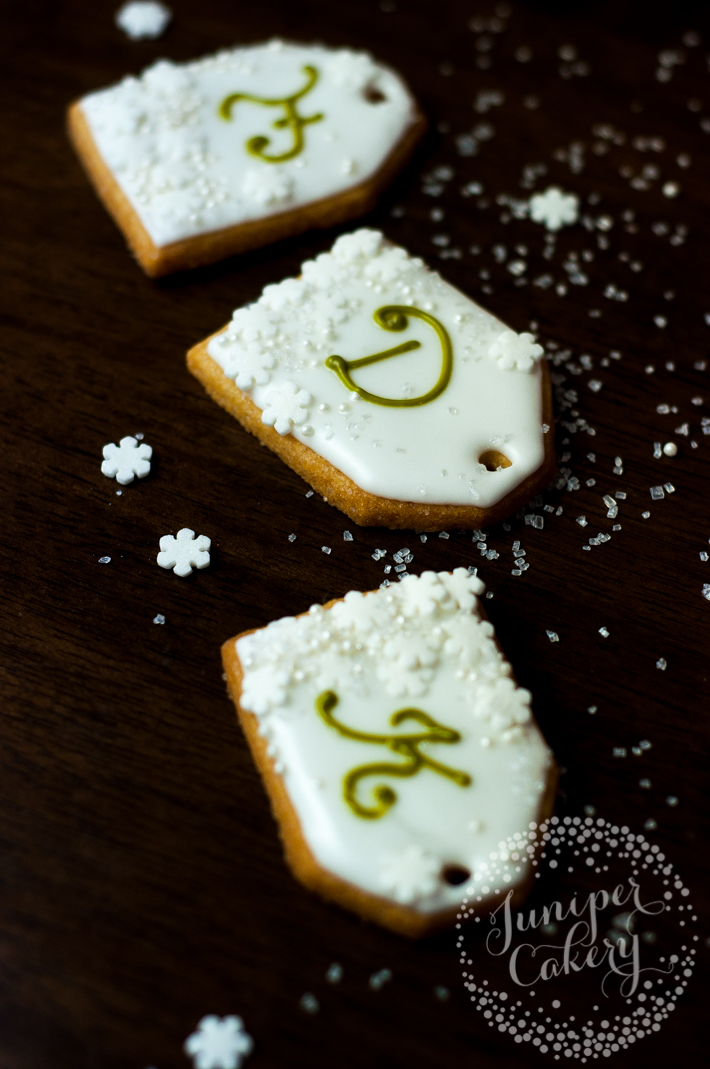
Once your cookies are dry, thread a ribbon or twine through the hole and tie ’em to your gifts!

Me gusta
Eager to enjoy this activity😊