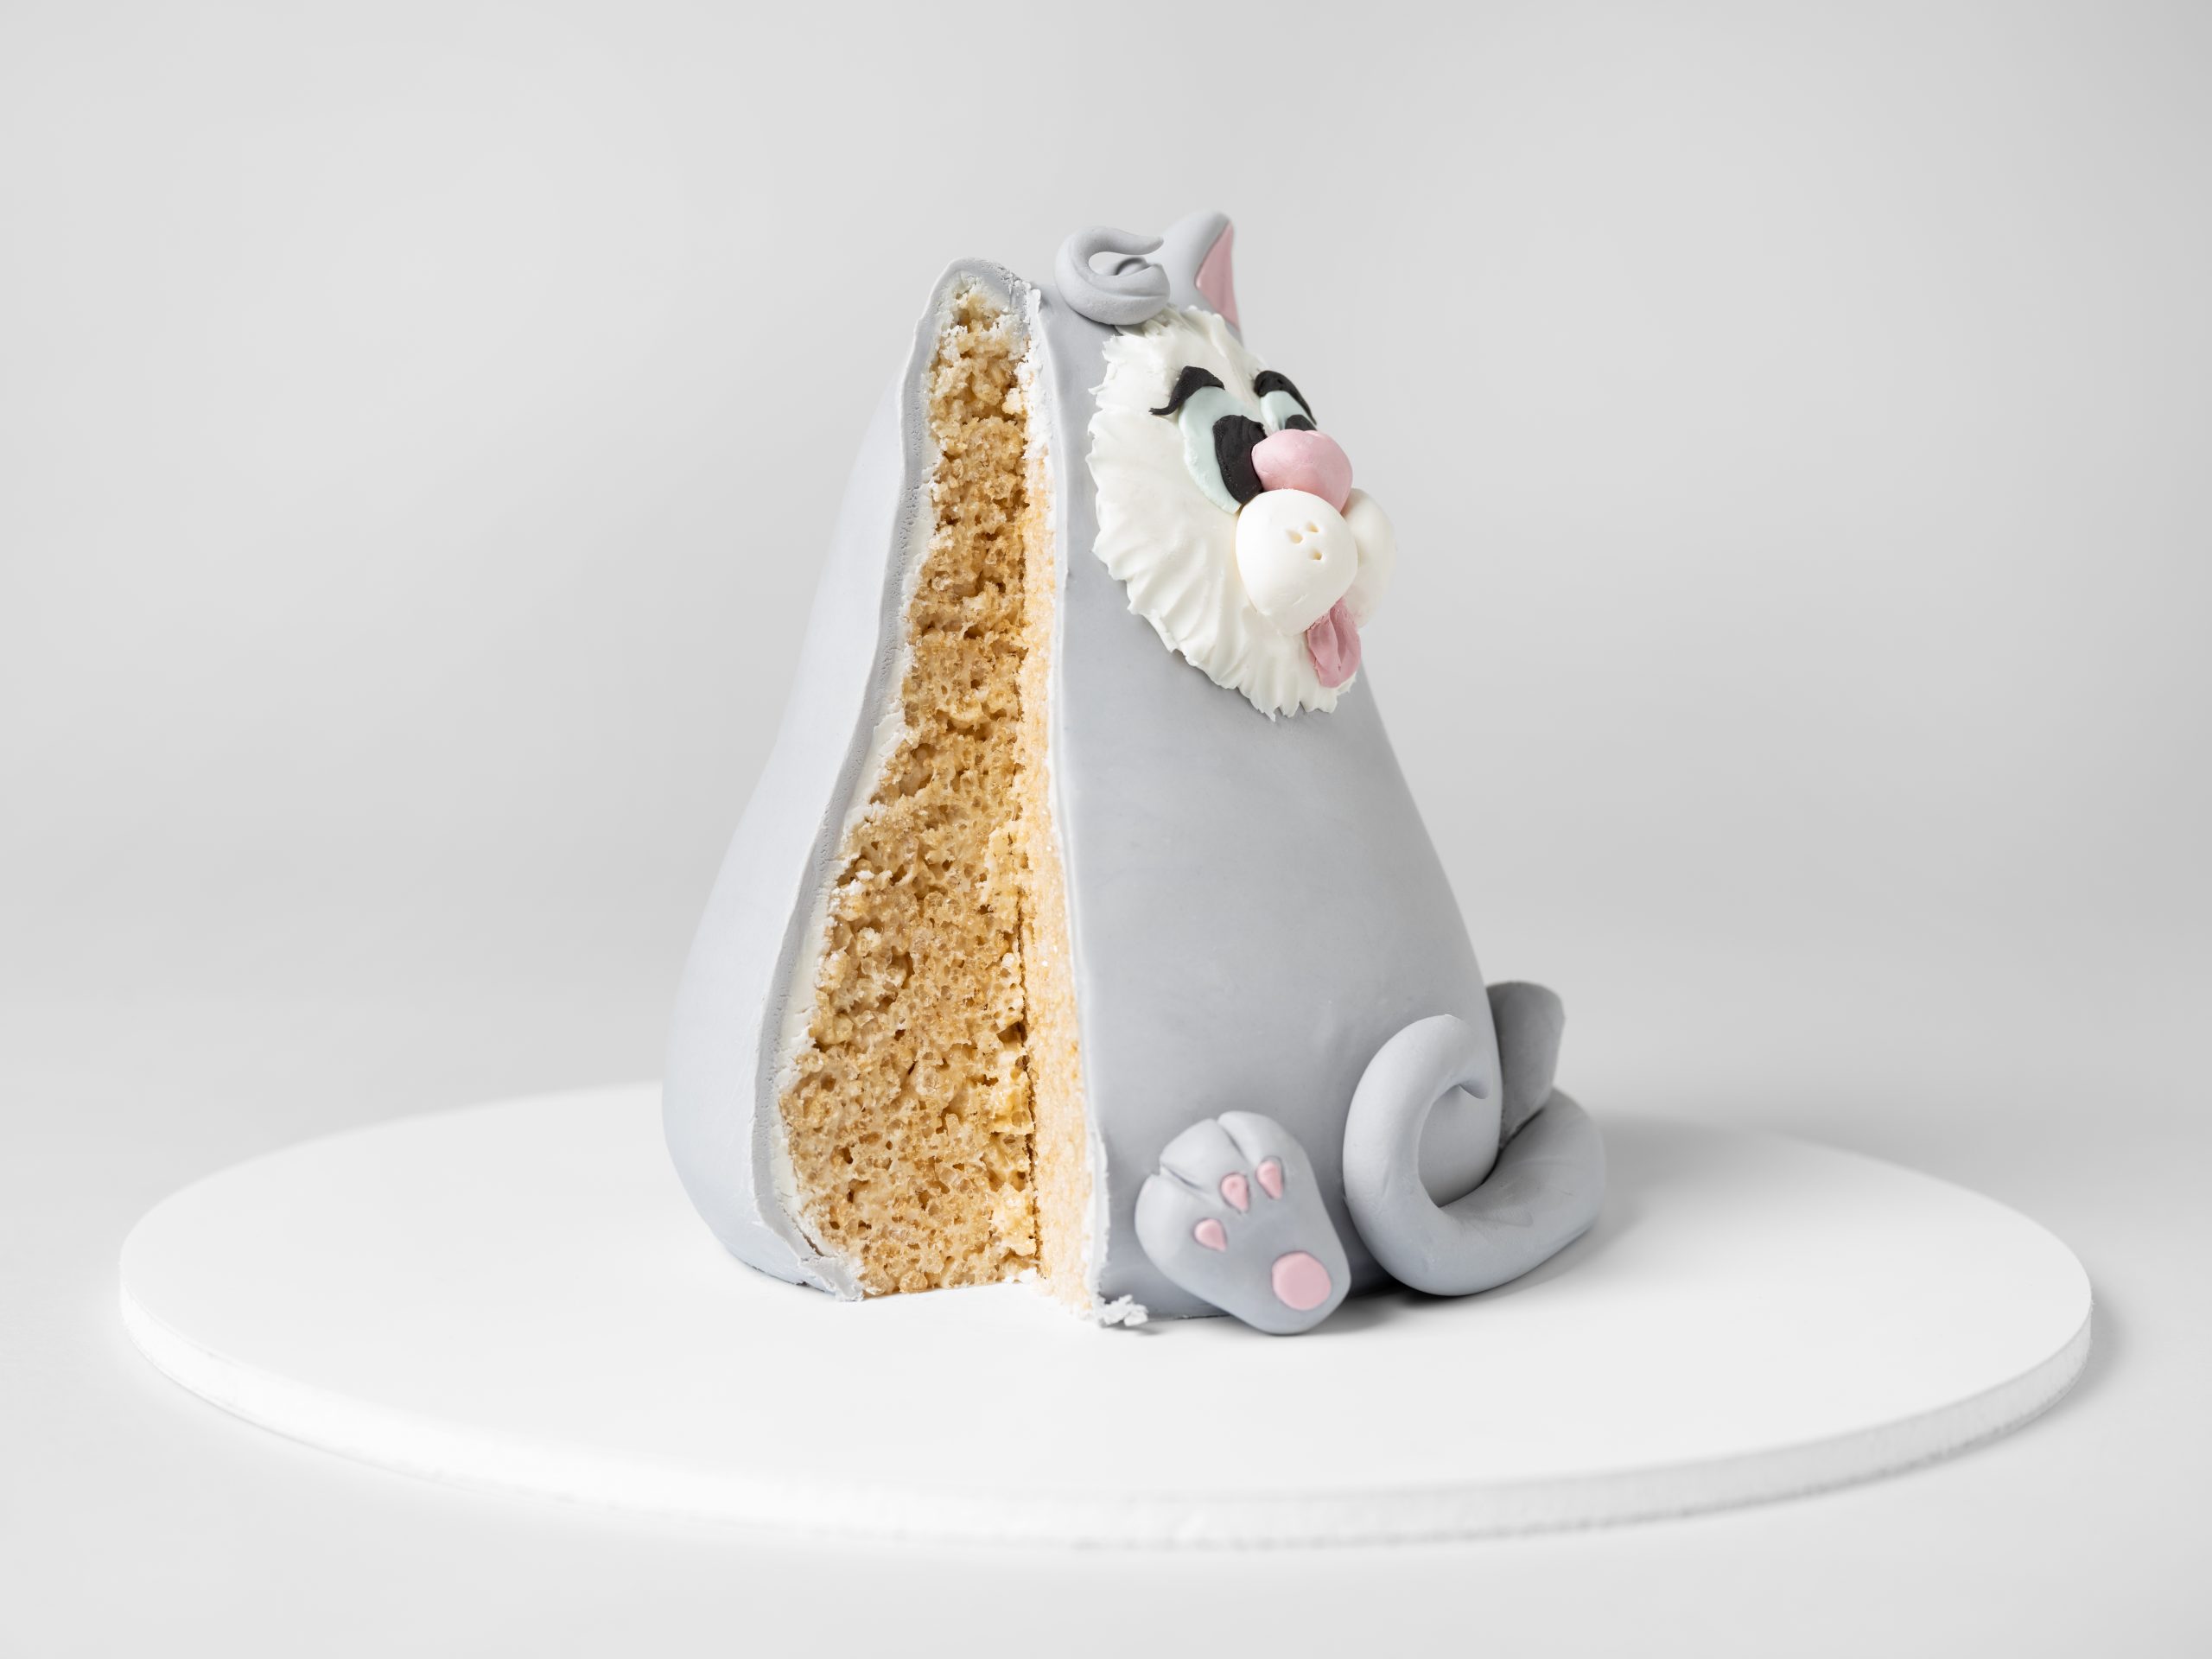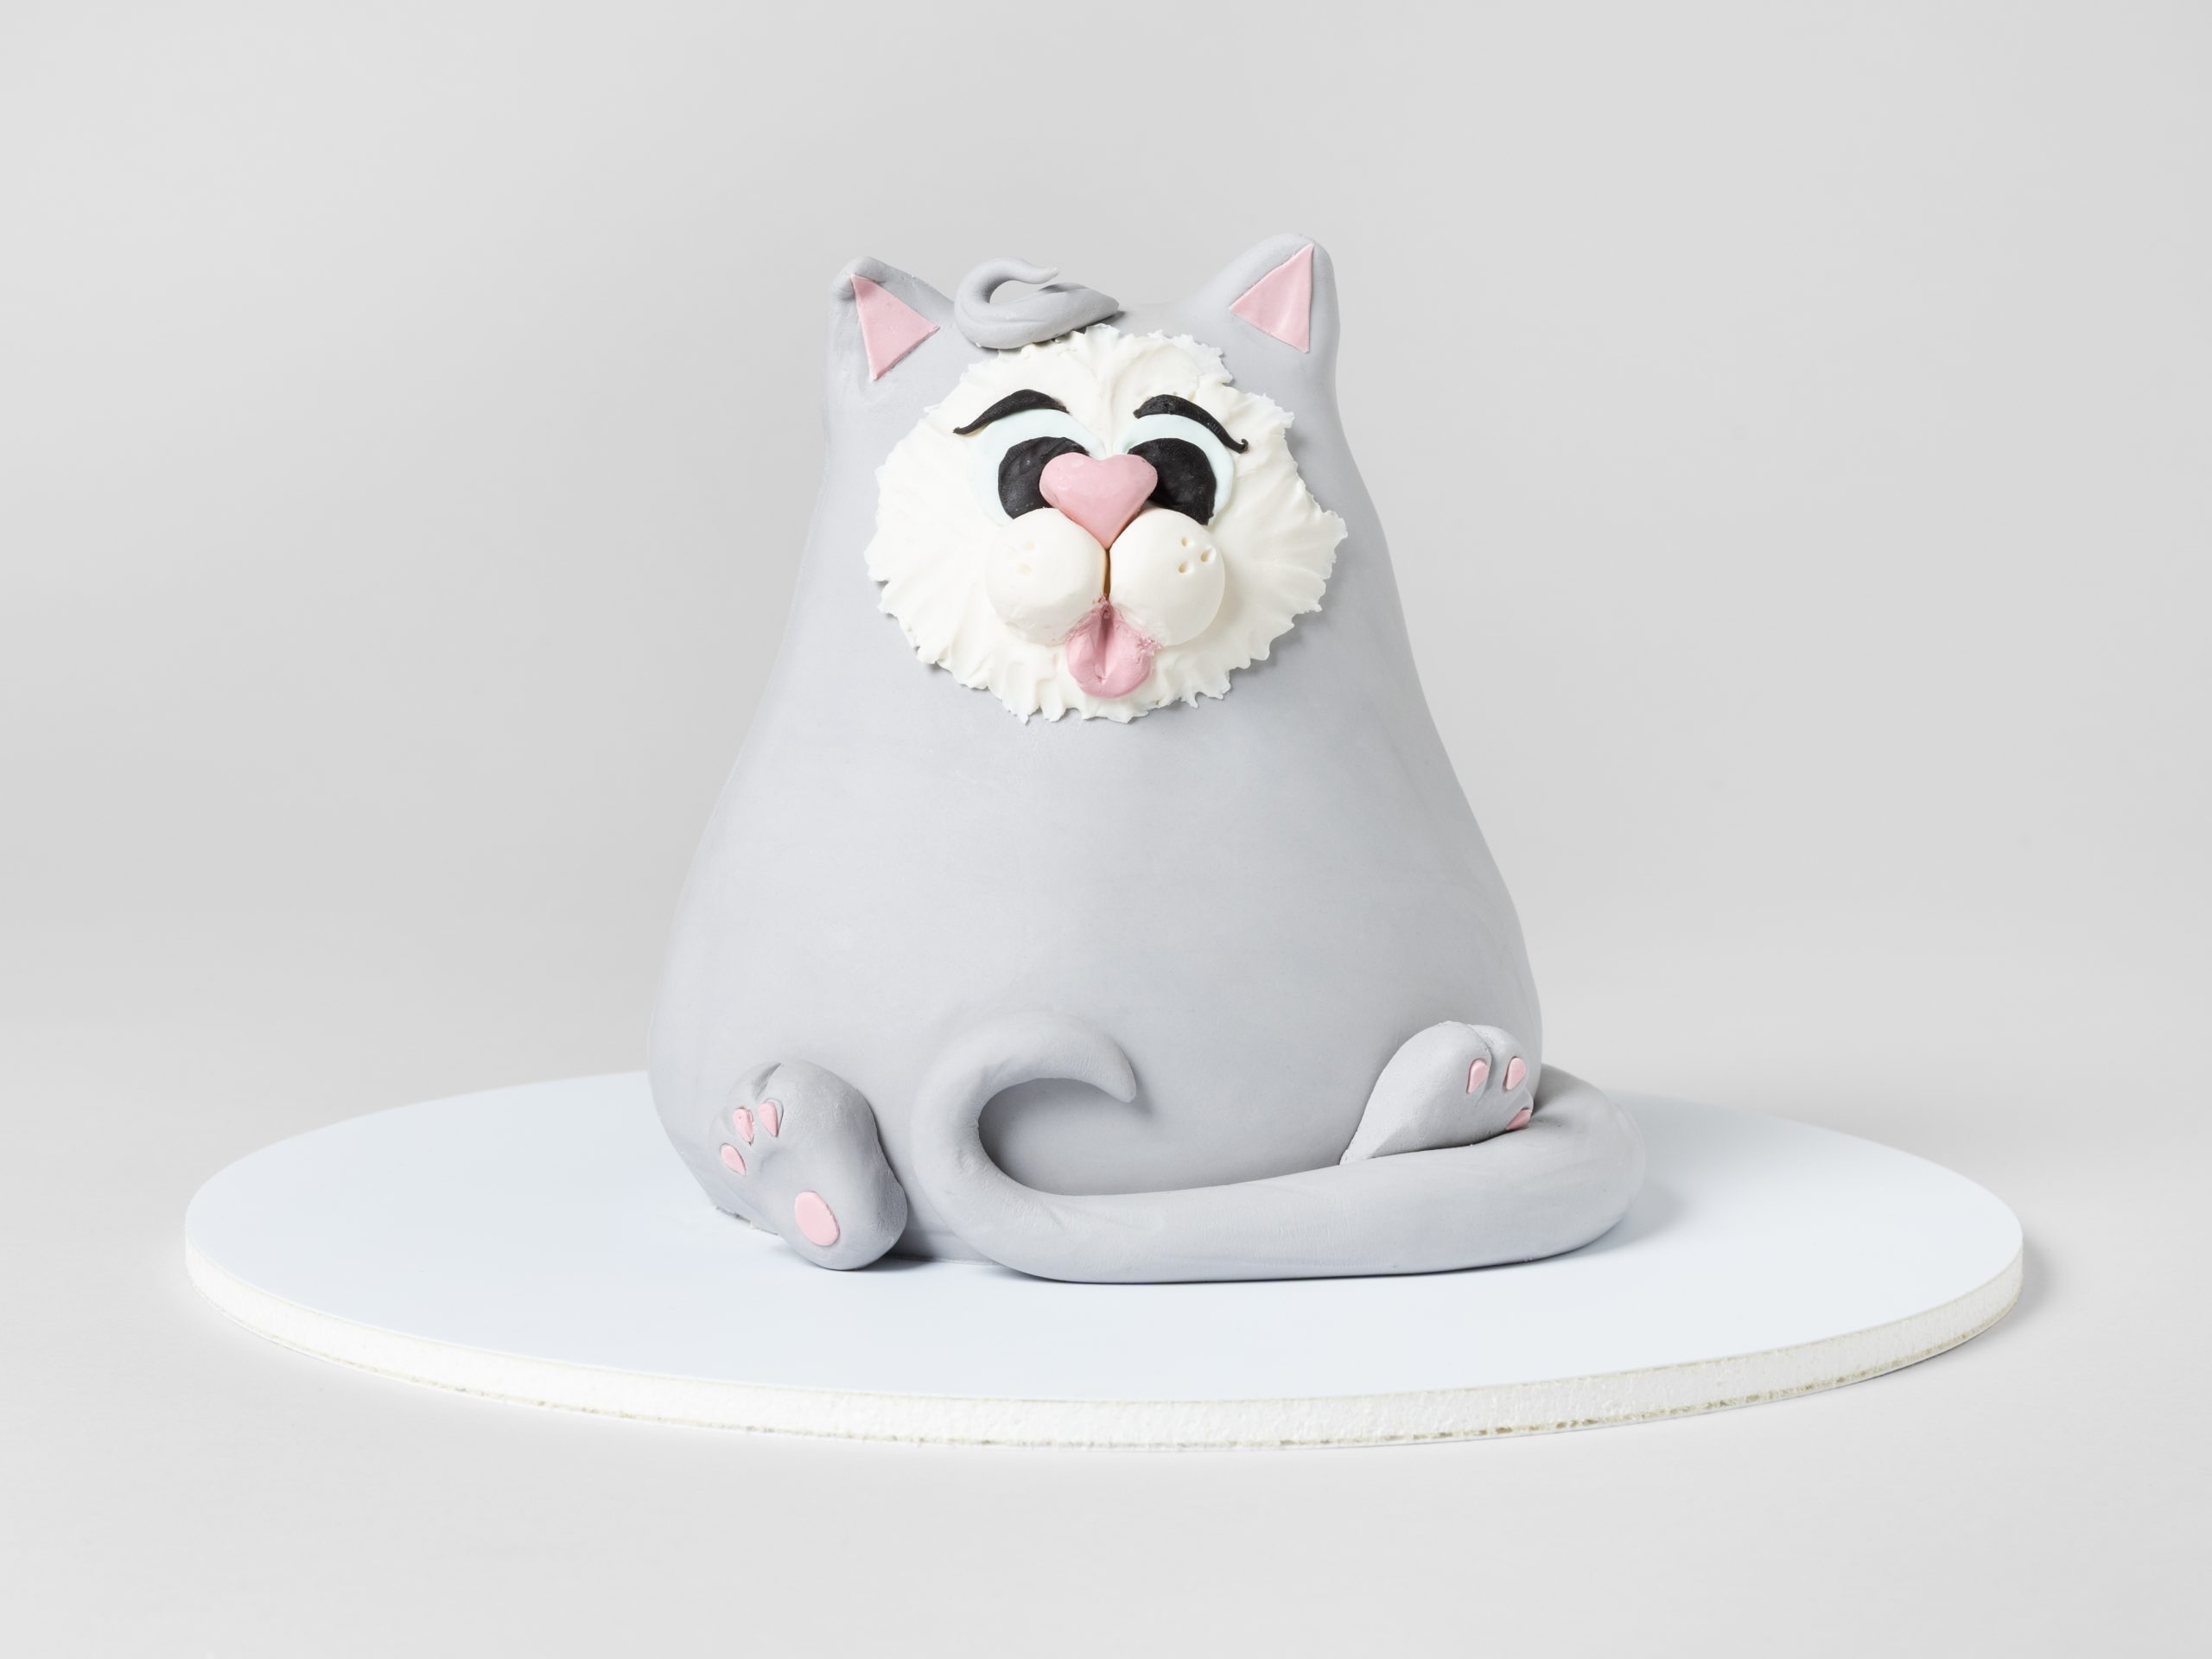
Yes, there's a secret hiding inside this cat cake. Instead of baking a traditional cake and covering it in fondant, there are crispy, crunchy rice cereal treats inside. Using these as a base provides structure and strength, allowing you to really give this cute critter a pop of personality. Serve him up at your next birthday party and guests will be purring with delight.
Rice Cereal Cat Cake
Level: Easy
What You Need
Instructions
1. Get Ready to Sculpt
Make your rice cereal treats according to your favorite recipe. Let cool for 15 minutes. They should still be pliable but not warm to the touch.
Good to Know: If the rice cereal treats are too warm, they won’t hold their shape. If they’re too cold, they’ll be difficult to shape and smooth. Timing is everything!
Put your gloves on and grease with cooking spray. Move your cooled rice cereal mixture from the bowl you made it in to the plastic work surface. Split the rice cereal treats in half, leaving one half on your work surface and placing the other half back in the bowl.
2. Shape the Body
Shape the cat body by forming the rice cereal treats with your hands into a slightly flattened pear shape. Apply pressure to curve the bottom edge, then use your hands to smooth out the shape as you work your way up. Create a slight indentation for the neck and round out the top for the head.
Take a handful of rice cereal treats from your bowl and flatten into a large triangle. Use a knife to cut a small triangle from the top (this will be one of the cat ears). Smooth the edges with your fingers. Cut another small triangle for the second cat ear, again smoothing the edges with your fingers.
Attach the cat ears to the top of the head.
Good to Know: The rice cereal treats will stick together well, so you don’t need buttercream to adhere the ears to the body.
Place the cat in the freezer for one hour to chill.
3. Crumb Coat
To avoid your rice cereal from looking bumpy underneath fondant, crumb coat the entire cat in buttercream.
Gently place parchment paper over the buttercream, then rub your finger all over the paper to smooth the buttercream. (You may need to repeat this in sections until the entire cat is smooth.)
Pro Tip: American buttercream crusts quickly, so parchment can be used immediately. Swiss meringue needs to be chilled before smoothing with parchment.
Place the cat back in the freezer to chill for 15 minutes.
4. Cover in Fondant
Roll out 1 lb. of grey fondant until it’s ⅛” thick. (Reserve some for decorating later.) Spray the buttercream lightly with water to adhere fondant as needed.
Gently lift the fondant and drape over the cat, molding the fondant to the curves of the cat. Use your fingers to seam the fondant edges together. Trim off any excess fondant and smooth out wrinkles or bumps with your fingers.
Pro Tip: Don’t worry if your fondant work isn’t perfect. You can add texture with the veining tool to blend in any mistakes.
5. Shape the Tail
Roll grey fondant into a 12” long log, tapering it from 1” thick at the base to ¼” thick at the end. Use light pressure on the thicker end and firmer pressure on the thinner end to taper.
Place the tail around the bottom of the cake, with the thick end at the back of the cake. Curl the thin end up the front of the cake and adhere with edible glue, water or piping gel.
Trim the base of the tail at an angle so the tail sits flush against the cat’s body. Use a veining tool to create texture on the tail.
6. Make the Face
Roll out a 3” circle of white fondant so it’s approximately ¼” thick. (This will be the base of your face.) Using the veining tool, pull the edges out from the center to thin it out and create a furry texture.
Roll a 1” ball of white fondant. Cut it in half and attach both to the circular face to create the mouth.
Use a cookie cutter to cut a ½” heart out of pink fondant for the nose. (Or simply shape fondant with your fingers.) Cut a small oval for the tongue. Adhere the tongue to the mouth and make an indent down the center with the veining tool. Set the nose aside until the eyes are complete.
To create the eyes, roll out light blue and black fondant to ⅛” thick each. Use 1” round cookie cutters to cut the blue and ¾” round cutters to cut the black. Glue the black circles on top of the blue ones, then adhere the eyes to face. Attach the nose so it’s nestled above the mouth and on top of the eyes.
Roll a 1” long, thin log of black fondant, tapering both ends. Cut the center at an angle to create two eyebrows. Carefully place them above the eyes, shape as needed and adhere.
Indent each side of the mouth with three whisker holes using the pointed end of a veining tool.
Brush the back of the face with piping gel or edible glue and attach to the front of the cat.
7. Add the Final Details
Roll out pink fondant until it’s ⅛ ” thick. Cut out two small triangles, then glue them to the cat’s ears.
Pro Tip: If the triangles are too big to fit inside the ears, line them up with the top of the ear and cut off the excess fondant at the bottom.
Roll grey fondant into a 2” long, tapered log approximately ½” thick at the base. Adhere to the top of the head and shape into a cute hair curl.
Roll grey fondant into two 1” rounded teardrops and flatten slightly. Use your finger to indent the center. Use the veining tool to create two notches that form three toes.
Roll out a small amount of pink fondant to ⅛” thick. Cut 2 small ovals and 6 tiny teardrops. Adhere them to the feet to form pads. Attach the feet to the body. Trim feet as needed to fit under the tail.

Serve and enjoy!

Share tips, start a discussion or ask other students a question. If you have a question for an expert, please click here.
Already a member?
No Responses to “Sculpt a Cat Cake With Rice Cereal Treats for a Purrfect Dessert”