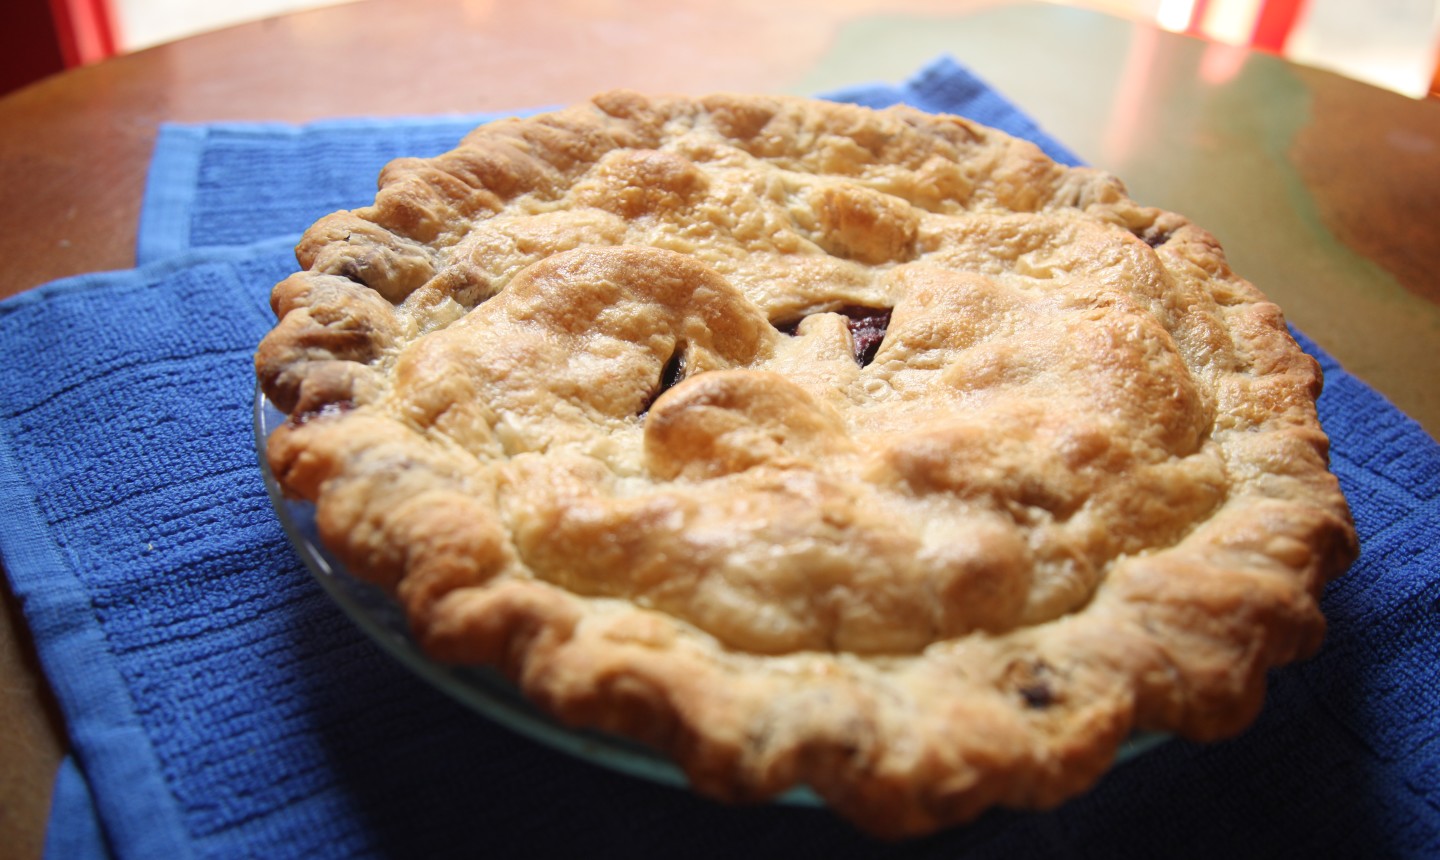
The filling gets all the love, but a pie crust can make or break your dessert. If it’s too tough, it just doesn’t work with the soft inside. And if it’s too chewy, forget it. But nailing the perfect pie crust isn’t a huge undertaking — if you follow these steps, you’ll crush it every time.
Pro Tip: Before prepping your dough, refer to your pie recipe. Some recipes (such as pumpkin pie) will call for a pre-baked (or blind baked) crust, in which case you’ll roll out a single crust and bake it before adding any fillings. Other recipes, like apple pie, instruct you to roll out a bottom crust, let it chill before adding filling, then topping with a second crust and baking. The following instructions are more appropriate for the latter type of recipe.
Classic Pie Crust
Yield: a top and bottom crust for 1 pie
What You Need
Ingredients
Tools
Pro Tip: Although this recipe calls for butter, feel free to use a substitute such as lard or vegan butter.
Instructions
1. Mix Your Dough
In a large bowl, combine the flour and salt.
Cut the chilled butter into the dry mixture using a pastry cutter. You want the largest crumbs to be no larger than the size of a pea.
Pro Tip: It’s important the butter be chilled. If you use soft or liquid butter, it can get creamed into the flour and give the dough an awkward texture.
If you don’t have a pastry cutter, use two forks as if they were knives and cut the fat into the flour. You can also use a food processor — just pulse the flour with half the butter until it has the texture of a coarse meal. Add the remaining butter and pulse until it’s the size of small peas.
2. Add Water
Add the water one tablespoon at a time, stirring gently with a fork after each addition. You’ve added enough water when the mixture clumps together into a ball with minimal dough flaking off.
Pro Tip: Handle the dough as little as possible, especially once you start adding water. If the dough is overworked, it can make the pie crust chewy and tough.
3. Shape and Chill
Divide the dough in half, shape it into balls and flatten each into a disc. Wrap the discs in plastic and refrigerate for at least 30 minutes, or as long as overnight.
Good to Know Allowing the dough to chill lets the flour absorb all of the liquid while making the dough more pliable and elastic (and therefore easier for you to handle.)
4. Roll Out the Dough
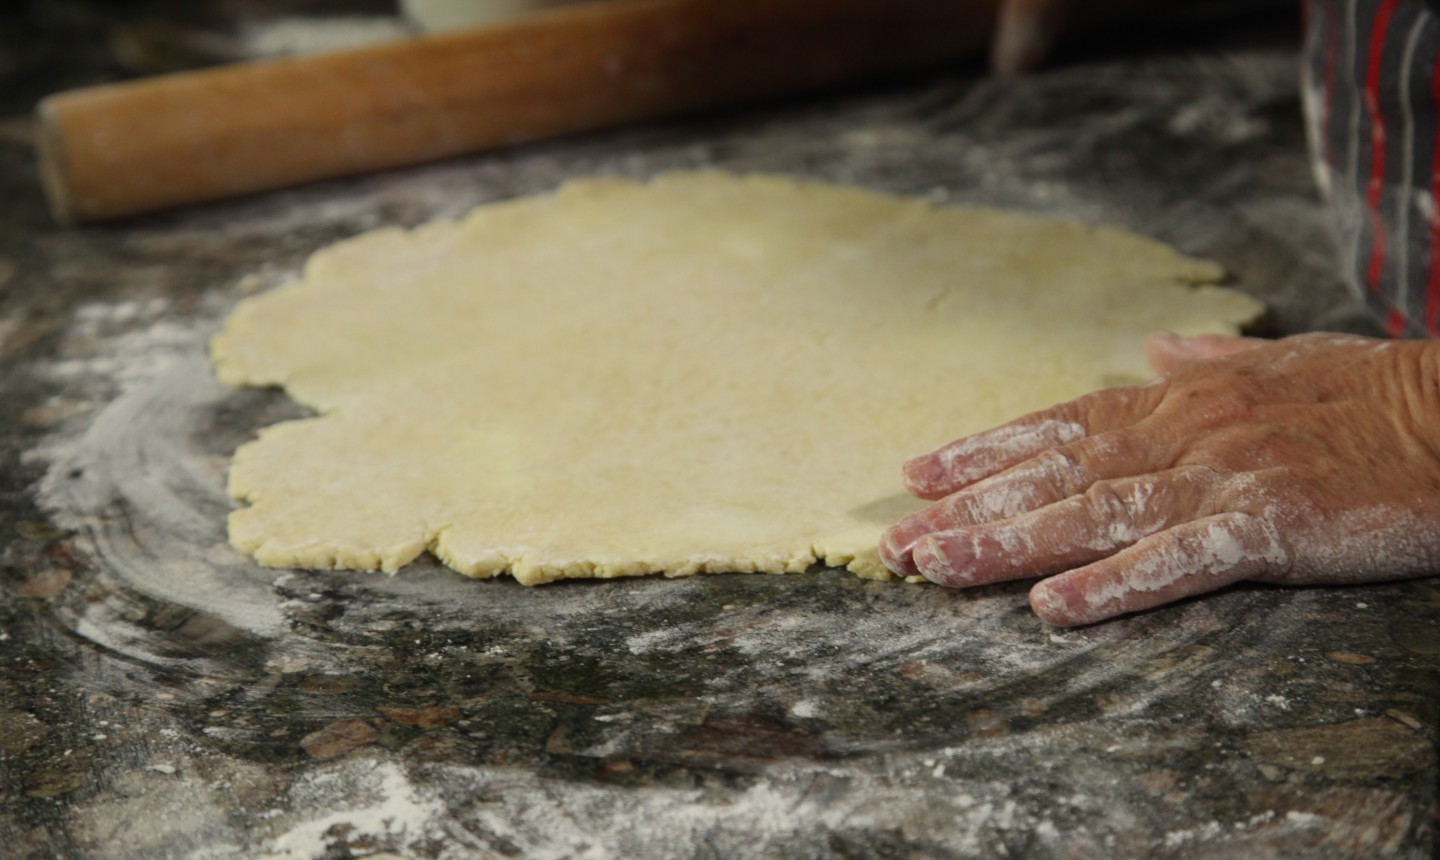
Flour your work surface and rolling pin generously. Unwrap the dough and place it on your floured surface. Begin to roll out your dough. It will become easier to roll as you work it. Every so often, lift a corner to check that it isn’t sticking to the work surface.
Keep rolling until the dough is about 4″ wider in circumference than your pie plate. (Place your pie plate face down on top of the dough to help you gauge.) Try to get the crust as round as possible, but don’t stress about getting it perfect.
5. Fold
Fold the pie crust into fourths by folding it in half, then in half again. This will make it easier to transfer to your pie plate.
6. Prep the Plate
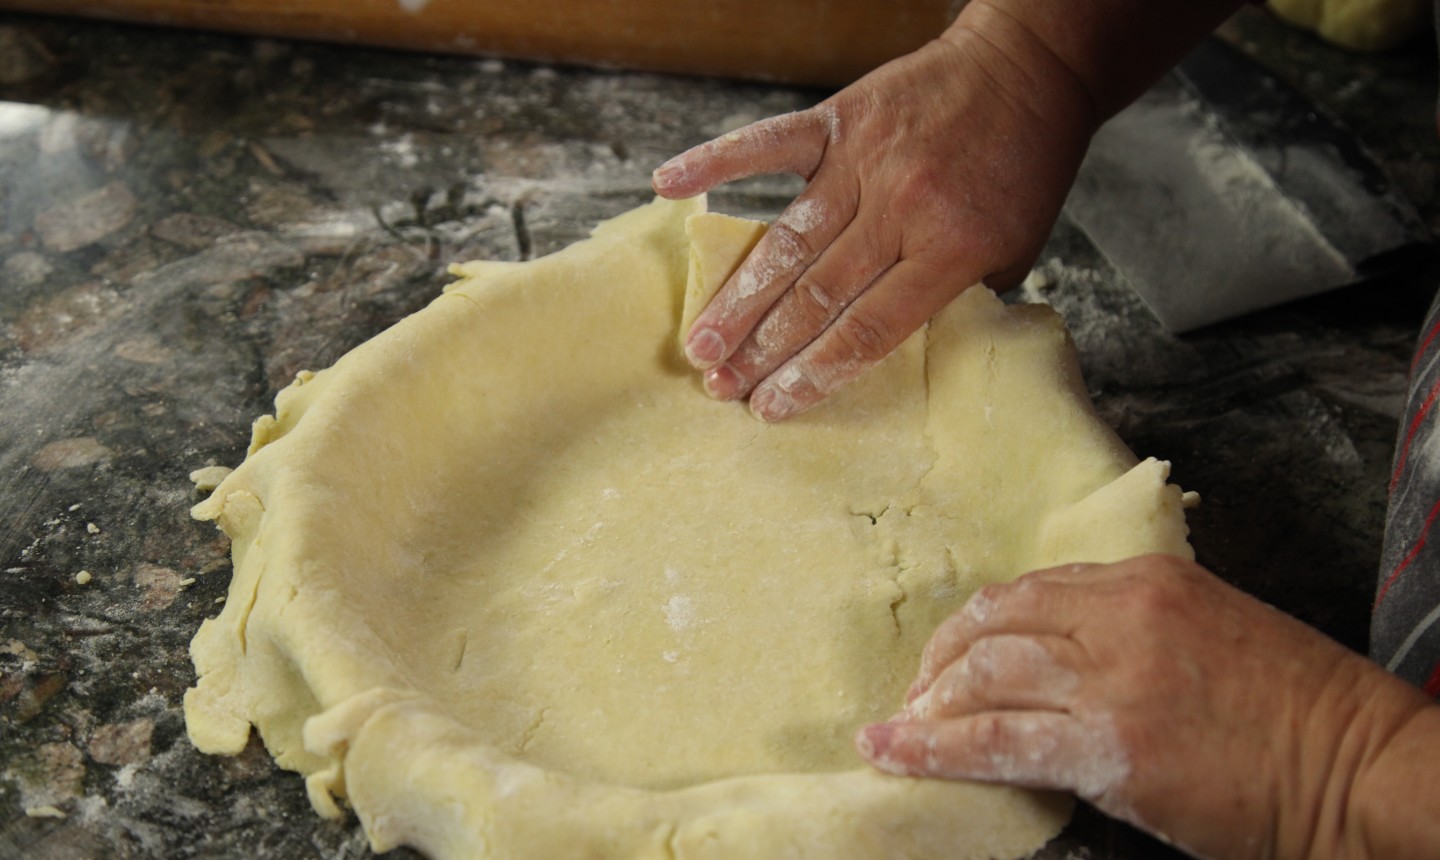
Place the dough into your pie plate and unfold it. Trim the edges to fit the pan and shape the edges for decoration.
7. Add the Second Crust
Roll out the top crust in the same manner as the bottom — it only needs to be about 2″ larger than the pie plate.
Add the filling, then transfer the second crust to the top of the pie. Cut some holes in this layer to help vent the steam that will be created as the filling heats up in the oven.
Pro Tip: Feel free to be more creative than a straightforward top crust. You could always top the pie with cutouts made from cookie cutters, or create a lattice pattern.
8. Bake

Bake according to your pie’s recipe. Once it’s removed from the oven and cooled slightly, you’re free to dig in!

I was looking for this type of easy crust, shortening... I will try it soon