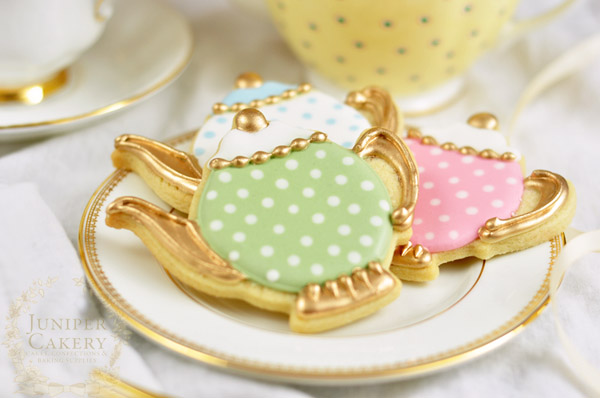
Even if you don't drink Earl Grey — or any other kind of tea — these adorable teapot cookies are perfect for baby and bridal showers, Mother's Day, or just a run-of-the-mill Saturday afternoon. They'll be just as fun to make as they are to eat!
Vintage Teapot Sugar Cookies
Level: Easy
What You Need
Instructions
1. Bake
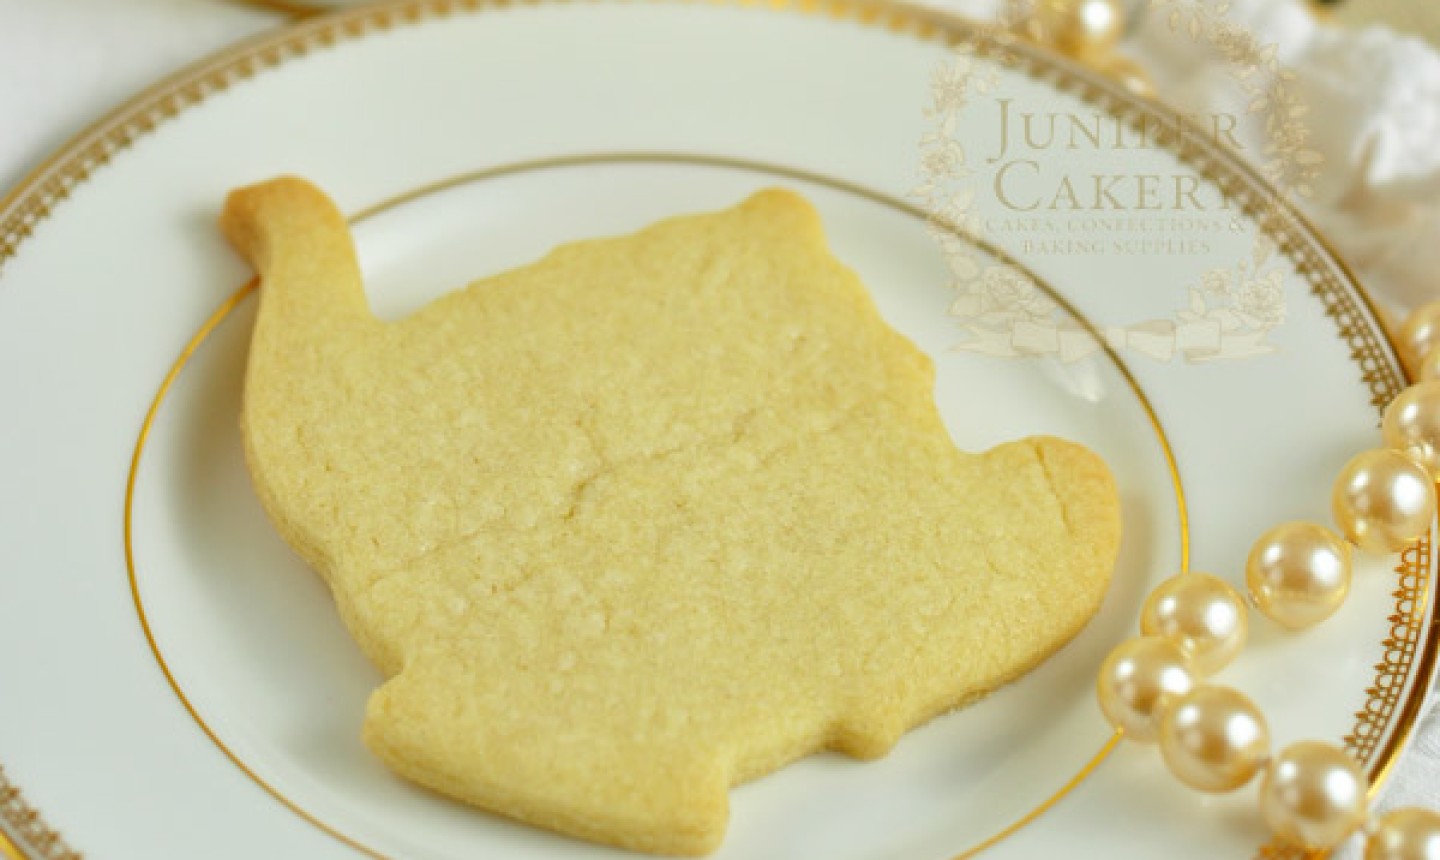
Prepare your cookie batter according to your recipe's instructions. Roll the dough out with a rolling pin, cut into teapot shapes with a cutter and bake. When done, let the cookies cool before moving on.
2. Mix the Royal Icing
While your cookies cool, mix your royal icing. You need three different colors, all in piping and flooding consistencies. For this tutorial, we made pink, white and ivory icing.
3. Flood the Pot
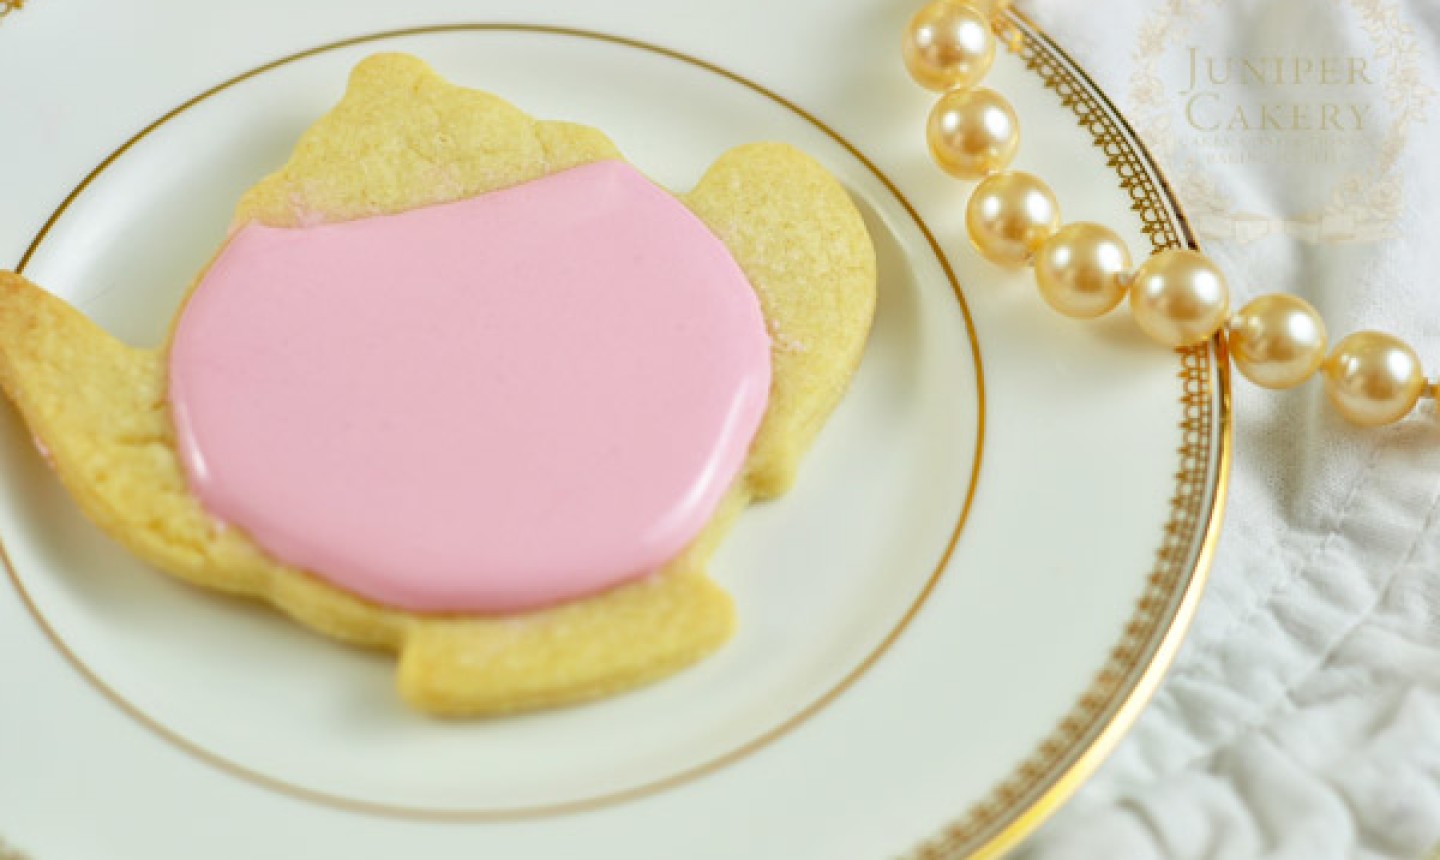
Fill piping bags with each royal icing batch. With a small round tip, outline and flood the body of your teapot in pink. Leave all other parts of the cookie bare.
4. Add Polka Dots
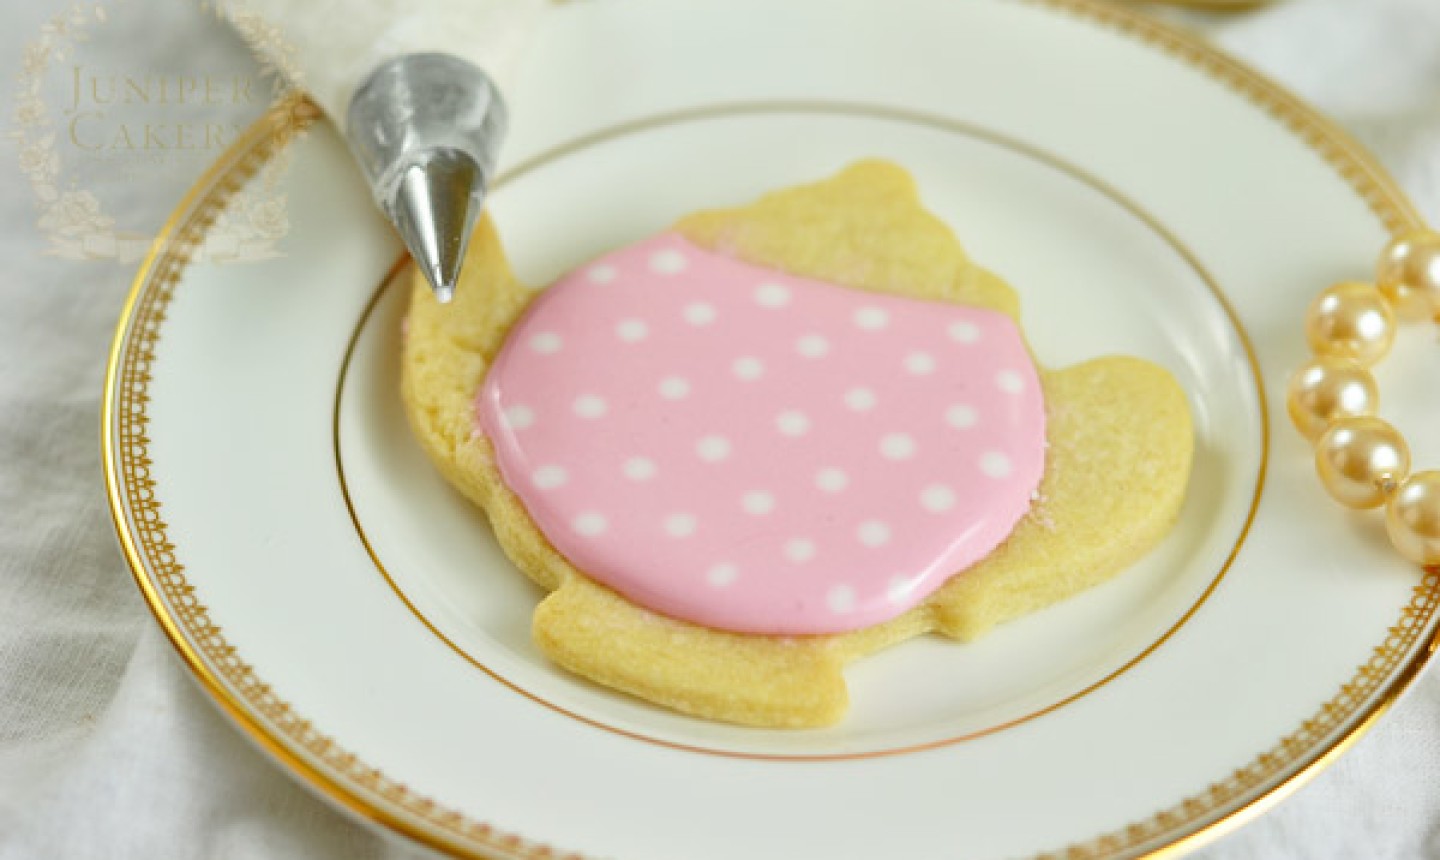
With flooding consistency white icing, carefully pipe dots onto the flooded pink icing while it's still wet. (This will make it look printed onto the icing.) You don't need to squeeze out a ton of icing, so work slowly and gently.
Pro Tip: If you have the perfect flooding consistency, the dots should settle and become smooth. If the little bumps remain raised, lightly dab them with a paintbrush dusted in confectioner's sugar. If they're still being stubborn, thin your polka dot icing a bit more before piping other cookies.
5. Continue Flooding
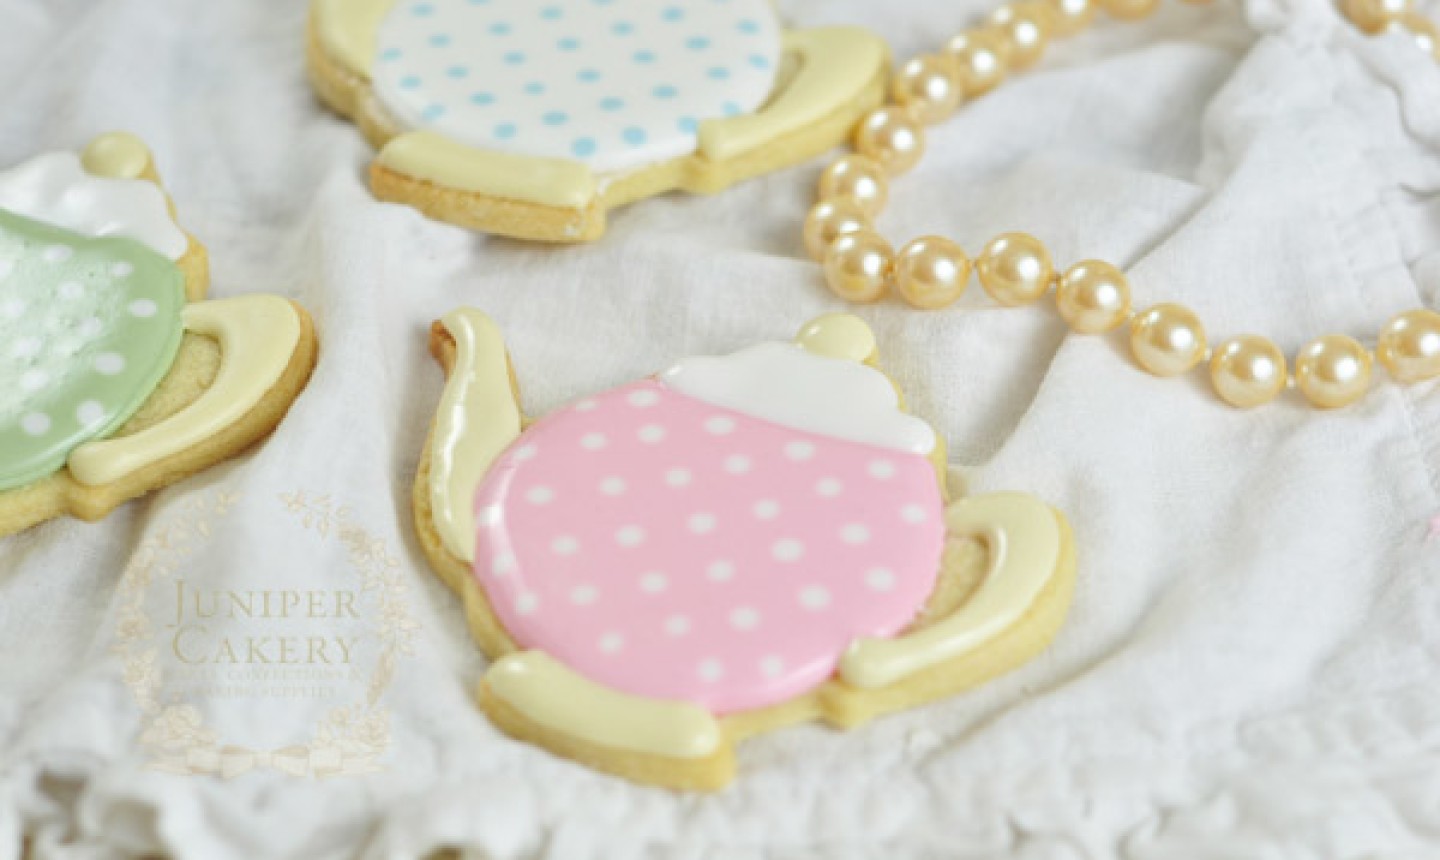
Pipe the outlines and flood the lid, base, handle and spout in the rest of your colors. If you want gold accents, like we're making in this tutorial, flood those areas with an ivory or cream icing.
Set aside your cookies and let them fully dry and harden. This can take up to 24 hours, depending on the humidity of your climate.
6. Add Details
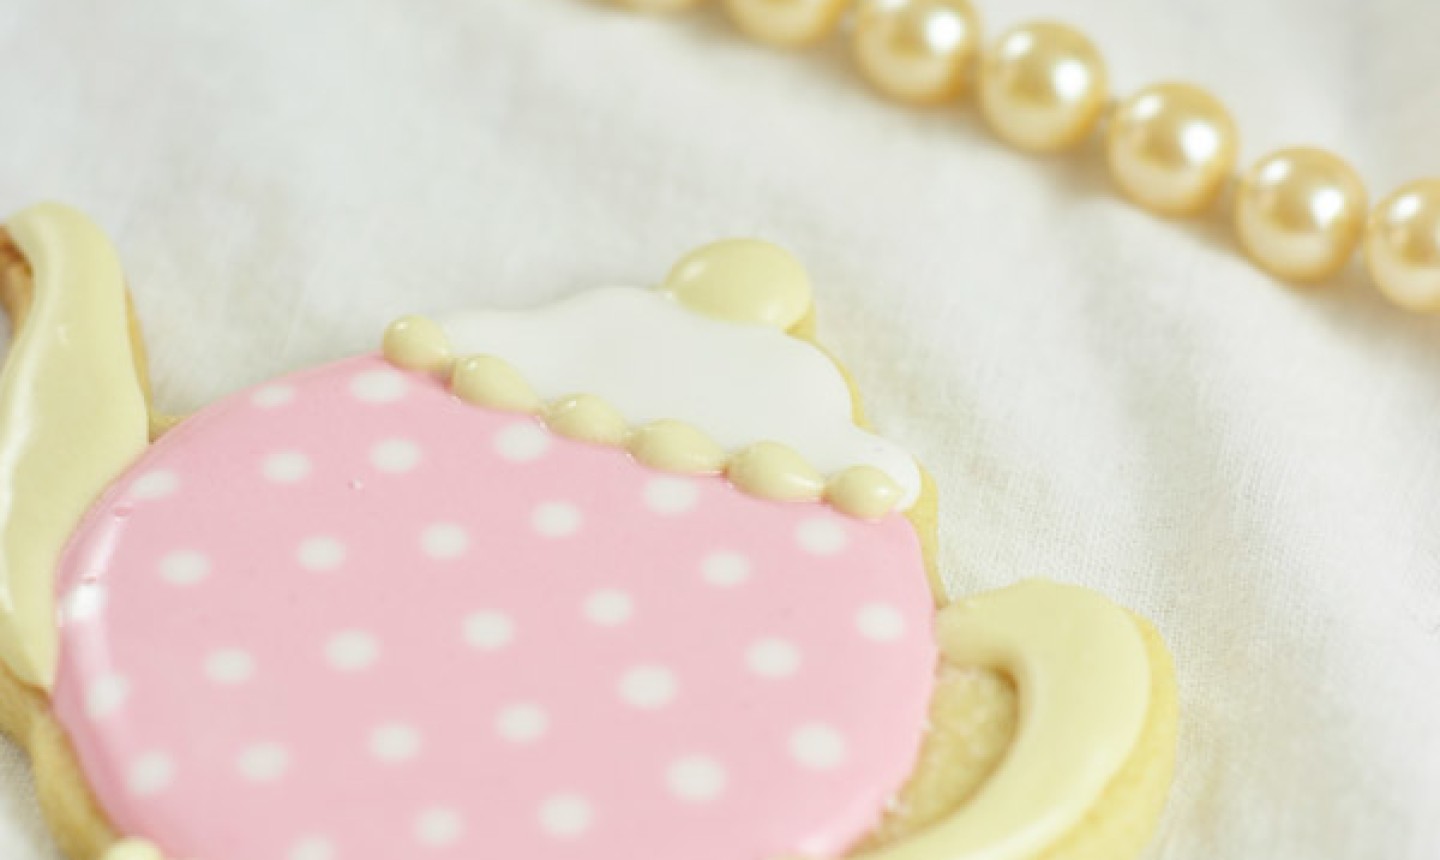
When your cookie is completely dry, add detail to your teapot by piping beading around the rim or a swirl on the spout.
7. Bring the Glitz
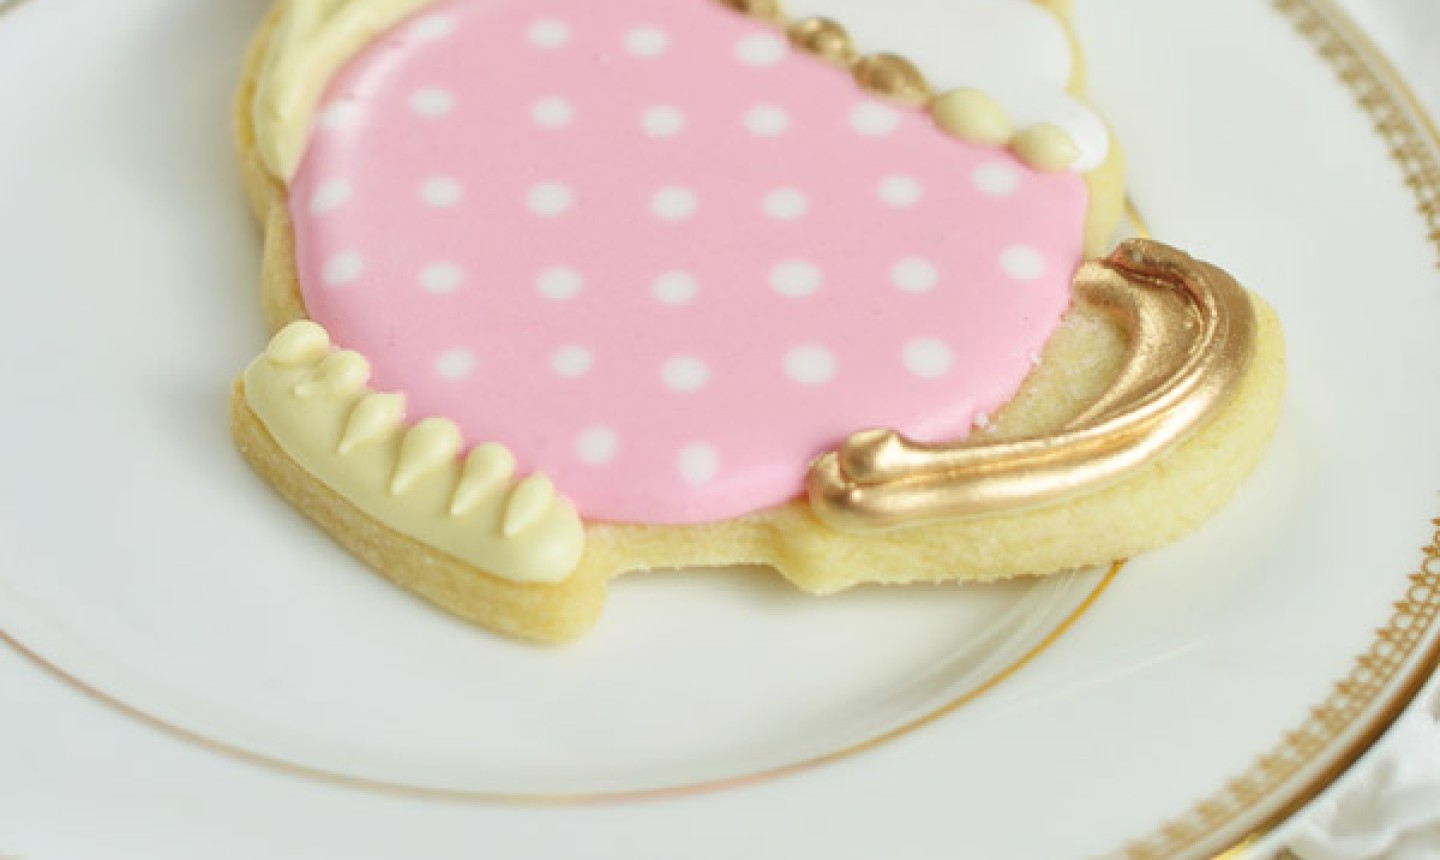
Gently brush over the ivory icing with edible gold paint.
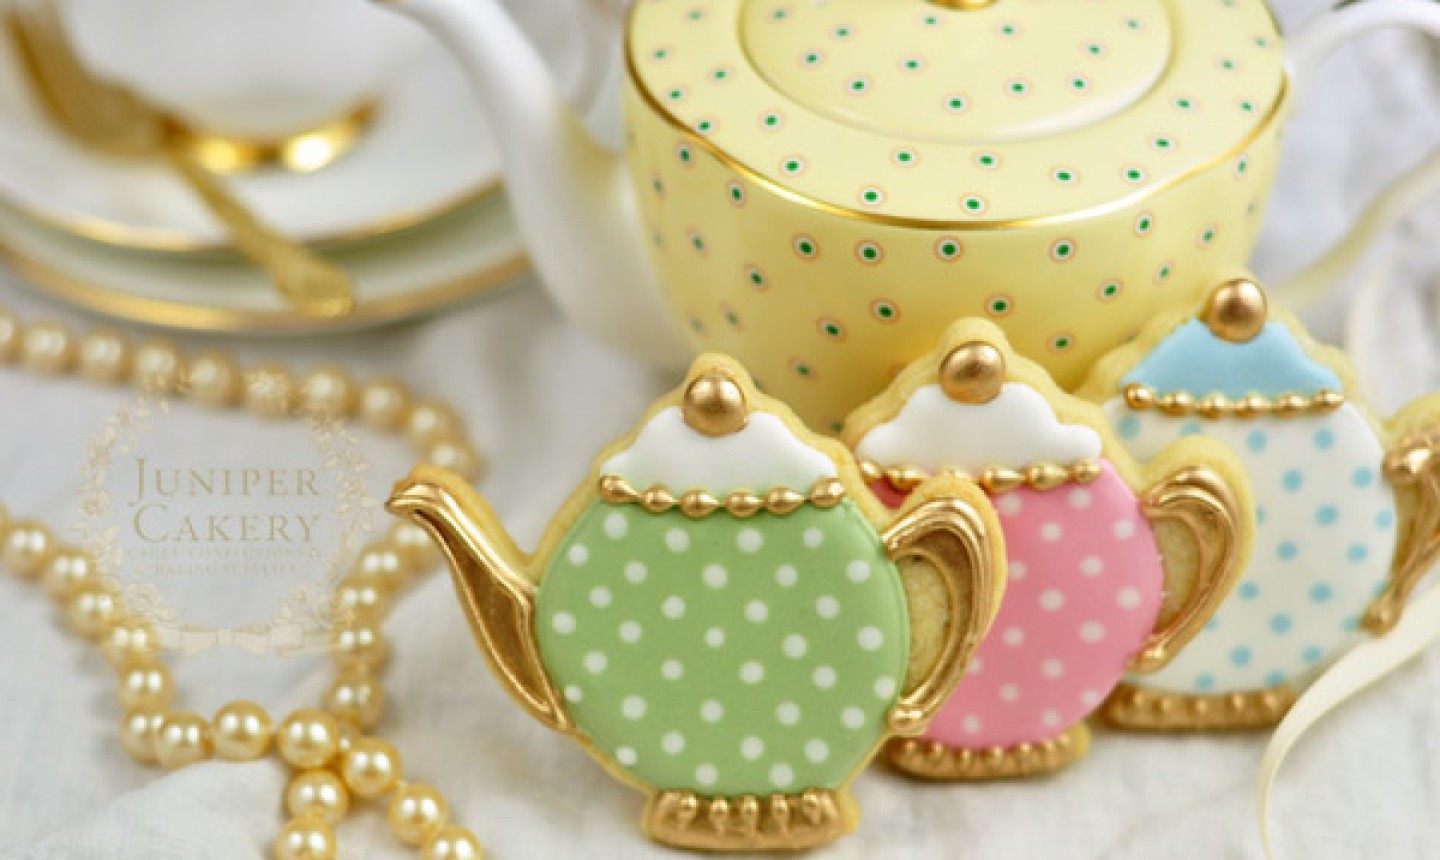
When all your cookies are glammed up and dry, they're ready to serve with a heartwarming cup of tea.
Photos by Juniper Cakery.

Made these over last 2 days for my birthday- they look so very cute and easy even for a beginner- lots of room for improvement but I’m over the moon with them. 🤩
These are soooo pretty...next on my to do list!