Professionally-made cookies always seem to look smooth, seamless and gorgeous. But there’s no magic involved, and you can totally make equally flawless cookies in your own kitchen. All you need are a few basic tips to help you perfect basic cookie decorating techniques and you’ll be well on your way.
1. Choose the Right RecipeGorgeous designs can’t shine on a crumbly or uneven cookie, so it all starts with mixing the perfect dough and baking it correctly. There are tons of sugar cookie recipes out there but, in general, less is more: look for one that involves simple steps such as creaming the butter and sugar, adding the dry ingredients, mixing into a dough and chilling.
Pro Tip When the dough is mixed but not chilled, the ideal texture is similar to Play-Doh. If yours is sloppy and doesn’t hold together, add a couple tablespoons of flour. If it looks too dry, lightly beat a small egg in a separate bowl and add a little in at a time, mixing slowly in a stand mixer.
A no-fail method for rolling out dough: sandwich it between two layers of parchment or waxed paper, as it’ll prevent the dough from sticking to the rolling pin. Typically, ¼” thickness is ideal for cookies — you can use a rolling pin with guides, or make your own using chopsticks, books or other small items that prevent you from rolling the dough too thin.
Pro Tip Don’t ditch your scraps — you can totally re-roll them once. Any more than that and you might compromise texture.
Cutting shapes out of cookie dough isn’t rocket science, but there are a few tricks that can make it easier and more efficient. For starters, always carefully press your cutter straight down and lift it straight up. (If you twist or wiggle it, your shape will look wonky.) You can also dust the edge of the cutter in a little flour before each cut to prevent sticking.
Give your cookies a poke and, if they rise back up, they’re ready to come out of the oven. If they don’t, bake for another 2-3 minutes and try again. You want your cookies to be light with a slight golden edge. Any darker and they’ll look (and taste!) overdone.
Pro Tip Even the most experienced bakers can get air bubbles in their cookies. If it happens to you, use a food-safe craft knife on your cooled cookies and scrape or sand away the bumps.
Royal icing is perfect for creating a smooth surface and adding intricate details. The key is getting the right royal icing consistency to create the look you want. Try making a big batch, then vary the amount of powdered sugar, water and liquid flavorings based on your project.
There are so many cool designs you can achieve with royal icing, but outlines are the first step. Thankfully, it’s easy to pull off: simply pipe a smooth line around your cookie with 10- or 15-second consistency icing. (That’s royal icing that takes 10-15 seconds to flow back together once separated.)
Flooding is the decorating technique that results in a smooth, even layer of royal icing covering the base of your cookie. As soon as your outline is complete, immediately fill it with flooding-consistency icing (which is more viscous than outlining icing). If it doesn’t immediately fill the space, gently shake your cookie back and forth to smooth it out.
Pro Tip After you’ve flooded the cookie, gently tap it against your work surface to bring hidden air bubbles to the surface of the icing. Pop the bubbles with a toothpick.
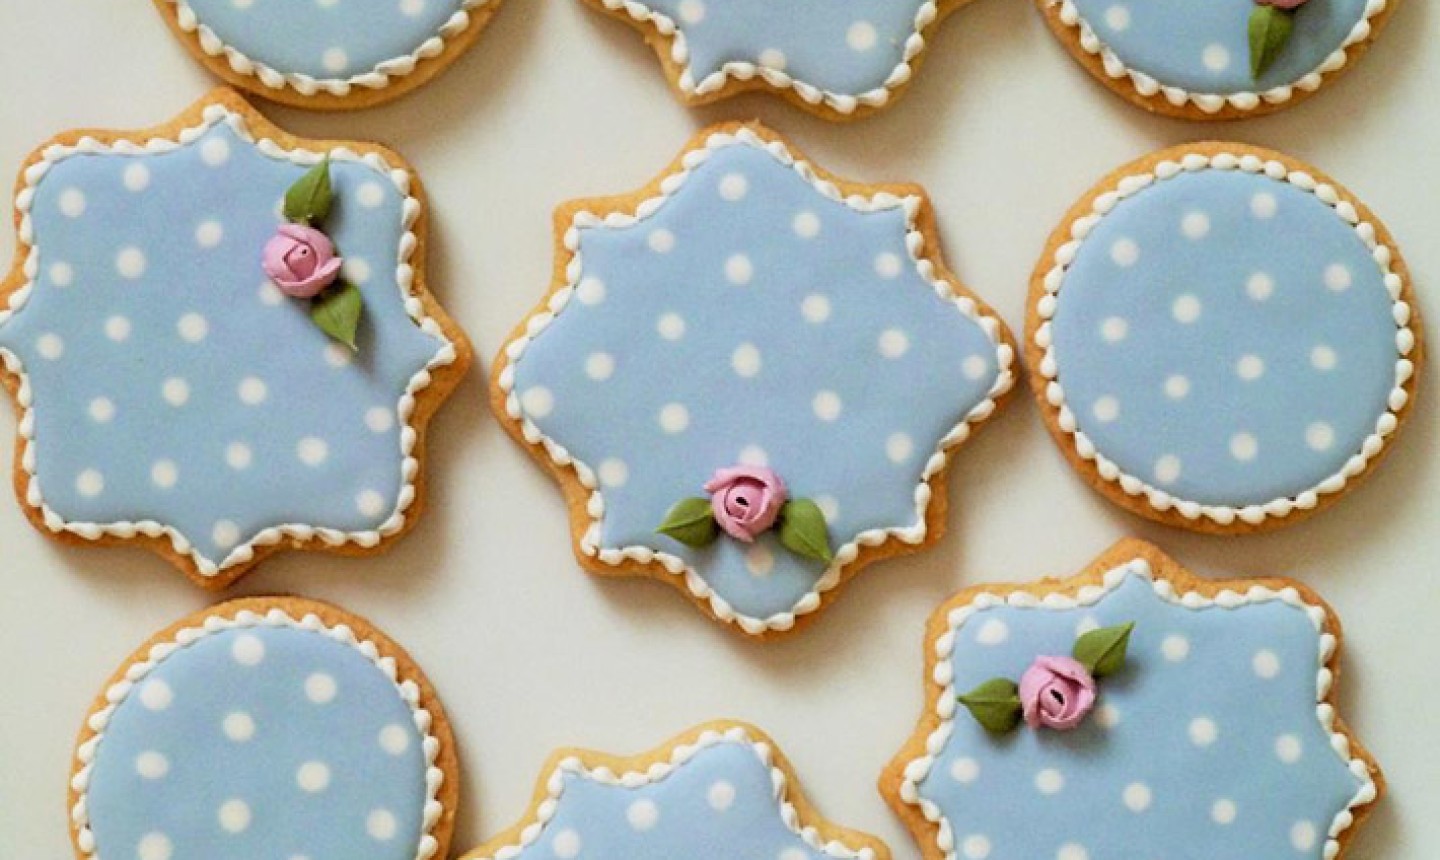
Once you’ve mastered outlining and flooding, it’s time to try your hand at some details. One idea: simply let your base dry, then pipe and flood decorations right on top. It’ll take some practice to feel confident free-handing your design, so start with easy ideas like this simple lace look.
Another awesome cookie decorating technique is the wet-on-wet method. Usually, detail is added on top of dried flooding icing to create a textured 3D look. But with wet-on-wet decorating, you add a contrasting color of flooding-consistency royal icing before your first color has dried. The two wet colors meld together to form a smooth, print-like effect.
This brush embroidery technique is easy to achieve, looks super professional and amps up the texture of your treats. First, use a small round tip (like the PME Supatube No. 1 ) to pipe 15-second consistency icing as an outline. Then, wet a small, food-safe paint brush and touch it to the icing. Drag the brush from the start of the piping inward; you’ll start to see your embroidery design emerge!
Share tips, start a discussion or ask other students a question. If you have a question for an expert, please click here.
Already a member? Sign in
No Responses to “These Must-Know Decorating Techniques Will Make You a Cookie Master”