Do you have a favorite way to join yarn? Maybe you’re changing from one yarn color to another, or maybe you ran out of yarn and need to join a new skein. After trying a few different methods, I’ve found that the Russian join is one of my favorites.
The Russian join involves working the yarn back through its own plies to keep it in place. It does leave a small amount of bulk, but it’s hardly noticeable — especially compared to other types of joins in knitting and crochet. The biggest advantage to the Russian join is that you do not have any ends to weave in. Yay!
Take a look at how to attach new yarn using the Russian join. It might just become one of your favorite joining methods, too!
How to do a Russian join:
What you’ll need:
- Yarn needle
- Two strands of yarn to join
- Scissors
Step 1:
Thread the yarn needle with one strand of yarn, leaving about a 4″ tail.
Step 2:
Untwist the plies of the yarn just a bit. This will make it easier to slip your needle into the yarn in the next step.
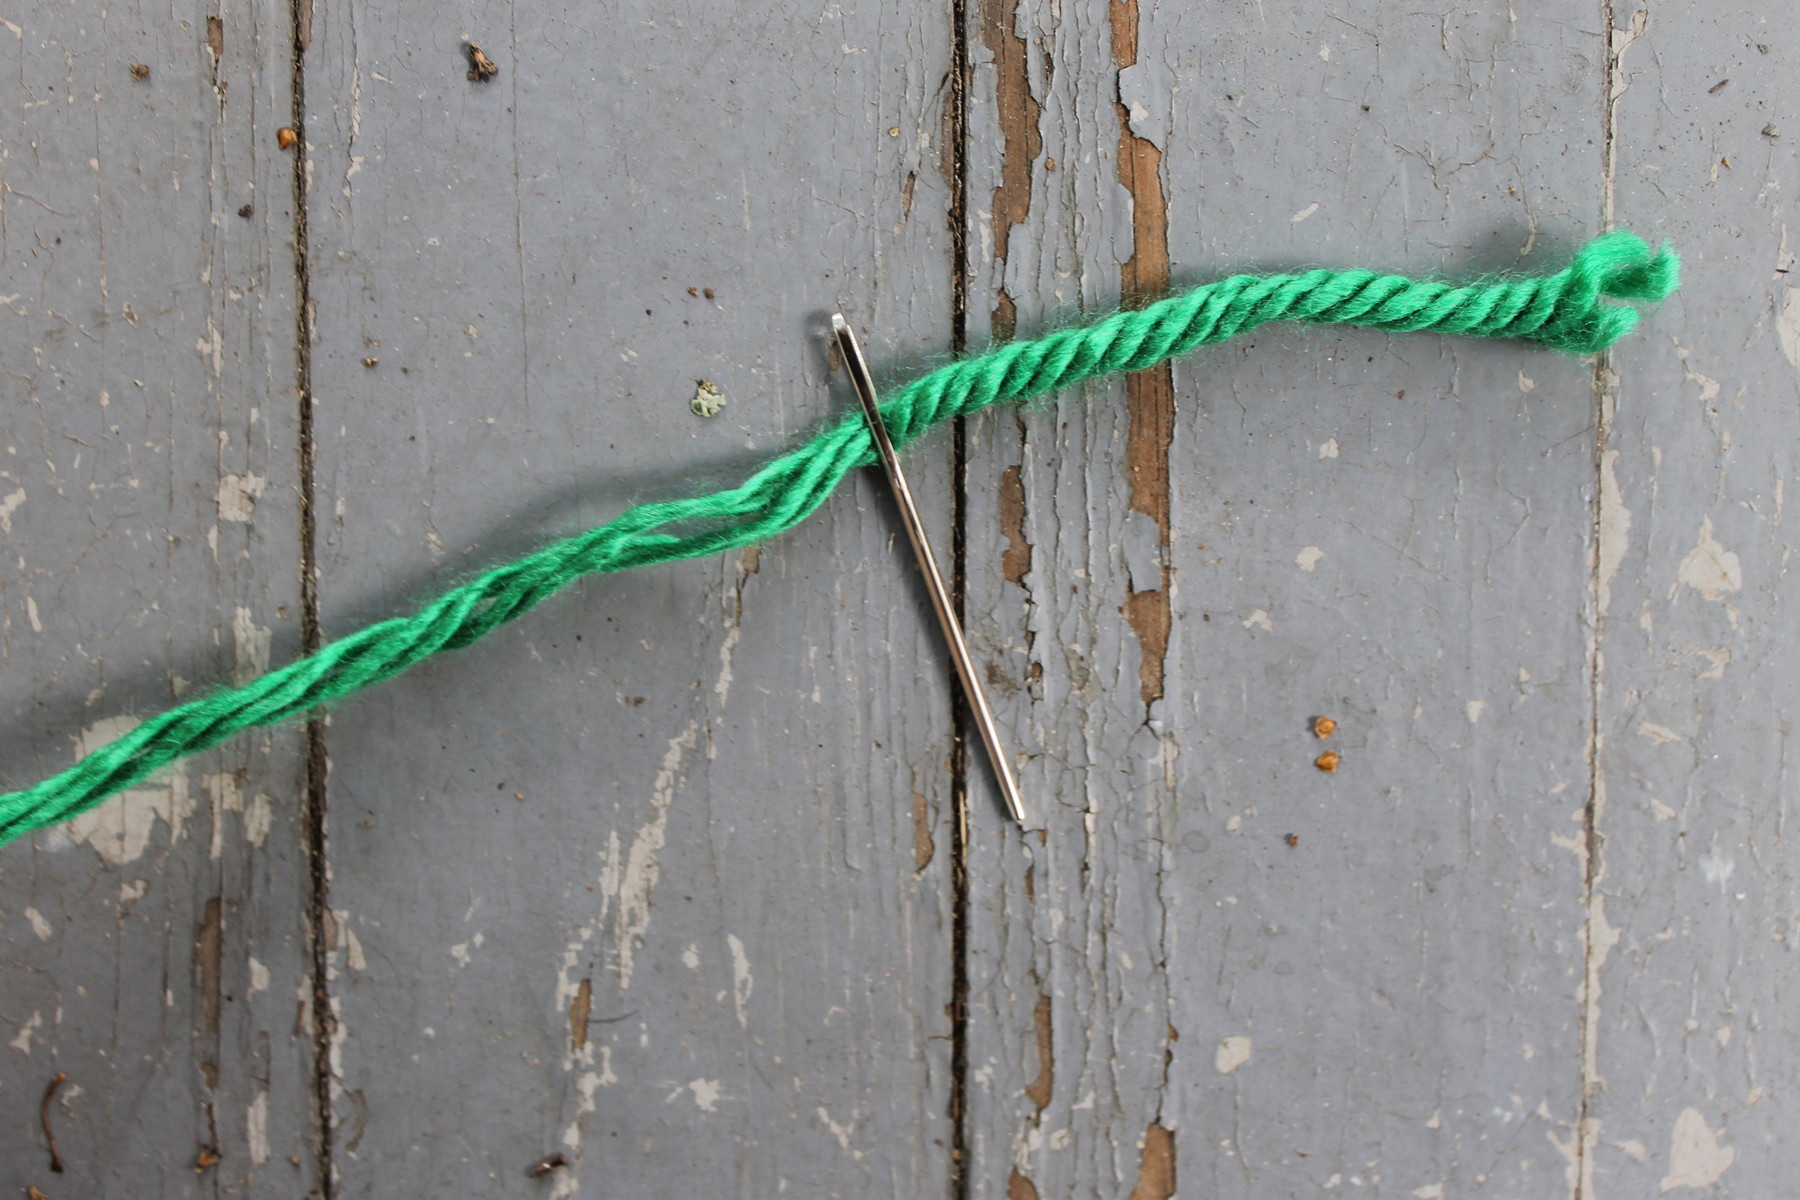
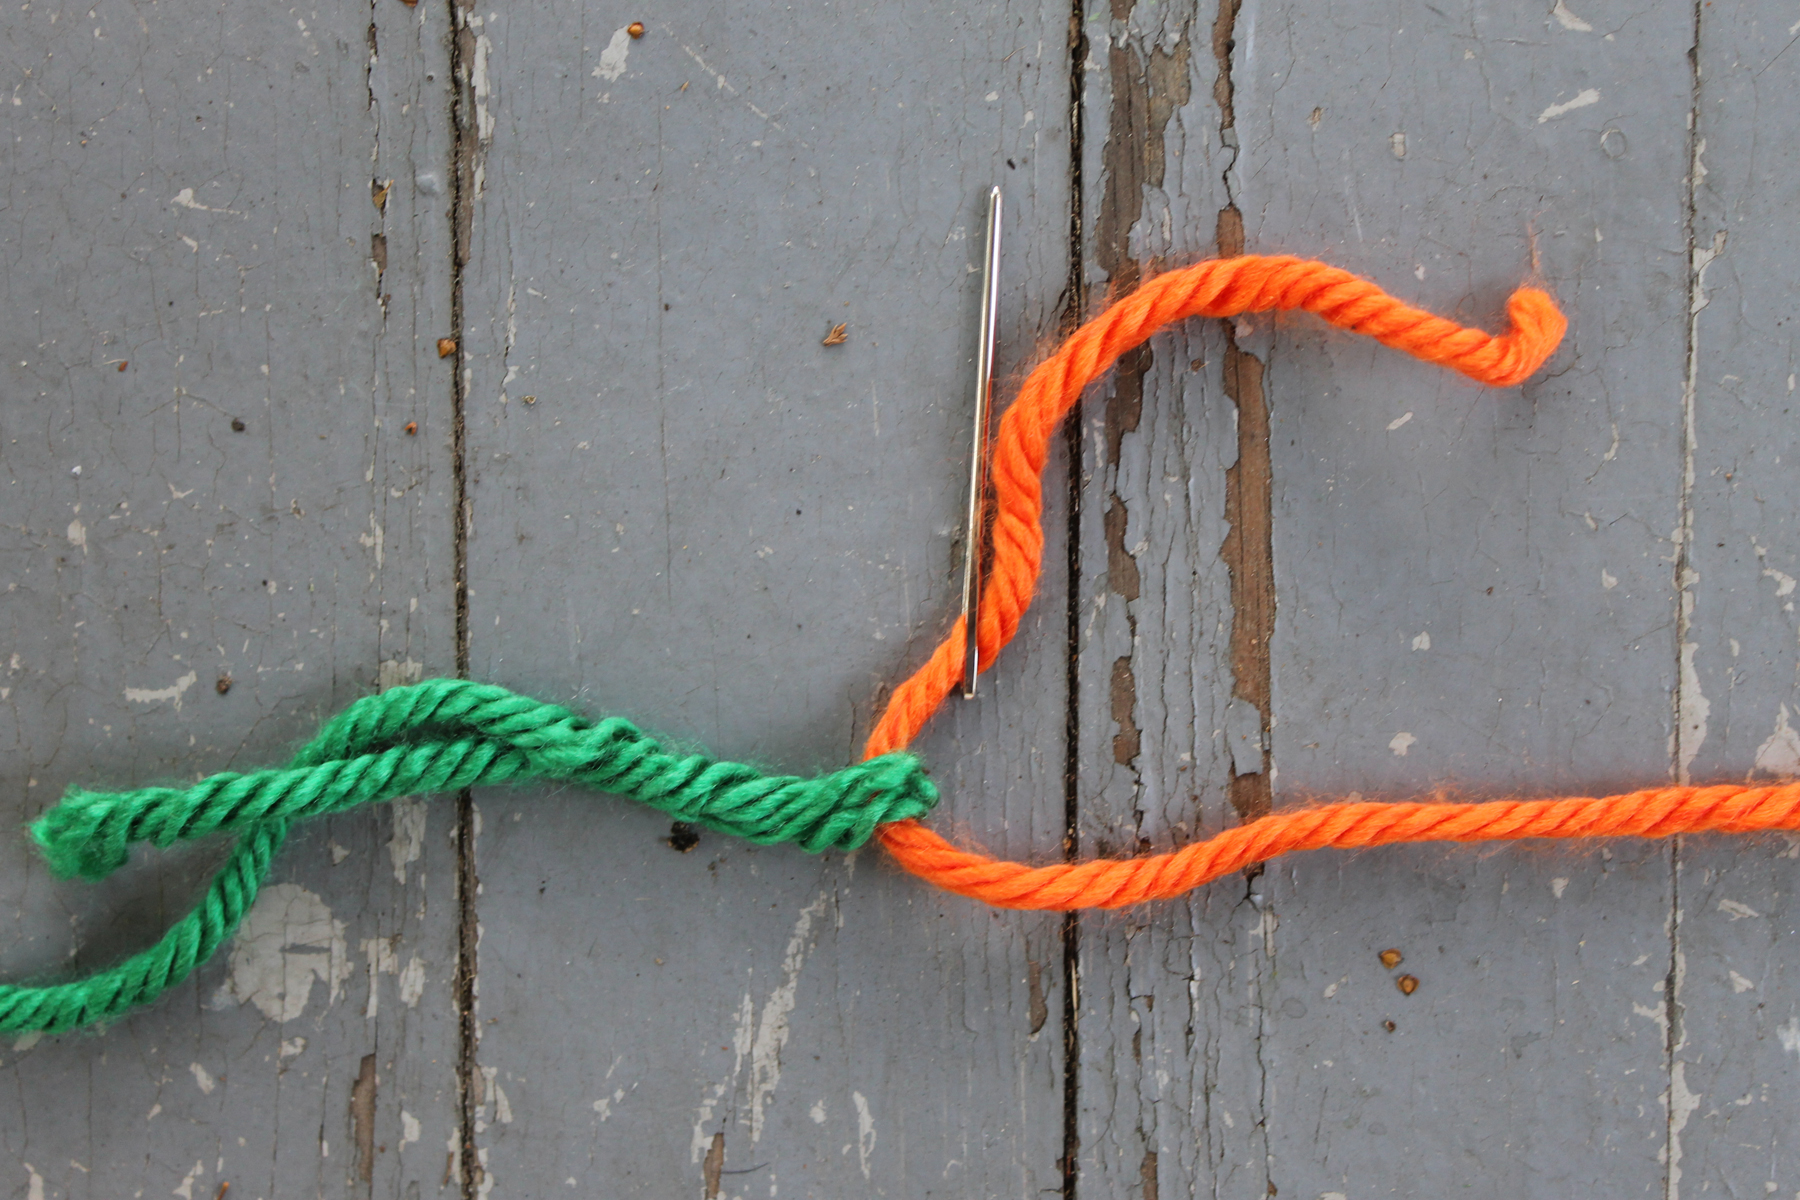
Step 3:
Weave the yarn needle through the strand of yarn for about 2 inches, weaving between the plies. The yarn needle should go right through the center of all the plies, invisible from all sides. If your yarn is one-ply, like Bernat Roving, for example, then just wiggle the needle right through the center of the fibers.
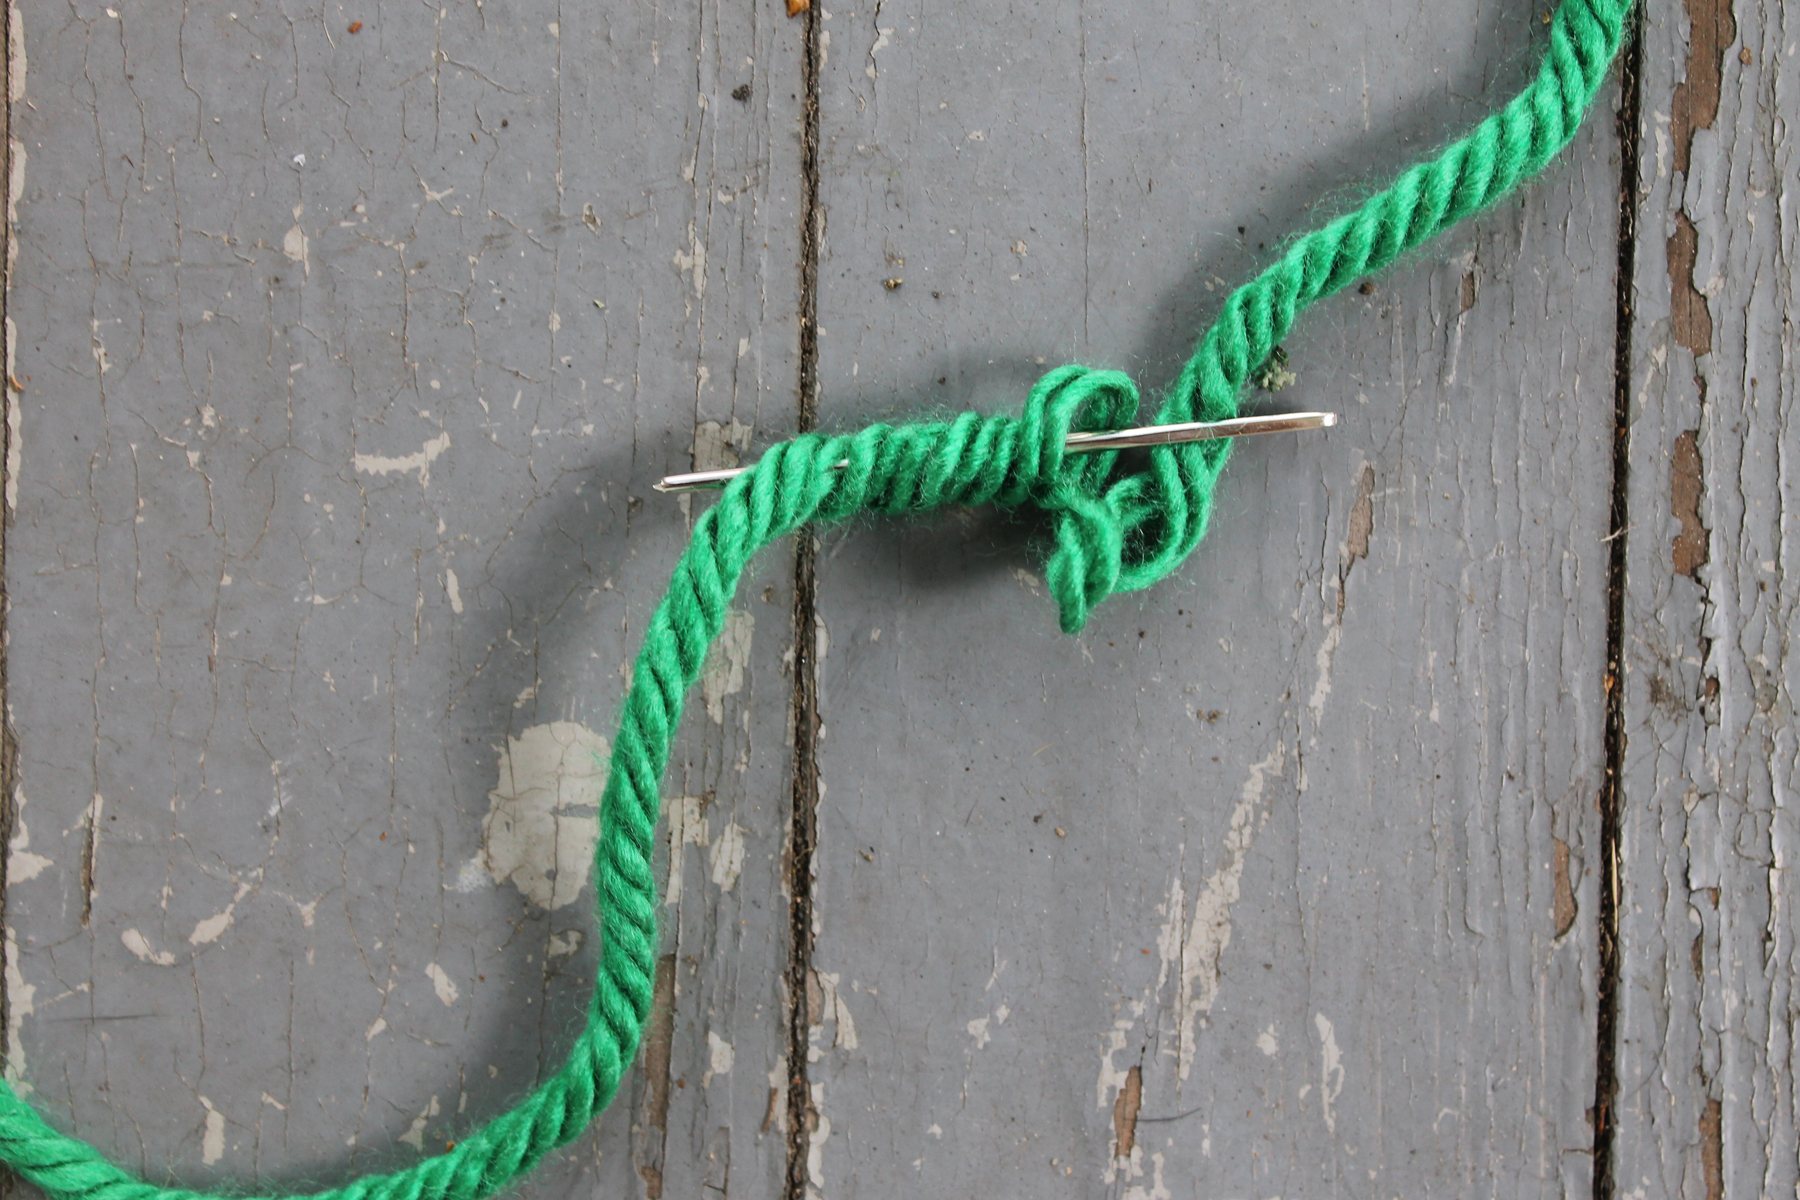
Step 4:
You should now have a little loop on the end of your yarn. Pull the yarn needle all the way through the plies, hanging on to the loop with your fingers.
You should now have a yarn end with a little loop on the end. It probably looks messy right now, but don’t worry. We’ll fix that later.
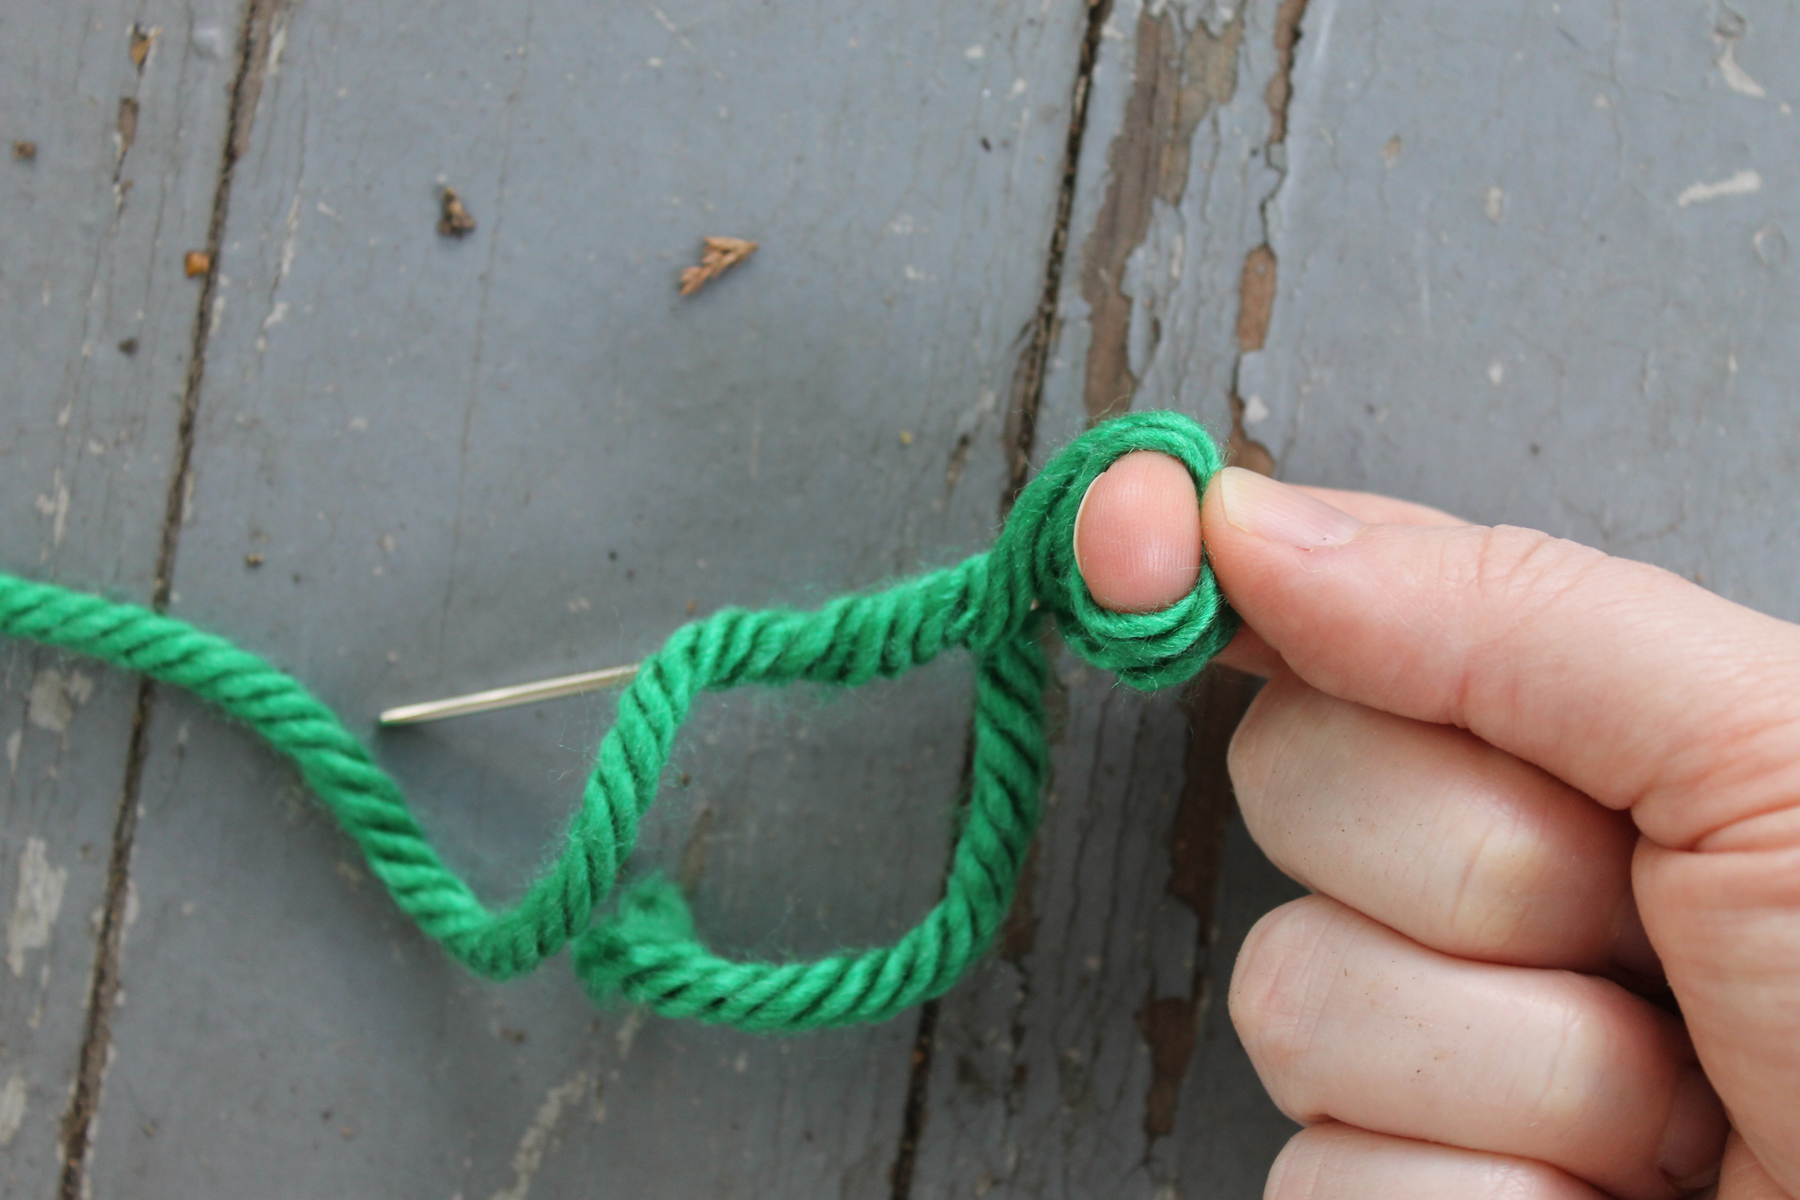
Step 5:
Grab the yarn you’d like to attach. Thread the yarn needle with the second strand of yarn, again leaving about a 4″ tail. Slide the needle through the loop that you left on the end of the first strand of yarn.
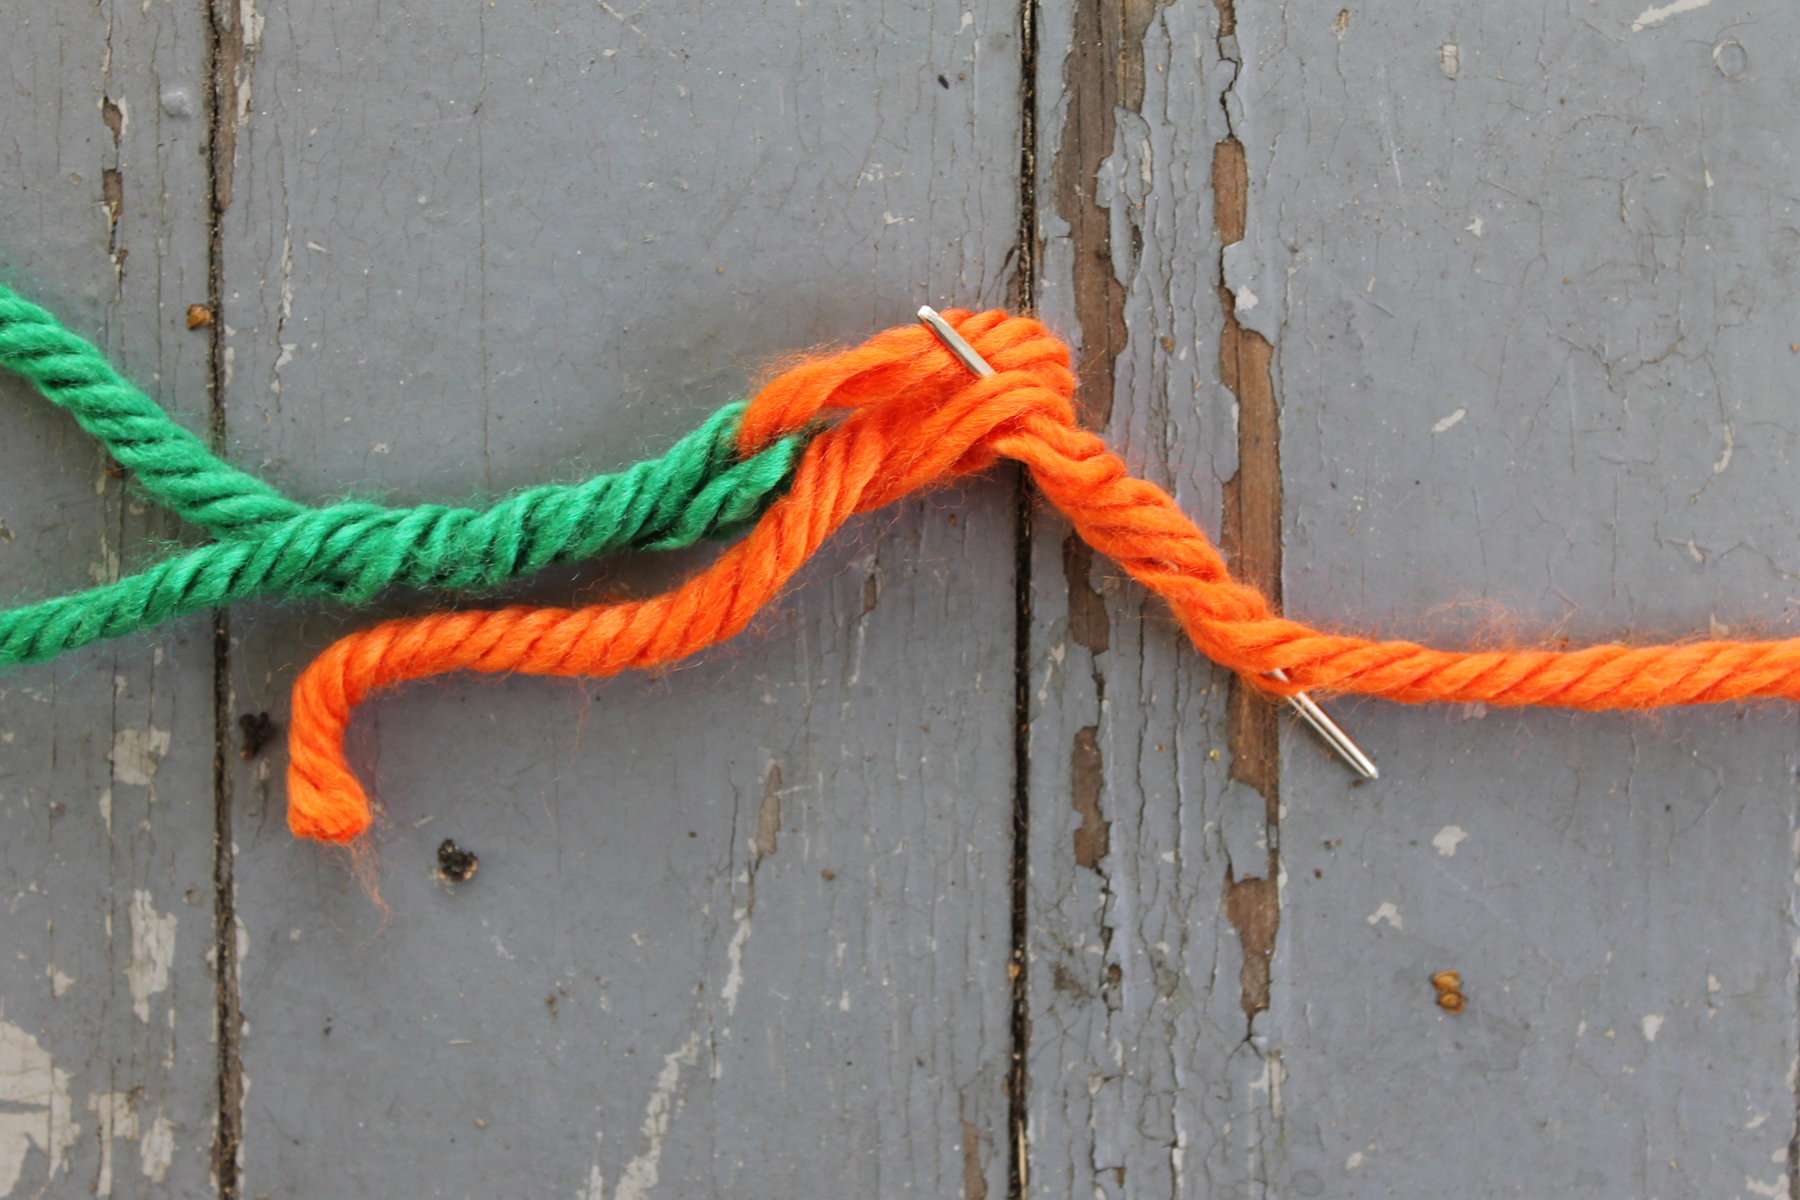
Step 6:
Weave the yarn needle through the second strand of yarn for about 2 inches, just as you did for the first strand of yarn.
Step 7:
Pull the yarn needle through the plies. Things are still looking a little messy, so let’s fix that.
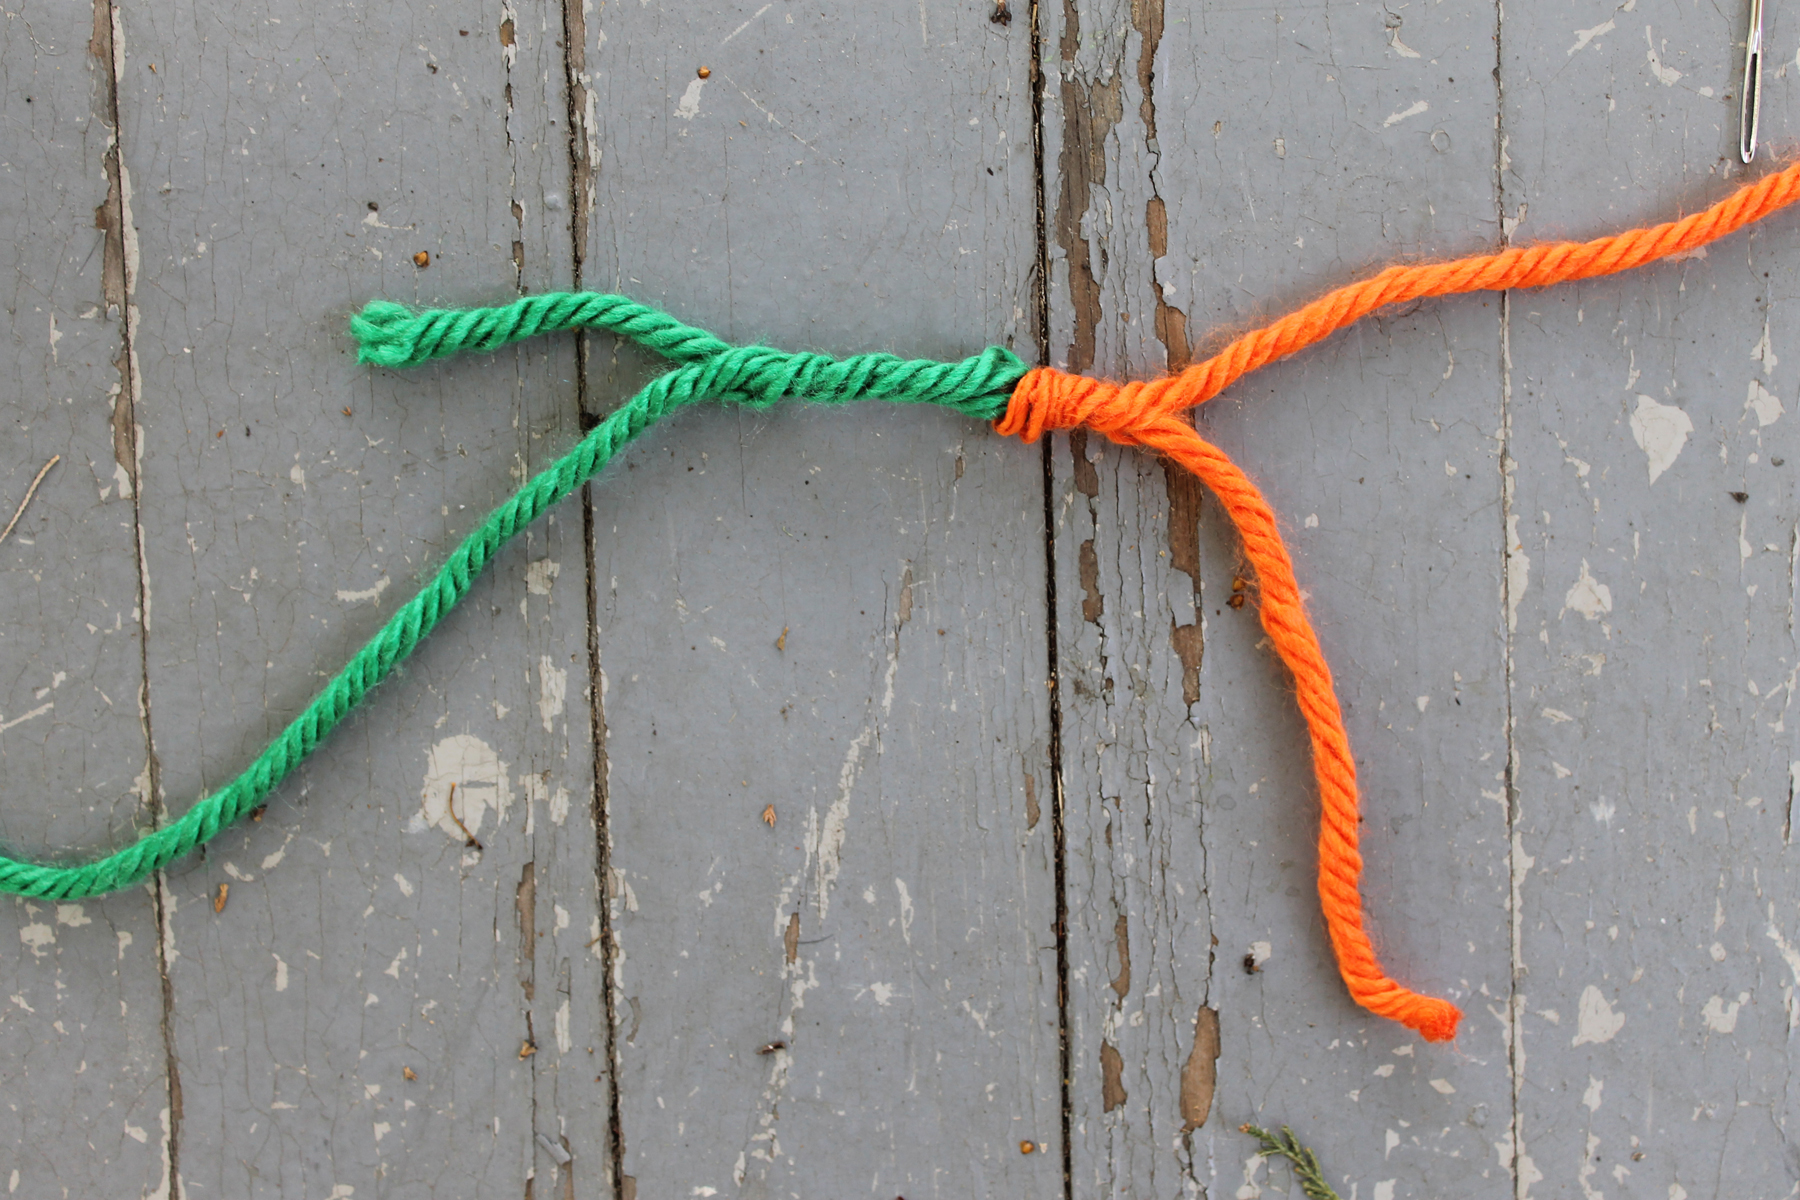
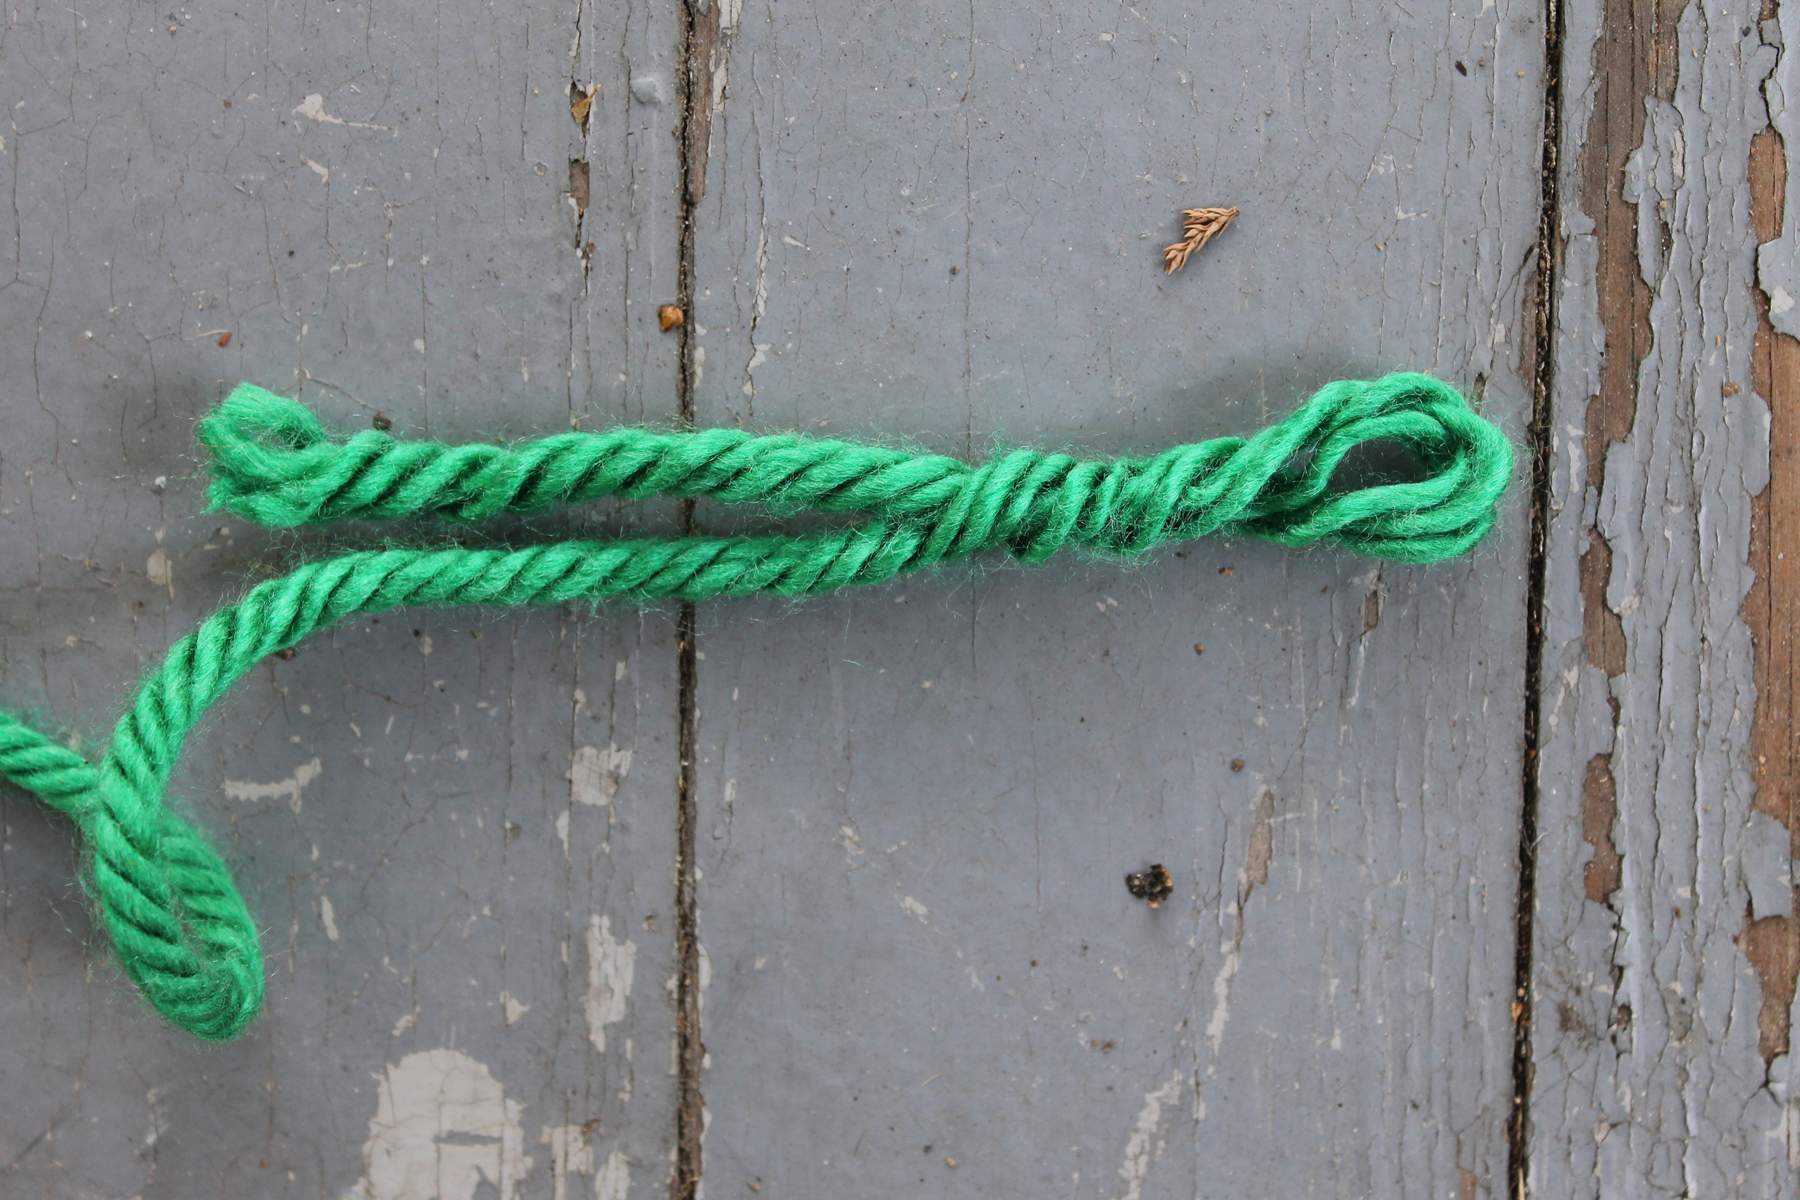
Step 8:
Pull gently on each strand of yarn, smoothing out the plies. Your join will be a little bulky here, and that’s totally normal. The important part is making sure the strands are as smooth as possible.
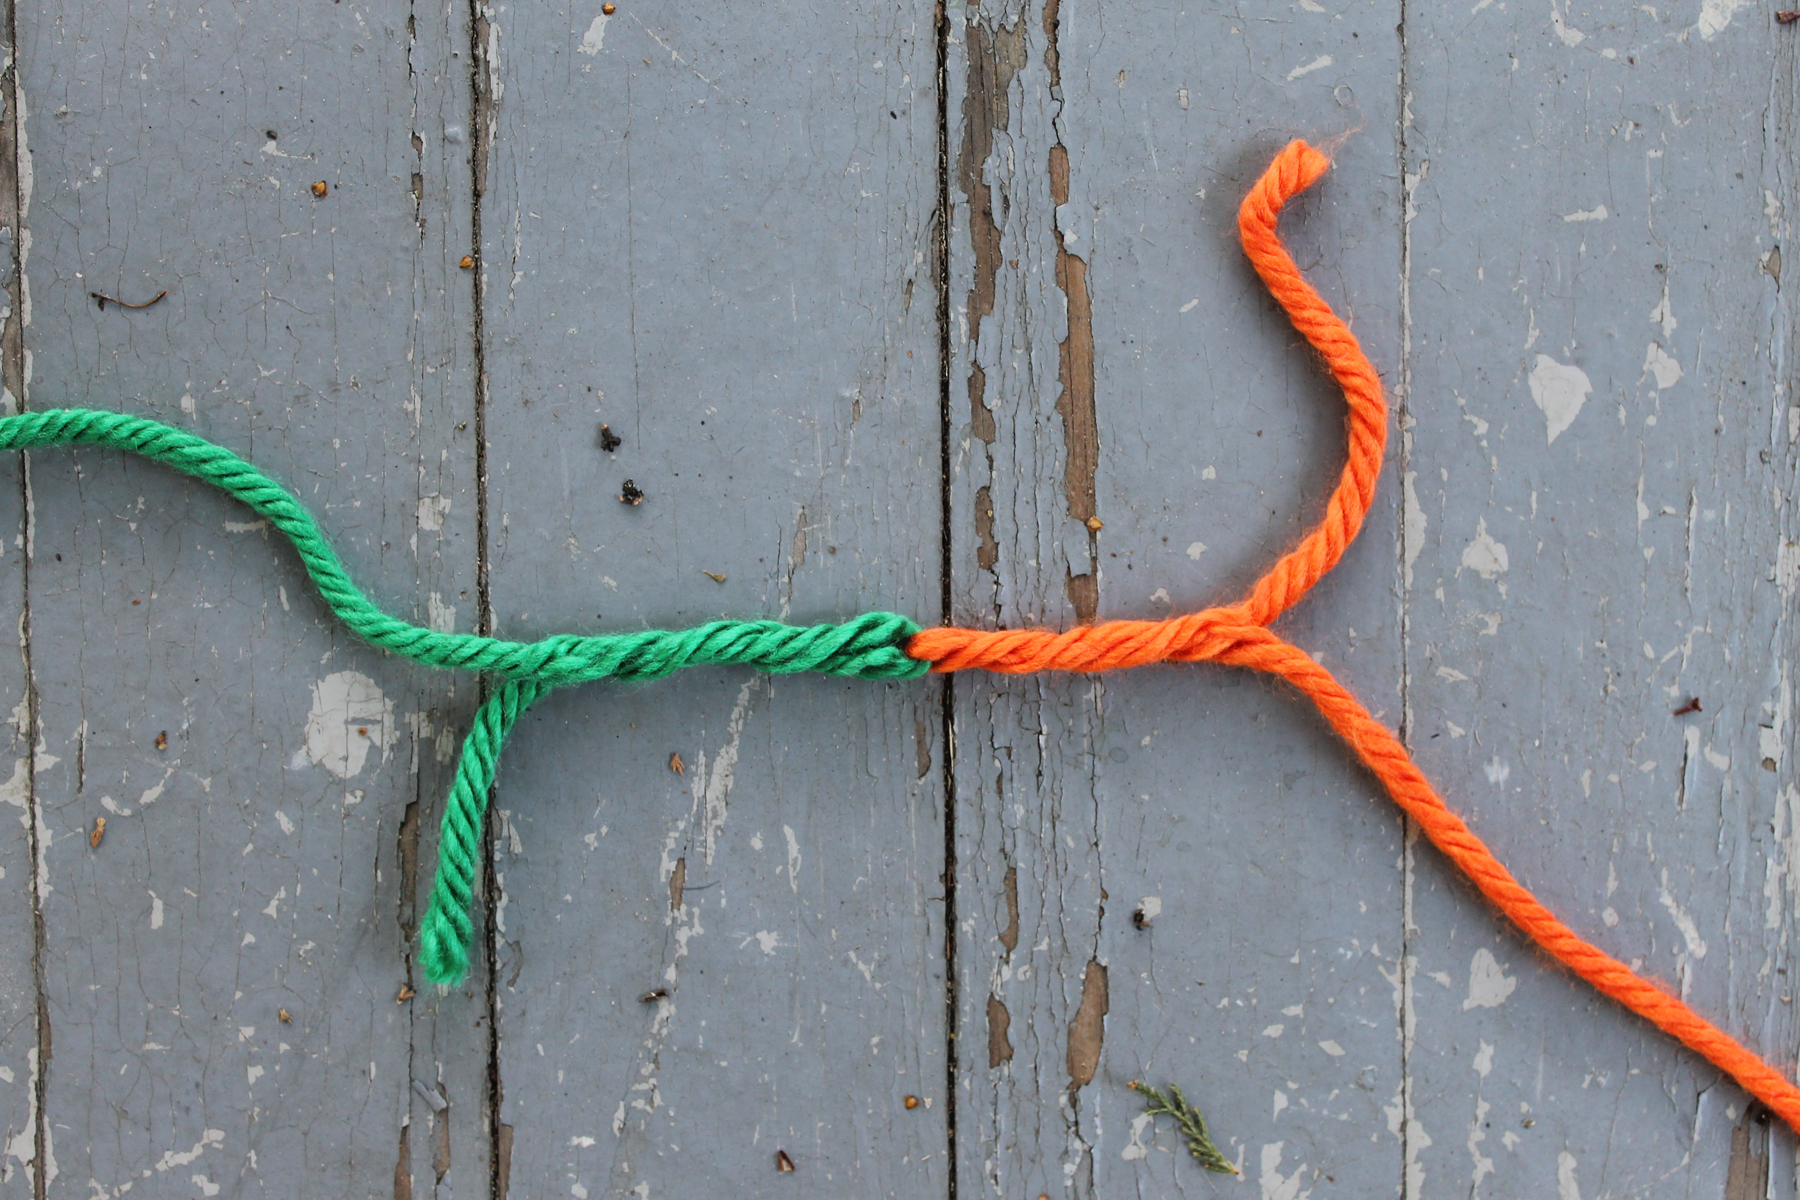
Step 9:
Use scissors to trim the short ends of the yarn that are hanging. Smooth out the yarns one more time if you’d like.
When to use the Russian join:
Attaching a new skein of yarn
When you’re working on a large project like a knit sweater or crocheted afghan, it’s inevitable that you’ll have to attach new skeins of yarn at some point. I love the Russian join because there are no ends to weave in later. This makes finishing projects much faster since you did all the hard work in the join.
I’ve tried other methods of weaving in ends to attach a new skein, but these make me feel a little uneasy. Those ends could just slip right out! The Russian join is much more secure.
When you can’t spit splice
One of my other go-to joins is the spit splice. This join felts animal fibers together, creating a join that’s barely noticeable. However, this join only works on animal fibers. Since the Russian join works on anything from acrylic to cotton, it’s a great choice when spit splice won’t work.
Changing colors
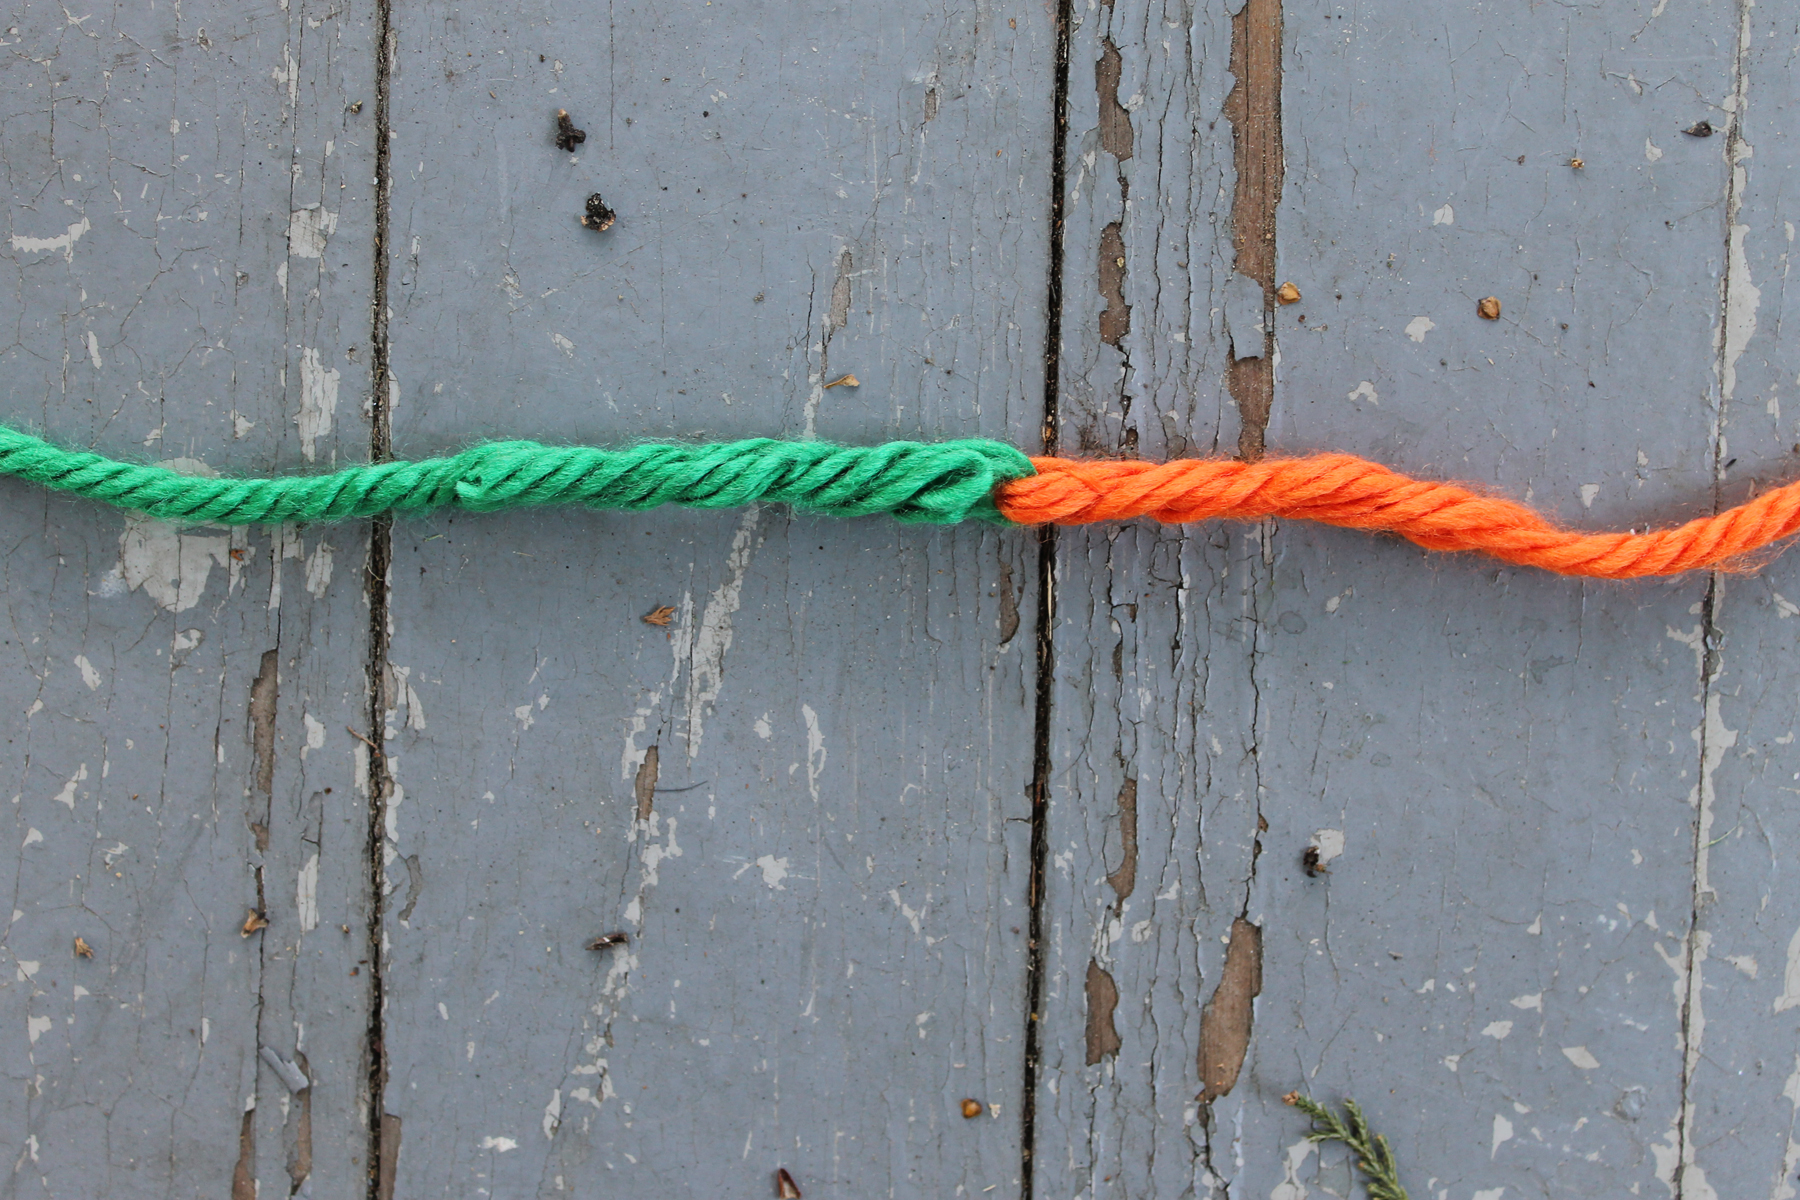
Other joining techniques like a spit splice aren’t ideal for changing colors since they leave an obvious spot where you joined the two hues. The Russian join leaves a clear point where the two fibers meet, so there are no weird two-tone spots that will show up in your work.
love this. i like to try this as I do lot of hand embroidery
Thanks for sharing the Russian join. It's brilliant and so strong
Will try it
Planning on tying this method soon!
That sounds very easy. I'll definitely try it next time. Thanks for such a clear explanation. Just one read and I got it.
I haven't used this join, but it's similar to one I use when I can't use split and spit. This join weaves in the end, I just knit them in. I rarely make anything with synthetic fibers, but I'll give this a try the next time I make something with mystery plied yarn!
Using Russian join again for an afghan where I'm joining skeins. I really like the finish.
I’ve been using the Russian join for years. Ever since I stumbled in it a few years back, it’s the only way I join now. I love this method of joining