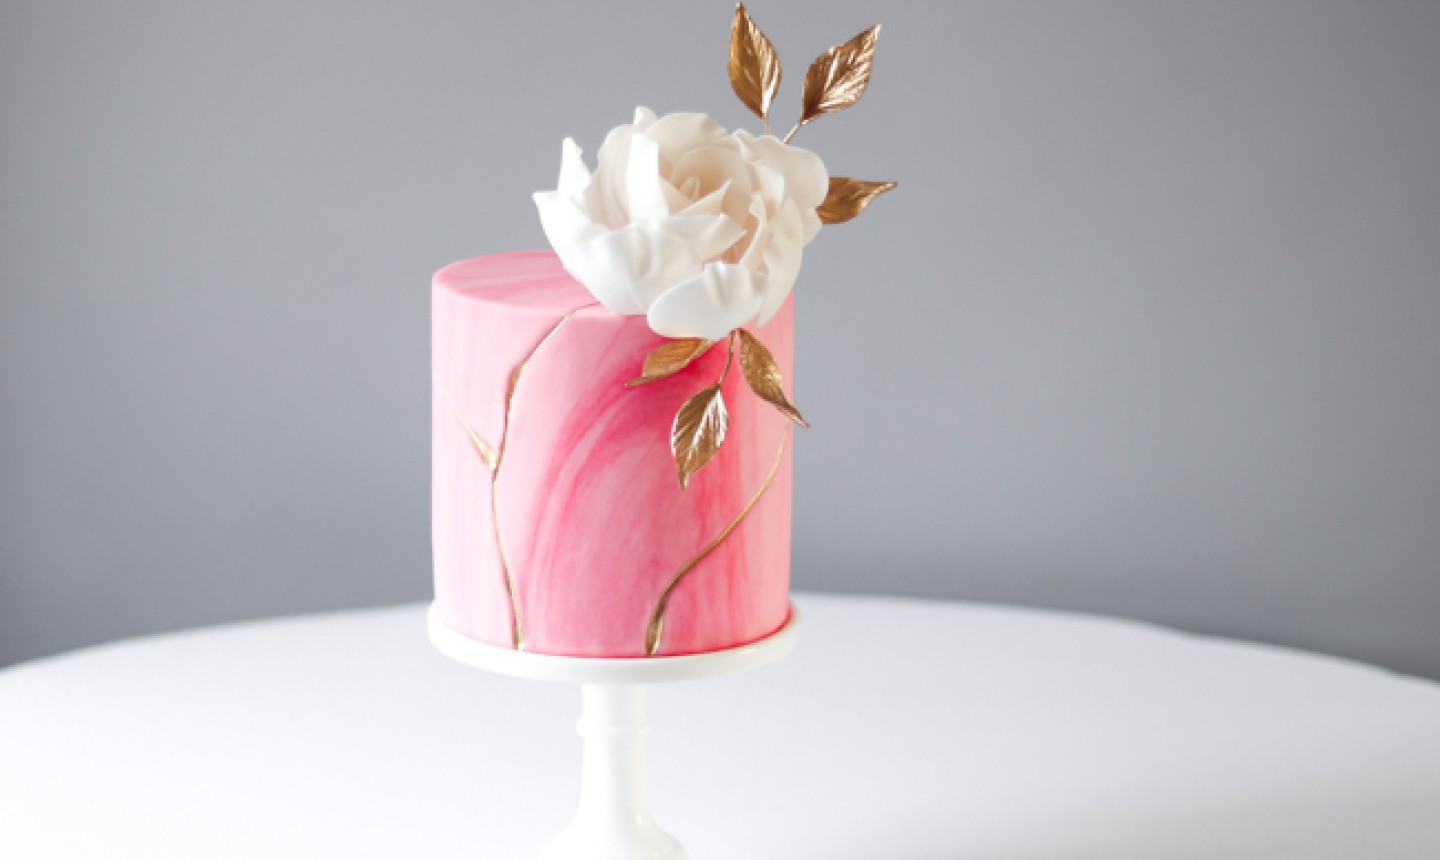
You may have heard of Kintsugi, the Japanese art of repairing broken ceramics by fusing the shattered pieces together with molten gold. But have you seen that same idea on a cake?
This trend is popping up everywhere, so we just had to try it for ourselves. We teamed it up with elegant florals and more gold accents in a luxe marbled pink — and we have to say, the final product is pretty sleek! Here's what you need to know to make your own.
We've spotted a few different approaches to making Kintsugi-inspired cakes. Some decorators apply thick, linear patches of edible gold leaf to their tier, while others paint strips of fondant gold and then put those on their cake.
Those techniques look OK, but we wanted a more realistic effect — and that meant creating grooves in the fondant, to look like filled-in cracks. You'll see how it works in a second!
Japanese Art Cake
Level: Easy
What You Need
Instructions
1. Cover Your Cake

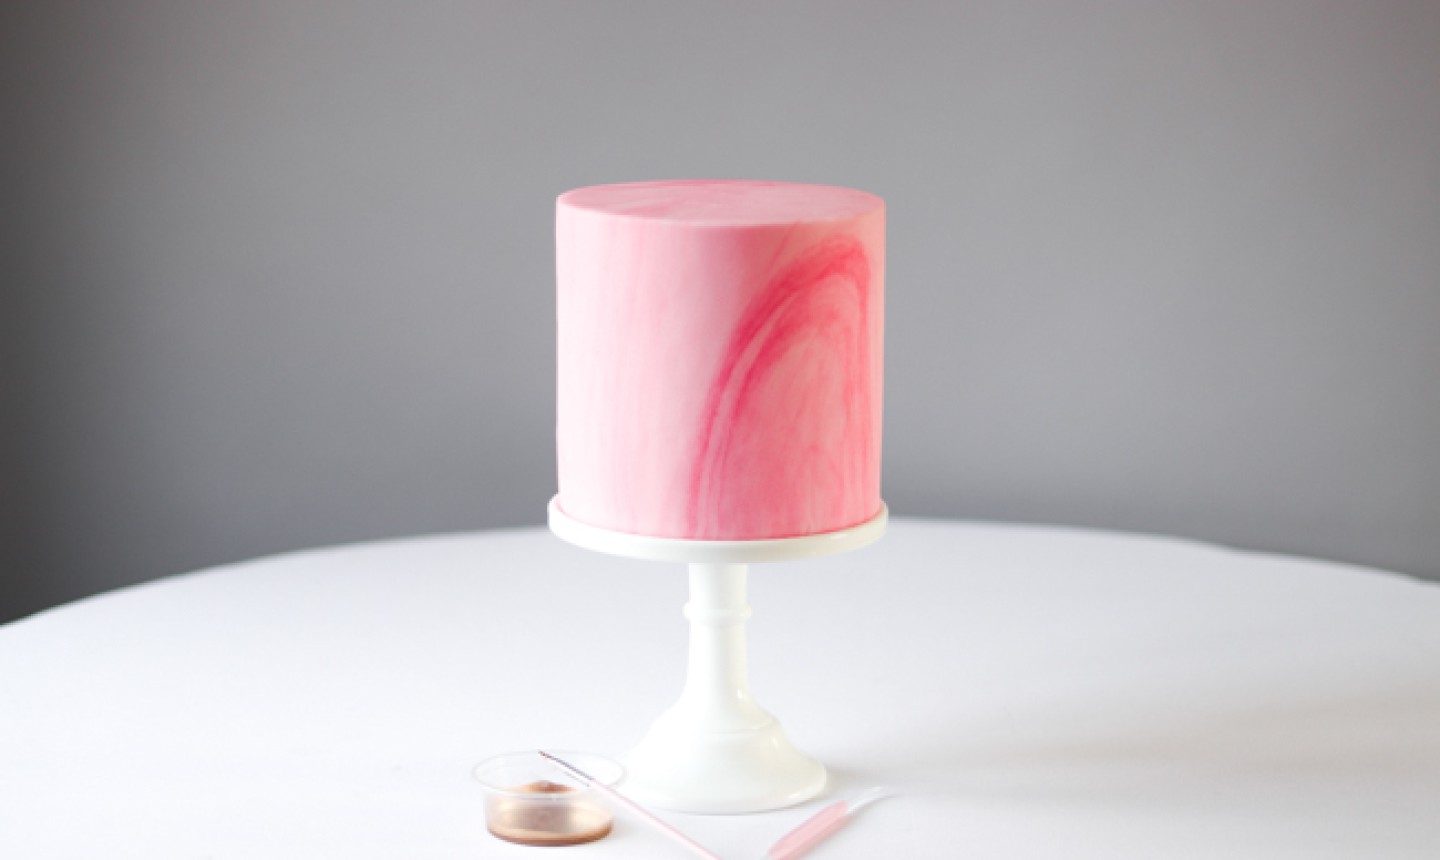
First things first: cover your cake with fondant. For an even more realistic look, we went with marbled fondant — but there's no shame in a solid color!
2. Mark Your Grooves

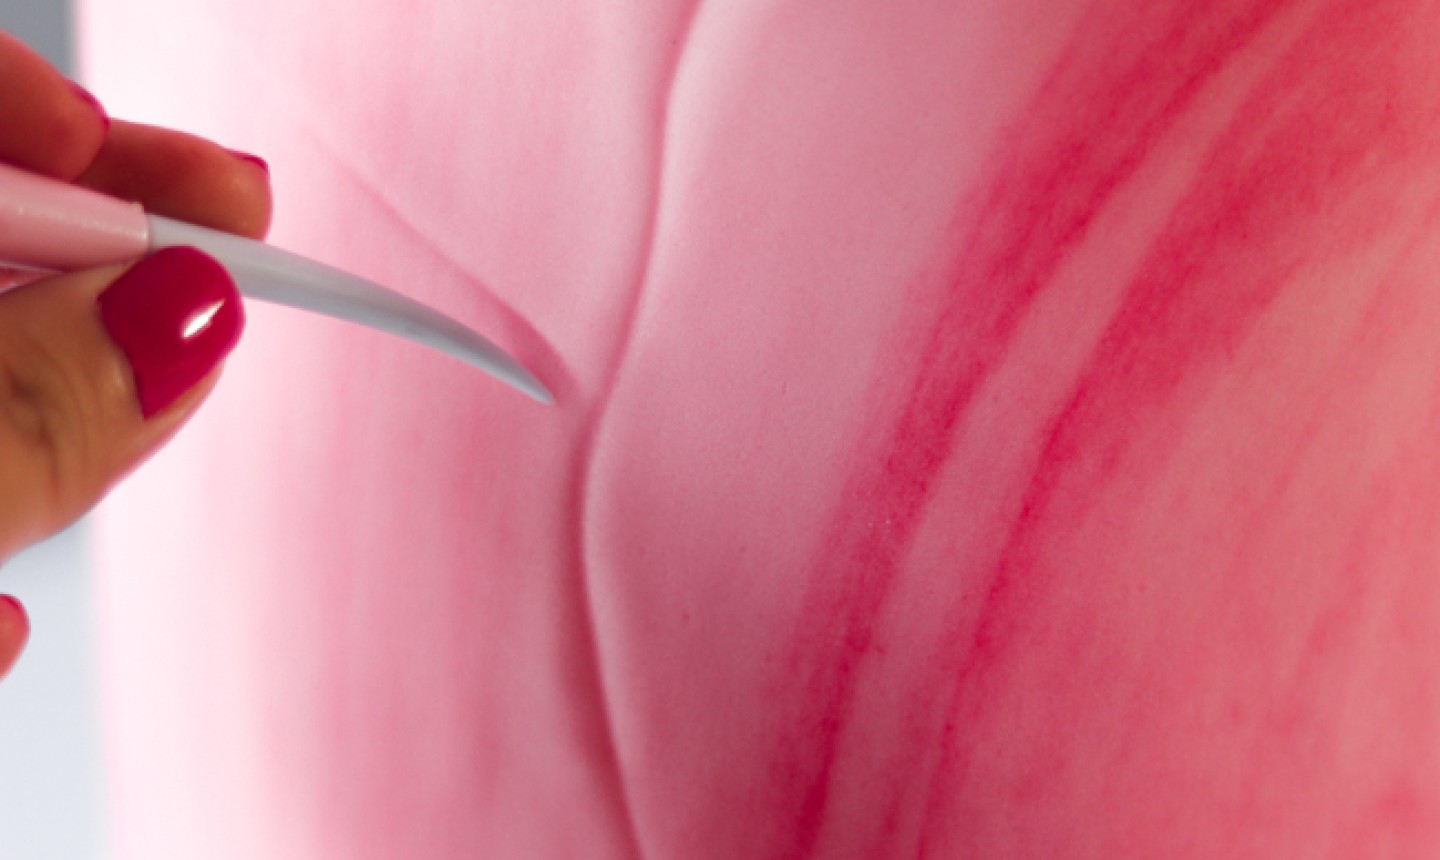
As soon as you cover your cake with fondant, you need to start making the grooves. Fondant is easier to work with before it hardens — if you leave it too long and then make the grooves, you’ll end up with a rough look.
Figure out where you’d like your gold-filled cracks. In general, less is more! And don't forget to plan around your other design features, like ruffles, other tiers and flowers.
When you've decided on the design, gently drag the thinner end of a veining tool along the fondant.
3. Paint It Gold

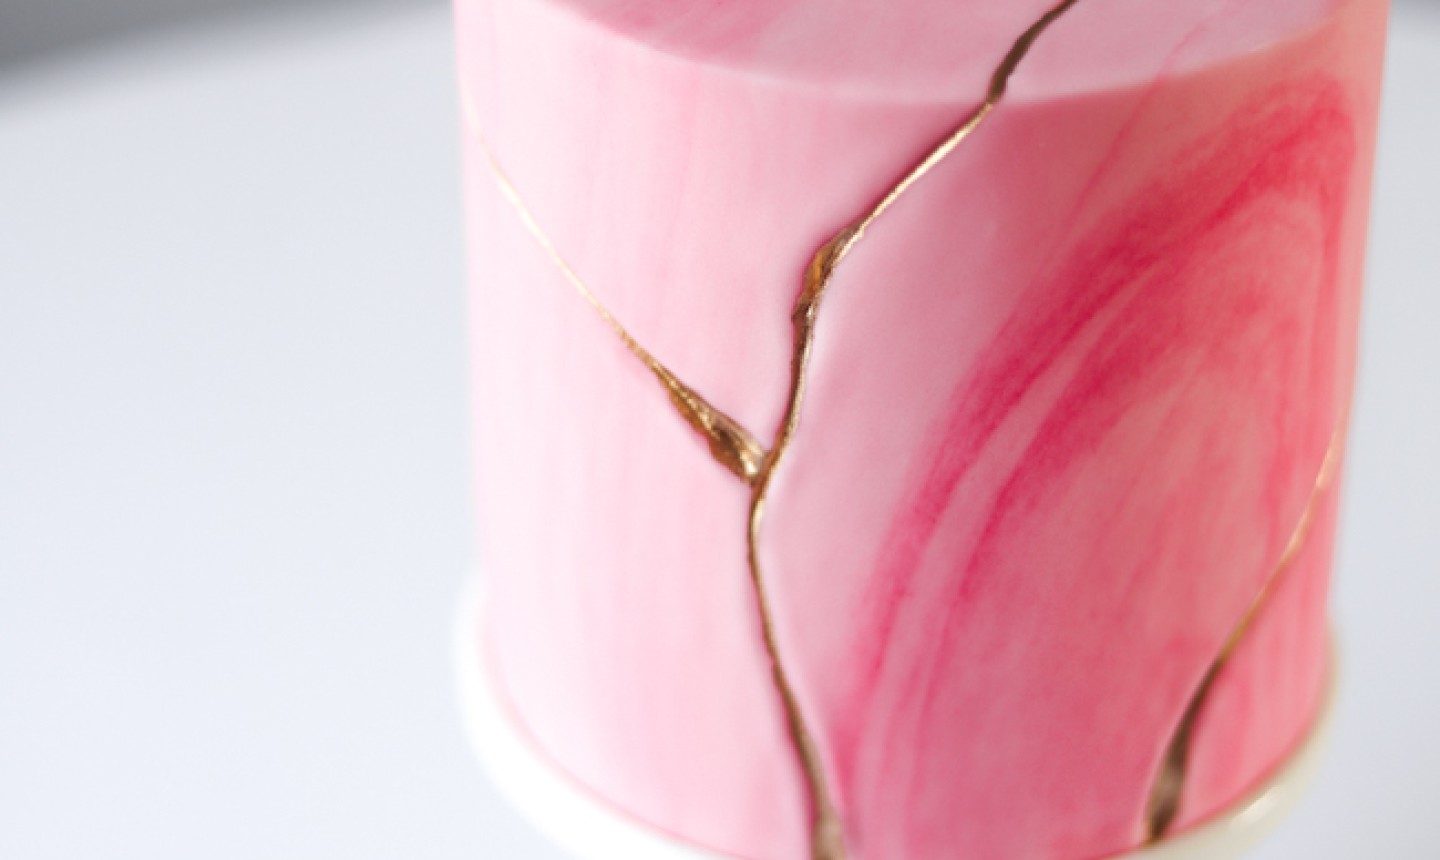
Using your paint brush, carefully paint edible gold paint in the indentations. You’ll need to get up close and personal with your cake to make sure you stay inside the lines.

Me ha sido de mucha utilidad gracias por compartir
That is soooooo pretty, and if done in Turquoise and Gold...absolutely a stunning color coupling!!
love this design! I wonder what it would look like as turquoise