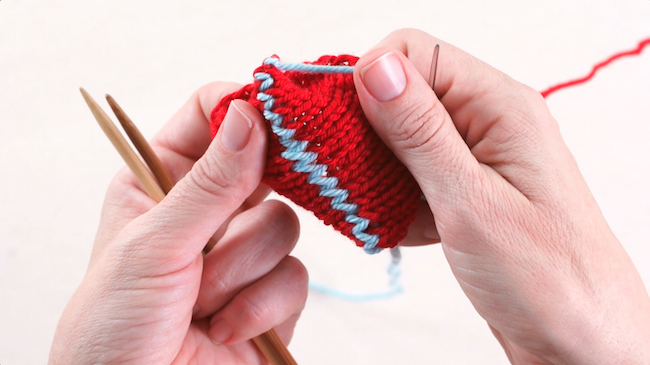
Ever wonder how knitters take two pieces of knitting and seamlessly combine them into one continuous section? It’s not magic! It’s called the Kitchener stitch.
The Kitchener stitch (also known as “grafting”) involves weaving two live (still on the needle) edges together without creating a ridge — or even a break in the stitching. It's a must-know move when you don't want to see or feel a seam in your knitting, like the toes of socks, under the arms of sweaters or a scarf knit in two sections.
Kitchener Stitch
Level: Intermediate
While it’s possible to use the Kitchener stitch to graft ribbing or purl stitches, it’s most commonly used to weave two pieces of stockinette stitch together. That's what we're going to do here.
What You Need
- Your knitting! (See Getting Set Up to Stitch below)
- Tapestry needle
Getting Set Up to Kitchener Stitch
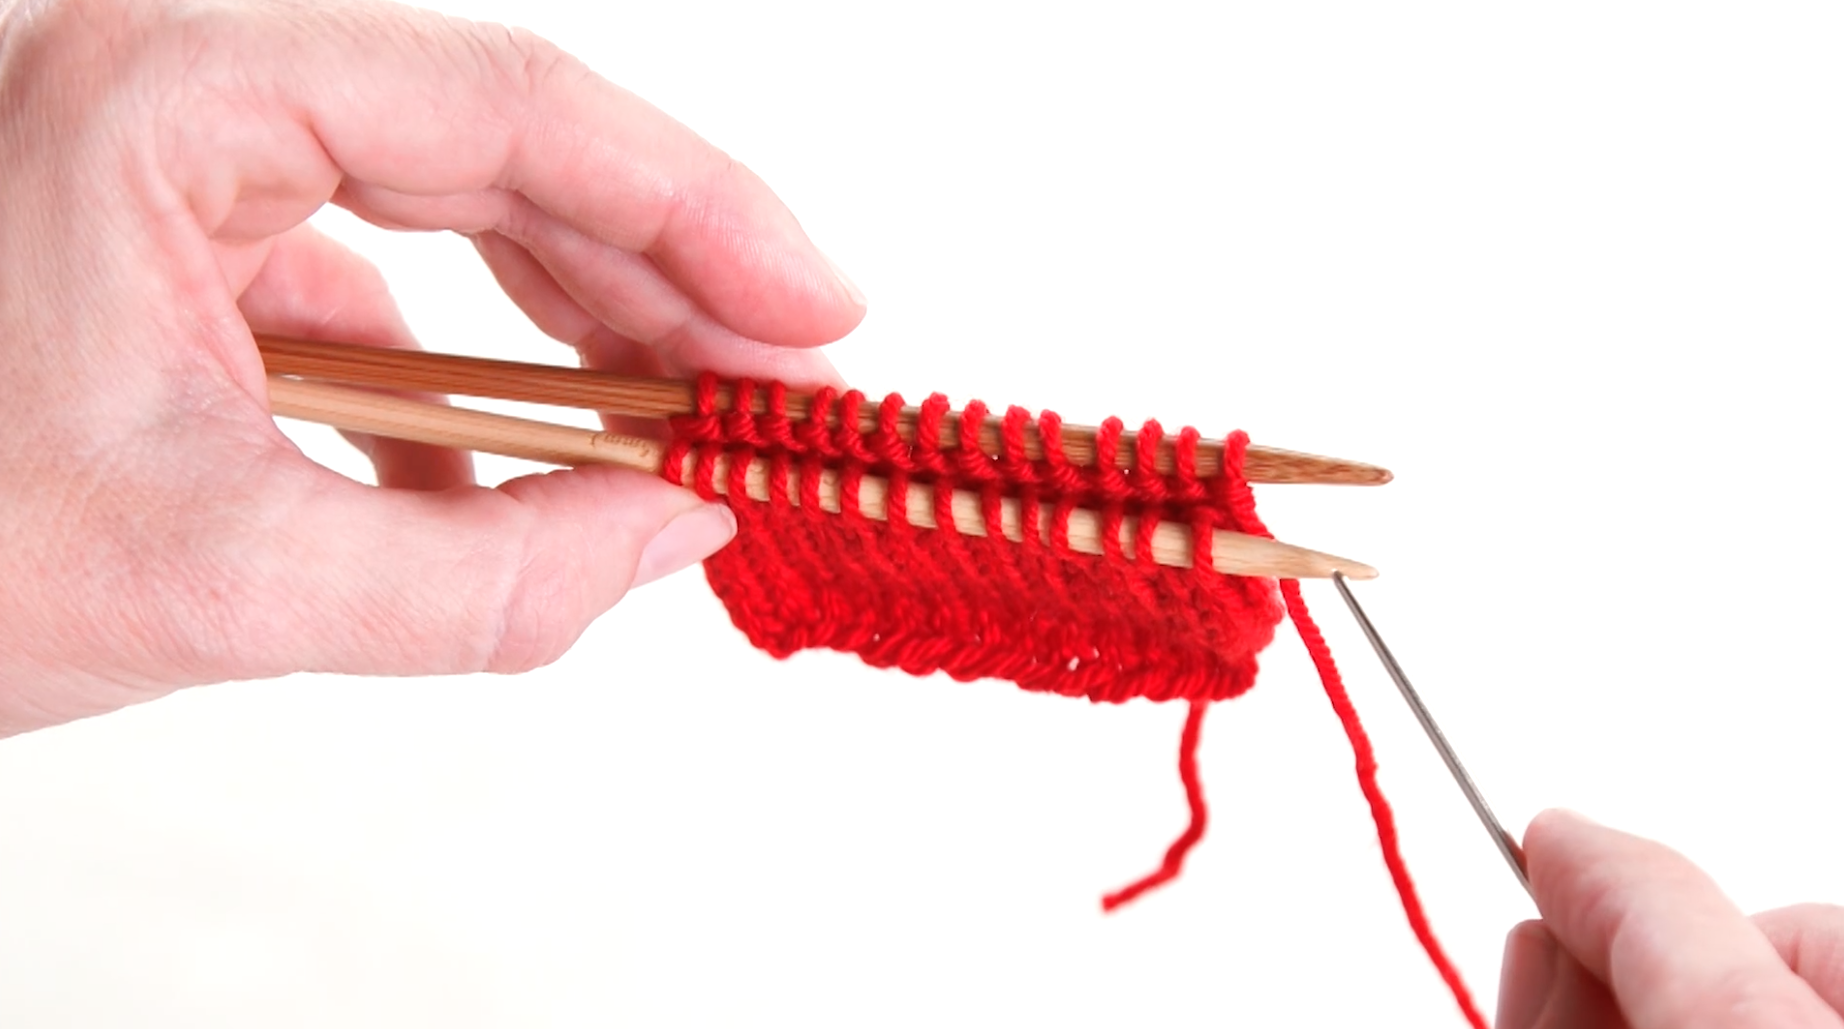
Before you start, make sure your stitches are arranged on two needles (with the same number on each) so that the purl sides are facing each other and the points of the needles are on the right.
Good to Know: We're using a contrasting piece of yarn for this tutorial, but you can use a matching piece. Or, you can use the tail of one of your knit pieces; just make sure the tail comes from the piece that's at the back. Your yarn or tail should be about three times as long as the edge you want to graft.
Instructions
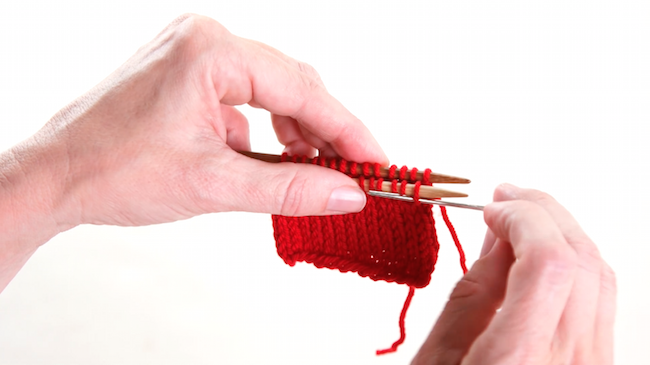
1. Thread your tail onto a tapestry needle. On the needle in front, pull your tapestry needle through the first stitch as if to purl (from back to front). Don’t pull the stitch off the needle. If you are working with a tail, you can pull the yarn taut; if you’re working with a separate piece of yarn, leave an end long enough to weave in later.
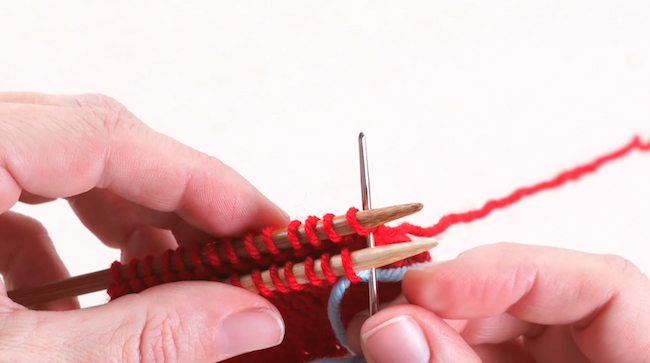
2. On the needle in back, go through the first stitch as if to knit (from front to back). Again, don’t pull the stitch off the needle.
Pro Tip: As you’re working across the stitches, make sure your yarn is under the needles. Sometimes the yarn can get wrapped around the needles and look like a stitch — this avoids the confusion.
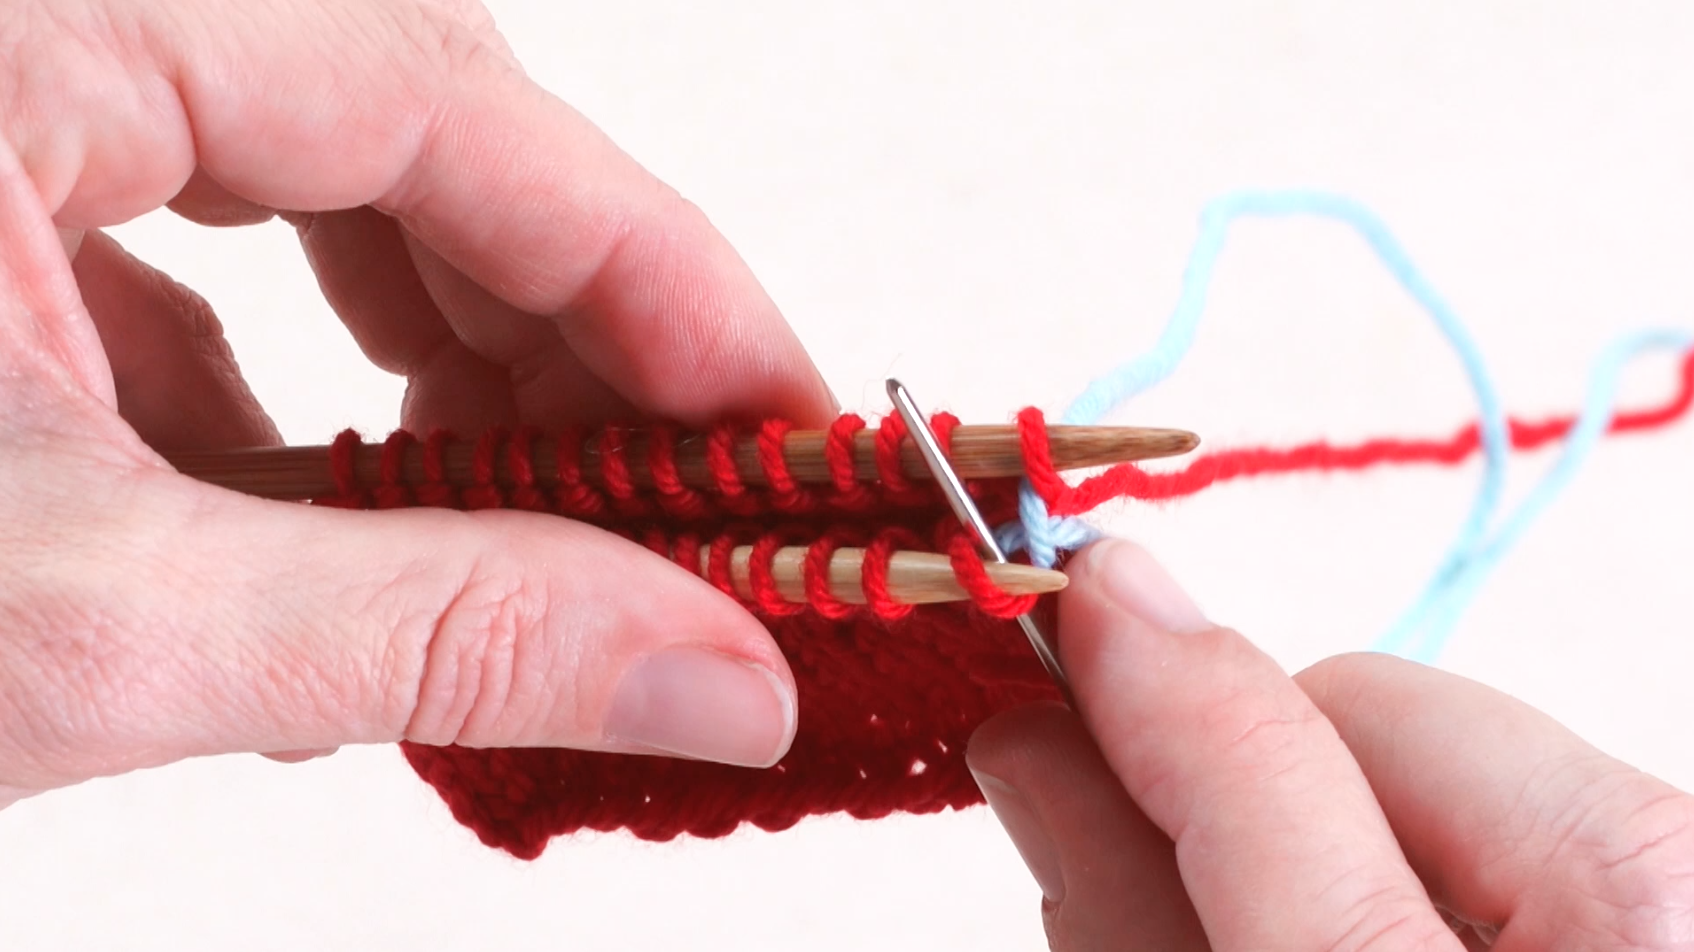
3. On the front needle, go through the first stitch as if to knit. Pull the stitch off the needle.
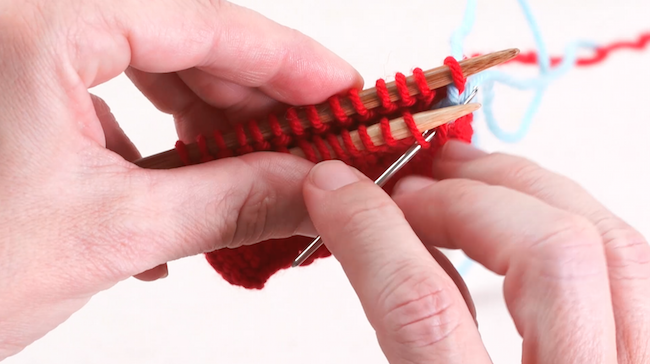
4. Still on the front needle, go through the (new) first stitch as if to purl. Don't pull the stitch off the needle.
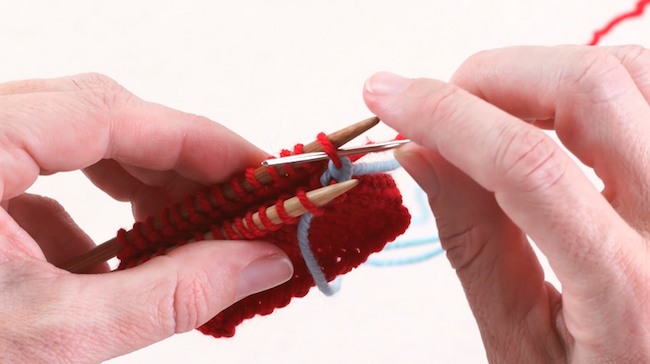
5. On the back needle, go through the first stitch as if to purl. Pull the stitch off the needle.
Pro Tip: If you have problems remembering when to drop the stitch, keep this in mind: On the front needle, you only drop the stitch when you insert the needle into it knit-wise. On the back needle, you only drop the stitch when you insert the needle into it purl-wise.
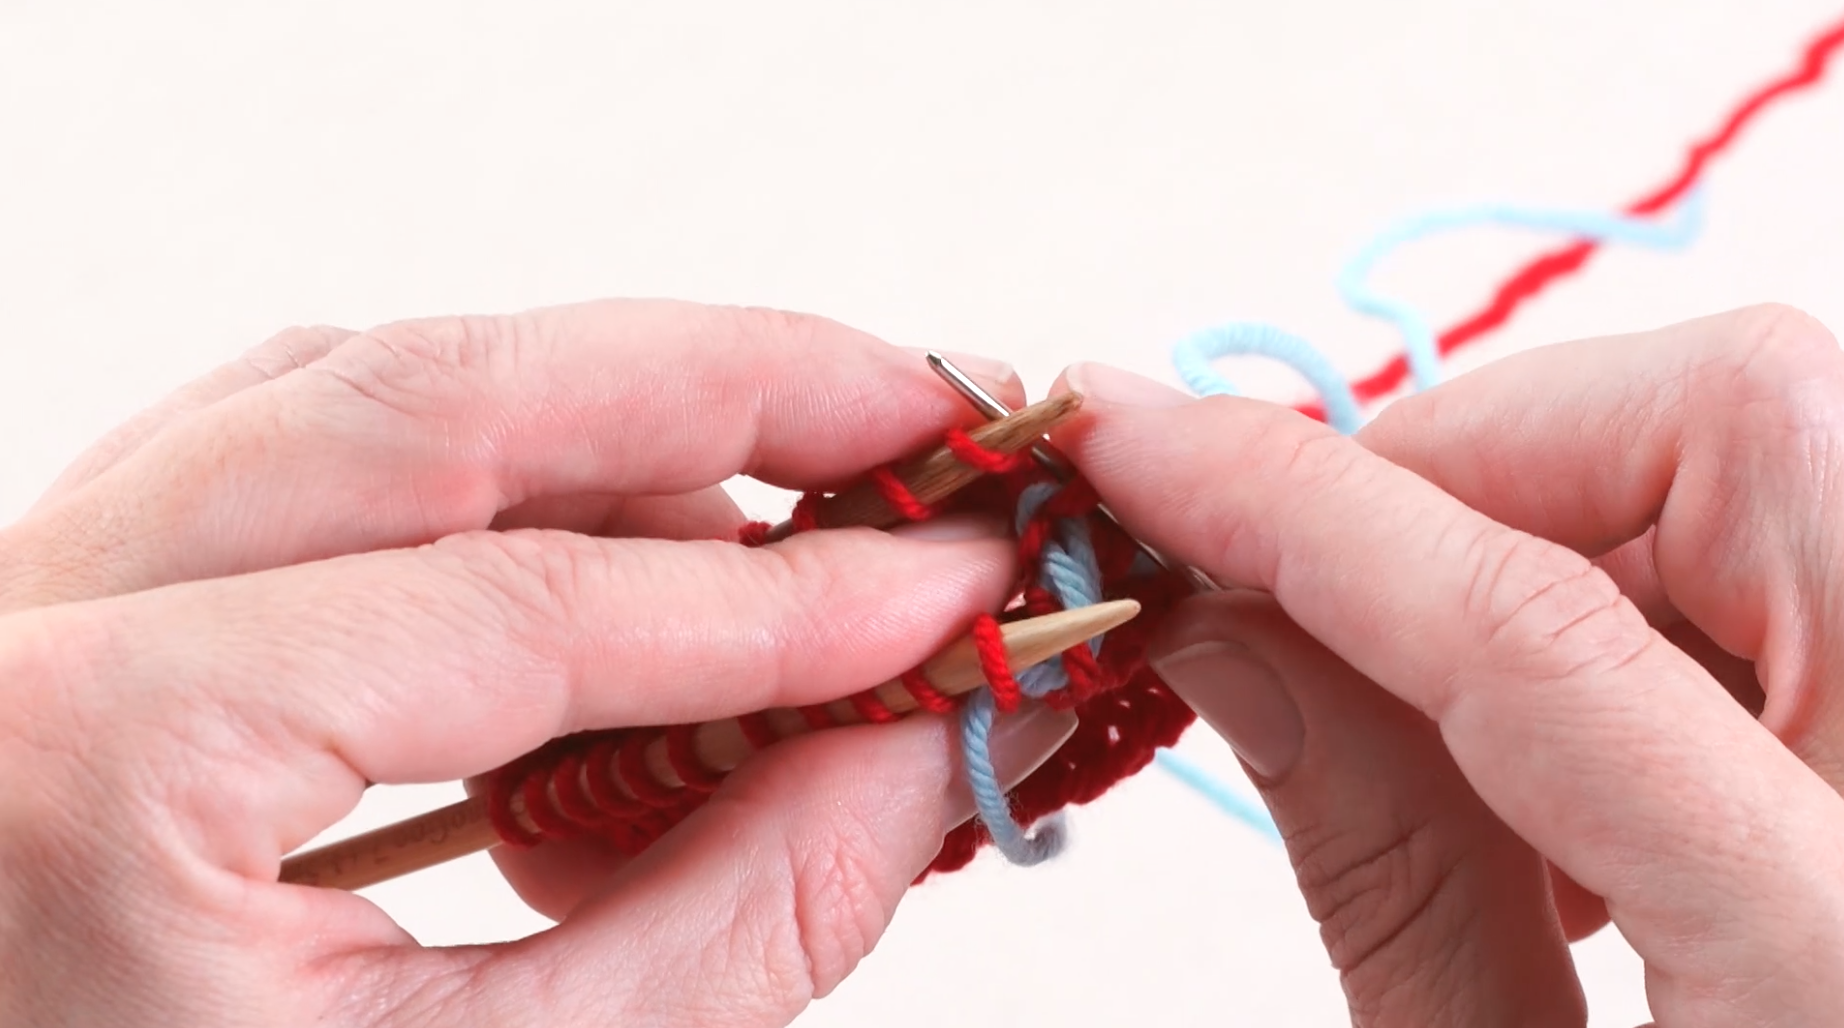
6. Still on the back needle, go through the (new) first stitch as if to knit. Don't pull the stitch off the needle.
7. Repeat steps 3-6 until you only have two stitches left.
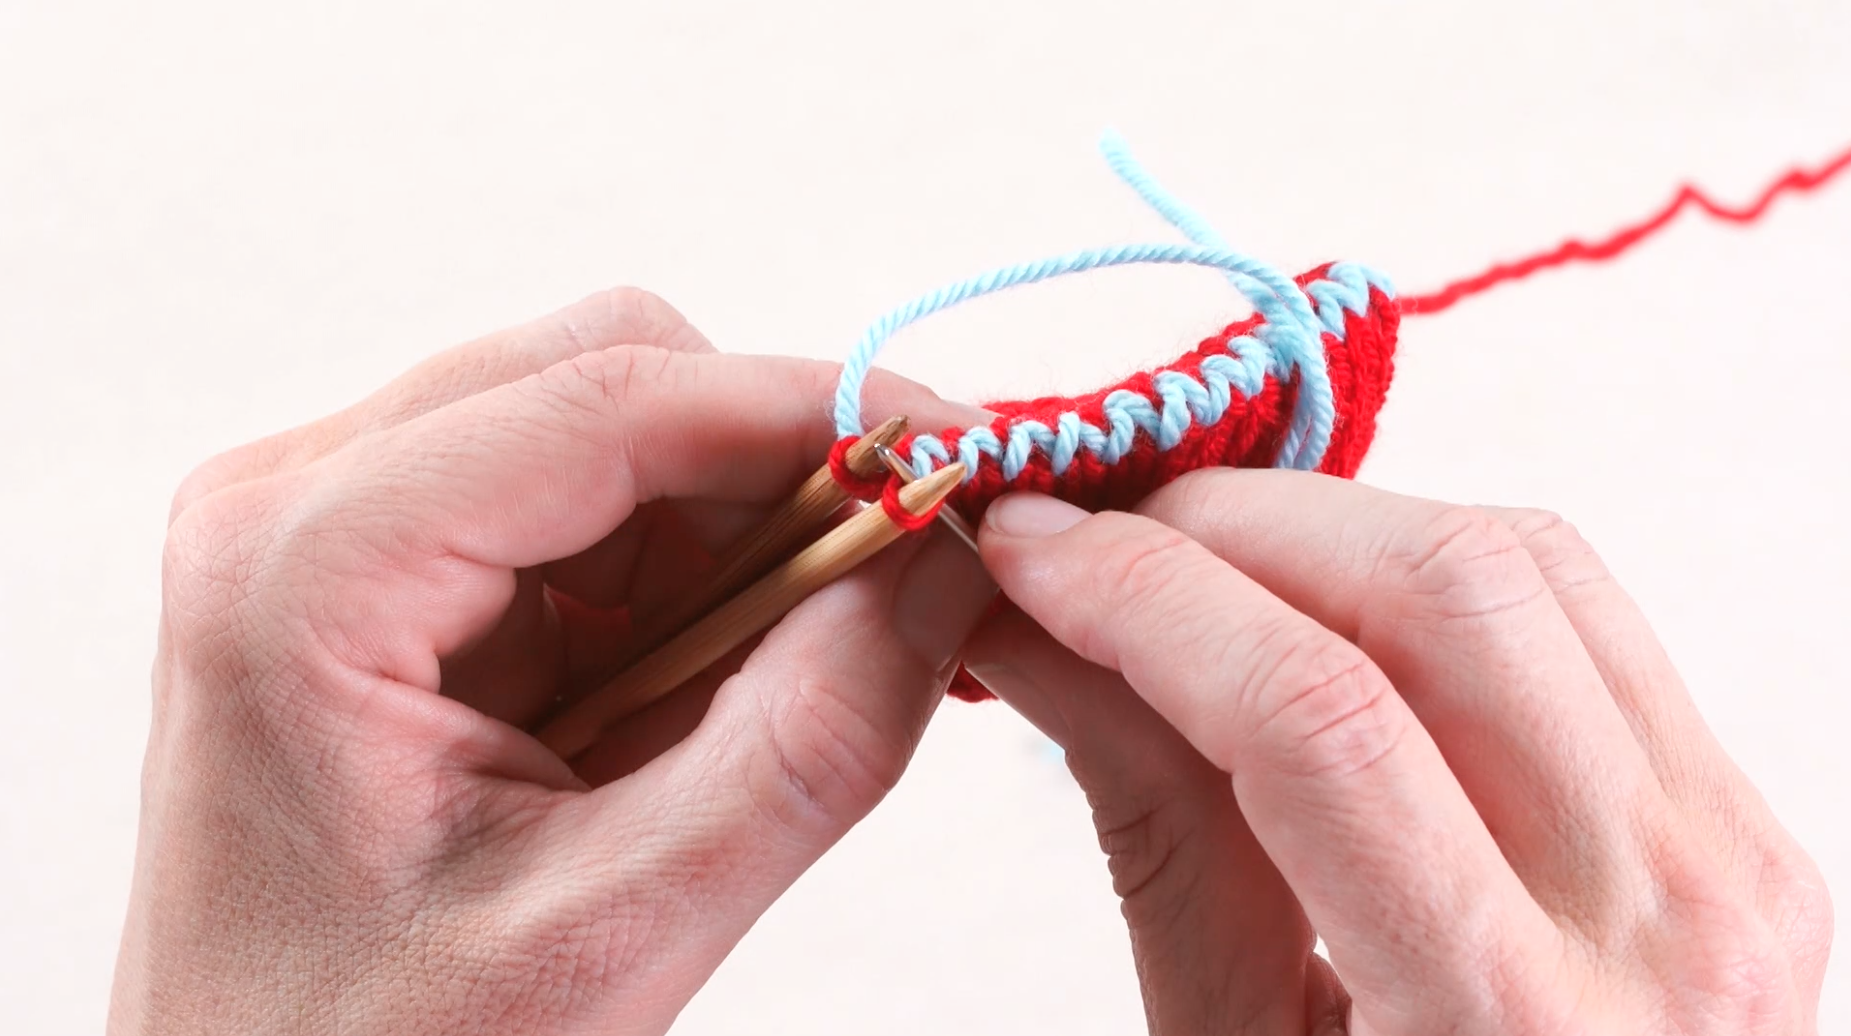
8. When you only have one stitch left on each needle, do Step 1, then jump to Step 3. Now you can begin to adjust the tension of the row. Start on the right side of the row and pull up the right side of the stitch, then the left. It may sound tedious, but it goes quick and makes all the difference!
Pro Tip: Tighten lightly as you're grafting. You'll be able to adjust this row of stitches later to match the gauge of the rest of your project.
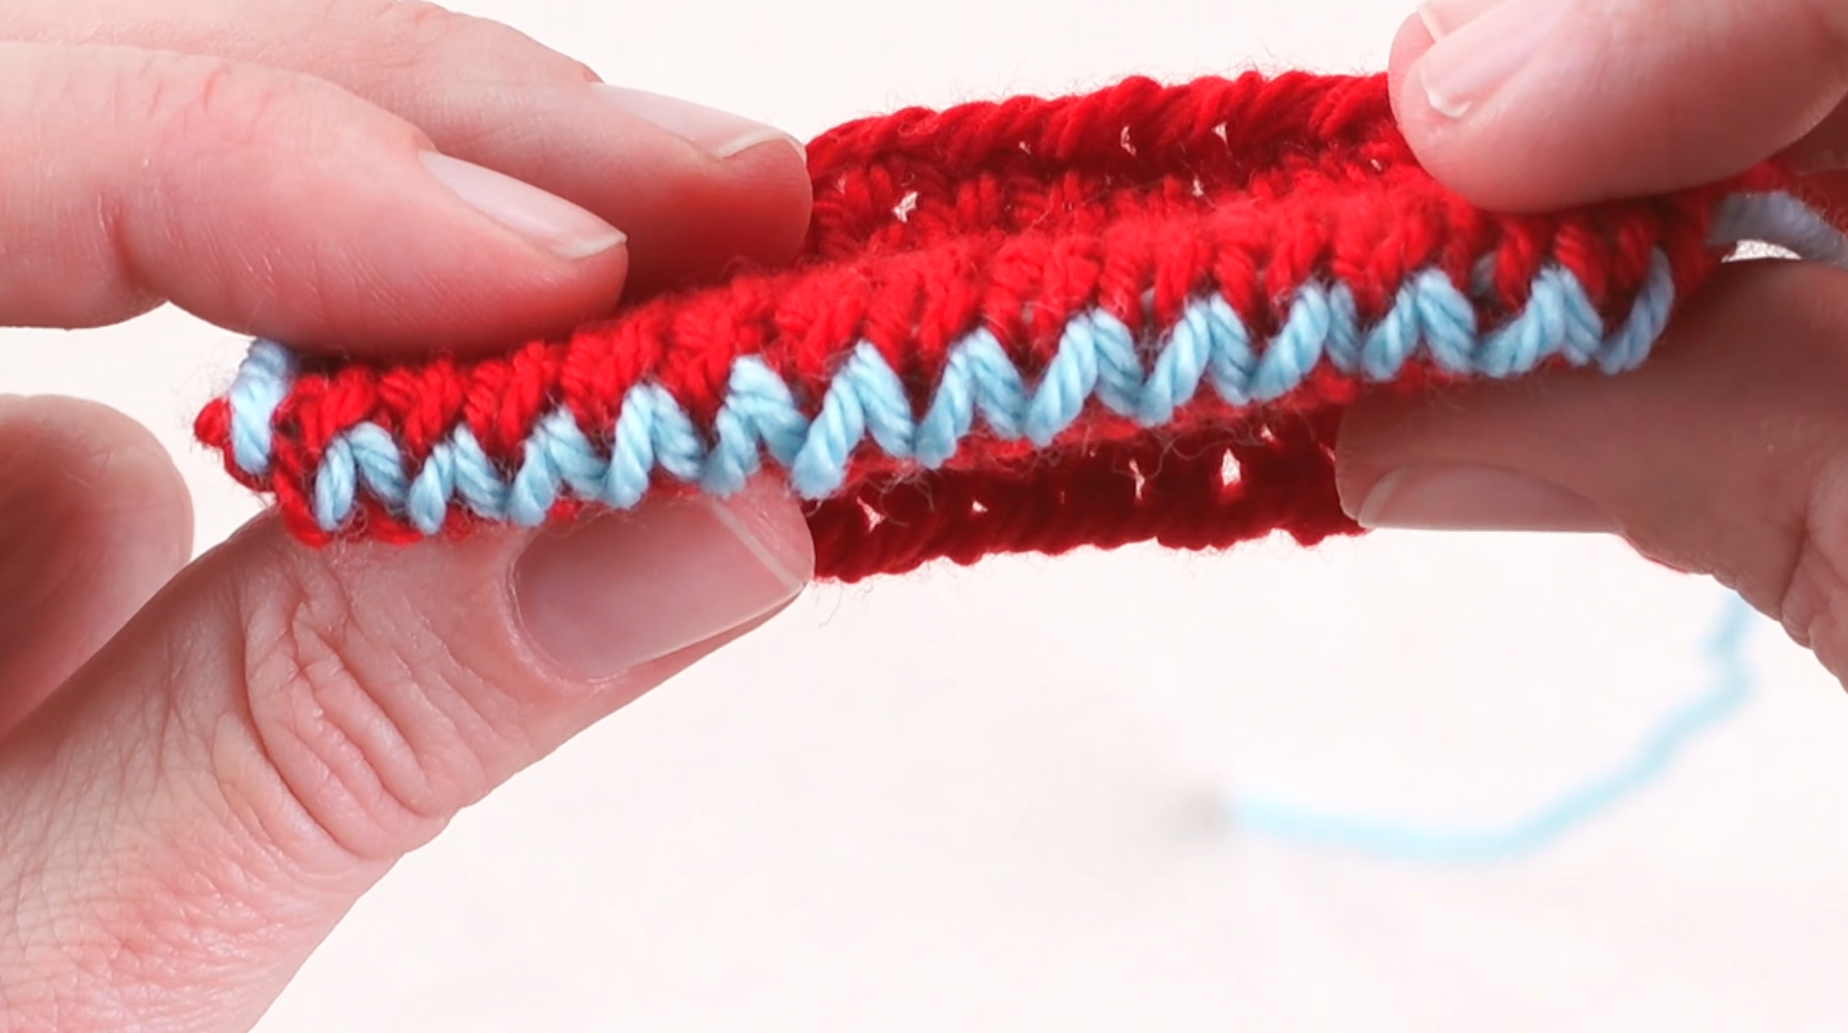
Once you get a hang of the technique, you may be able to combine Steps 1-2 into a single movement, and Steps 3-4 into another. It becomes fairly easy to pull the stitch off the needle knit-wise and then go through the next purl-wise (and vice-versa for Steps 3-4).
Pro Tip: Rather than look at the tutorial each time you do this stitch, try a mnemonic device. Chant "knit, purl, purl, knit" or "knit off, purl on, purl off, knit on” as you go. If you need a bit more detail, try this: "pick off as if to knit, prepare as if to purl, pick off as if to purl, prepare as if to knit.” We all do it!

Nice and easy to use
This is good to know