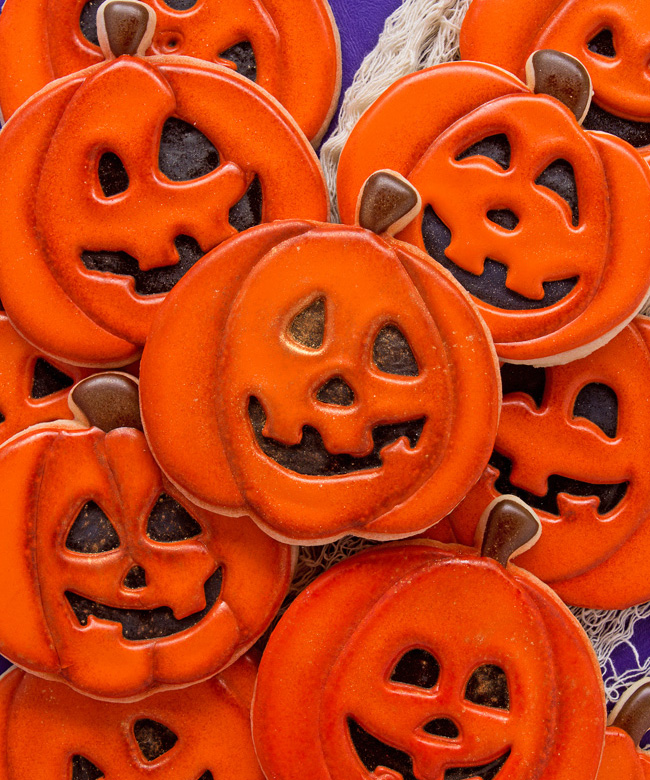
Carving pumpkins is cool, but making a jack-o'-lantern out of sugar is so much sweeter. Your little monsters won't be able to keep their paws off these sugar cookies this Halloween, so it's a good thing they're easy (and fun!) to bake.
Jack-O'-Lantern Cookies
Level: Easy
What You Need
Instructions
1. Bake the Cookies
Make your cookie dough according to your recipe's instructions. Roll out the dough until it's flat, then use a pumpkin cookie cutter to cut out the shapes.
Bake according to your recipe's instructions and let the cookies cool completely before decorating.
2. Paint 'Em Black
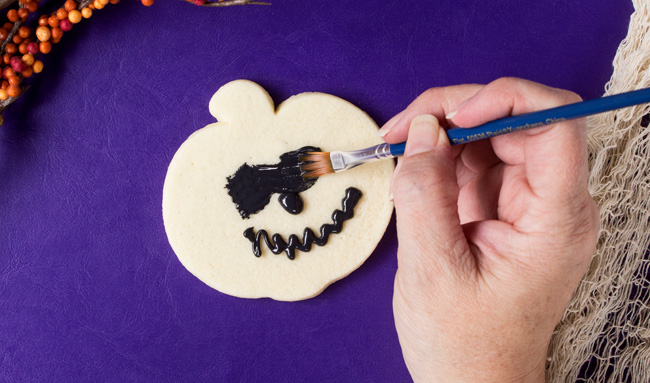
Fill a piping bag with flood-consistency black royal icing and fit it with a small round tip. Pipe some icing onto the cookies and use a brush to spread it into an even layer in the center of each pumpkin. Let the icing dry completely before moving on.
3. Plan the Face
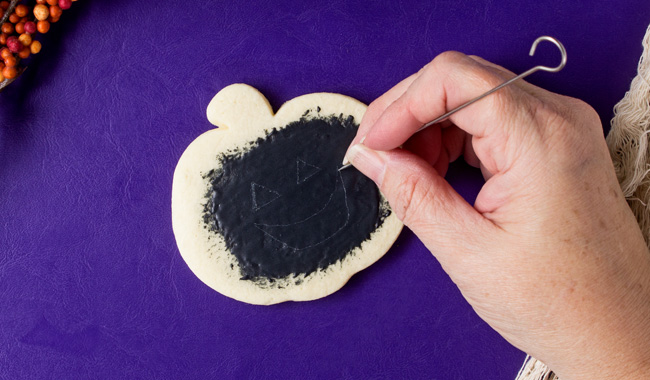
With a toothpick or scribe tool, scratch a face into the dry black icing. You'll use these marks as guidelines when you pipe the jack-o'-lantern design.
You have total freedom to customize your jack-o'-lanterns — whether you give 'em a toothy grin or make 'em scary is up to you!
4. Pipe the Faces
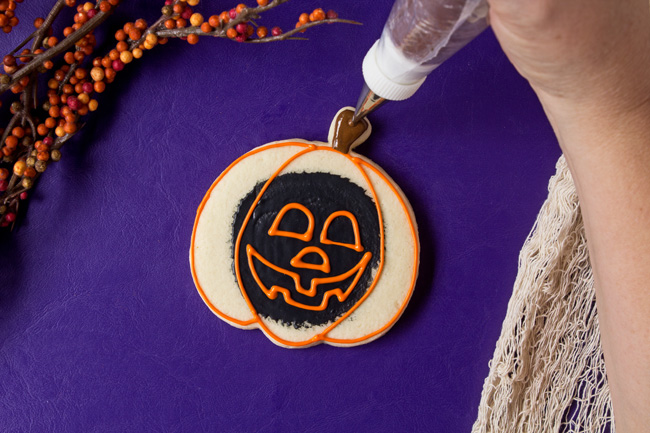
Fill a piping bag fitted with a small round tip with piping consistency royal icing. Pipe the faces onto the pumpkins and outline the cookies.
Let the icing dry for about 20 minutes — this will keep it in place so the orange icing won't spread into the eyes and mouth. As it's drying, fill a piping bag with brown royal icing and fill in the stems.
5. Fill 'Em In
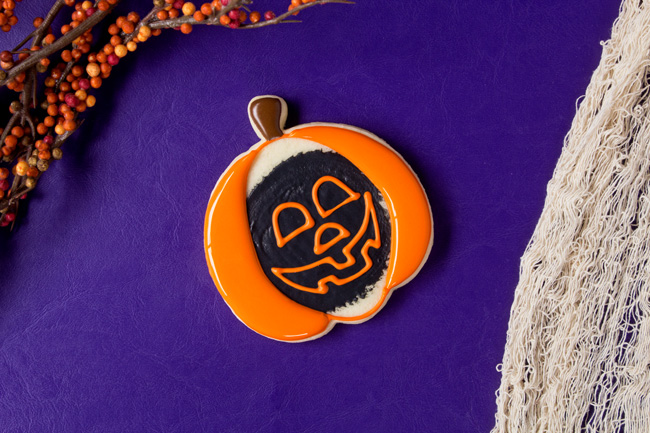
Flood the sides of the pumpkins with orange royal icing. Let dry before moving on — this should take about 30 minutes, but may vary depending on the humidity.
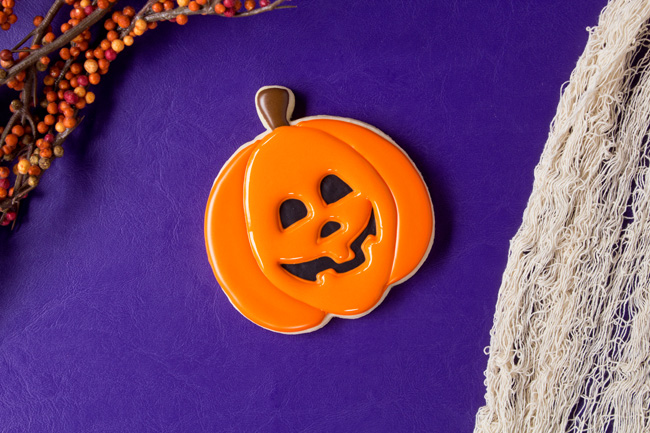
When the sides are dry, fill in the center of the jack-o'-lanterns. Make sure not to get any orange icing into the eyes, noes or mouth. Let dry completely.
Good to Know: You can leave your cookies as-is and be done now, or airbrush them in the following steps to add a little more detail.
6. Add Detail
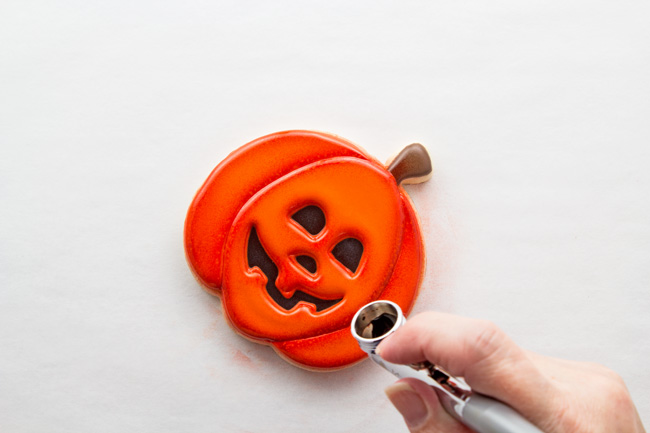
Combine a few drops of orange color and one small drop of brown color in your airbrush gun. Once mixed, airbrush around the inside of the eyes, mouth and nose. Then airbrush around the edges of the pumpkins and in between each section to add more depth.
7. Make 'Em Shine
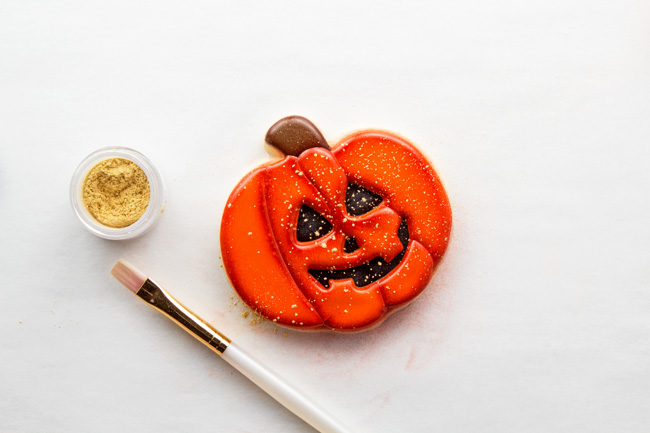
Use a dry brush to sprinkle the cookies with gold luster dust. If you add too much, simply use the brush to spread it across the cookies.
Once you're done, these pumpkins are ready to be served alongside all your other Halloween desserts!

Share tips, start a discussion or ask other students a question. If you have a question for an expert, please click here.
Already a member?
No Responses to “These Halloween Jack-O'-Lantern Cookies Are Worthy of a Toothy Grin”