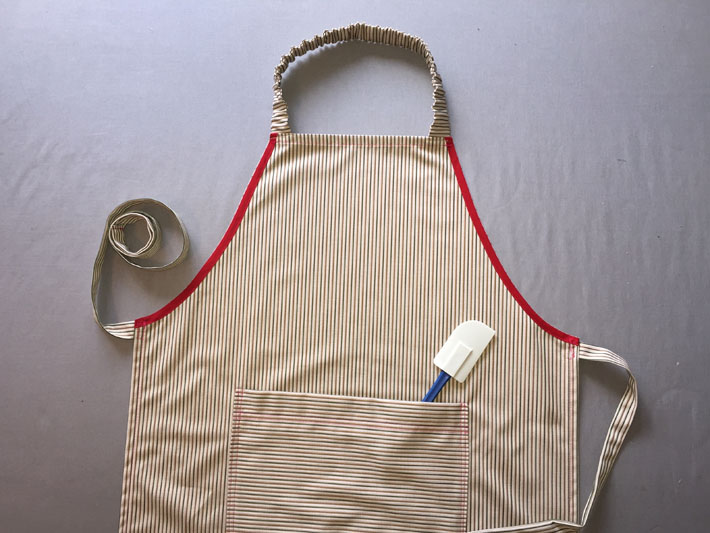
Aprons are a lifesaver for any cook or baker, and it's easy to sew one yourself. The best thing about this project? With just a few simple measurements, you can get started — no pattern necessary.Keep reading to learn how to sew an apron.
DIY Apron
Level: Easy
What You Need:
- Fabric
- Ruler
- Fabric marker
- Bias tape (optional)
- 18" length of elastic
- Clothes pin
Good to Know: If you have an apron that you already like, you can use that to trace the shape onto your fabric and cut. Then, pick up this tutorial at step 2.
Instructions
1. Create the Apron Shape
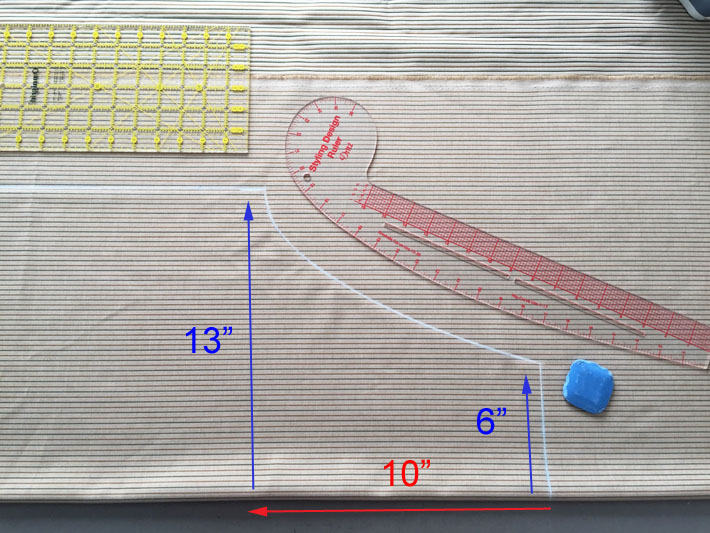
First, fold your fabric lengthwise and mark it as shown above. Here, we're planning for ½" seam allowances. Mark a straight 6" line perpendicular to the fold. Move down 10" from that line, and mark the fabric 13" from the fold.
To create the side curve of the apron, you can use a dressmaker's ruler or draw a straight line from the apron top to the waist. (You can even draw freehand, if desired.)
Along the fold, measure 32" down from the top of the apron. Draw another 13" line perpendicular to the fold. Draw the side edge of the apron by connecting the two 13" lines.
Now that all your pieces are drawn, cut out the apron shape.
2. Finish the Curved Edges
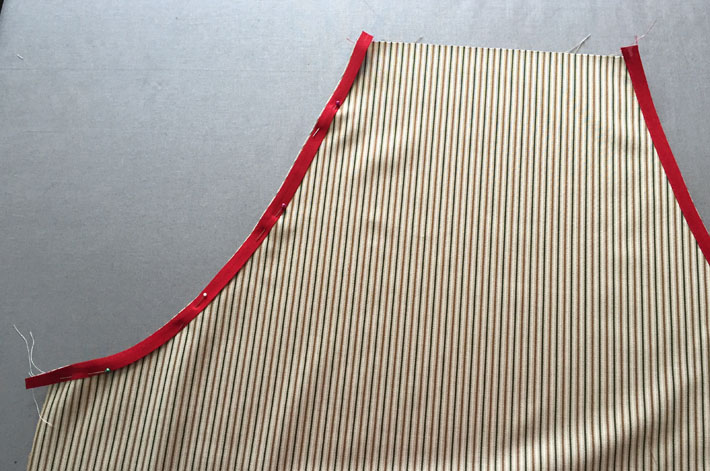
Add bias tape to the two curved edges. (We opted for a pop of color with red, but you can use whatever you like.). Apply it on the inside, then fold it toward the right side, press and stitch into place.
Good to Know: If you don't want to add bias tape, you can also finish the raw edges by folding them toward the inside of the apron, pressing, folding again and stitching.
3. Add a Pocket
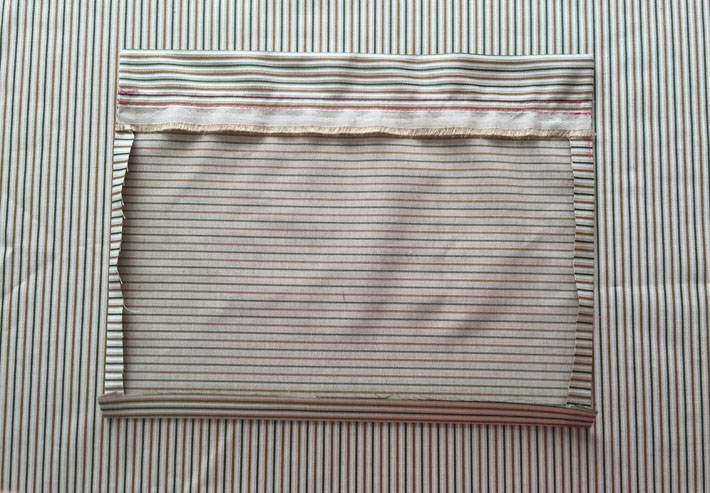
You can add a pocket a few different ways. (This might be a good time to use a piece of scrap fabric from your stash.) Here, we used the selvage edge of the fabric at the upper pocket edge for a clean finish. To follow this example, cut a piece of fabric 13" x 12". Press the top edge under by ½", then fold it again another 1" and stitch across the top of the pocket. Press the other edges in by ½".
Center the pocket right side up on the apron, about 4" down from the top edge of the apron side. Stitch around the sides and the bottom of the pocket with two rows of stitching. You can also stitch down the center of the pocket to create two separate compartments.
4. Finish the Remaining Edges
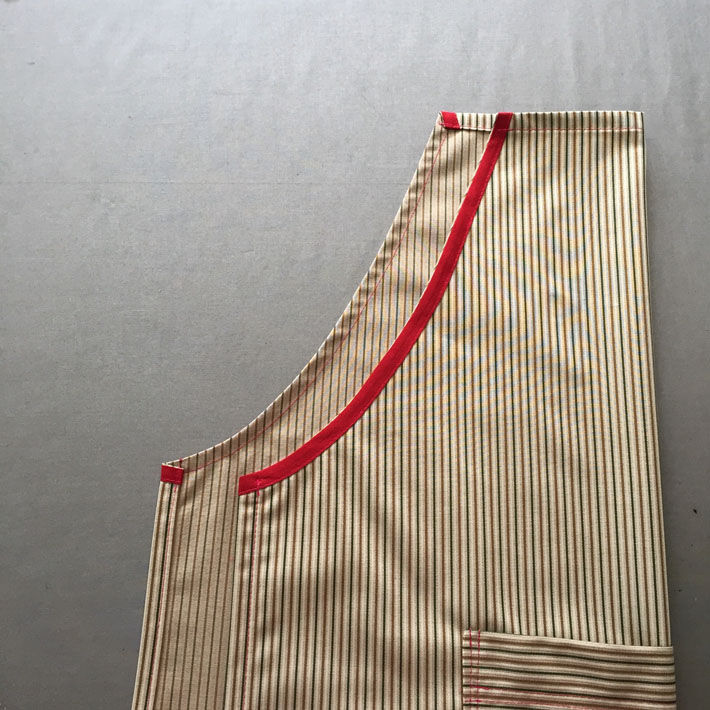
Double fold and stitch the top, sides and bottom of your apron to finish the edges. You can use bias tape or other trims and accent fabrics to add color and texture, if desired.
5. Make the Apron Neckband
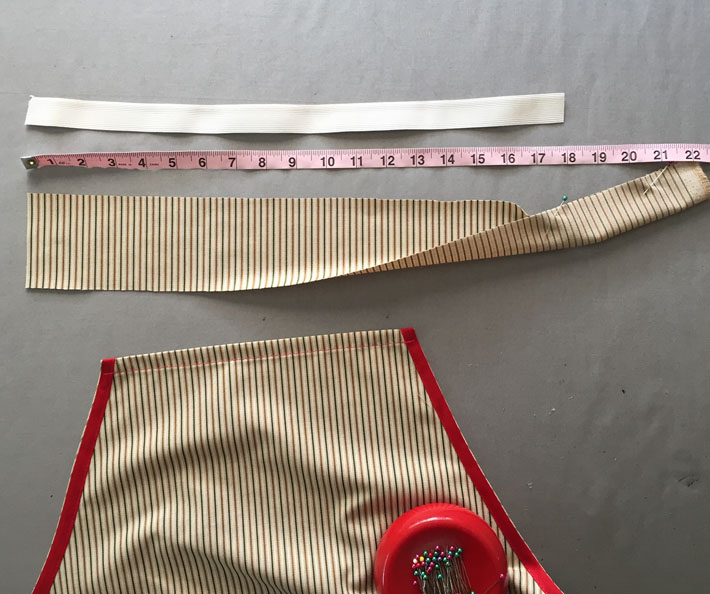
You can either add a basic neckband, or sew an elastic one that eliminates the need for a closure or tie at the neck.
To make the elastic neckband, start by cutting an 18" length of 1" wide elastic, then cut a 22" x 3" length of your apron fabric.
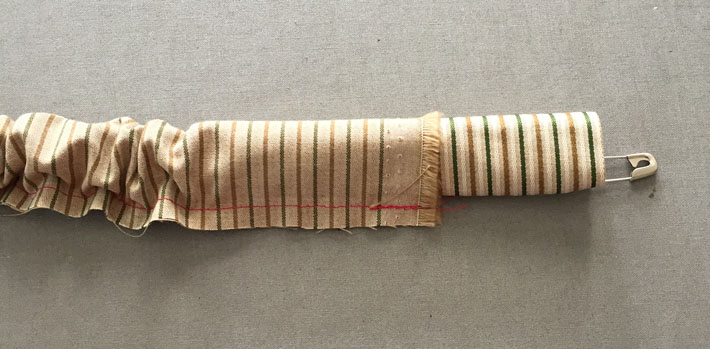
Stitch the apron neckband fabric into a tube with ¼" seam allowance. Leave both ends open, turn it right side out and press flat.
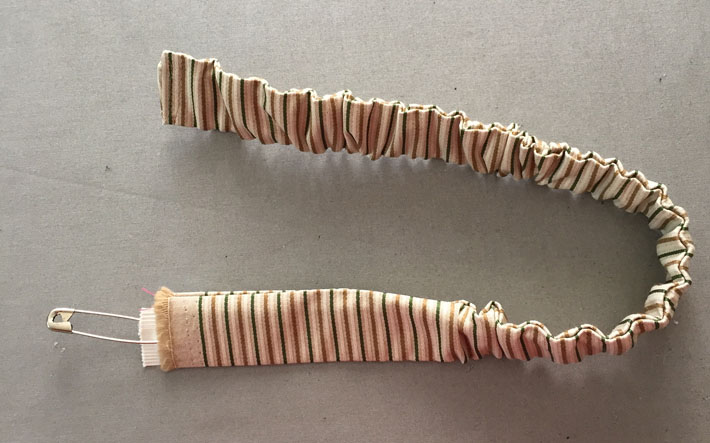
Pull the elastic piece through the fabric tube, keeping the end of the elastic even with the fabric tube at both ends.
6. Sew the Neckband to the Apron
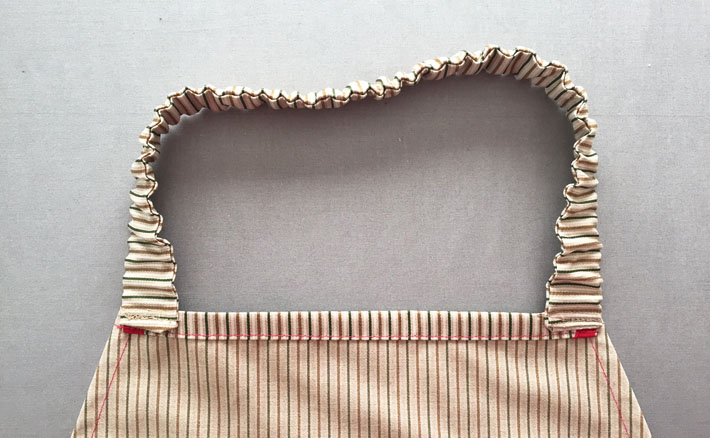
Tuck the ends of the fabric tube in about ¼", keeping the elastic covered and the elastic ends in place at the ends of the tube. Stitch one end of the neckband to each side of the apron top, making sure the neckband stays flat and doesn't get twisted when you attach it.
7. Make the Waist Ties
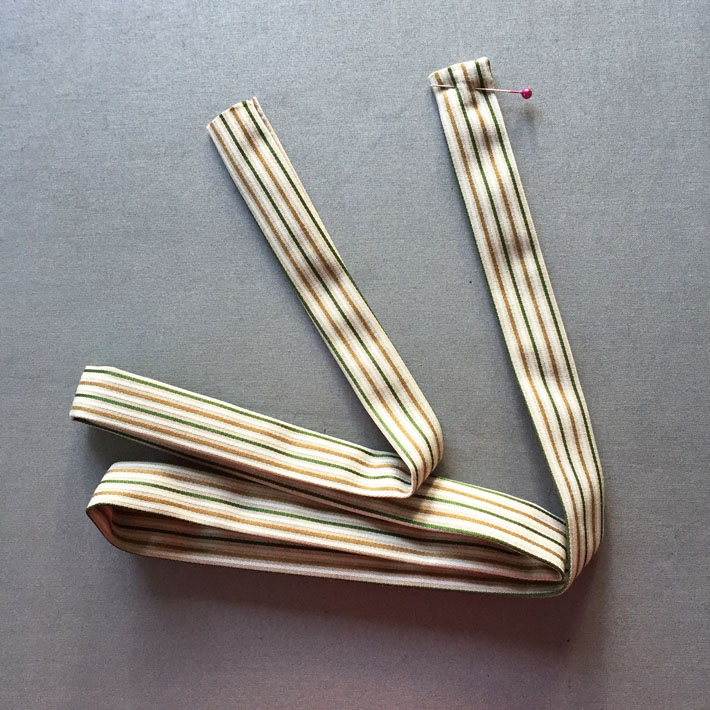
You can make the waist ties any length you want — be sure they're extra-long if you like to wrap them around the front — and you can use an accent fabric or even ribbon or twill tape.
To make 1"-wide ties, start by cutting two lengths of fabric 3" x 43". Sew both tubes wrong sides together, with a ½" seam allowance, and turn right side out. Finish by tucking in the open ends and stitching them closed.
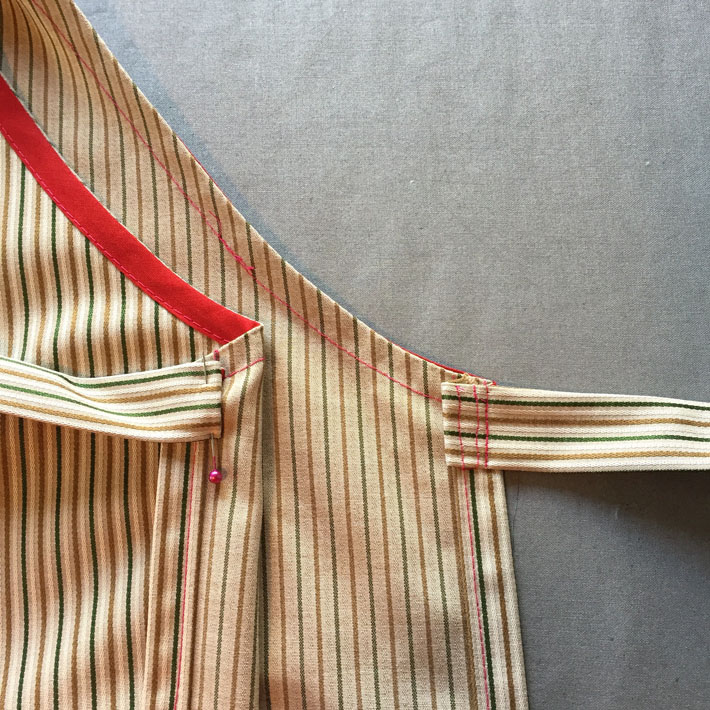
To attach the waist ties to the apron, fold the raw edges of the tube under and attach them as shown, enclosing that edge and creating a clean finish inside the apron. Give the tube a few rows of stitching to make it really secure.
Now try on your beautiful custom-made apron and get to some fun in the kitchen!

I've made this apron many times because of the elastic neck. It is so much easier than tying or using rings. Thanks!
I love this no-pattern apron, and have made many. Your instructions plus the photos are easy to follow. Thank you for posting it!
Beginner apron
This is the best apron ever
Do I need a sewing machine for this?
Super simple and thank you so much for posting this information. Cute name, "Craftsy" nice font too. Enjoy the rest of your weekend and have a wonderful day! ♥
These information is horrible
I'm making this for my brother. I like the simplicity. Thanks
Loved this easy-to-follow instructions! Thank you
I will try to sew this apron