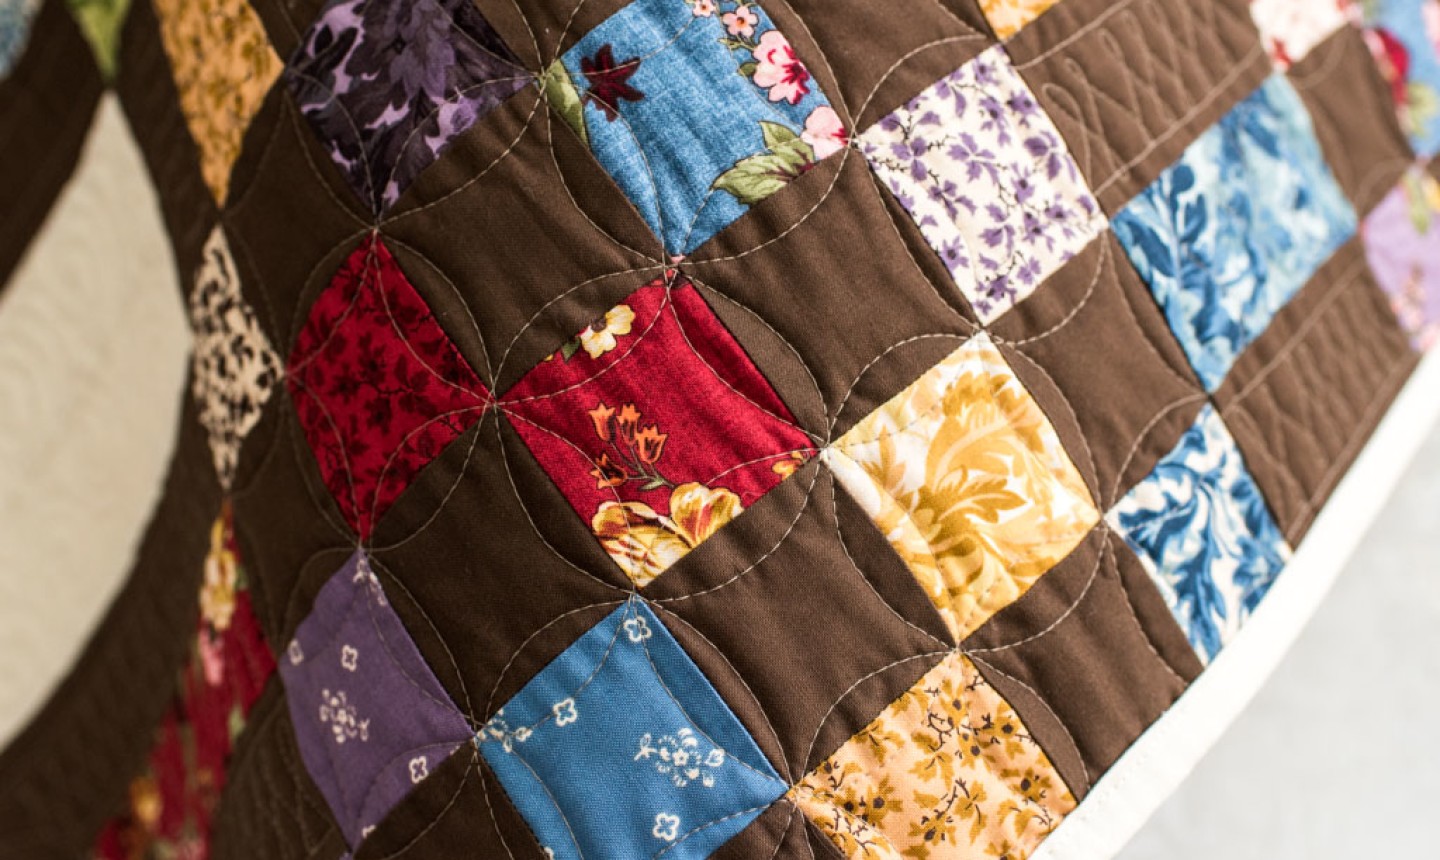
Whether you're quilting yourself or sending your quilt sandwich to a quilter for finishing, longarm quilting gives your project a beautiful, polished look. But before the stitching can take place, you need to do some prep work. Here's how to get your quilt ready for longarm quilting, so you end up with the best-looking results.
1. Ready the Quilt Top
Once the quilt top is made, look to see if there are seams around the outer edges. If so, baste through these seams about ⅛" from the edge to ensure they don’t pop open when loaded onto the longarm. If there are multiple seams, you may have to baste around the entire quilt. But if you only have a few, don't worry about covering the entire perimeter — just baste through each one. (PS: The binding will eventually cover up these basting stitches, so don't worry about them showing.)
2. Clip the Threads
If the quilt top has a light fabric that could easily show loose threads from the underside, clip 'em. (No one wants to see a red thread underneath a nicely quilted area on your top!) And if you notice the fabric is fraying, use a small dot of Fray Check to curb those unruly threads.
3. Square Up
Once you've taken care of loose threads, make sure your quilt top is squared and even on all four sides. Otherwise, it cannot be loaded onto the longarm. After, press your quilt top and fold it neatly.
4. Choose Batting Wisely
How will your quilt be used? Do you want the quilting to be on display, or will it simply hold the quilt together? Your batting choice can change based on the answer to these questions.
A loftier batting, for example, will show off the quilting more than a dense batting. Comparing Hobbs 80/20 batting to 100% Warm and Natural batting , both appear to be the same thickness. However, there is a difference in the density. Hobbs provides more loft, which in turn enhances the quilting.
If you really want to show off the quilting, wool batting is also a great choice. A double layer of Hobbs 80/20 and wool can give extra prominence to the quilted areas of your project.
5. Prepare the Backing
When it comes to backing, there are options: you can either purchase an extra wide backing fabric (measuring up to 110”), or you could piece the backing together.
Most quilters piece their quilt backs — it can be as simple as an extra strip sewn to one side , or it could be pieced together with a few unused quilt blocks or a variety of leftover fabrics. Regardless, you want to stitch ⅝” seams when piecing the back and press them open to help spread out the bulk.
Typically, the quilt back should measure approximately 4”- 6” larger than the quilt top. But if you're sending your quilt top out, ask your longarm quilter what measurements she prefers. Then square up the backing on all four sides, press the backing and fold neatly.
Pro Tip: When piecing a quilt backing, stay away from creating a symmetrical look. This can be problematic for a longarmer, as they may not be able to see the back while quilting, making it difficult to guarantee symmetry — especially if the backing fabric stretches a bit.
6. Talk to Your Longarm Quilter
If you're sending your quilt out to a professional longarm quilter, make sure to communicate with him or her first. Ask about any preferences for how you should prepare your quilt beyond the tips outlined here, so you can help guarantee you get exactly what you want.

I'm wondering if the batting and the quilt top should be the same size and then the extra on the back of the quilt to take to a log arm quilter.
Each roller system and brand of longarm machine has different requirements. Mine is so great!!! APQS Freedom "Freddie" backing 3" beyond the edges of pieced top. Any batting any fabrics.
Do I have to press my queen size quilt its so big I don have a place to iron it. Will the long arm quilter iron it
does the batting need to be 4-6 inches larger than the quilt? And do you have to add extra fabric to the quilt to measure 4-6 inches? many thanks Naomi ?the quilt itself