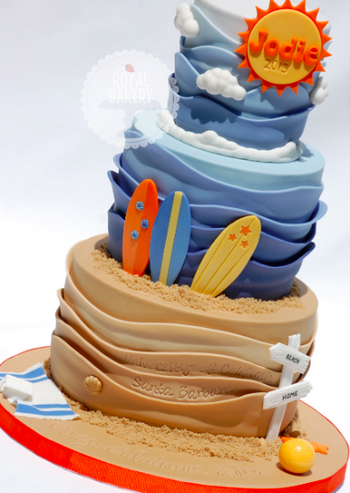
Photo via The Royal Bakery
Now that you’ve been inspired by beach-themed cakes, this tutorial demonstrates the simple steps needed to create a soft “wave” effect on your cake. The technique is also appealing when applied to just one tier of a larger, stacked cake.
If you plan to give your waves an ombré look (graduating shades of colour from light to dark), decide whether you want the lightest shade at the top or bottom of the cake. For this tutorial, I will be applying my waves with the lightest shade at the top.
I prefer to use Wilton fondant for my waves. It is so easy to handle and doesn’t tear or droop when applied to the cake. If you prefer not to use Wilton, you may wish to add a little stiffening powder like Tylose to your fondant.
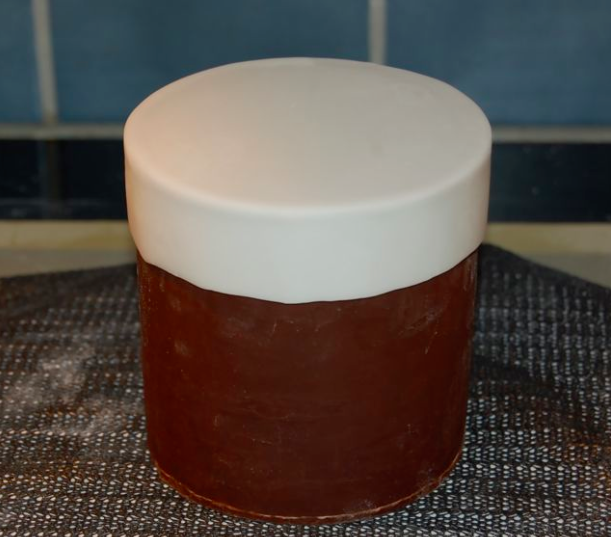
1. Start by covering the top of your cake and about an inch of the sides with the lightest shade from your color palette. To do this, roll a circle of fondant two inches wider than the diameter of your cake. Lay the circle over the top, and smooth as you would if you were covering a cake in the traditional way. Slice off any excess with a sharp knife about an inch from the top to create a ‘lid.’
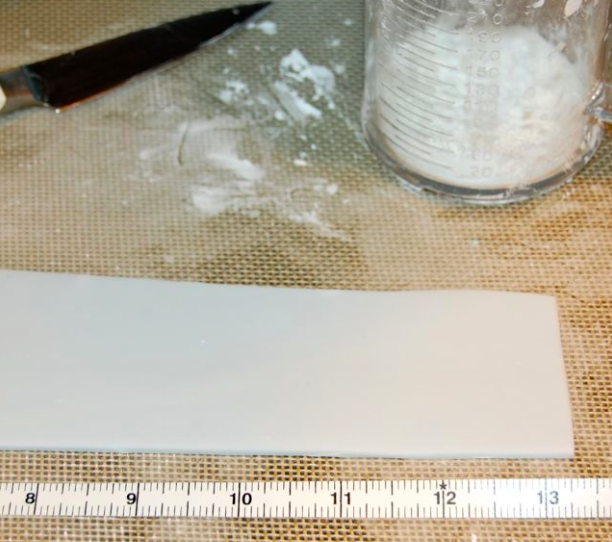
2. Measure the circumference of your cake. My 4” round had a 13.5” circumference. Roll out a strip of fondant about 1/8” thick that is at least that length. The height of the strip depends on how many layers of waves you want on your cake. I wanted four waves on my 5” tall cake, so I rolled my fondant around 2” wide. If you want more waves, you will need to roll thinner strips.
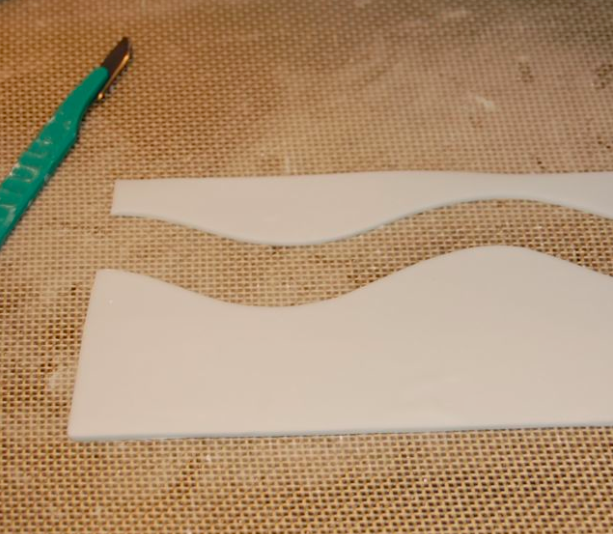
3. Cut a shallow wave pattern from one end of the strip to the other. Make sure your cut begins and ends either at the ‘peak’ or ‘trough’ of a wave, however. This will ensure you strip joins seamlessly when applied to the cake.
4. Roll your strip up to make it easier to handle. I prefer to dust it with cornstarch and roll it up on itself, but you may find it easier to roll it around a small rolling pin.
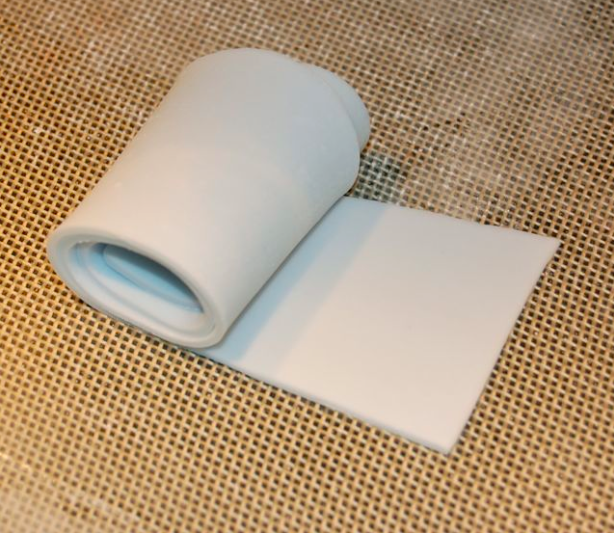
5. Moisten about an inch of your crumb coat (I used ganache) underneath the level of the fondant ‘lid.’
6. Choose the back of the cake and start sticking your strip to the moistened crumb coat. Position the bottom of the strip about 1” below the line of the fondant ‘lid.’ If you want to cut your strips thinner and have more waves per tier, position your first wave closer to the ‘lid.’
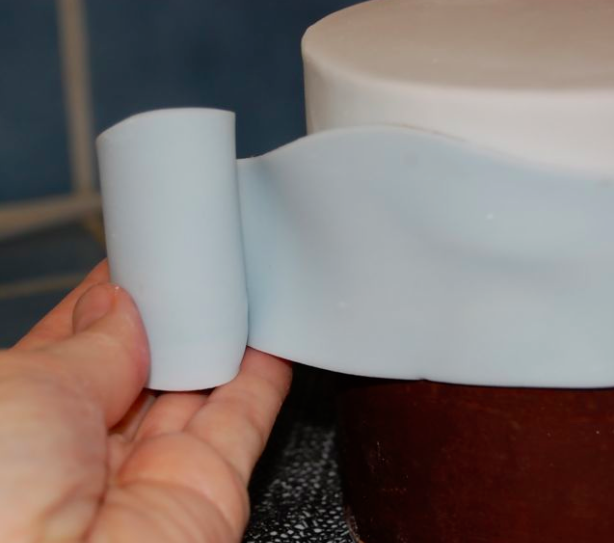
7. Moisten the two edges of the strip and stick them together.
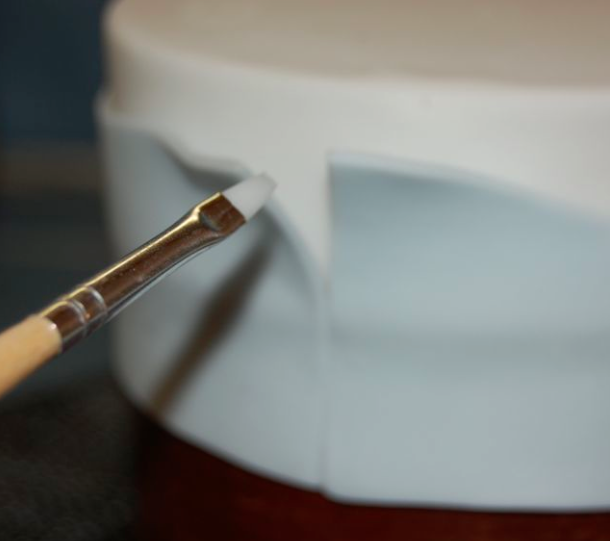
8. Use a dry paintbrush to gently ease the top edge of the wave away from the cake. Do this all the way around. Gently run your thumb and forefinger along the edge of the length of the strip. This helps thin the fondant slightly and make it frill out from the cake.
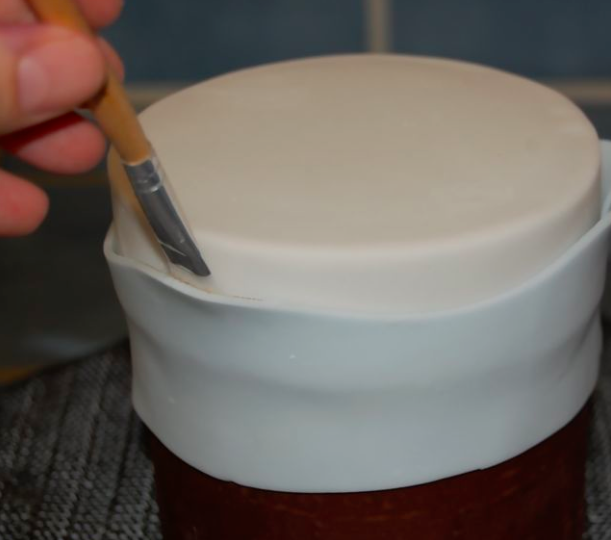
9. Cut your next strip from a slightly darker shade of fondant. It is important that you begin cutting your wave in the different place than the one before. In the photo above, you will see that the first wave is wide at the join, whereas the second wave will be narrower. This helps give a random wave pattern all the way around.
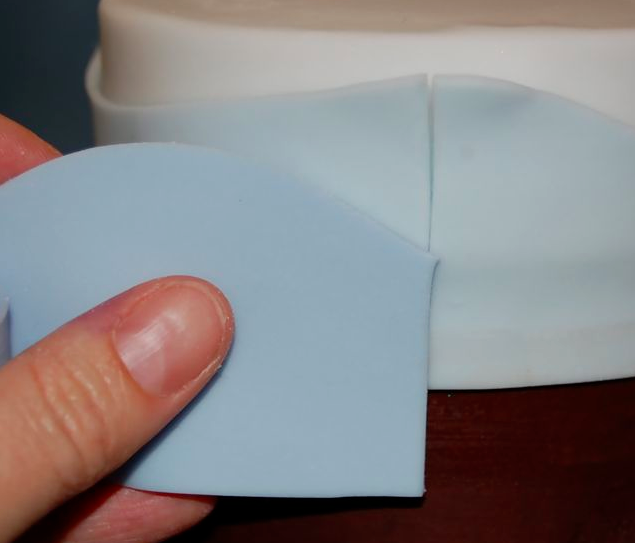
10. Moisten another inch of your crumb coat, and apply the strip as before. Ease away the edges with a paintbrush, and thin them slightly between thumb and forefinger.
11. Continue cutting and applying strips, using slightly darker fondant each time, until you are close to the bottom of the cake.
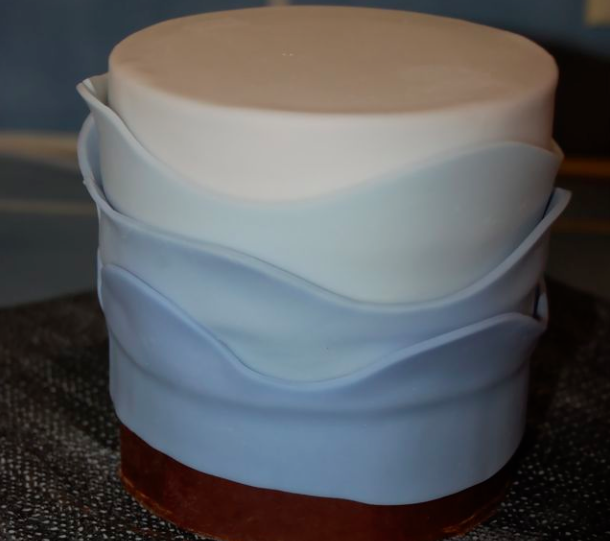
12. Apply your final strip so that the bottom edge is totally flush with the bottom of the cake.
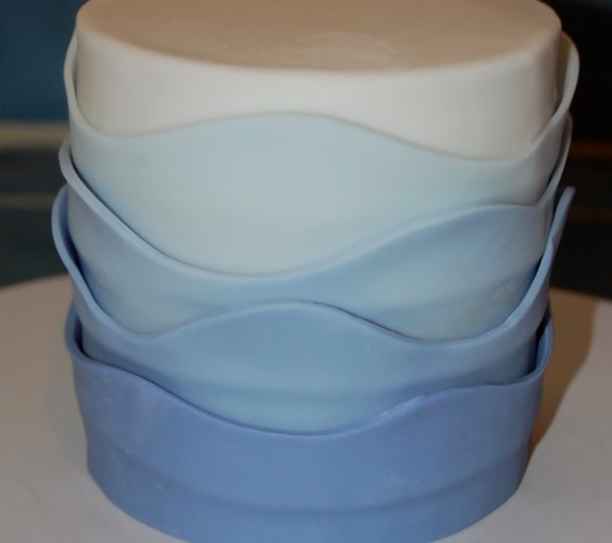
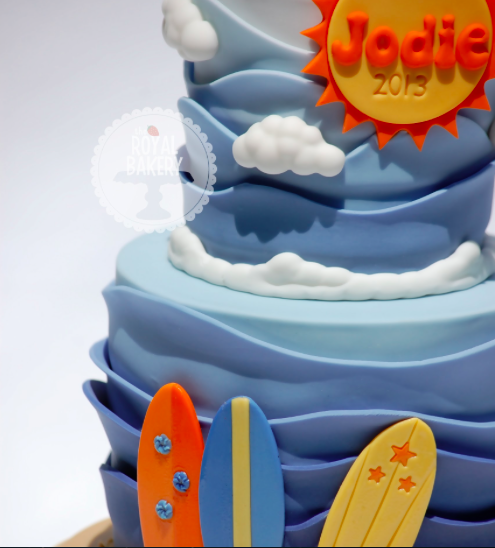
13. Then, just add your chosen decorations to complete your ombré wave cake.
To learn more exciting techniques with ruffles, sign up for the online Craftsy class Ruffles, Pleats, & Drapes with Marsha Winbeckler. You might also enjoy these nautical cakes. What type of cake do you think you’ll try this technique on first?

Share tips, start a discussion or ask one of our experts or other students a question.
No Responses to “Wave Hello to the Latest Ruffle Technique”