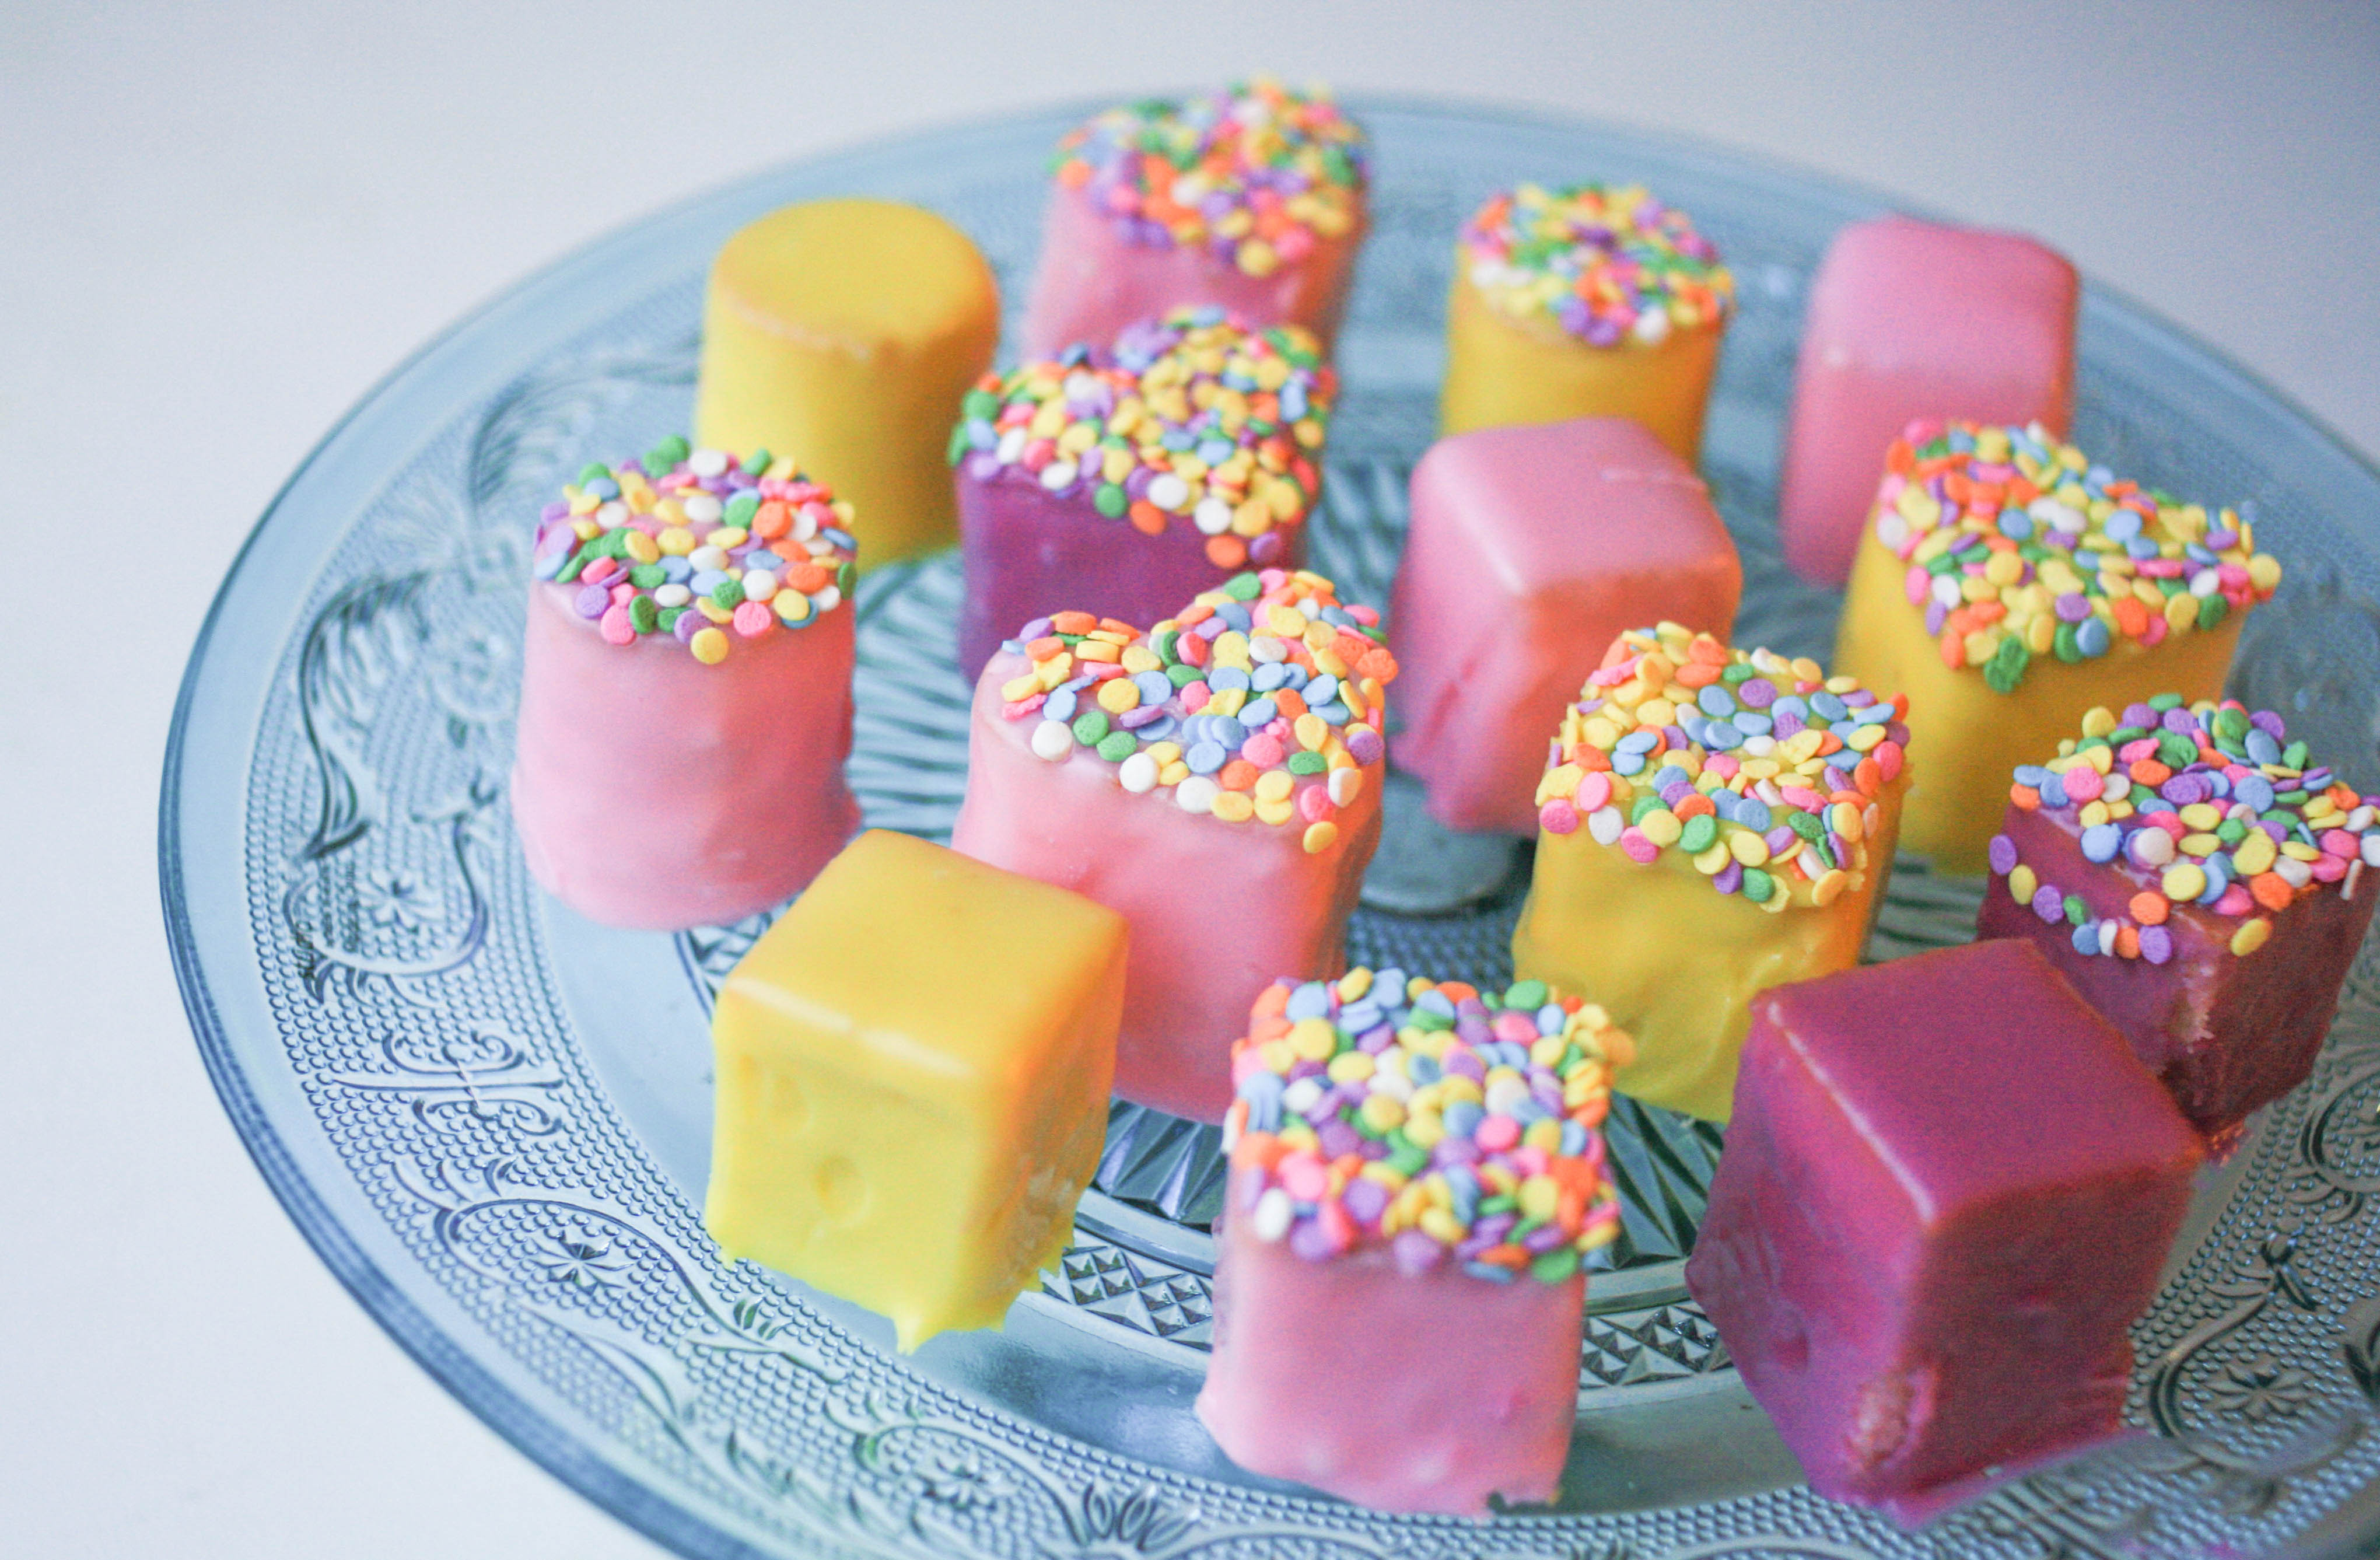
In the world of teeny, tiny treats, the French dessert known as petit fours reign supreme. These cute little squares of cake are wrapped in sweet fondant and usually topped with piped royal icing flowers. But if you want a more modern twist, this tutorial gives the sweets an update with brightly-colored coatings and a generous sprinkling of confetti.
Petit Fours
Level: Easy
What You Need
For the Cakes
For the Poured Fondant Icing
Instructions
1. Level the Cake
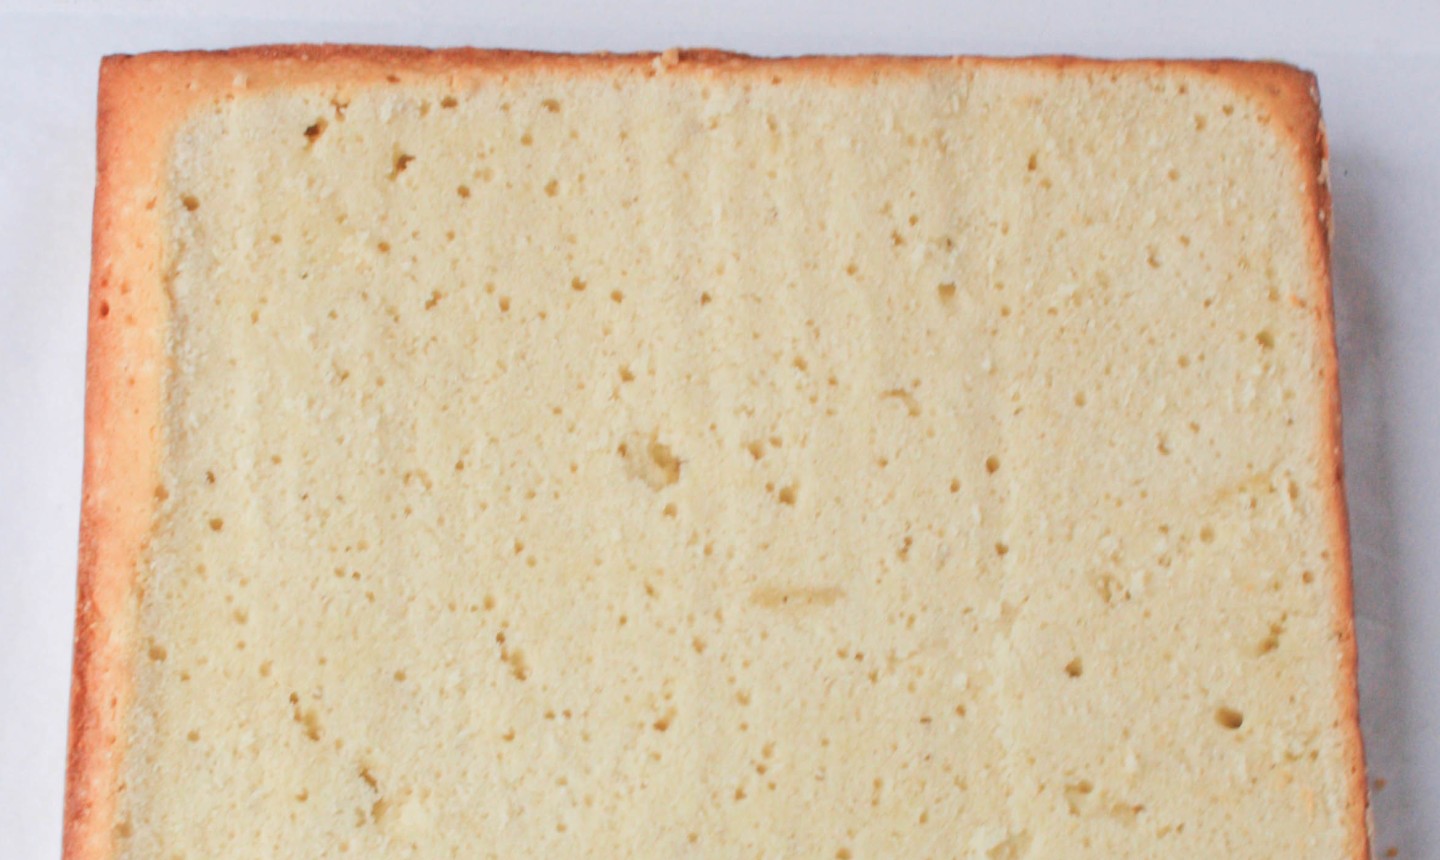
Trim the top of your pound cake so it’s level.
Pro Tip: This tutorial doesn’t have filling for the petit fours, but if you wanted to, do so now. Just slice the cake in half horizontally and fill with buttercream or jam. Chill the cake completely before moving on to the next step so the filling doesn’t squish out while cutting.
2. Cut the Cake Into Squares
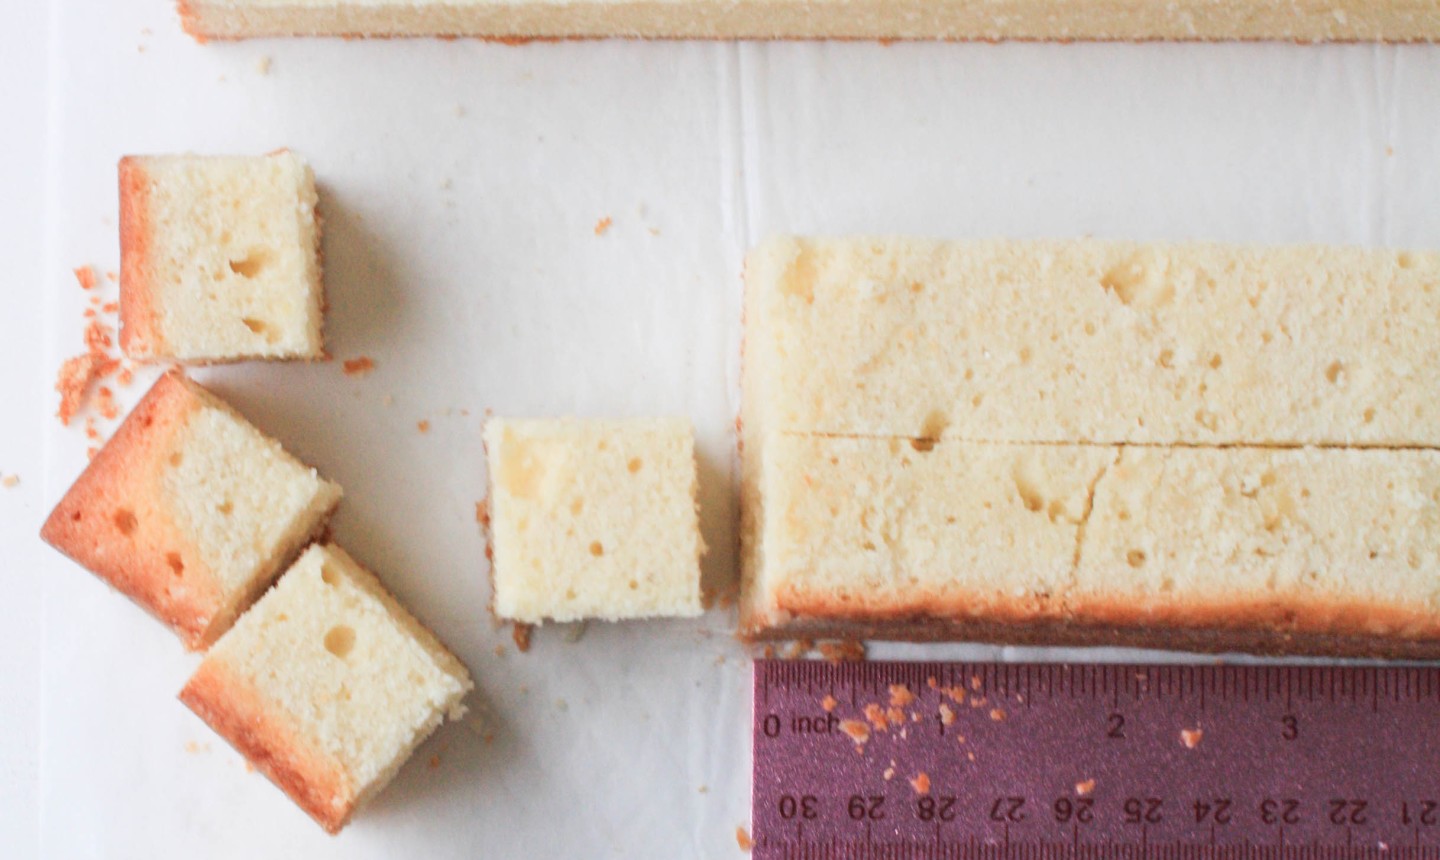
Use a ruler and sharp knife to cut the pound cake into little cubes. The classic size for petit fours is a 1″ cube, but you can cut yours as large or small as you like. (Consider it a perk of being in charge of your own dessert!)
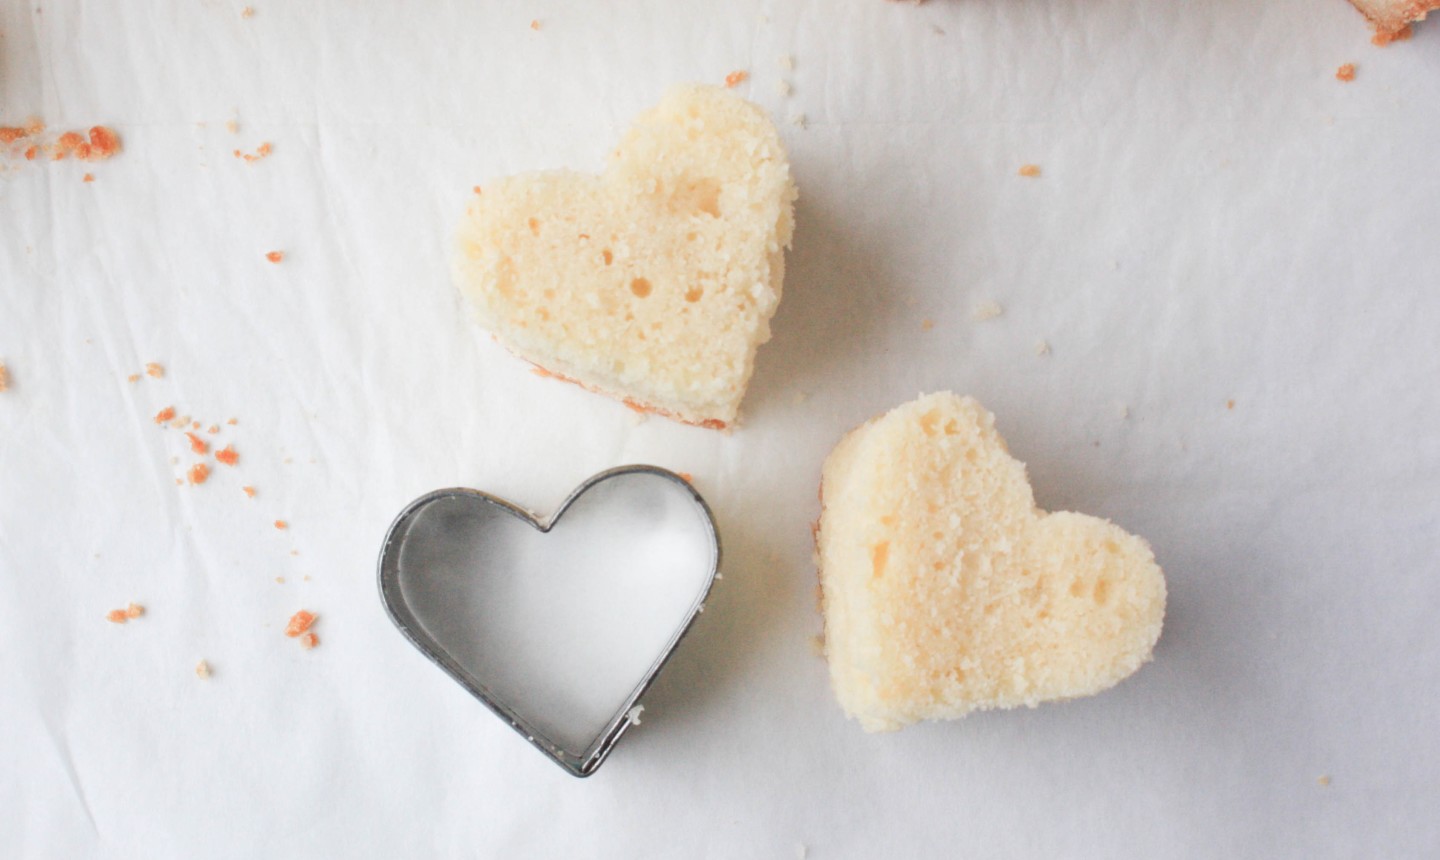
You can also cut more petit four shapes using circle and heart cutters.
Place the cut cake pieces onto a parchment-lined sheet pan and pop them in the freezer for 15 minutes.
3. Make the Glaze
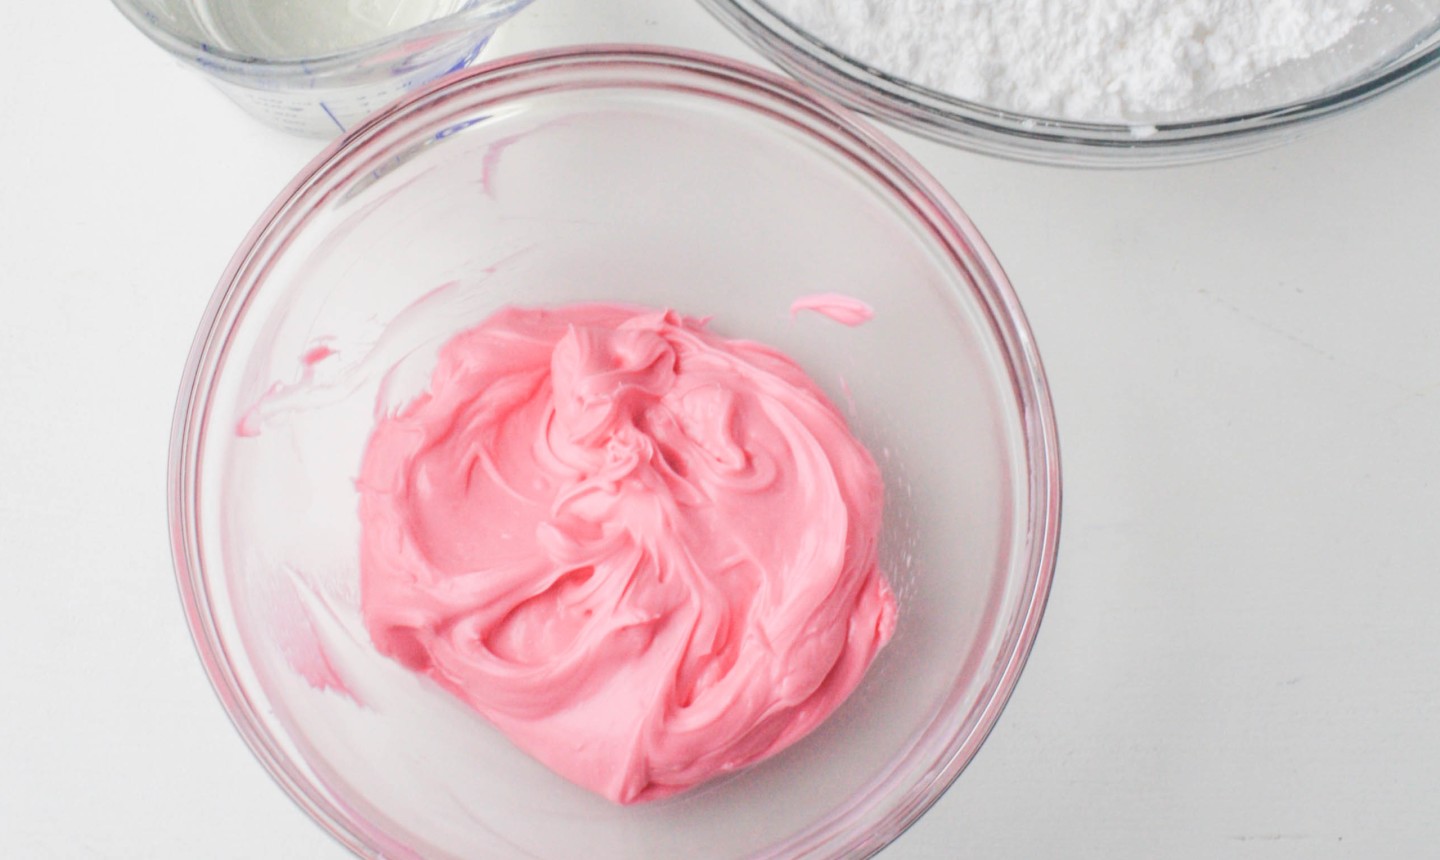
To make a great petit four, you need a good glaze. This poured fondant icing is thick enough to give the cakes a clean, opaque finish, but still thin enough to make dipping and tapping off excess icing a breeze.
To make it, melt the candy melts in the microwave in a small heatproof bowl. In a larger bowl, whisk together the powdered sugar, corn syrup and hot water until smooth. Whisk the candy melts into the sugar mixture until combined.
Good to Know: Use the icing right away and reheat as needed to keep the glaze pourable. Unused icing can be stored in an airtight container (with plastic wrap pressed against the surface of the icing) for up to a week.
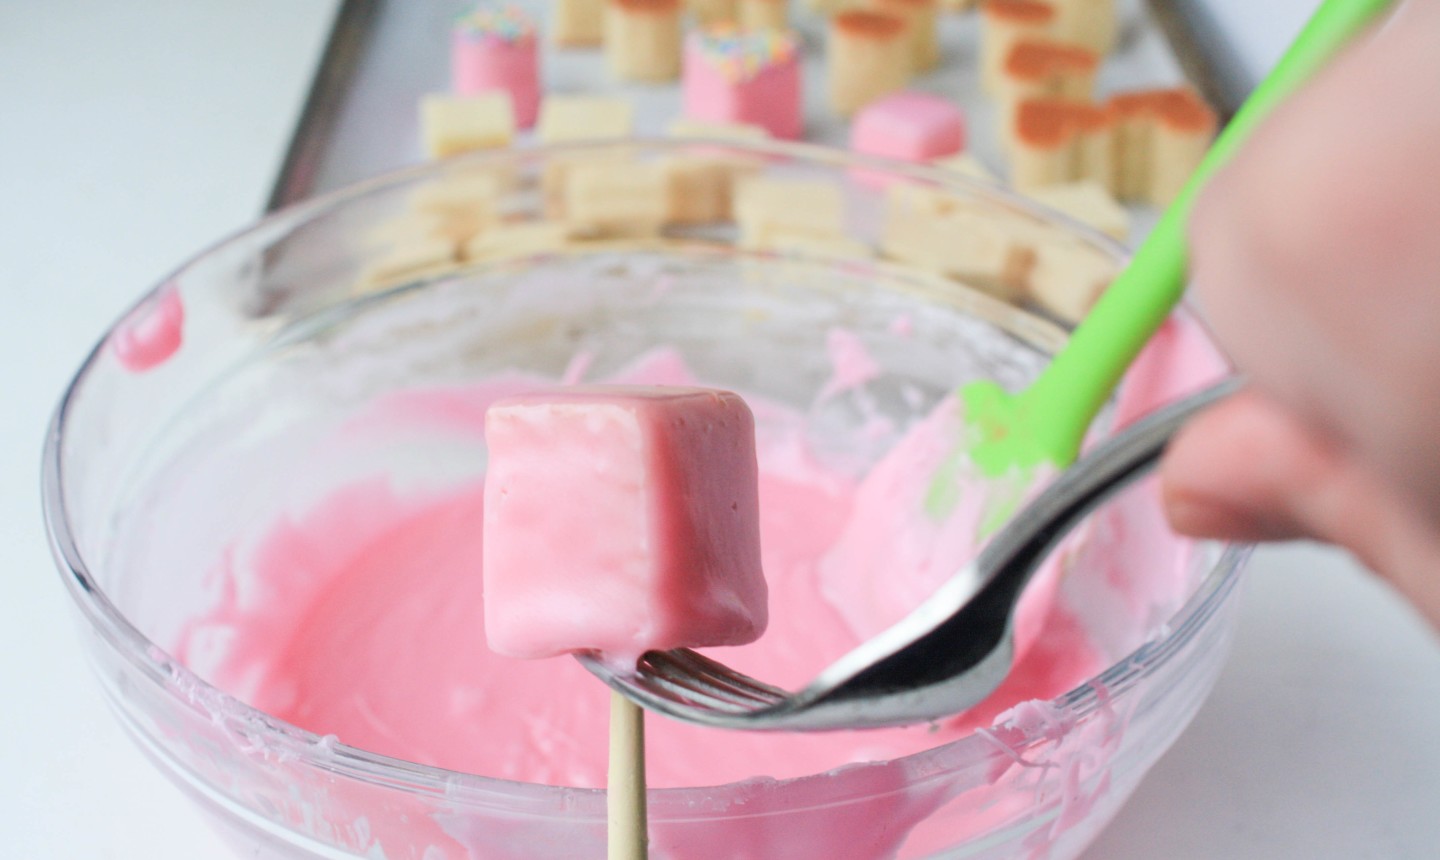
4. Dip the Cake Cubes
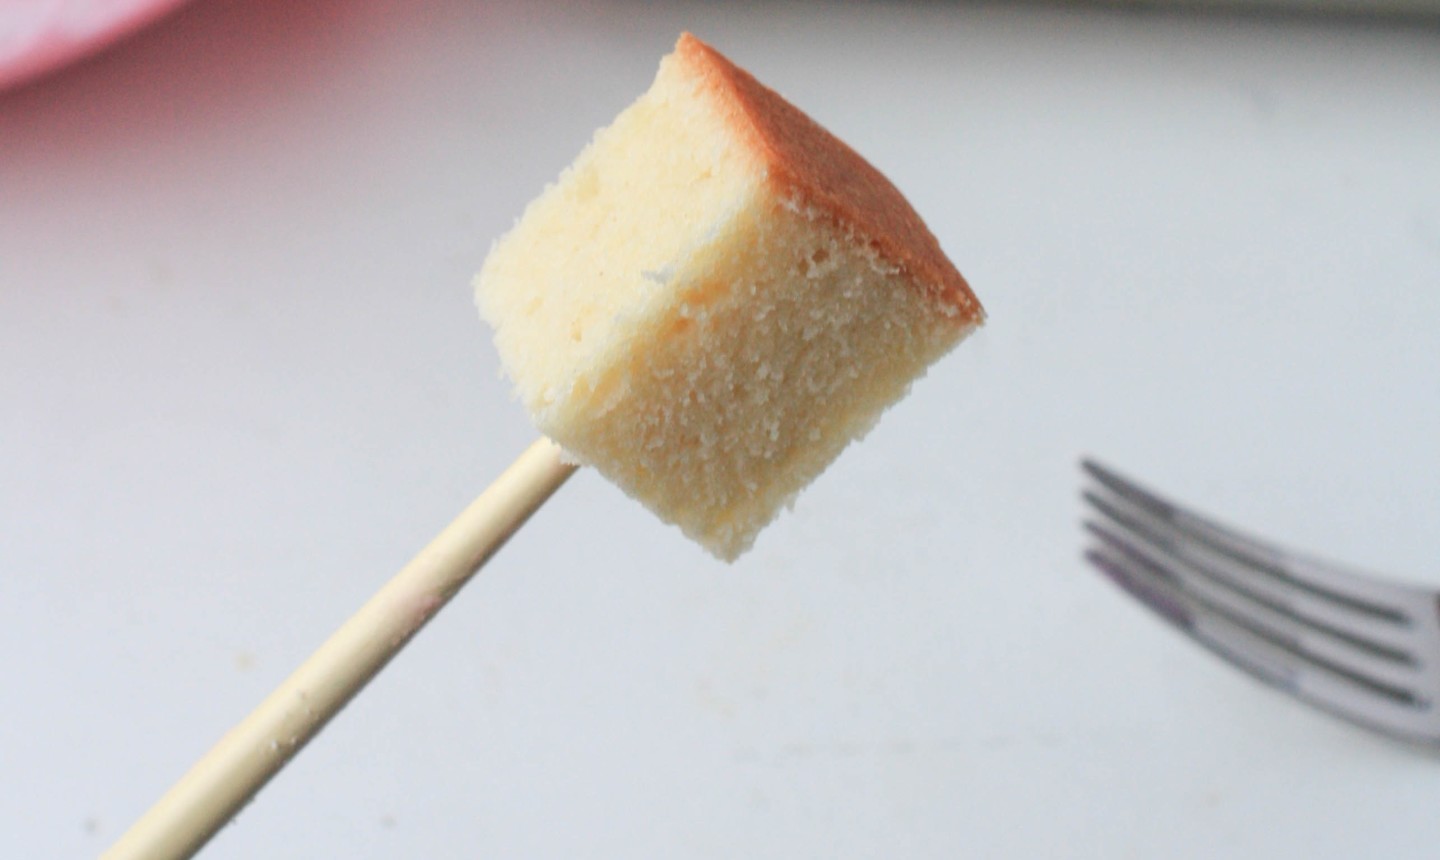
Stick the end of a skewer or chopstick into the cut side of a piece of cake.
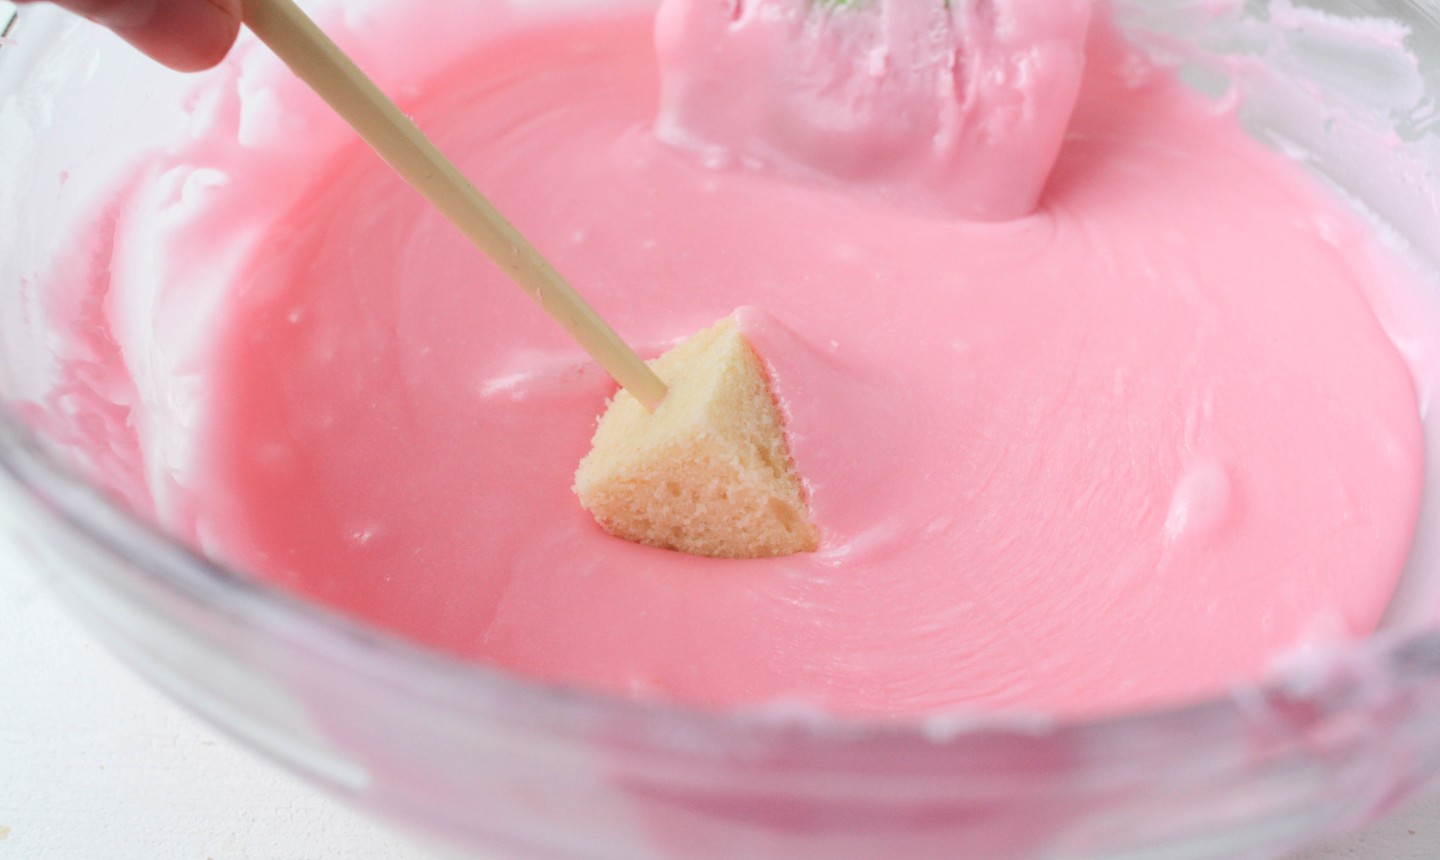
Dip the cake into the poured fondant icing, completely coating the top and sides.
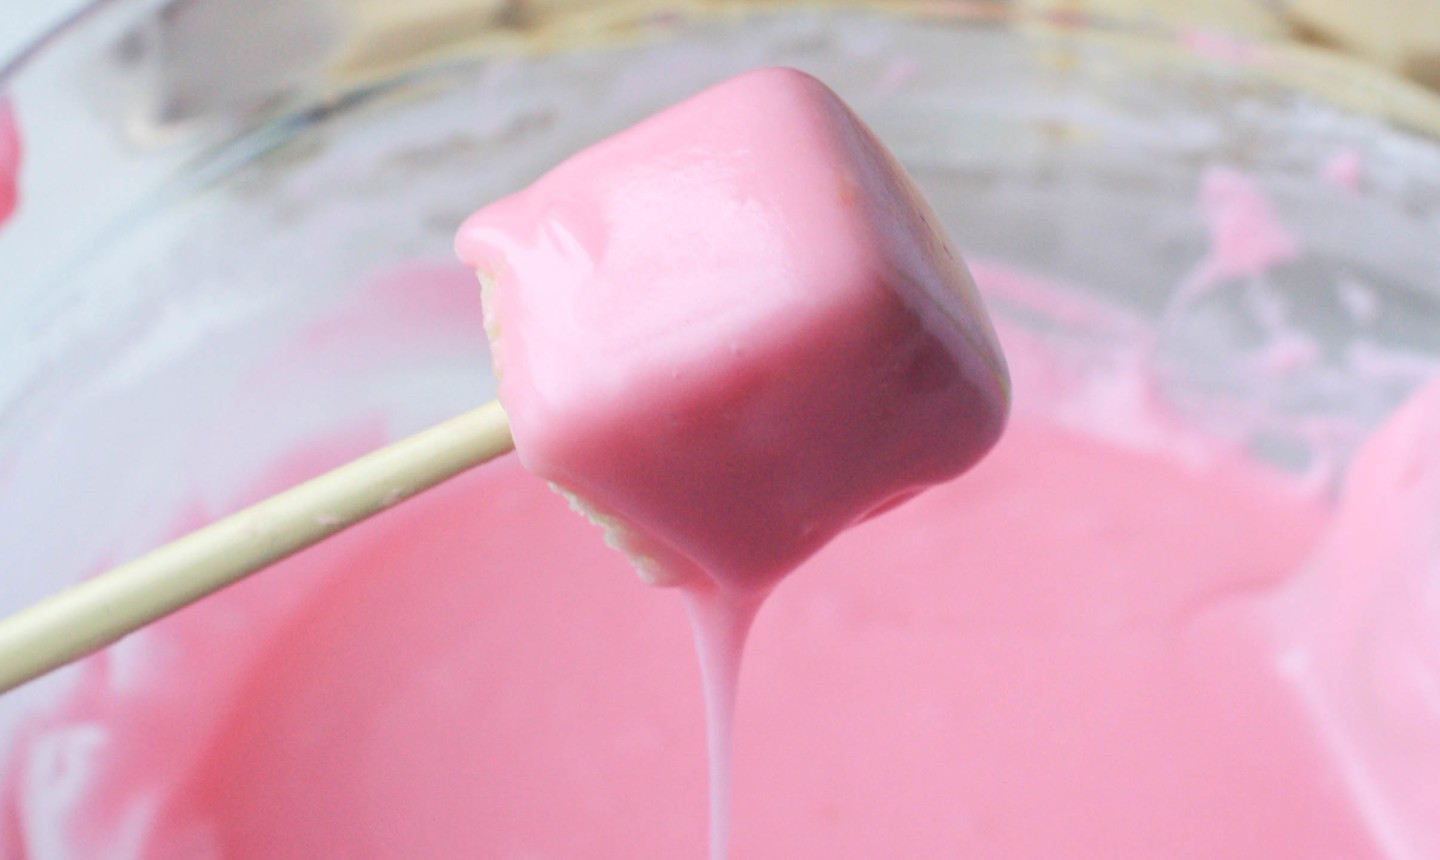
Tap the stick against the side of the bowl to shake off any excess icing.
5. Add Sprinkles

Dip the top of some of your petit fours in confetti sprinkles.
6. Let the Petit Four Dry
Slide a fork under the dipped petit four and gently lift it off of the stick.
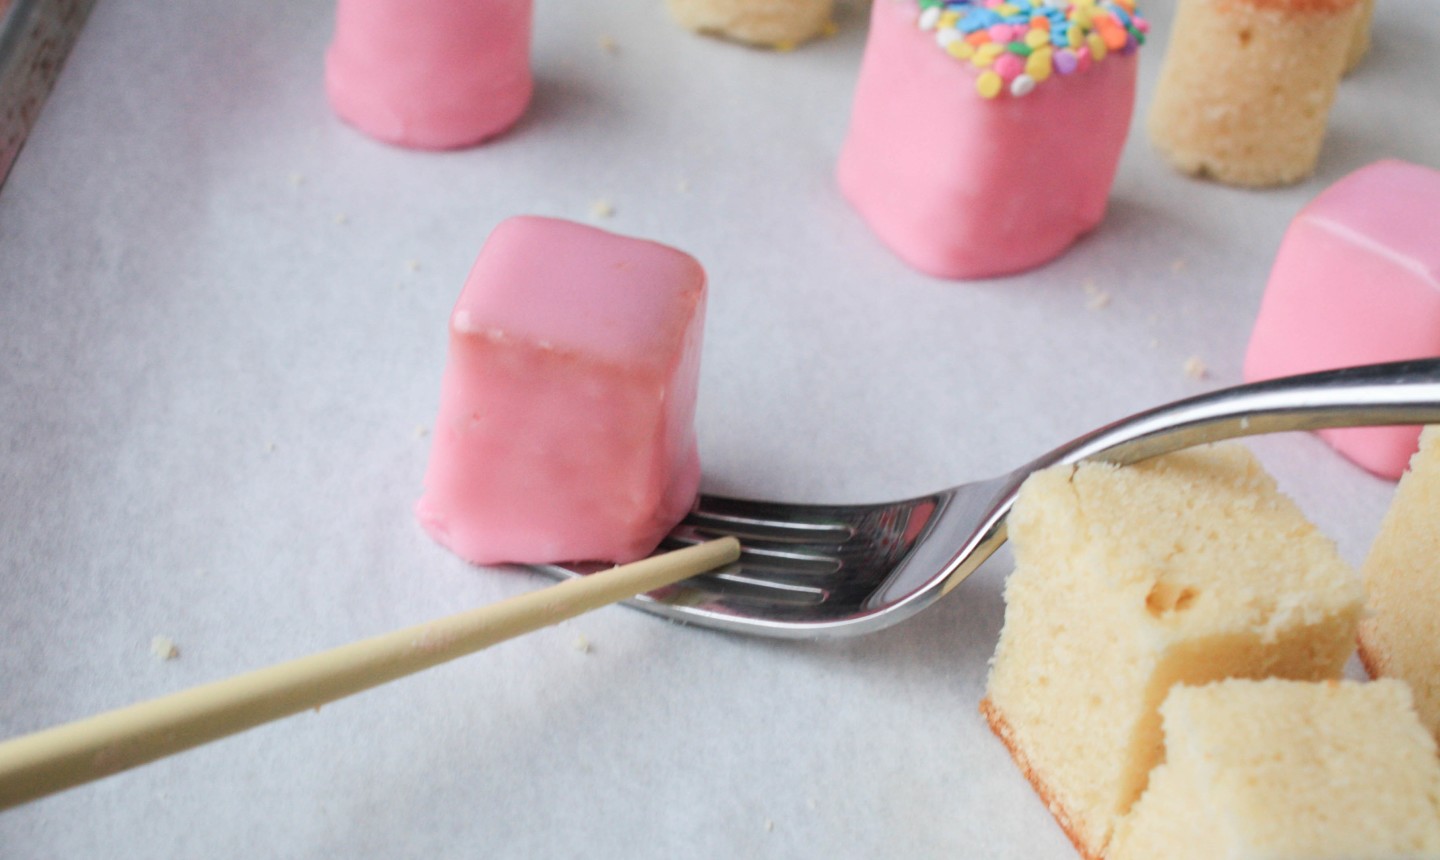
Move it to a parchment-lined baking sheet (or a drip rack), using the stick to help slide it off the fork.
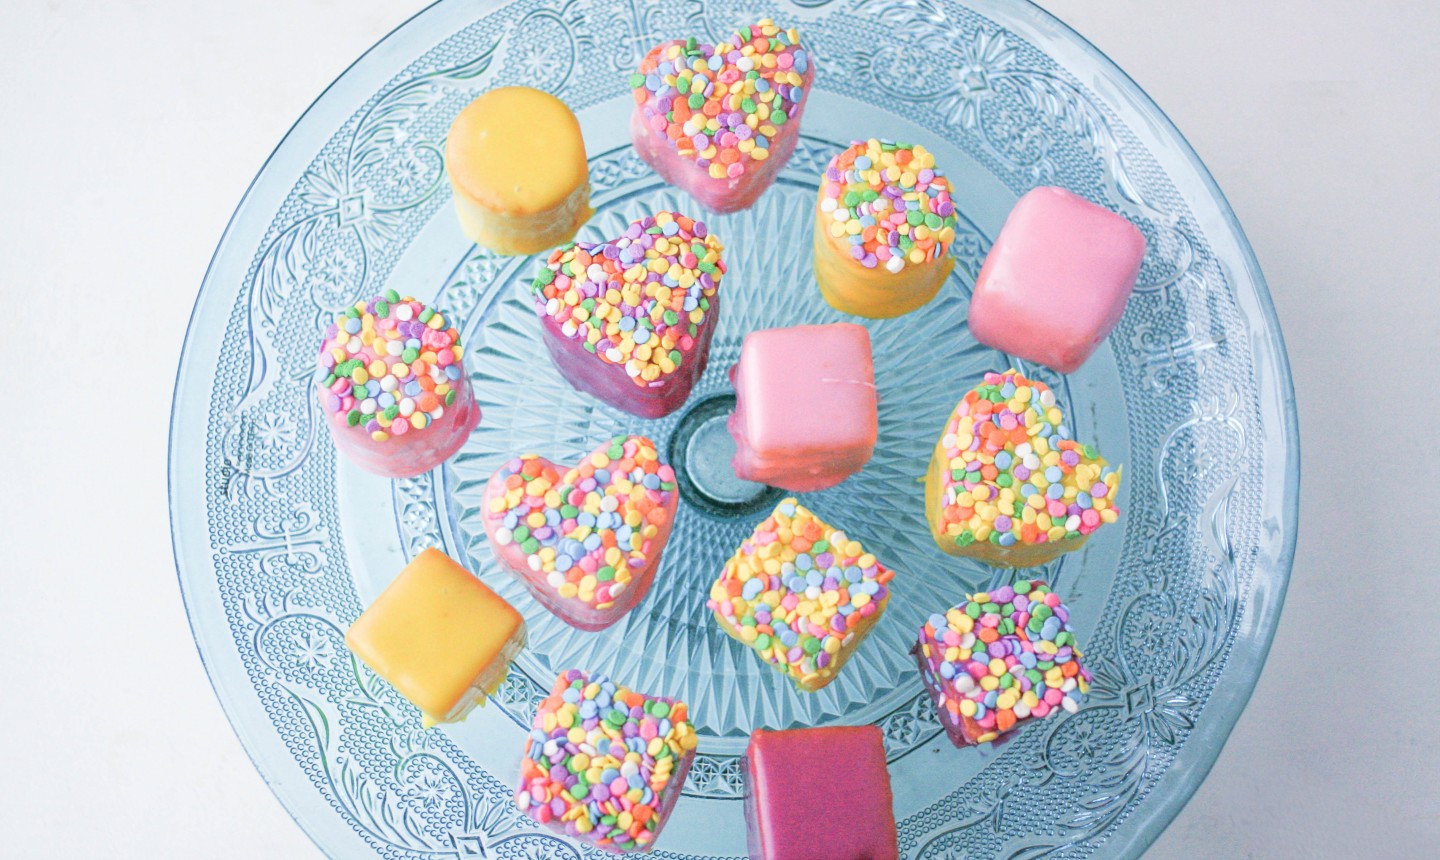
Once the petit fours are dry, arrange them on a platter or in paper baking cups for immediate serving. Store unfilled petit fours in an airtight container at room temperature for up to four days.
Good to Know: How you store filled petit fours really depends on the stability of the filling — just don’t store them in the fridge, as that will cause the icing to sweat and get sticky.
Now that you’ve mastered the basics, feel free to change up the colors to match your event or season, or try dipping the tops of your cakes in sanding sugar, crushed candy or nonpareils.
I love the recipes
I’m ready to make these now. Wish me luck.
Going to try this for Father's day
This may be a silly question…..since you said don’t put these in the fridge does that mean that the finished petit fours should not be frozen either? I’m needing to make some about 3 weeks ahead.
Fantastic...what a great idea to freeze them before dipping...please do share more of your brilliant ideas...
I made these and the coating was so thick it was unpourable and un-dippable. I thinned it until it would work but then it never dried. I followed the recipe exactly. What could I have done wrong? They were still delicious!
Thank you for this tutorial you have shared. I want to learn more.