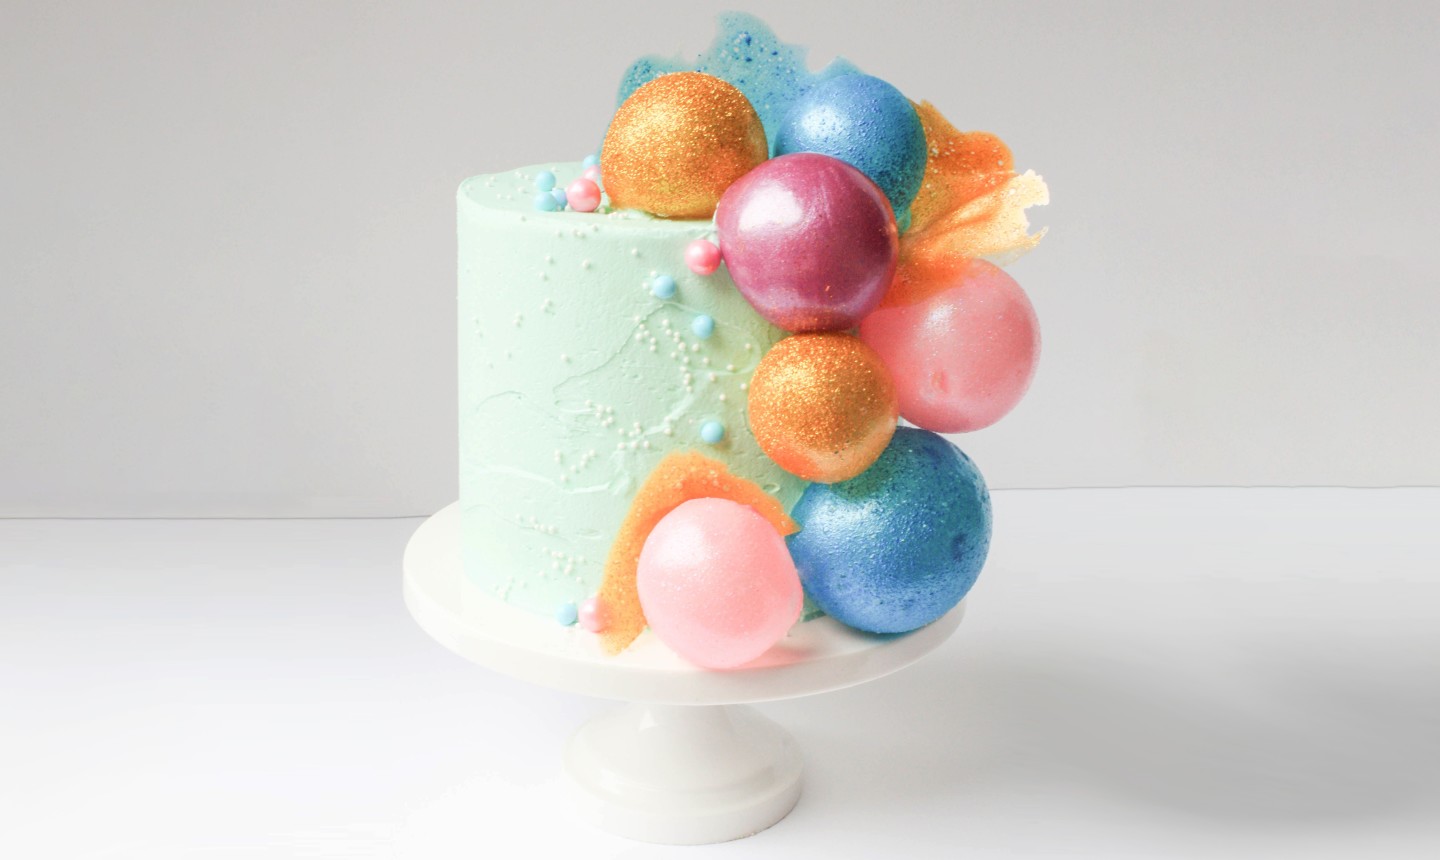
Gelatin bubbles are floating through the air and landing gently on all kinds of cakes. Look from them on a rubber-ducky cake for a baby shower, a Champagne-themed cake for an anniversary dinner, even a wedding cake. They can add a pop of color wherever you want it.
While gelatin is edible (technically), these bubbles aren't meant for eating. So break out the luster dust and ramp up the shine! Just be sure to take the bubbles off the cake before serving.
How to Make Gelatin Bubbles
Level: Intermediate
What You Need
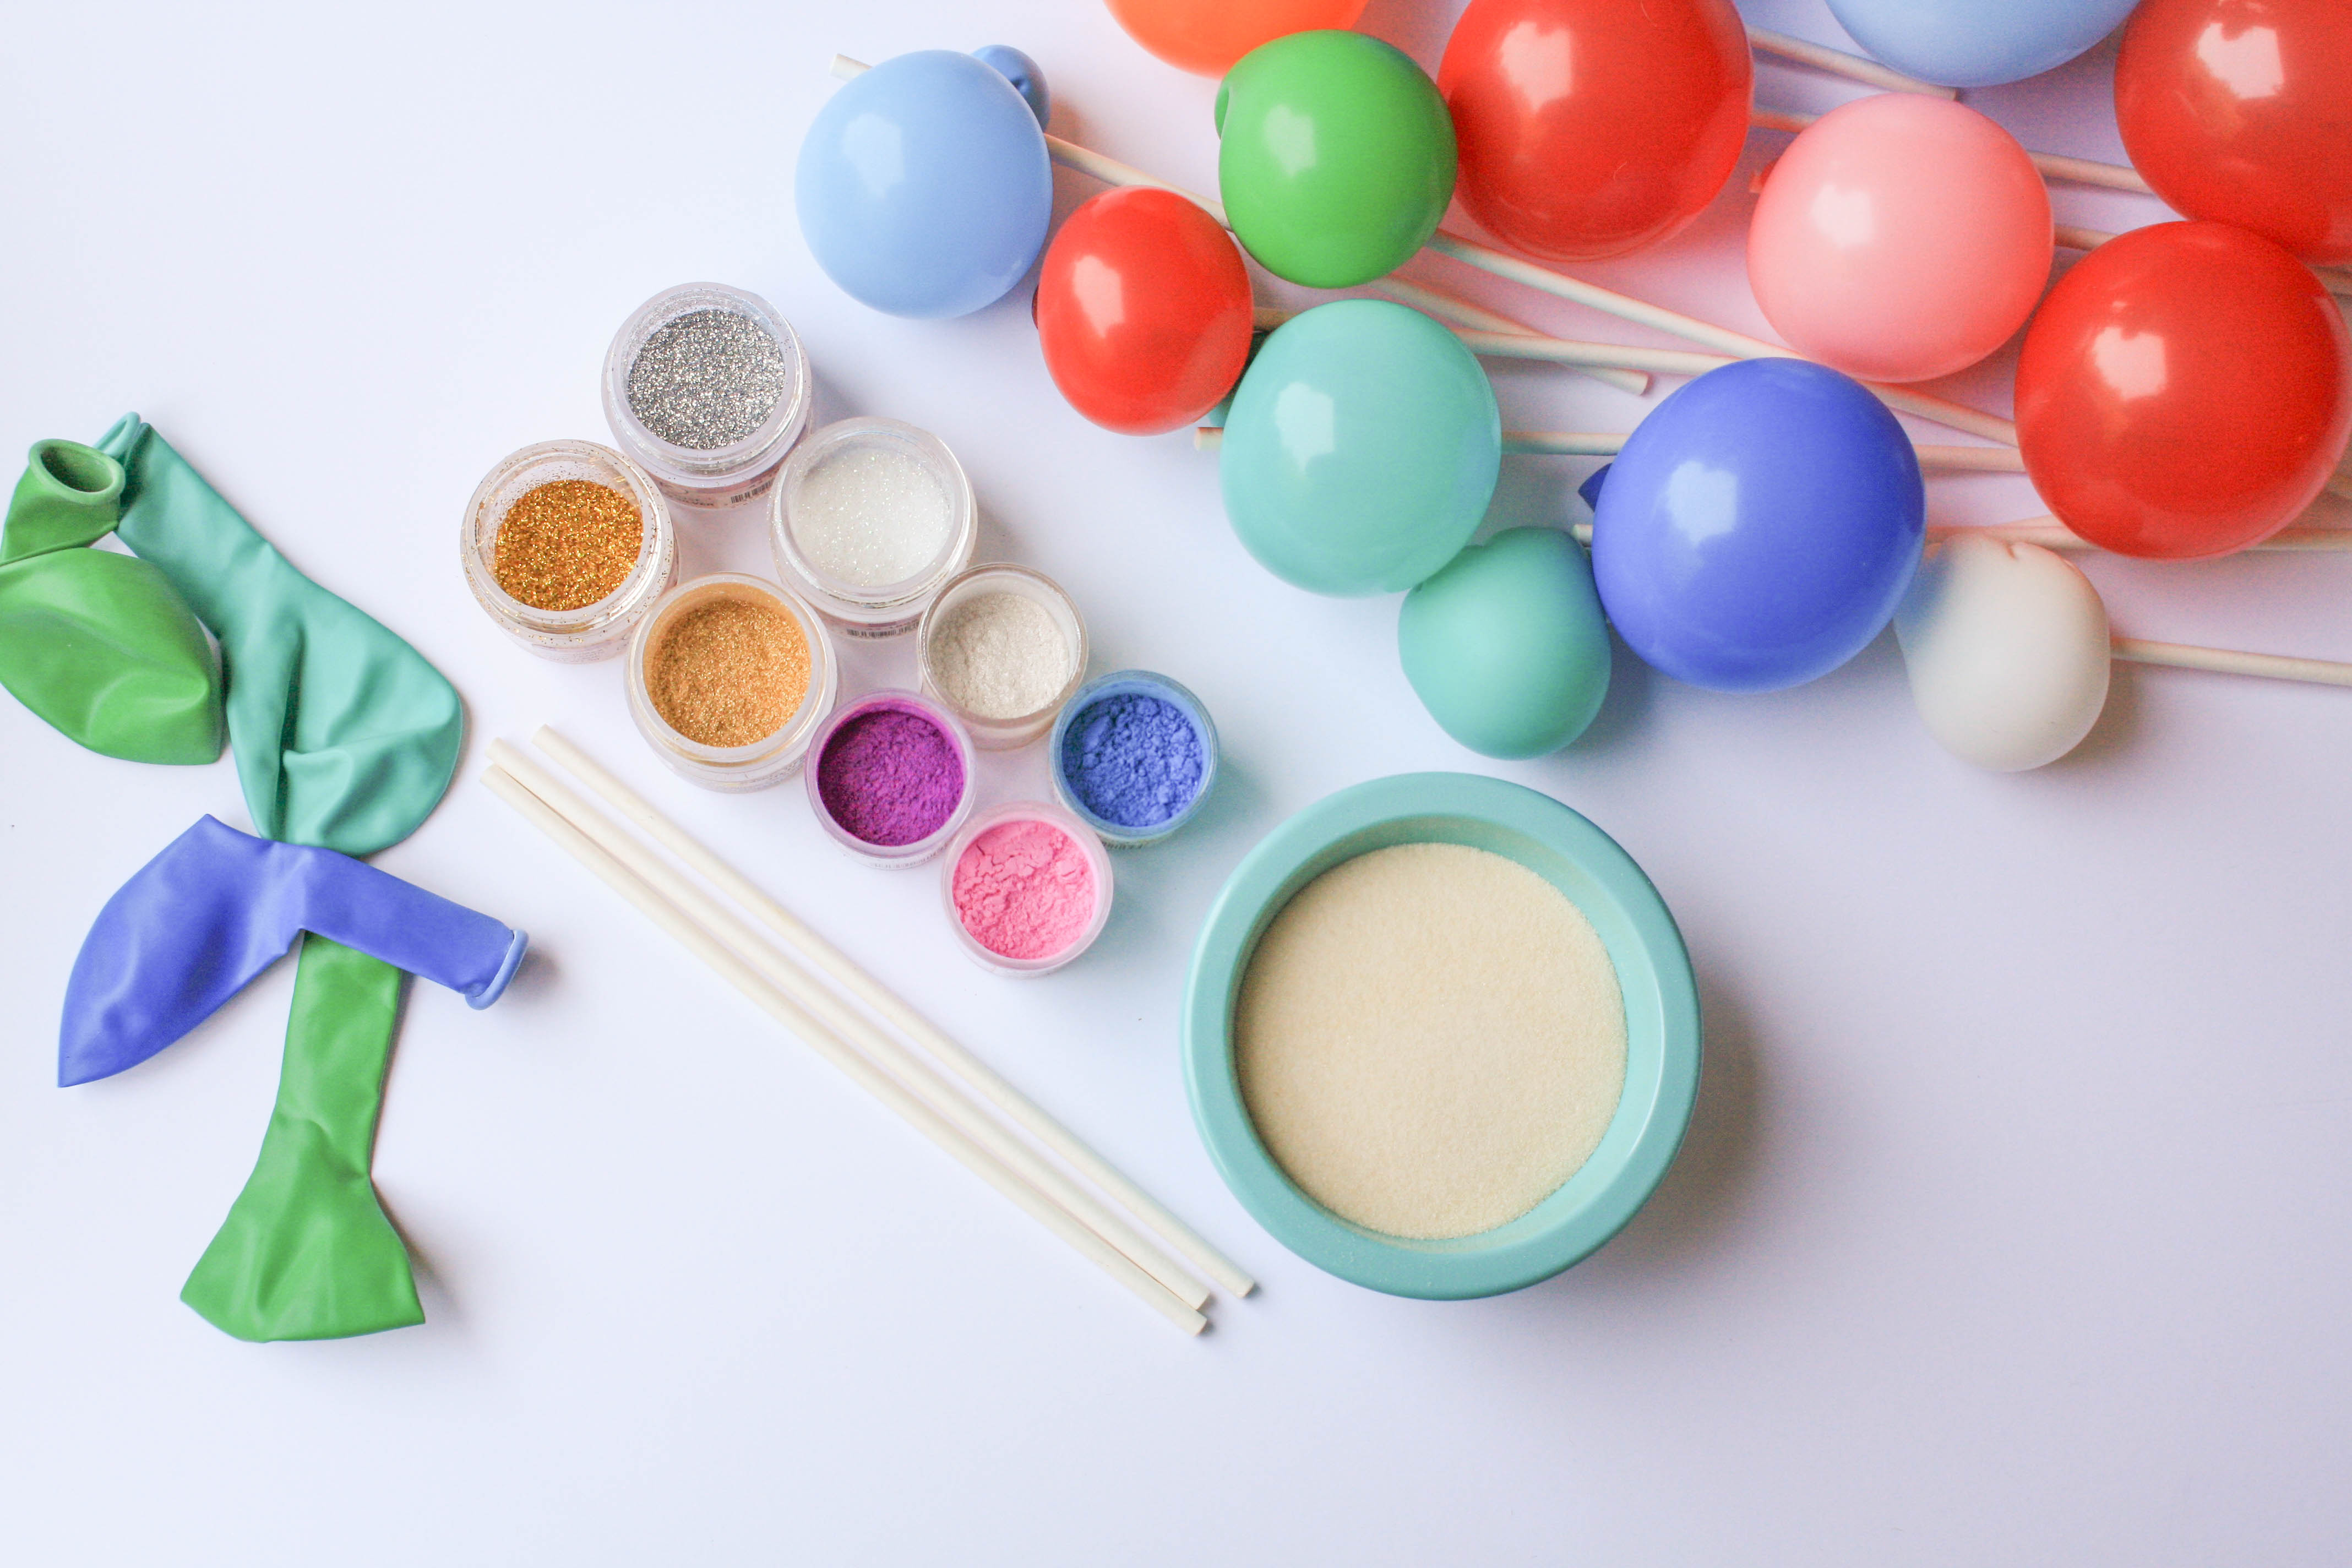
Instructions
1. Blow Up Your Balloons
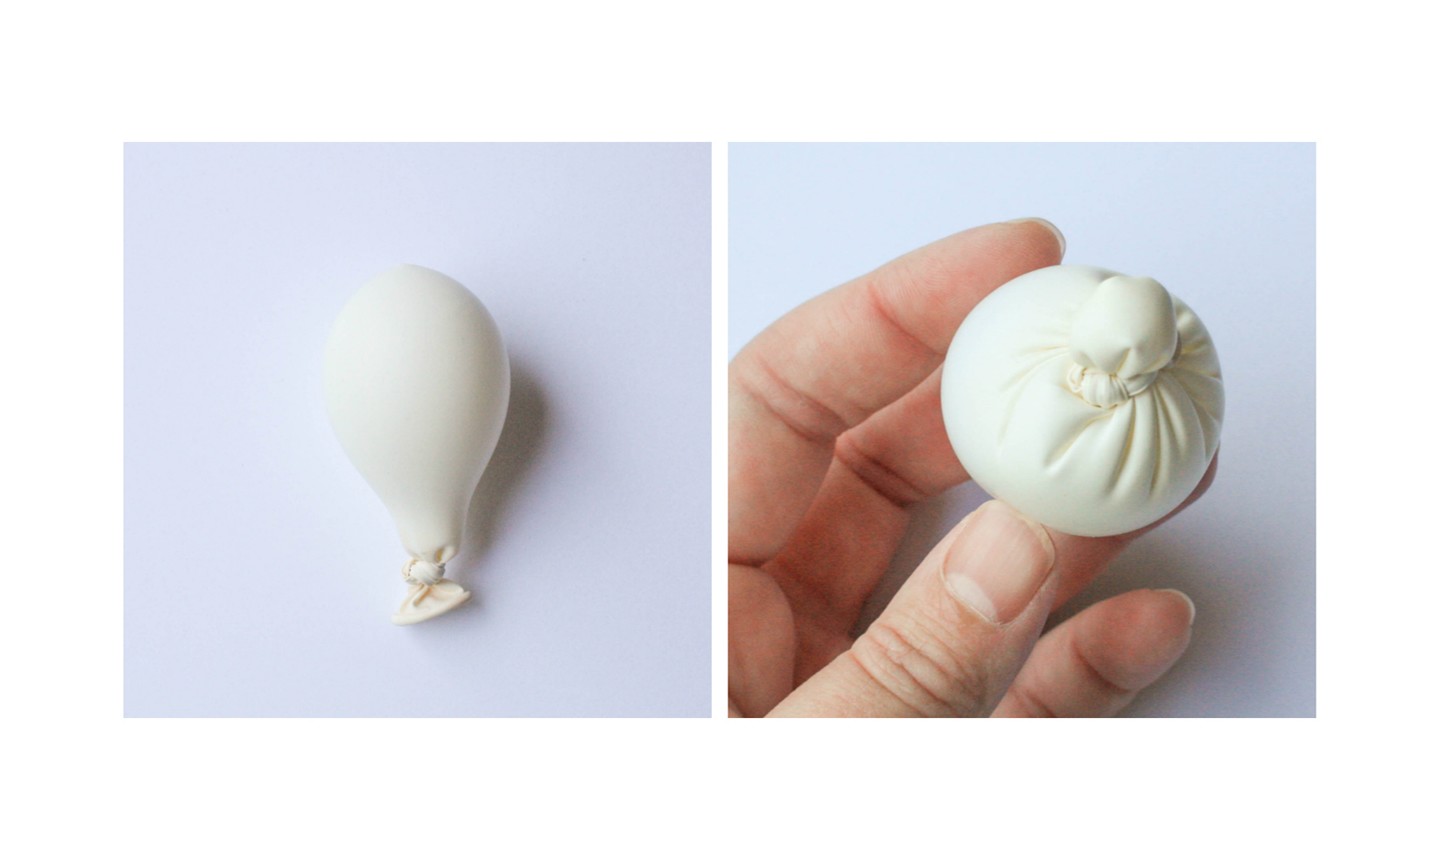
Blow up the balloons to the size you'd like your bubbles to be; you might just need a tiny amount of air. Then knot 'em.
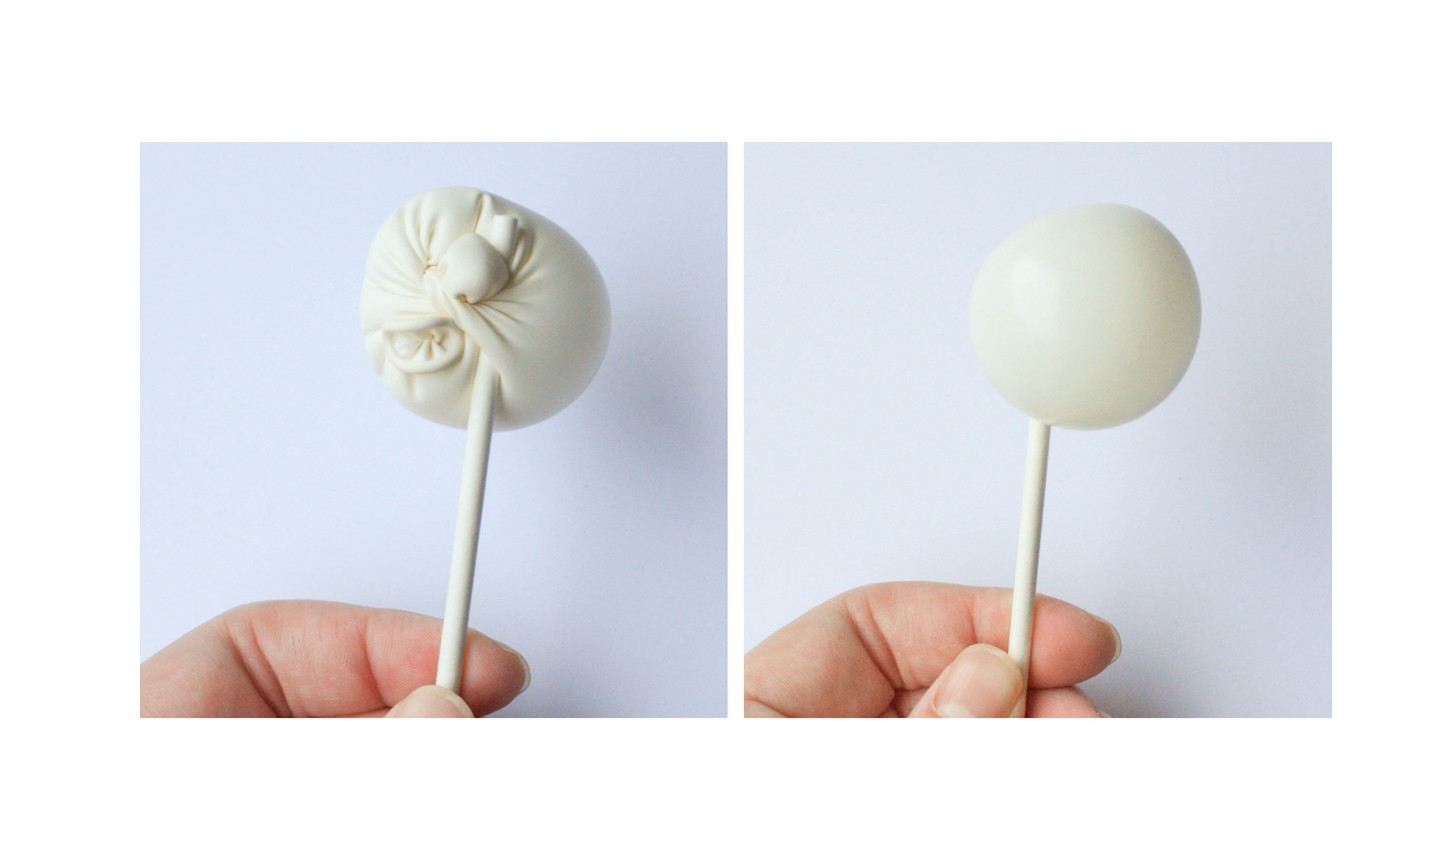
To make a balloon rounder, tie another knot toward the end of the neck. This should help push the air forward. You can also pull on the pointed end of the balloon, twist it, and then tie that and the opening of the balloon together. Once the balloon is the right shape, slide a lollipop stick or skewer into the knot.
Repeat with the other balloons.
2. Mix Your Gelatin
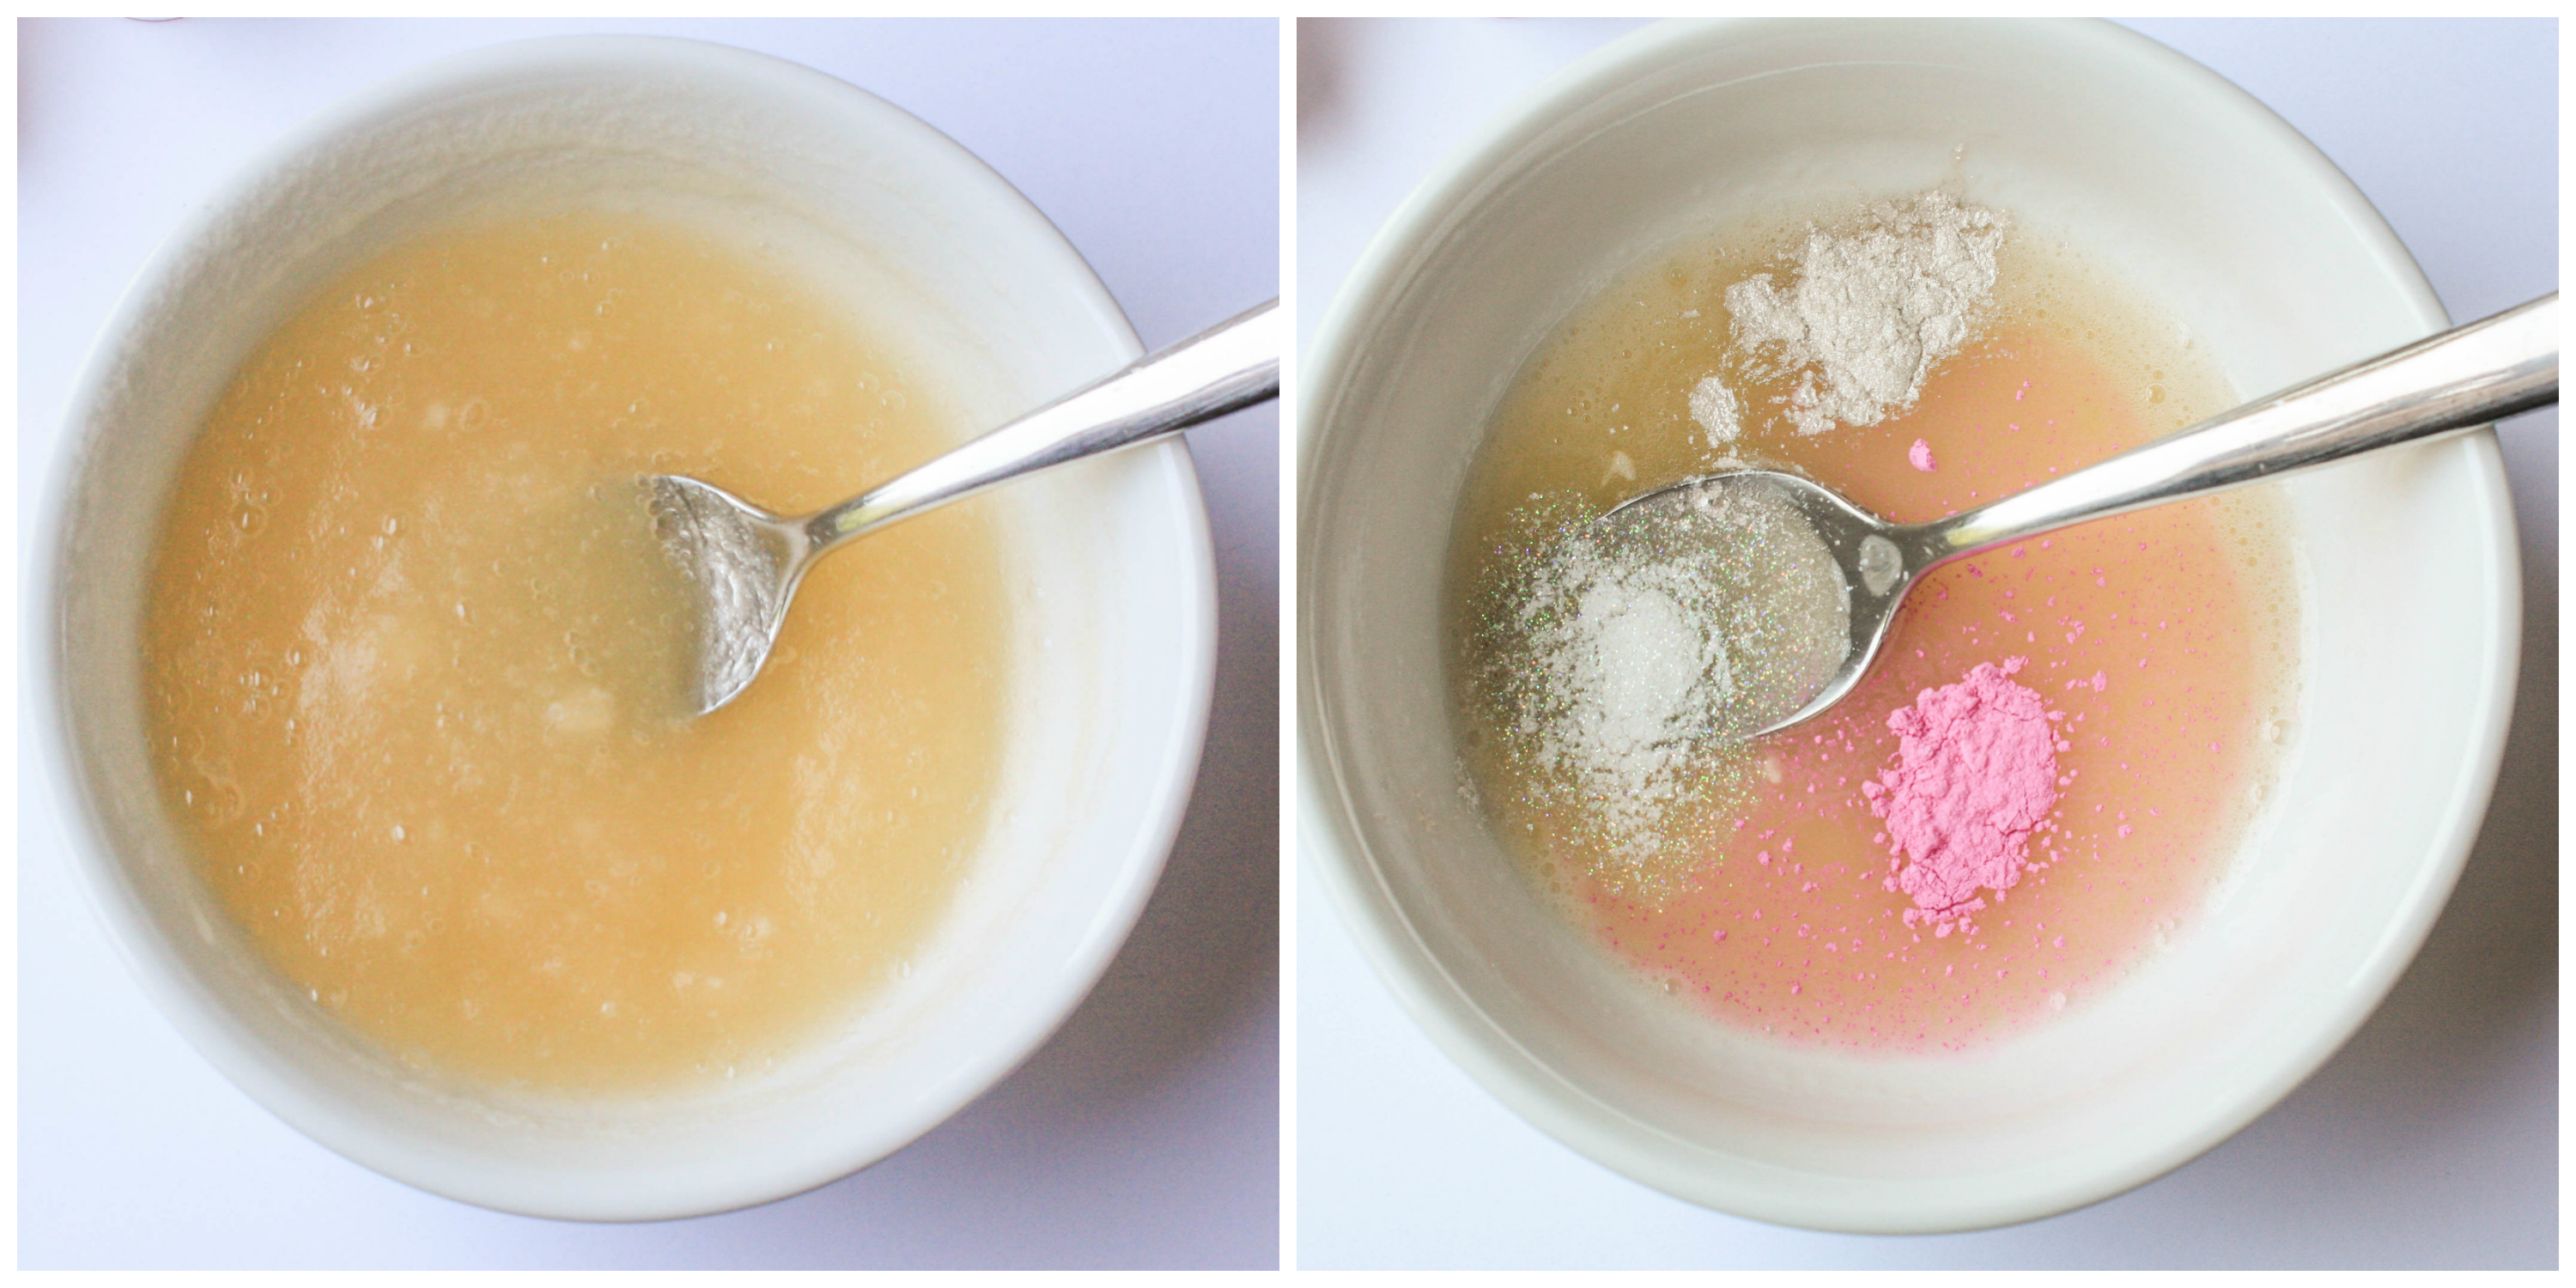
Combine 2 parts cold water with 1 part powdered gelatin in a small heatproof bowl and stir to form a thick jelly. I found that 4 tablespoons of cold water plus 2 tablespoons of gelatin was enough for 3 to 4 balloons.
Pop the bowl into the microwave for about 10 seconds, just until the gelatin is fluid. Add petal dust, luster dust or edible glitter for color.
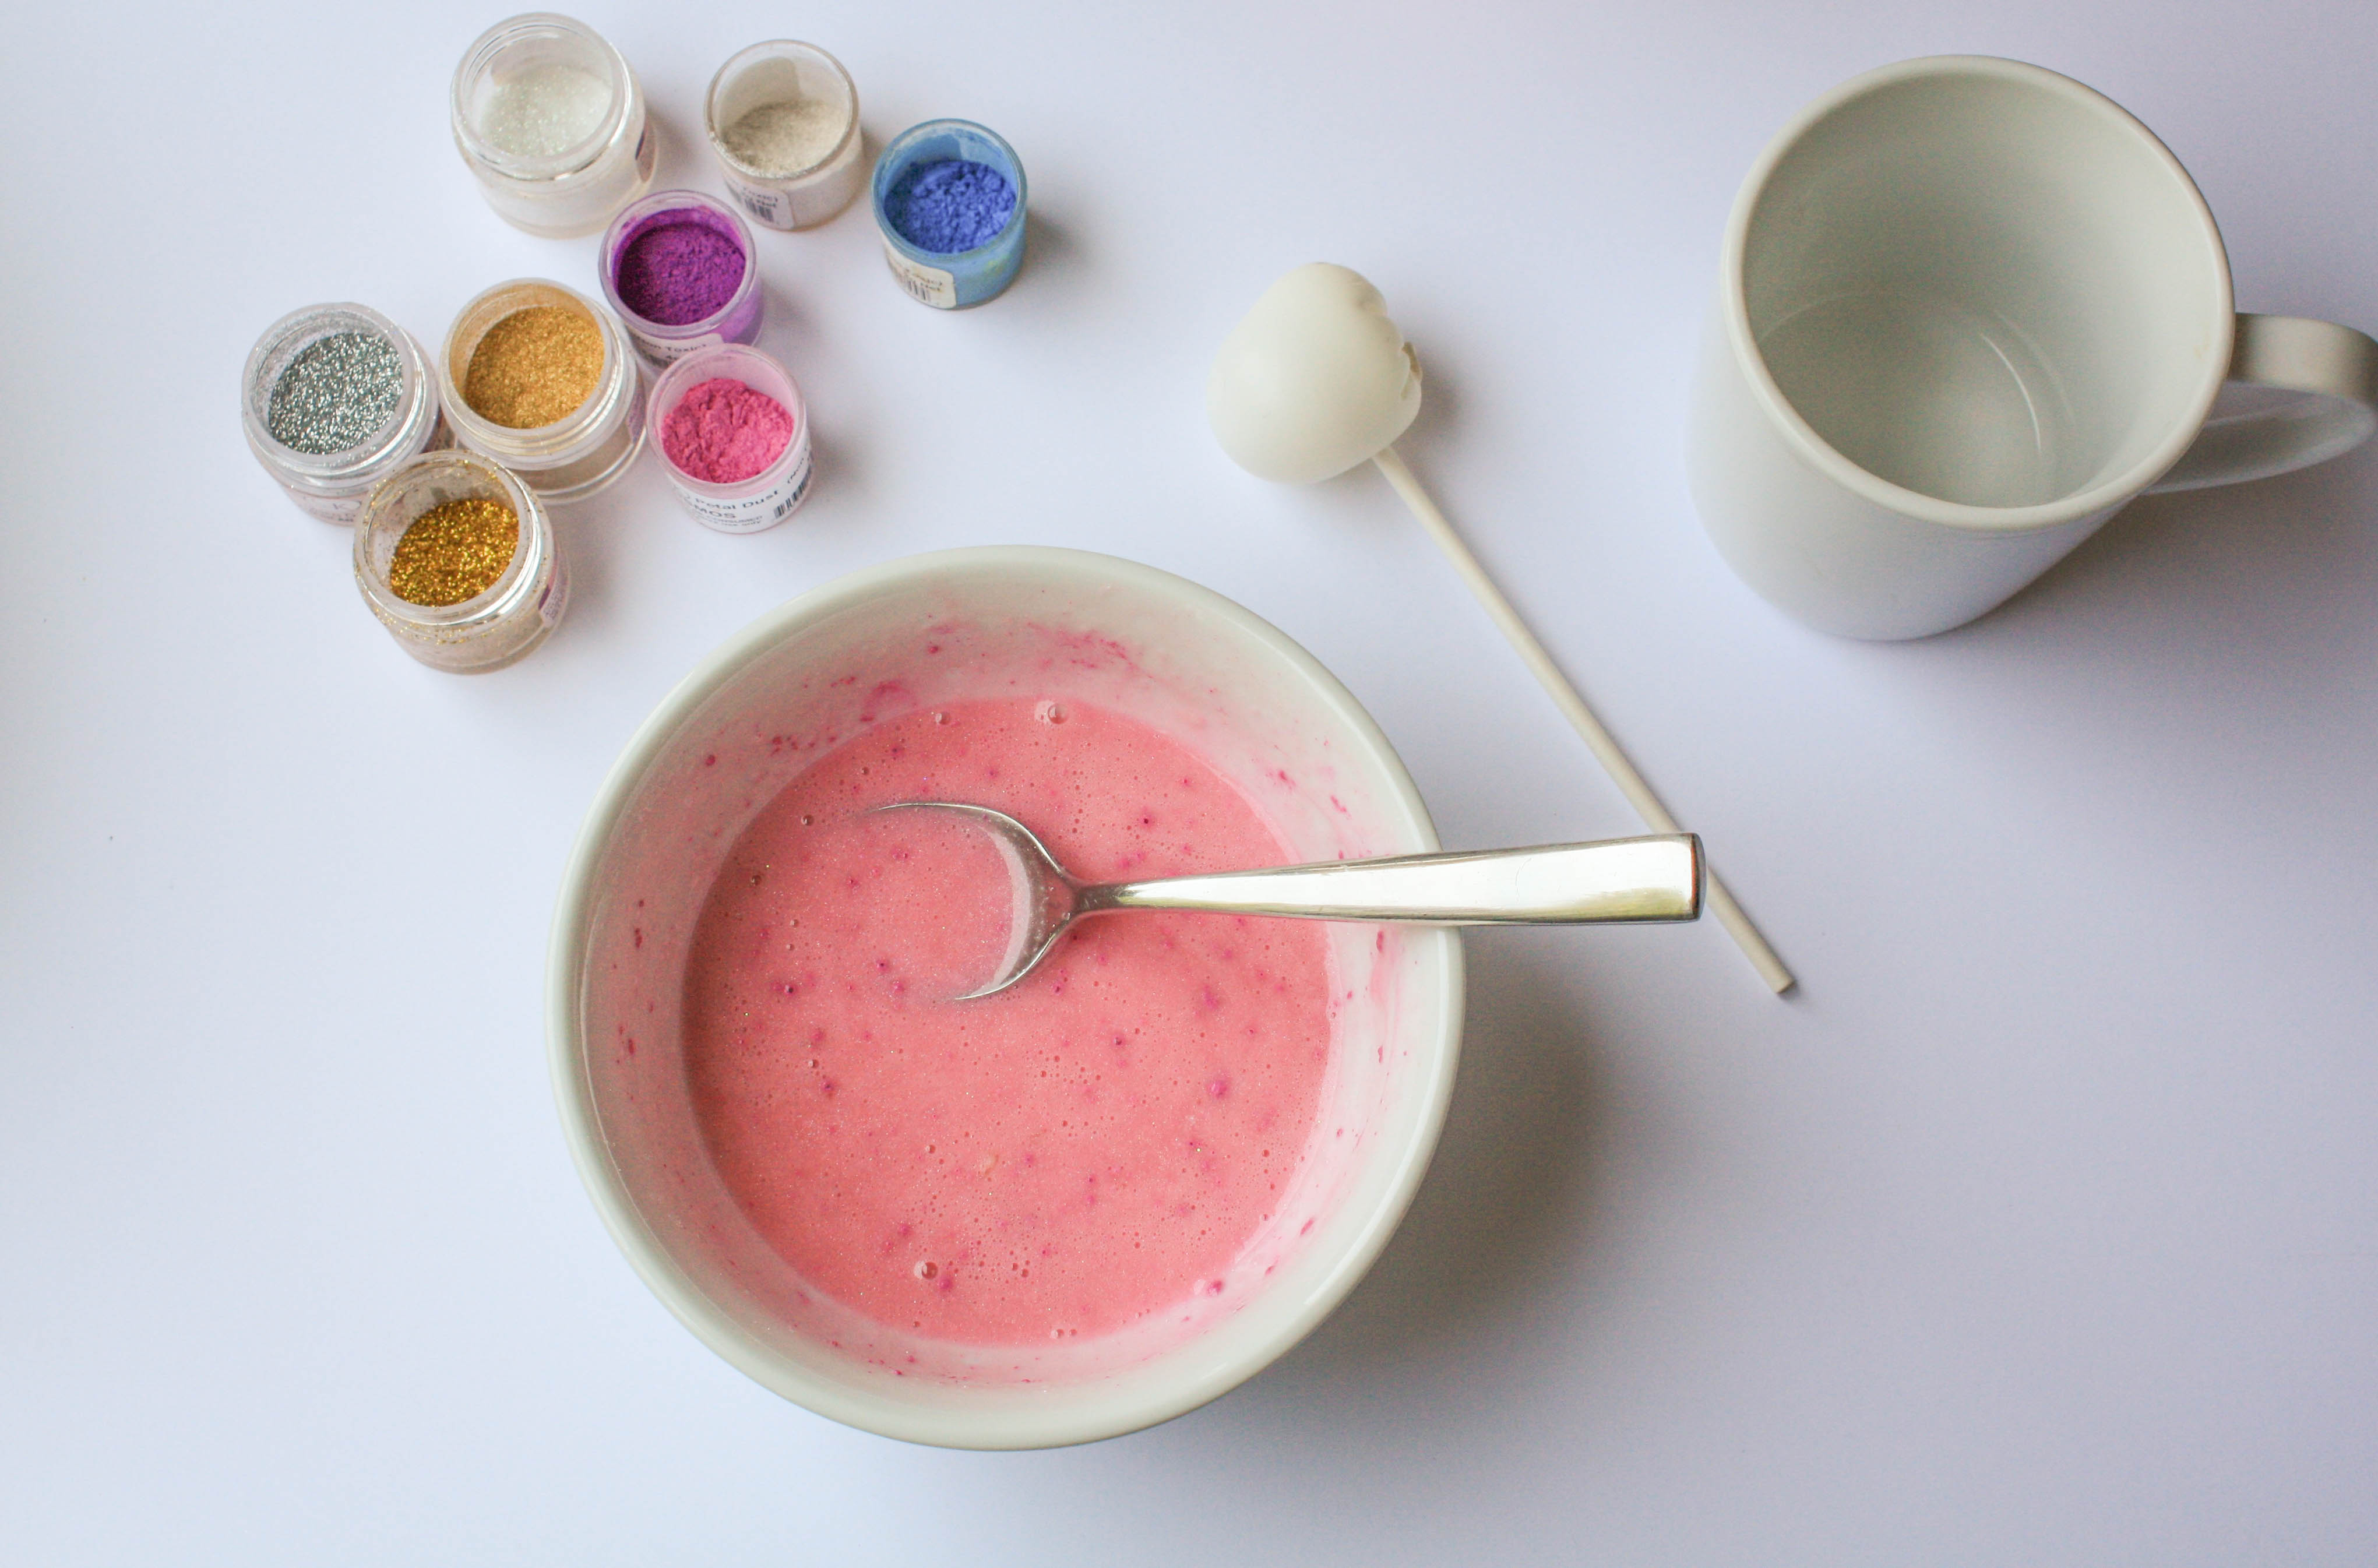
Keep in mind that gelatin is naturally yellowish, so you may need to play around with the colors a little to get the shade you want.
3. Coat Your Balloons
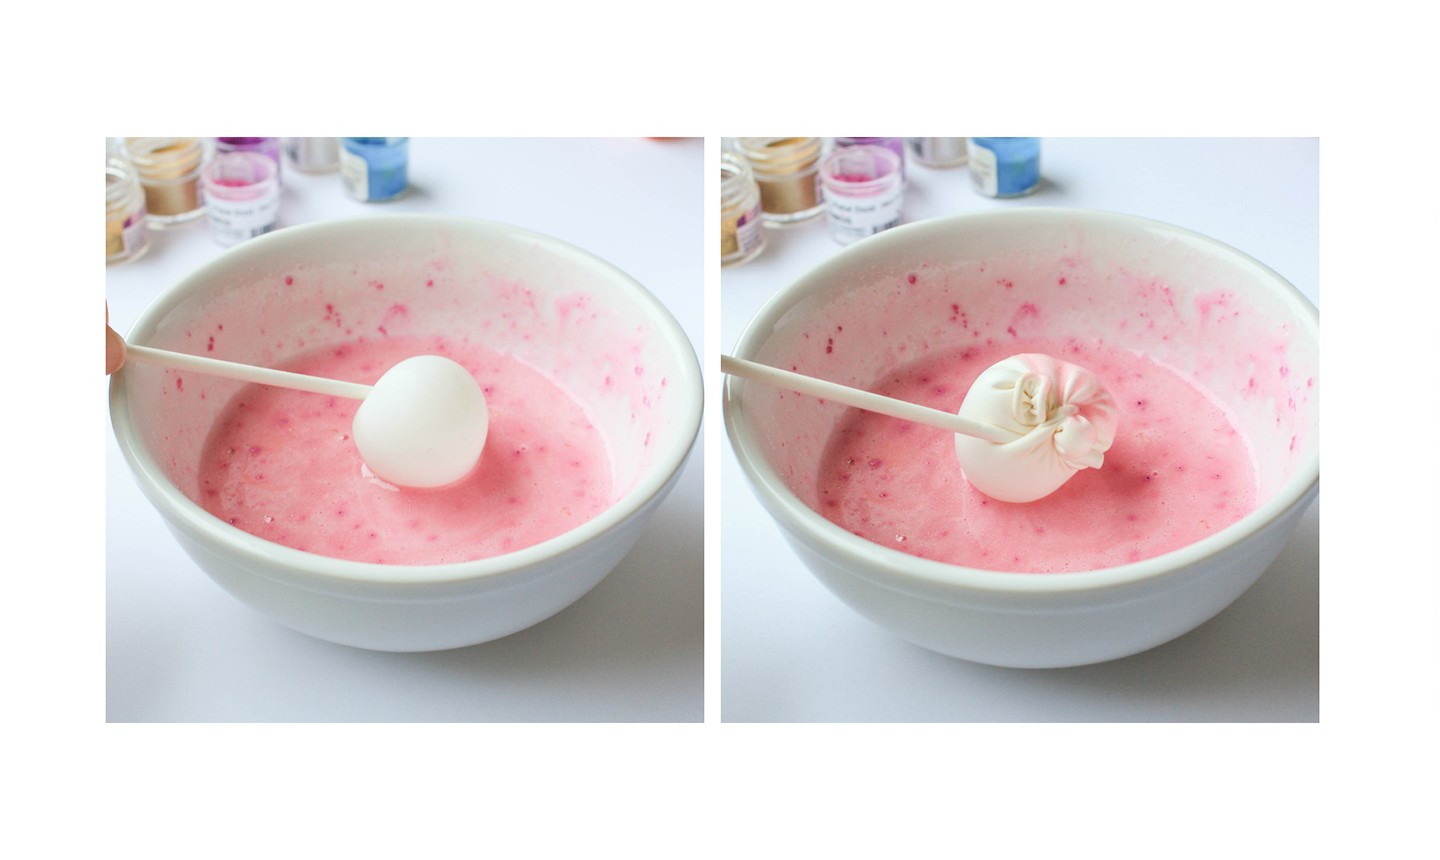
Use a paper towel to wipe a thin layer of shortening onto your balloons. You'll want to coat the balloons, but not add so much that you can see the whiteness of the shortening.
Dip a greased balloon into the melted gelatin. Swirl the balloon around until it's coated, being careful to not cover the knotted part. Dust on a little glitter while the bubble is still wet for even more sparkle.
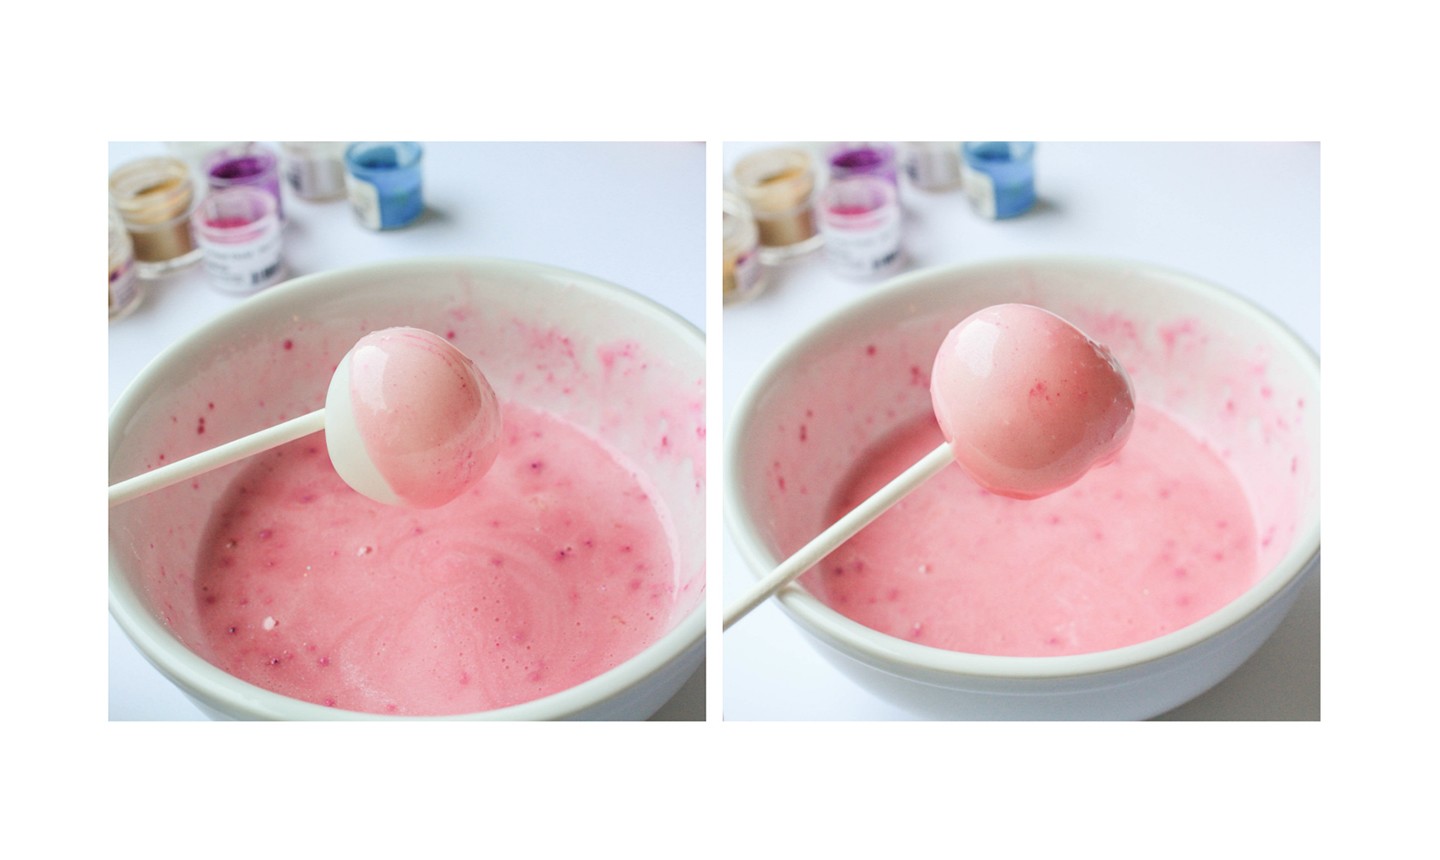
To dry the balloons, set the lollipop stick into a cup or piece of Styrofoam so it's upright. Repeat with the rest of your balloons and leave them overnight. One layer should take about 12 hours to set; two layers, up to 24 hours. Any more than two layers and your bubble will get chunky and gummy.
4. Pop
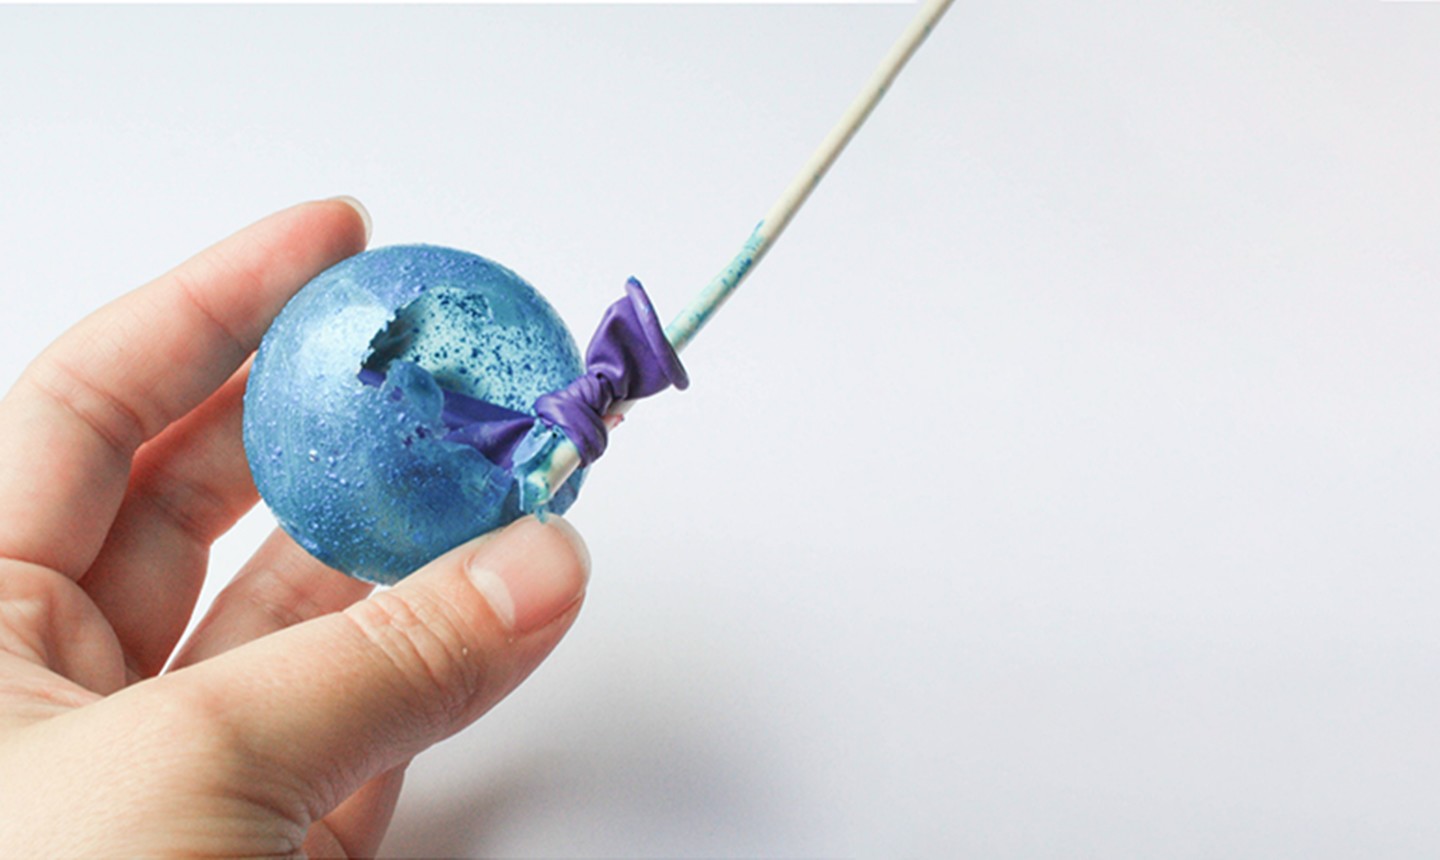
Once the bubbles are dry, pop the balloons by using a pair of scissors to cut the knots. The balloons should shrink away from the sides of the bubbles and come out pretty easily.
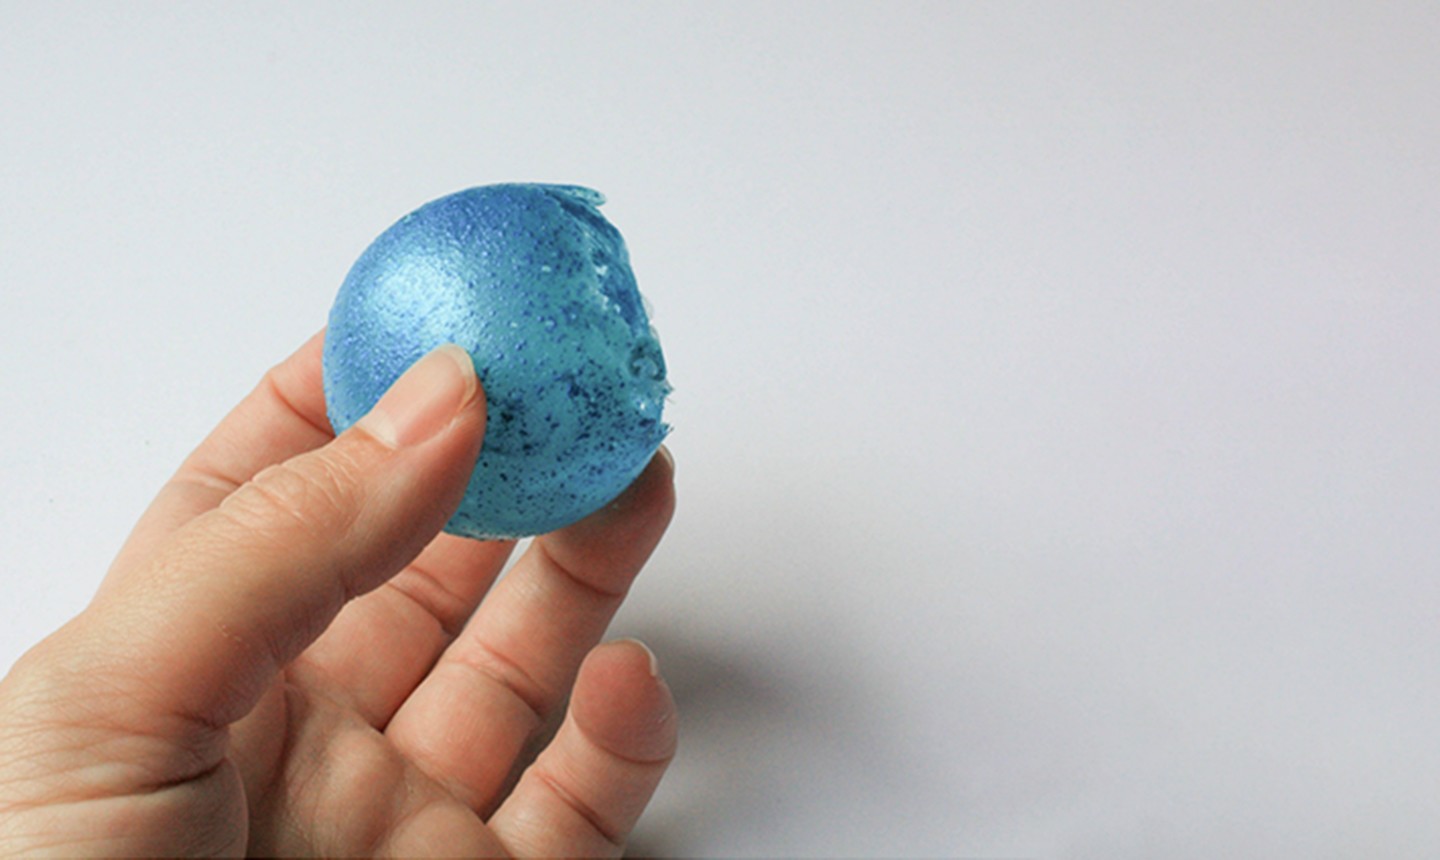
Don't panic if a bubble caves in a bit! These little guys are resilient and can be pushed back into shape.
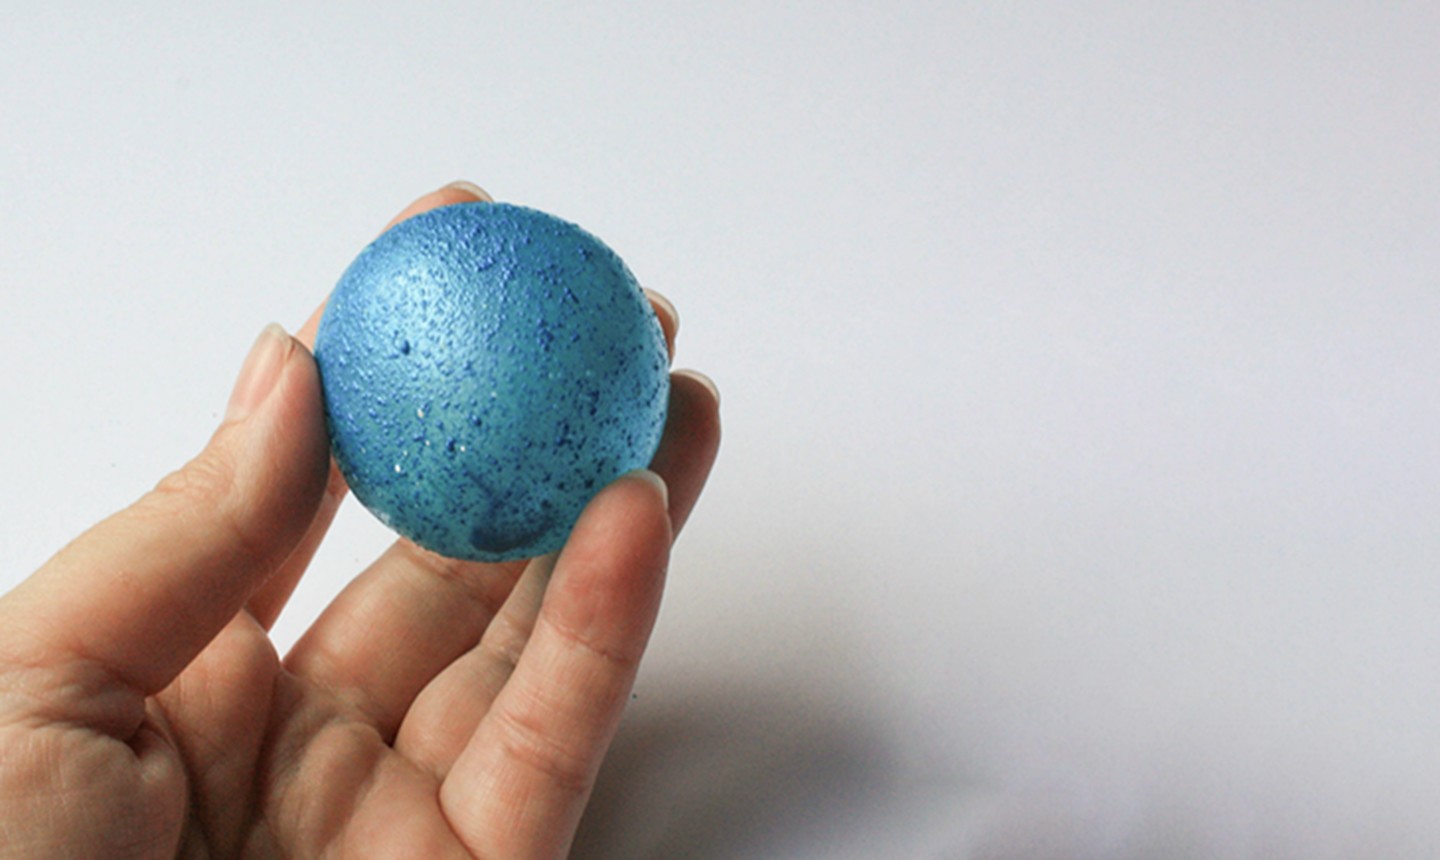
Gelatin bubbles should be made a day or two before using. Store them in an airtight container in a cool, dry place.
Bonus Tip: Using Any Extra Gelatin
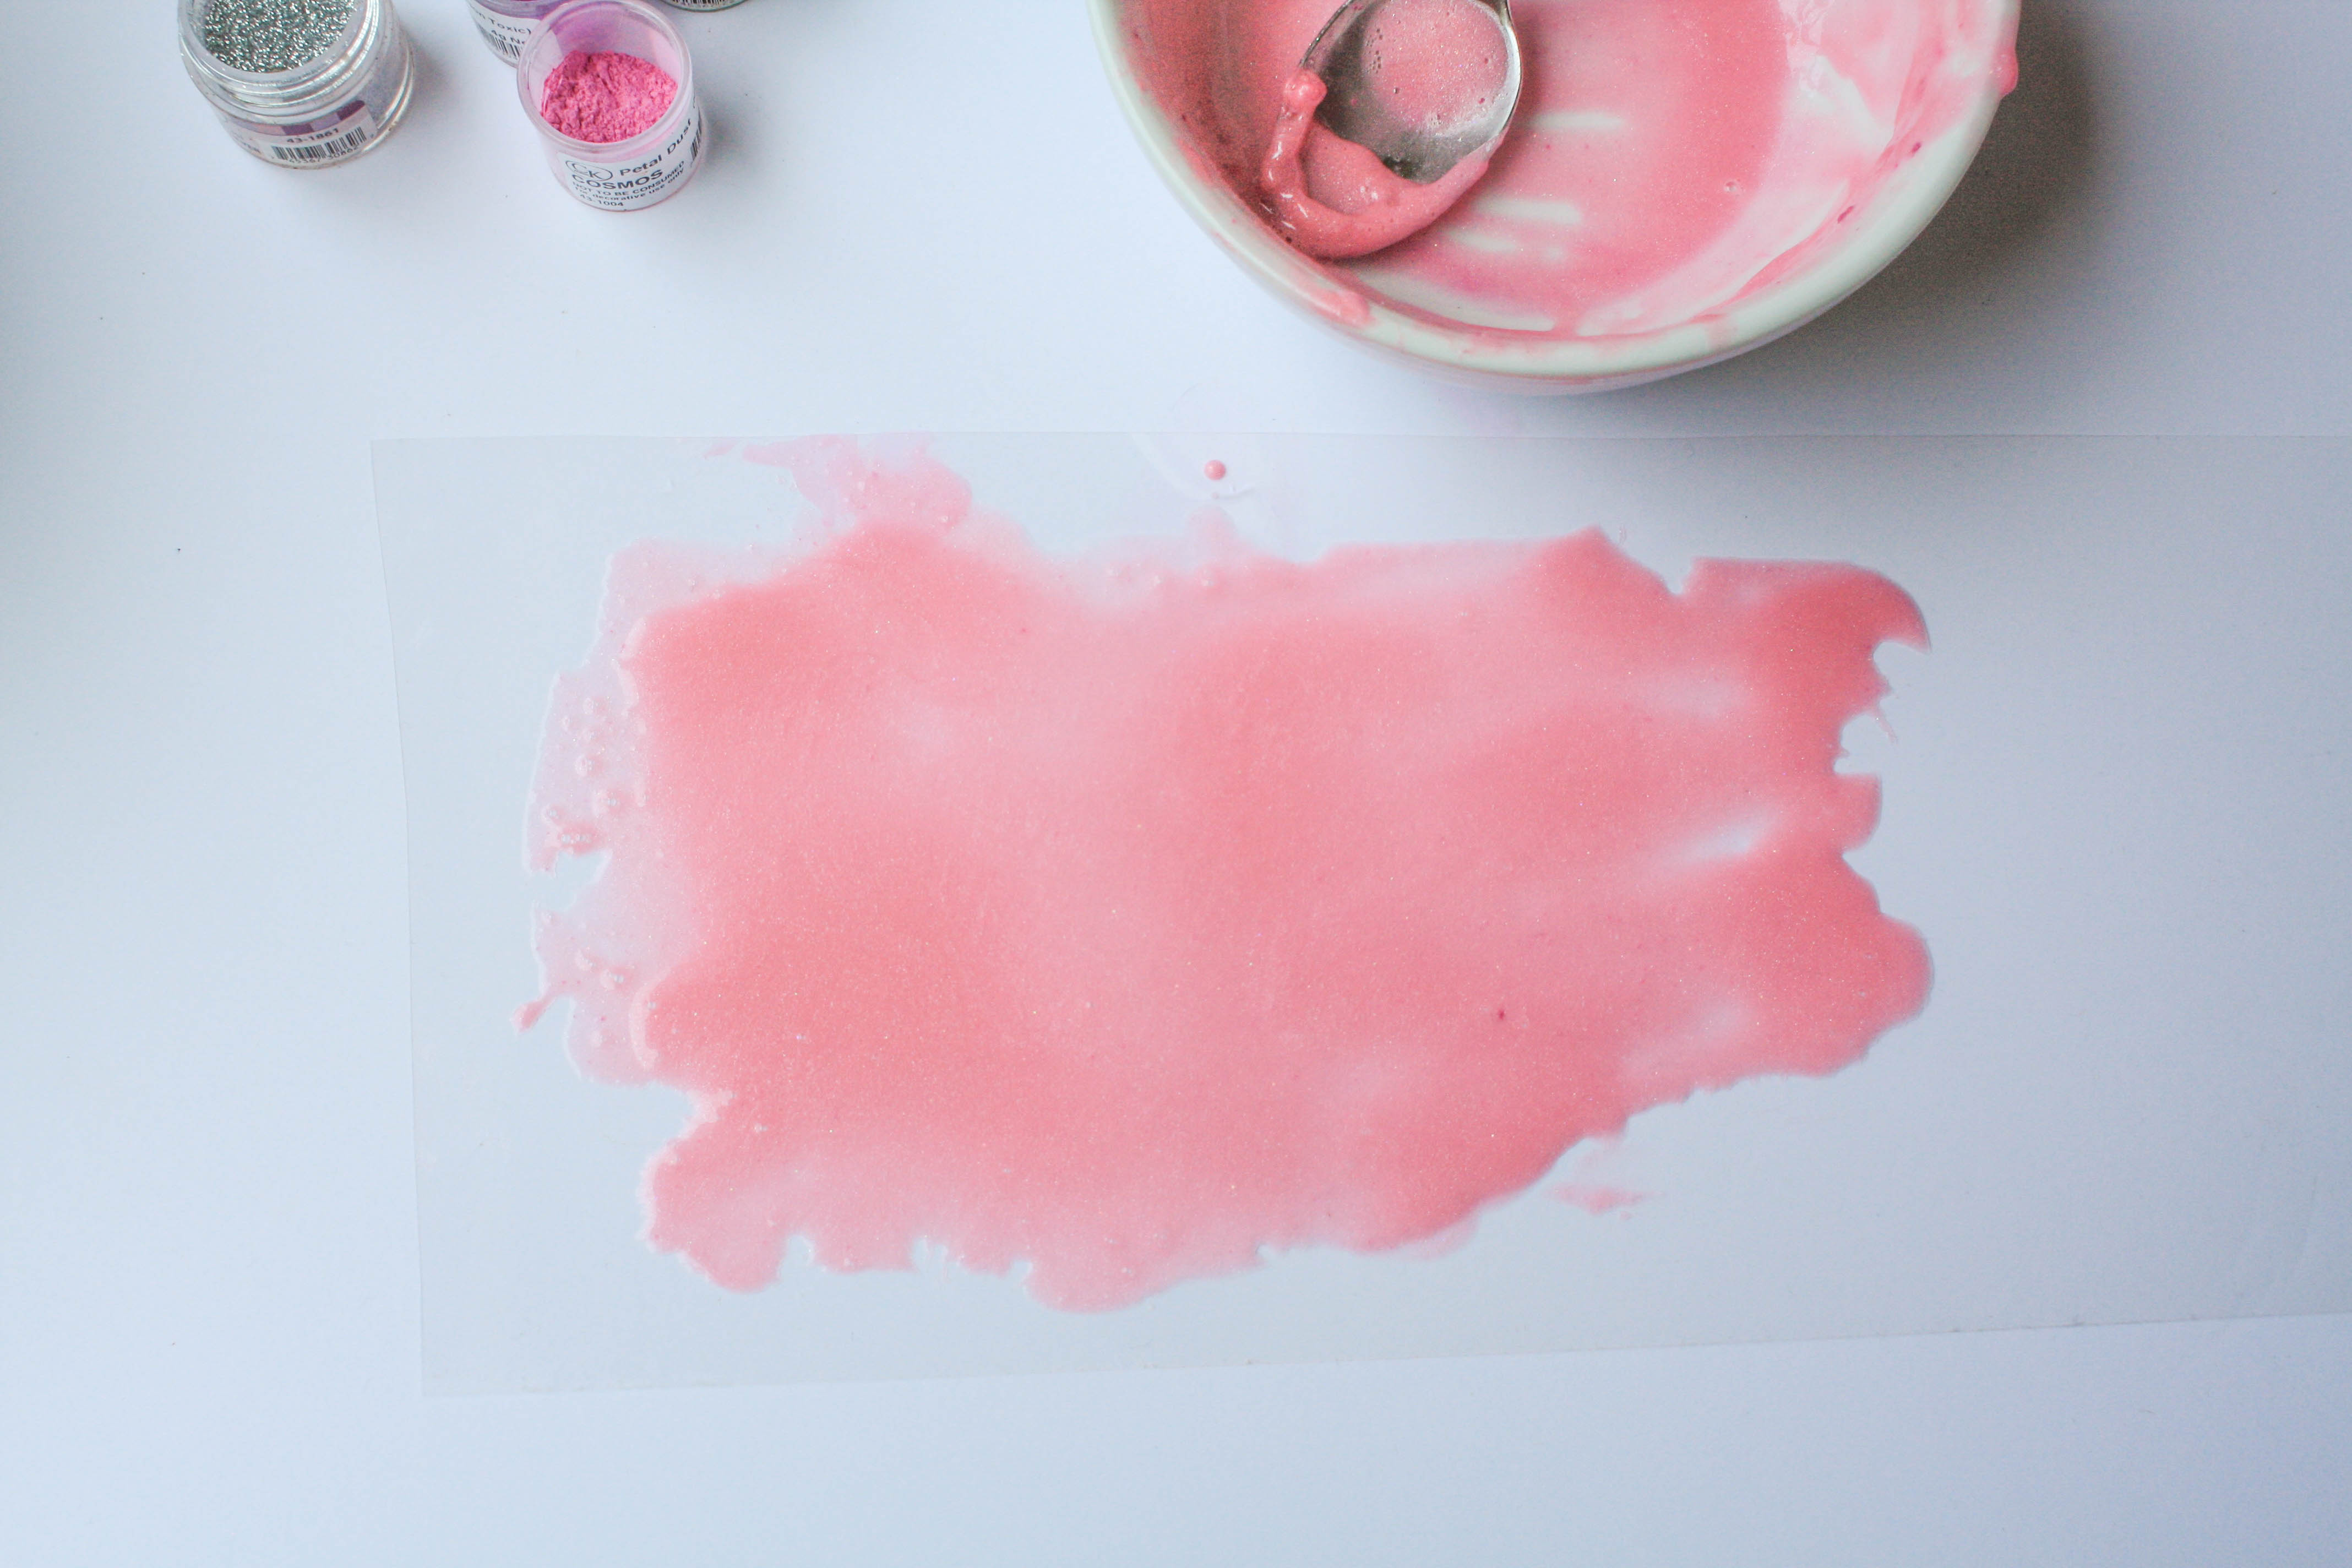
Pour any leftover gelatin onto a piece of acetate or a lightly greased cookie sheet. Spread it into a thin layer using an offset spatula. Let the gelatin set up overnight. Break up the sparkly sheets into coral-like pieces to tuck in among your bubbles.
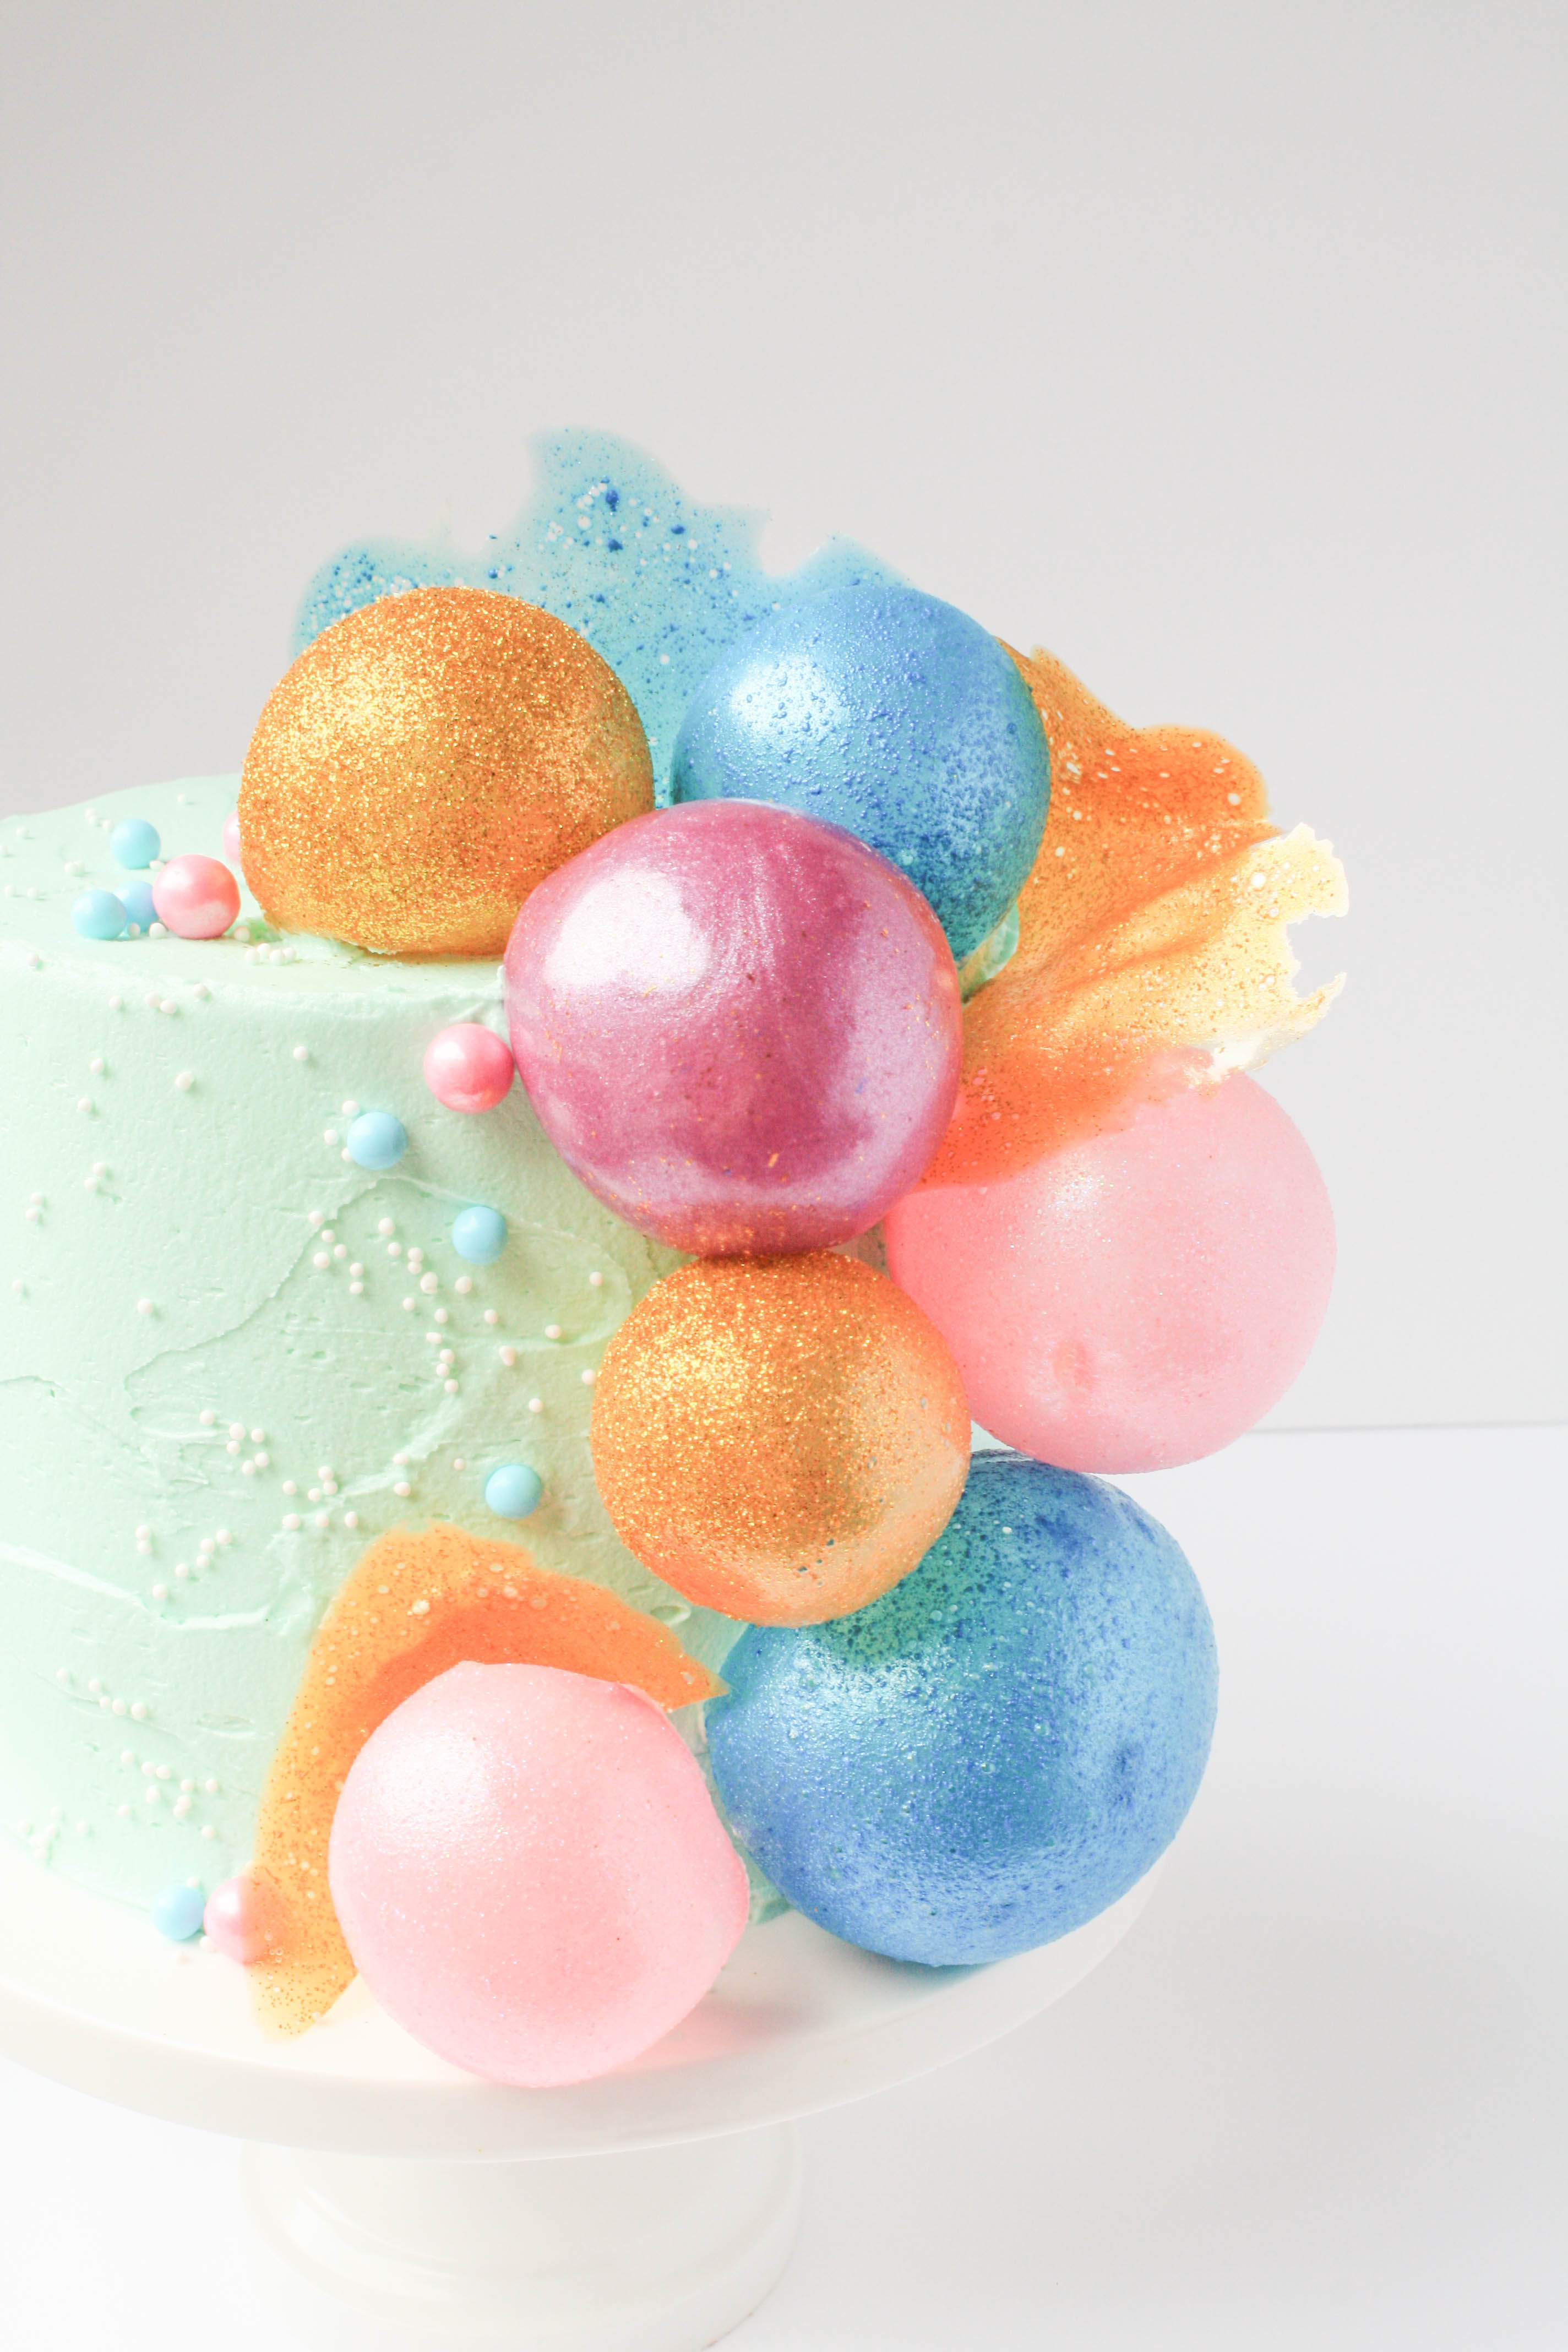
Crispy gelatin sheets can also be cut into squares or circles (use a hole puncher) to make confetti. Get creative!

Can you put the gelatin bubble on stabilized whipped cream icing?
how would you 'grease' the balloons before u coat them??
I want to use a bubble theme for my 9 year olds birthday cake. Do you have ideas you can share with me. Even cupcakes would be fine.
What is “shortening” sorry 🤦♀️
So amazing. Thank you so much for sharing
Is it possible to do this without a microwave?
Absolutely fab but how will I stick the balls onto the cake please
Thanks so much for sharing this, have learnt something new
Hi! I tried making these pretty balls yesterday. All went well until stage 4. When I popped the balloons it turned out that the part of the ballon covered in gelatine Integrated with the gelatine and just disappeared. The colour of the bubble was now a mix between the ballon and the colour I had chosen for my bubbles. So dissatisfying. How did this happen? Thank you!
You are amazing