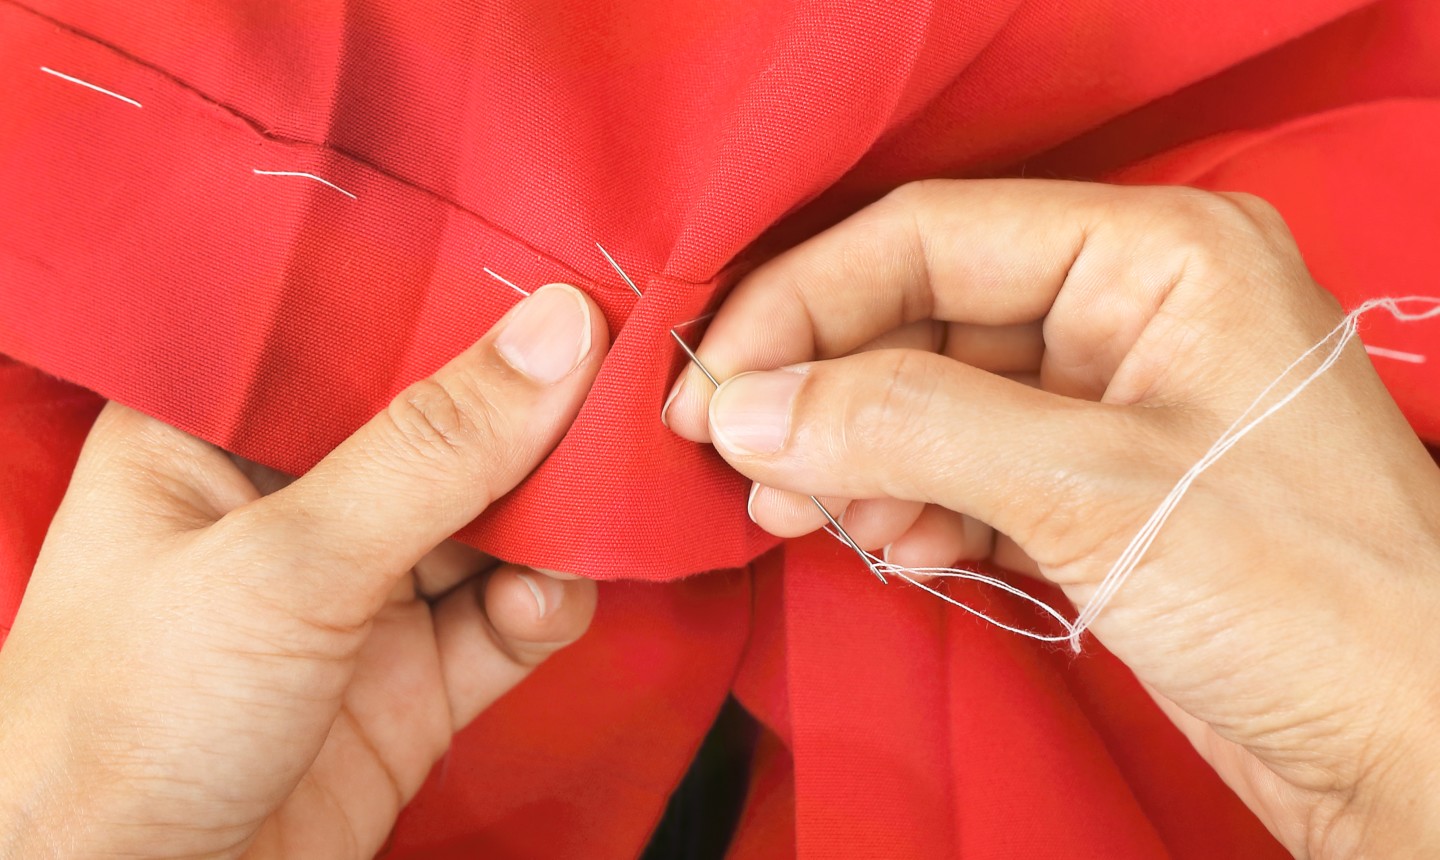
If you’re an all-day-every-day type of hand sewer — or even if you’re the total opposite — chances are you’ve had to hand sew a hem. There just isn’t a machine option that measures up to doing it by hand, it looks beautiful (seriously, the definition of couture) and, if done right, is almost invisible when seeing the whole look.
But when deciding to go the hand hemming route, it can be tough figuring out a stitch type. That’s where we come in. Below are the pros and cons to five different hand hemming stitches, plus mini tutorials to get you started.
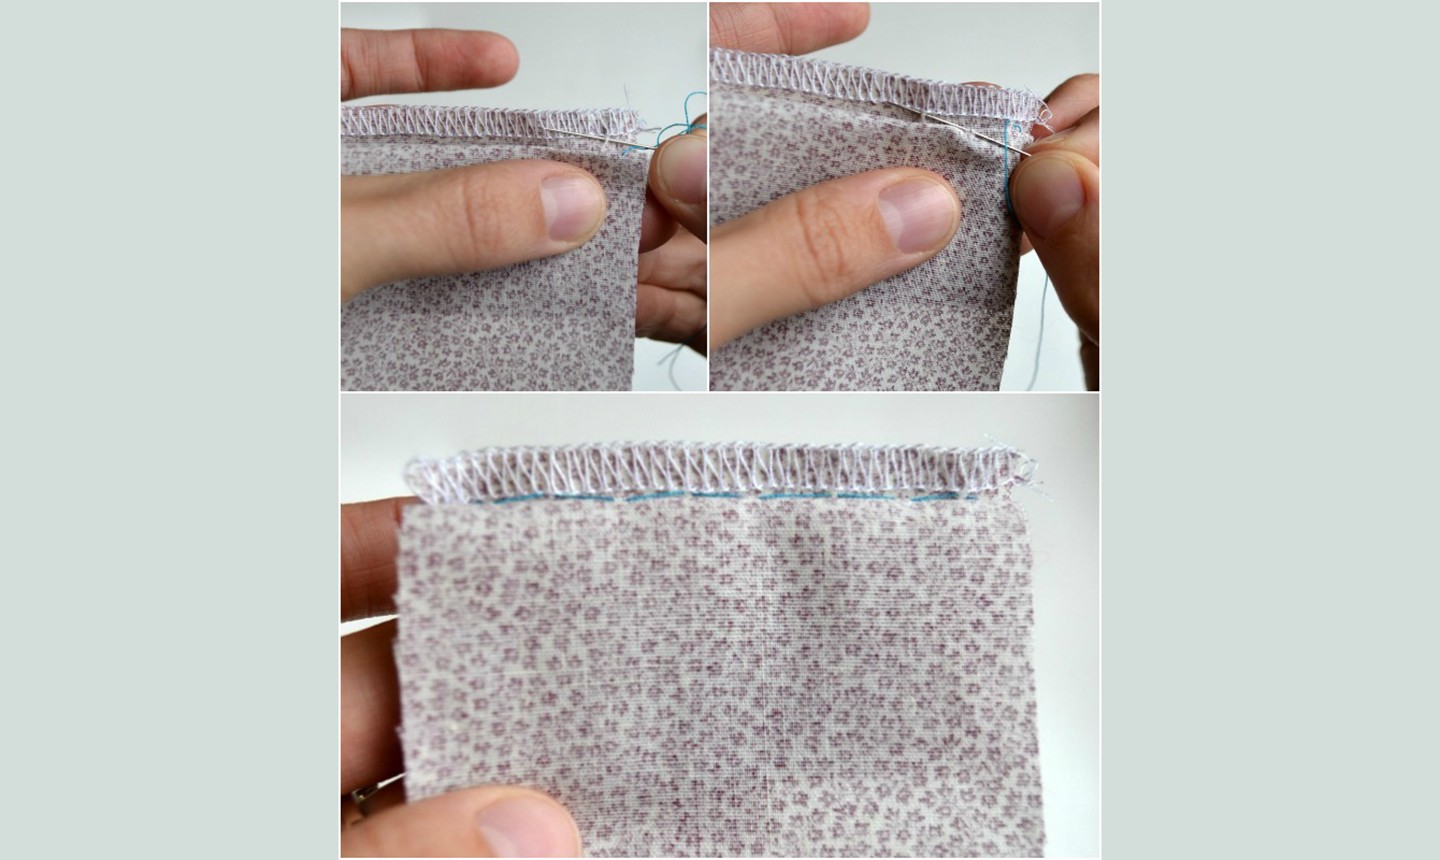
Slip Stitch
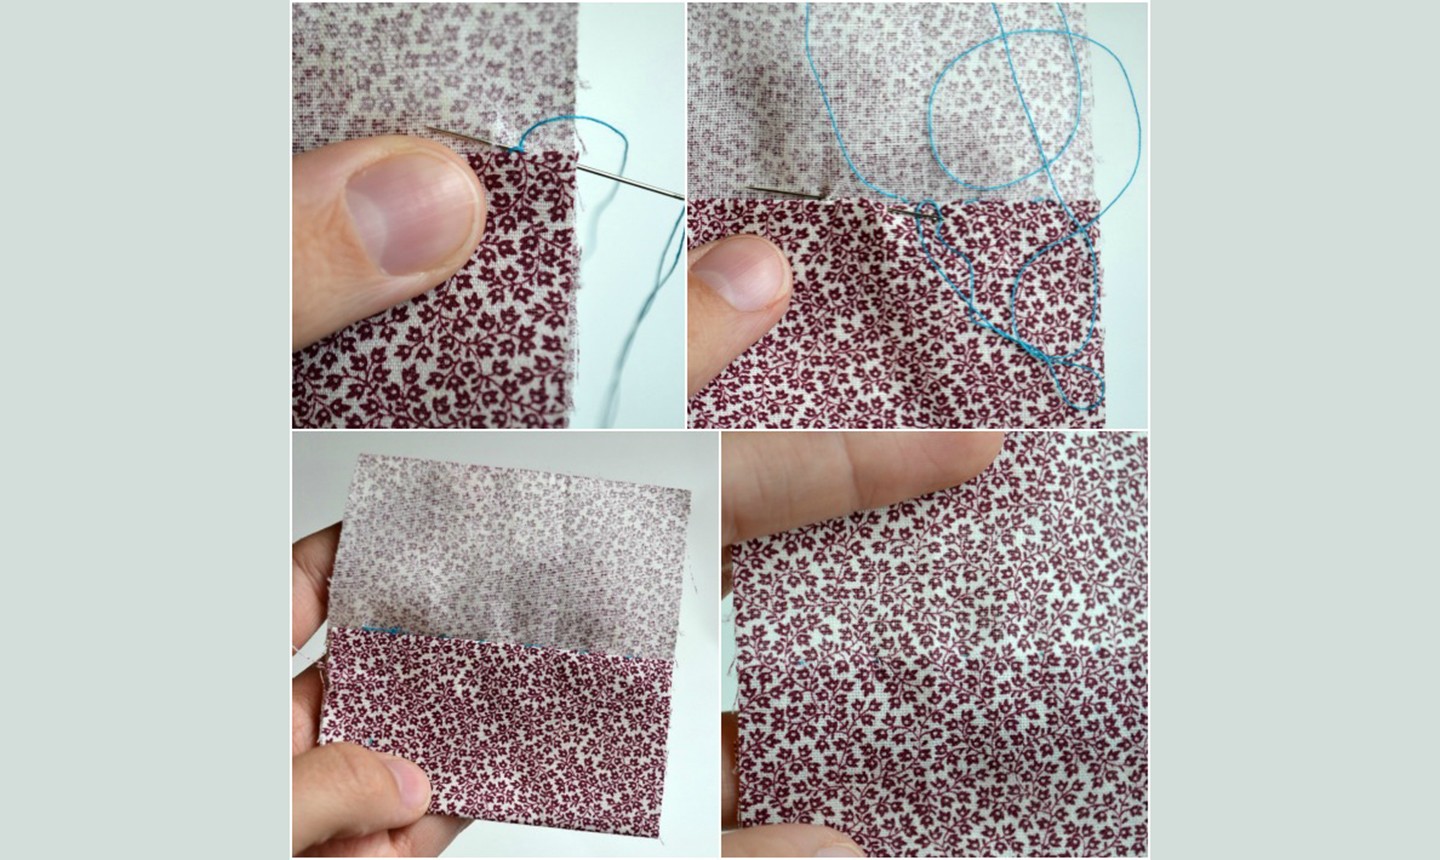
Grab a tiny bit of fabric with your needle. Moving to the left about ¼”–½”, grab a tiny bit of the folded hem. Moving to the left again, grab another tiny bit of the fabric. Repeat all the way around the hem.
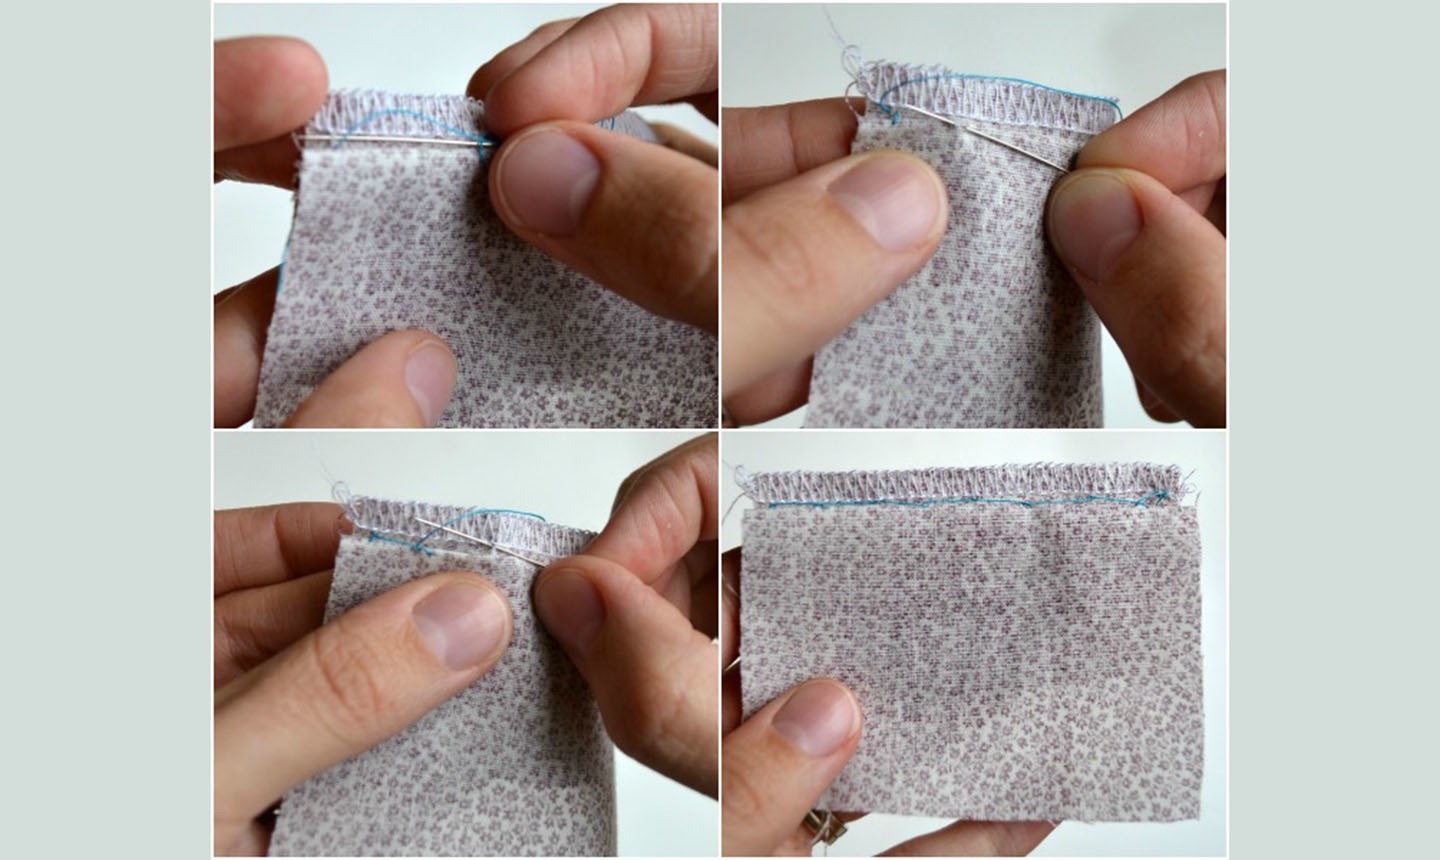
Catch Stitch
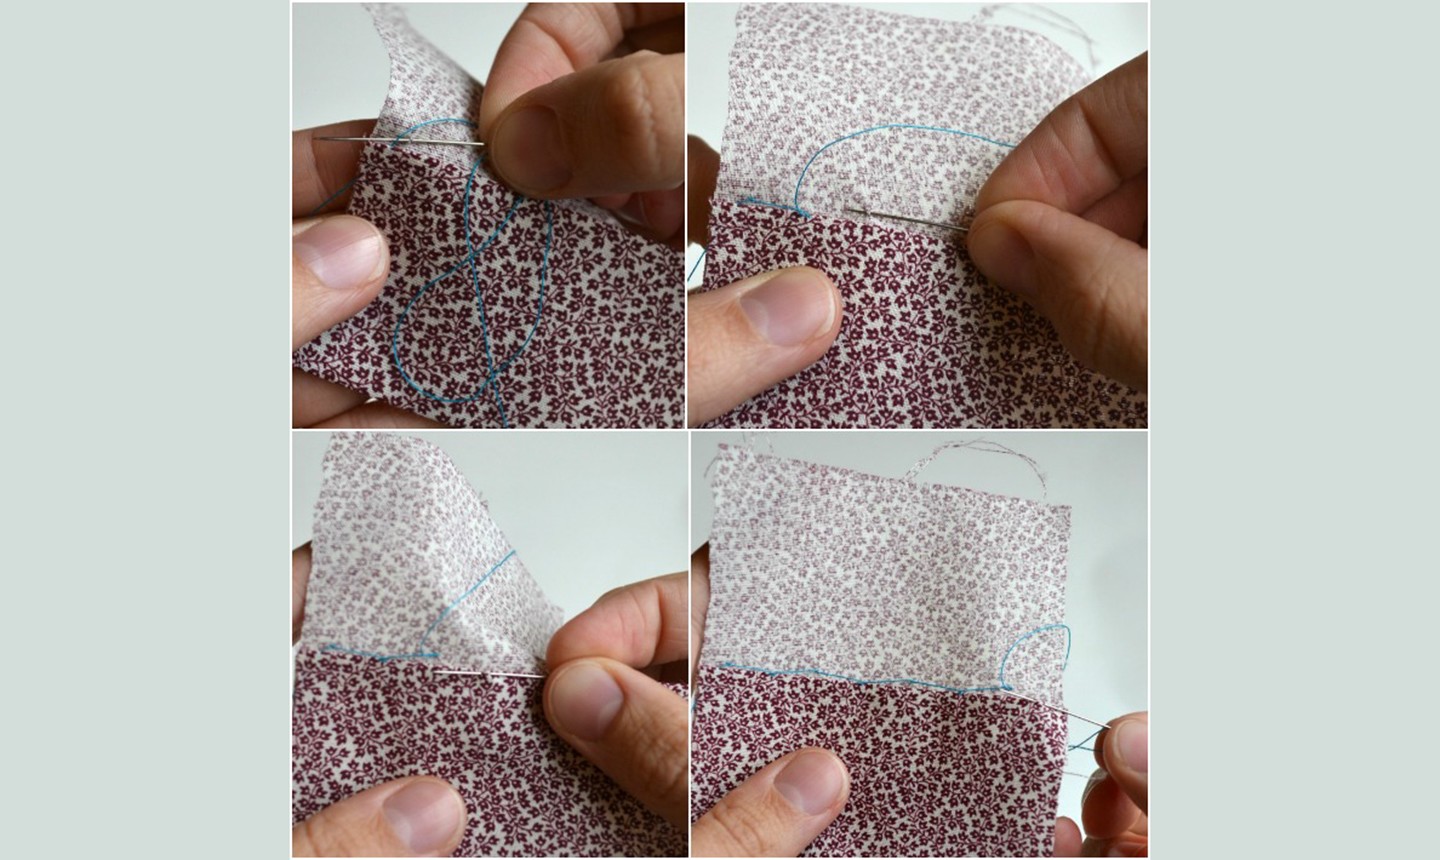
Grab a tiny bit of fabric with your needle. With your needle pointing left, move to the right about ¼”–½”, then grab a tiny bit of folded hem. With your needle still pointing to the left, move to the right again and grab another tiny bit of fabric. Repeat all the way around the hem.
Felling Stitch
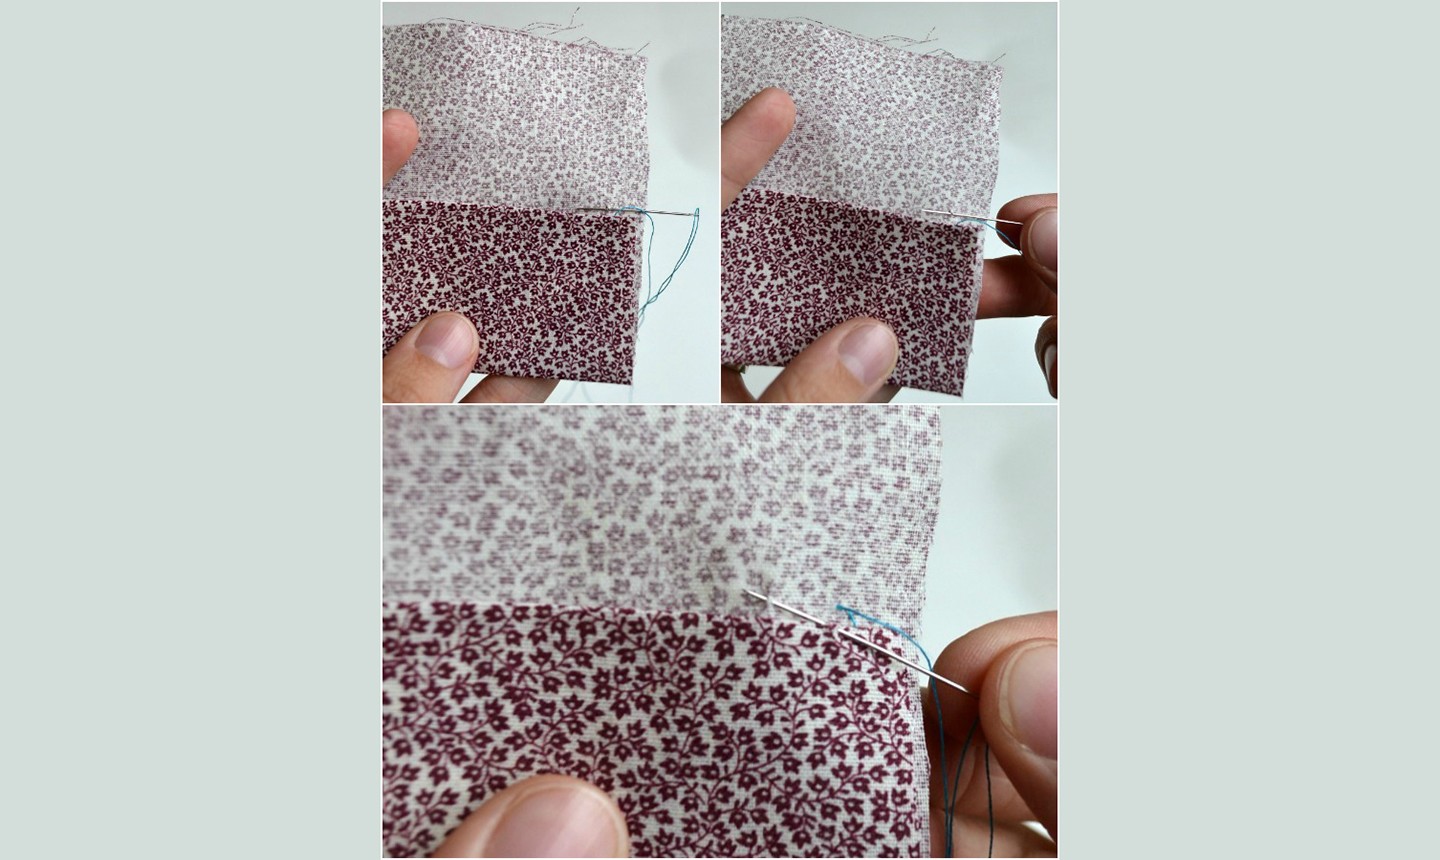
Grab a tiny bit of fabric with your needle. Moving to the left about ¼”–½”, grab a tiny bit of the folded hem. Now, instead of moving, grab a tiny bit of fabric right above the stitch. Then, moving to the left again, grab another tiny bit of the folded hem. Repeat all the way around the hem.
Blind Hem
Thread your needle with a single thread and tie a knot at one end. Insert the needle into the hem allowance. Make sure the knot anchors the thread.
Grab a tiny bit of the fold with your needle. Moving to the left about ¼”–½”, grab a tiny bit of the hem allowance. Moving to the left again, grab a tiny bit of the fold. Repeat all the way around the hem.
Blind Catch Stitch
Thread your needle with a single thread and tie a knot at one end. Insert the needle into the hem allowance. Make sure the knot anchors the thread.
Grab a tiny bit of the fold with your needle. With your needle pointed to the left, move to the right about ¼”–½” and grab a tiny bit of the hem allowance. Keep your needle pointed left, move to the right again and grab a tiny bit of the fold. Repeat all the way around the hem.
Looking for a short cut? You can forgo a hand sewn hem by Using Fusible Hem Tape in Place of Stitching
Mom ,having grown up in the early days of the 1900s. She did everything by hand . With no daughters my brothers and I had the opportunity to learn a lot of DIY skills guys don’t normally learn. Hand Sewing is one skill I learned and even used in the military. With the 4th of July tomorrow, I need to repair the hem on my US Flag. Your options are great, and my flag is back proudly displayed. Thank you!
I found this article very informative
The images are quite small and it's hard to really see any details of the stitches given...
I love the website too
I love your website it is really good