If you’re going to sew your own clothes — or even alter store-bought ones — you have to know how to hem. The good news is it’s a super easy skill to pick up, as the bottom edge is simply turned up and stitched into place. (Things get more complicated when dealing with extras like lining, a kick pleat or a cuff.) The method below can be used whether you’re hemming a dress, a pair of pants, a skirt, a sleeve — anything you put your mind to!
How to Hem a Garment
Level: Easy
What You Need
Instructions
1. Determine the Placement
The hardest part of hemming is figuring out where you want the hem to be. So try on the garment and pin the hem to where you think you want it to be. Make any adjustments necessary, moving the hem up and down, until you settle on a placement you love.
Pro Tip: An easy way to hem a garment for yourself is to replicate the hem length of a similar garment you have in your closet. Simply measure it and use as a guide for your new creation.
2. Pin It Up
Pin the excess fabric up to the underside, around the circumference of the garment. Try on the garment again and make sure the hem is pinned evenly all around.
3. Press
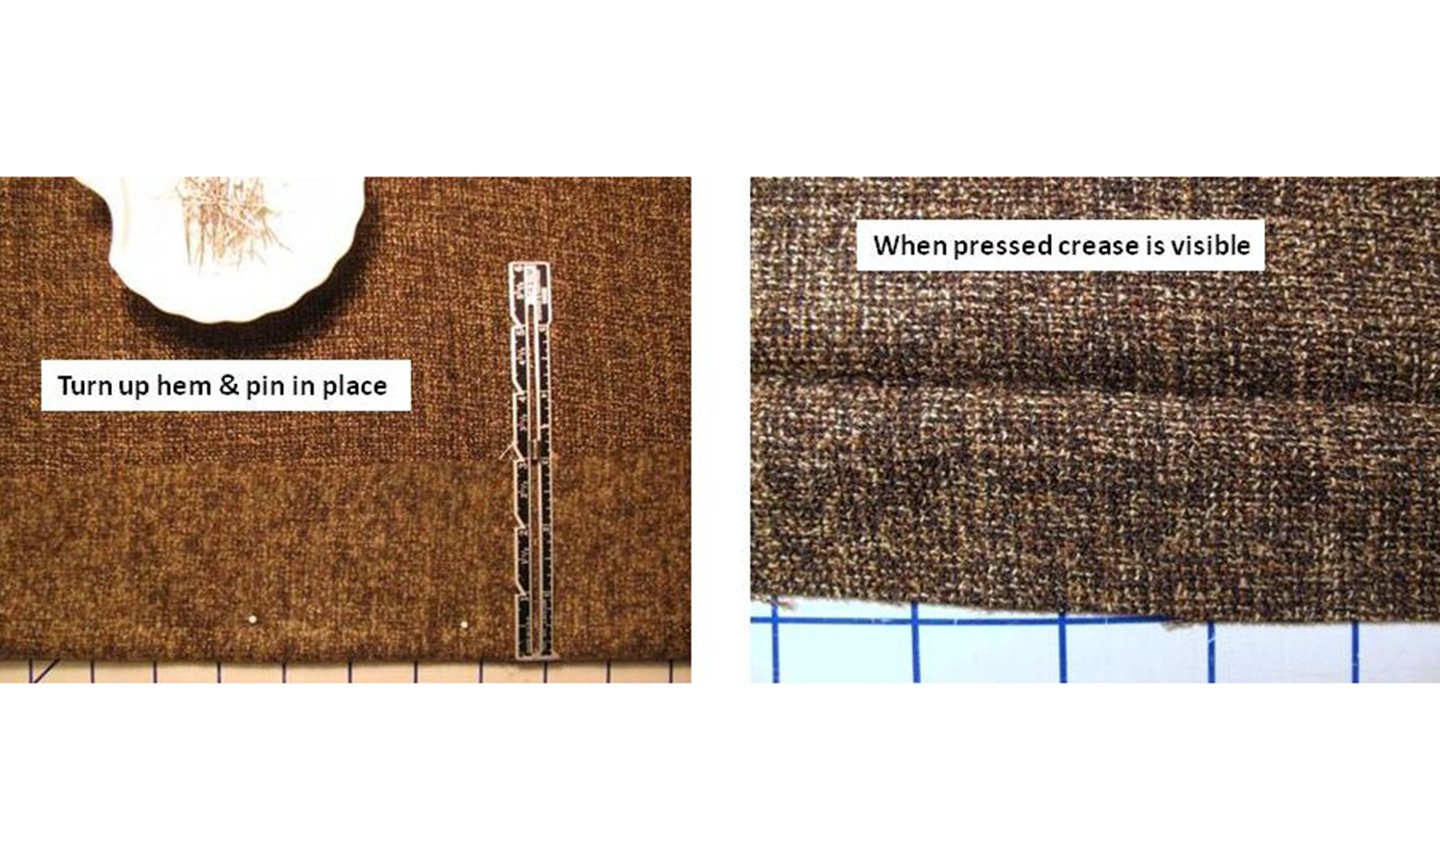
With the pins still in place, press the hemline so the crease holds even once the pins are removed. If you’re working with a fabric that doesn’t hold a crease well, hand baste the hem in place about ½” from the folded hemline edge. Remove all pins.
Good to Know: A hem can be any width you want, but for guidance, pant hems should be around 1¼–1½” and dress or skirt hems around 1½–2″.
4. Trim
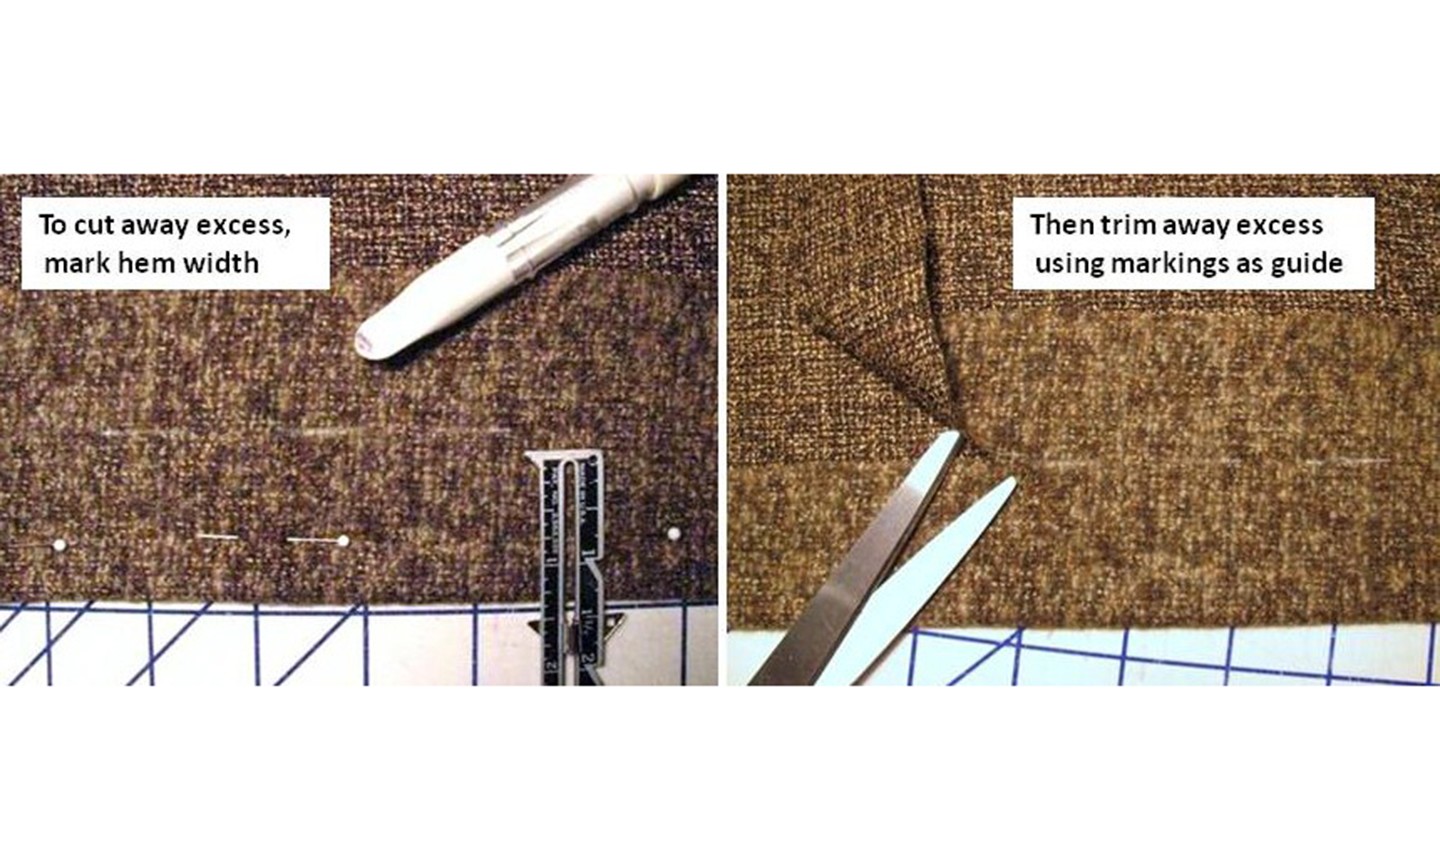
Measure and mark your hem with a fabric pen or chalk. Use that mark as your guide to cut away excess fabric.
5. Finish the Raw Edges
You want to secure a hem that’s invisible from the right side of the garment. There are essentially three ways to finish a plain hem, and the type of fabric you’re using will determine the appropriate approach.
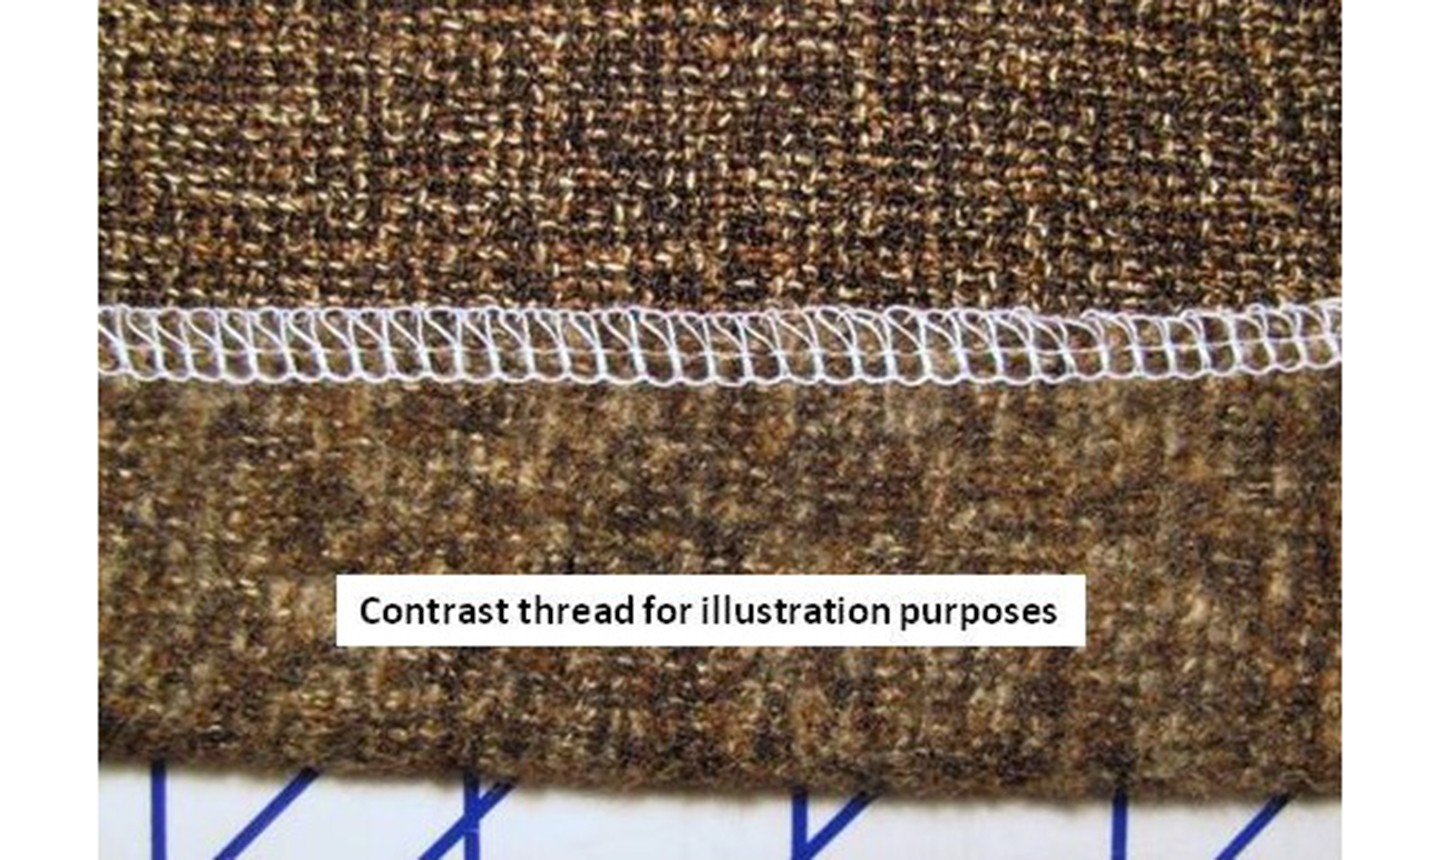
For standard types of fabric, like cotton, serging the edge is the easiest approach and will produce a clean finish. The serged stitching will prevent the raw edges from fraying and provides a medium for the final hand stitching.
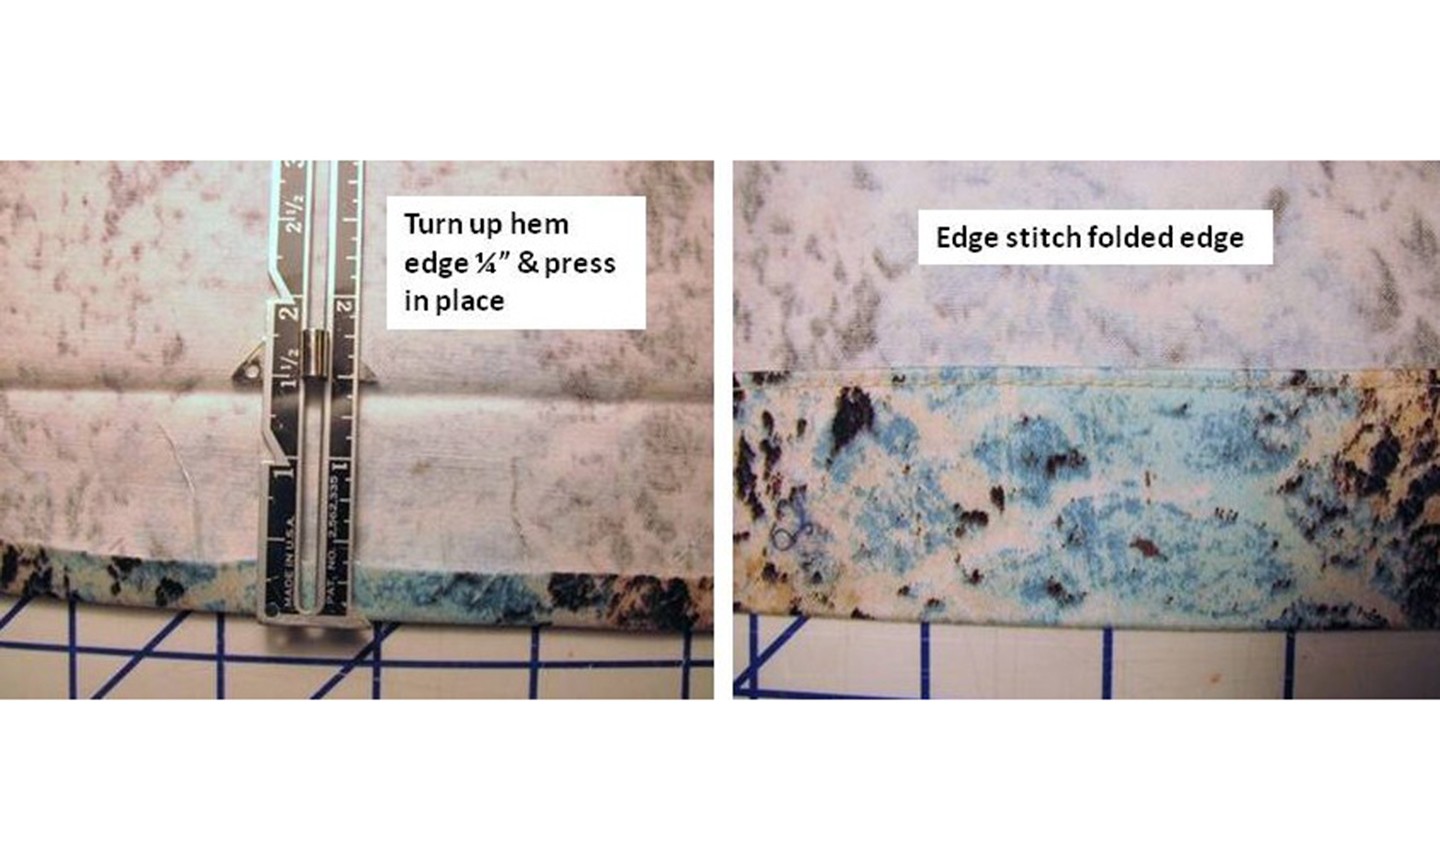
For light- to medium-weight fabrics, use a turned edge: fold under the top raw edge of the hem by ¼” and press in place. Stitch the folded edge down 1/16″ to ⅛” from the fold (more details on stitching the hem are below).
Pro Tip: For the turned edge method, test on a piece of scrap fabric first to make sure the added bulk of the double layer of fabric doesn’t bleed through to the right side when pressed.
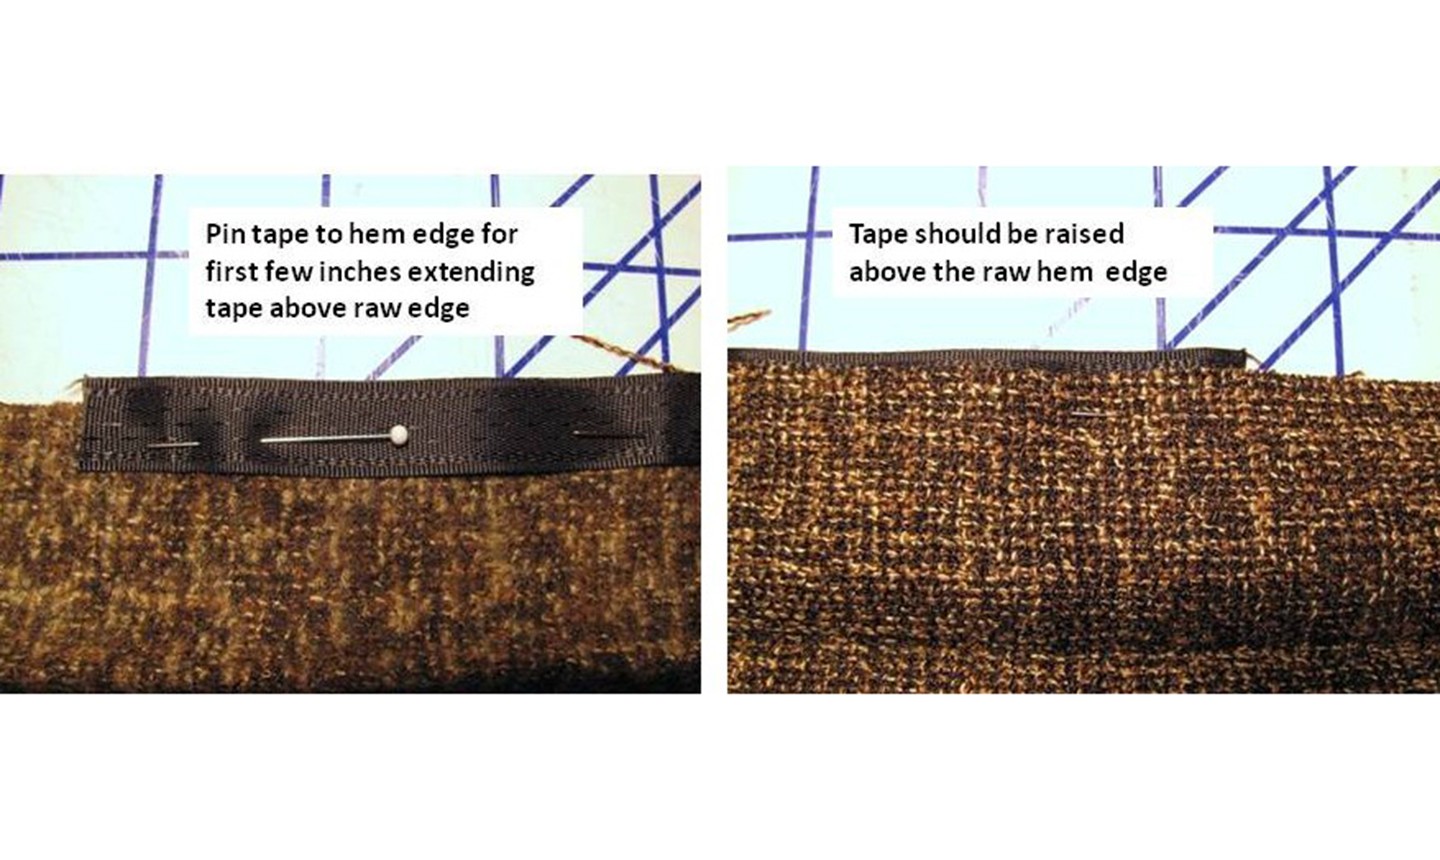
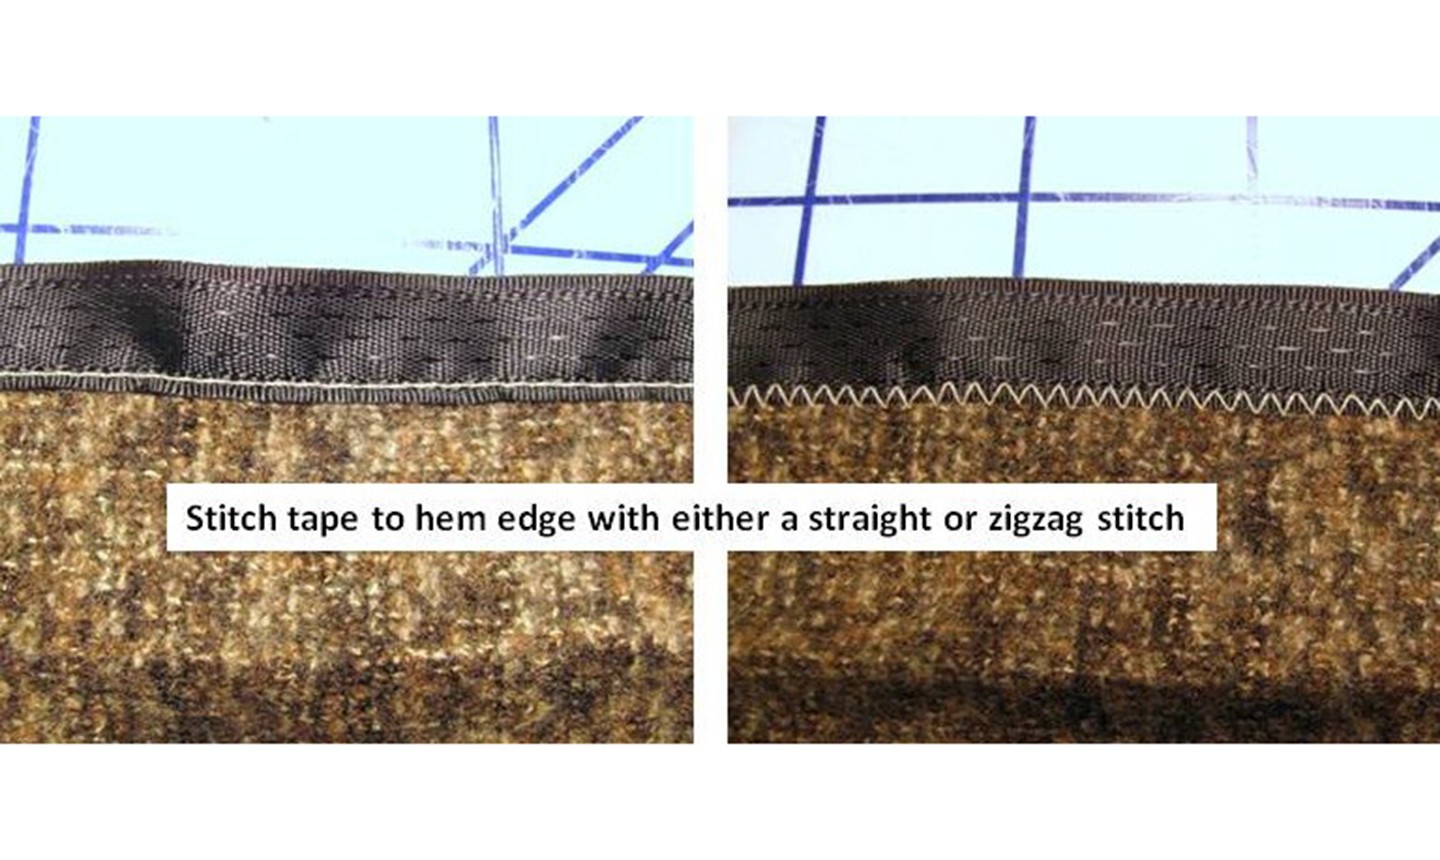
For heavier fabrics, fabrics that fray excessively or are too bulky to handle a turned edge, use hem tape. This keeps the fraying in check, conceals an otherwise unattractive edge and prevents a bulky hem edge from bleeding through to the right side of the garment. Finish by stitching the tape to your hem.
How to Slip Stitch a Hem
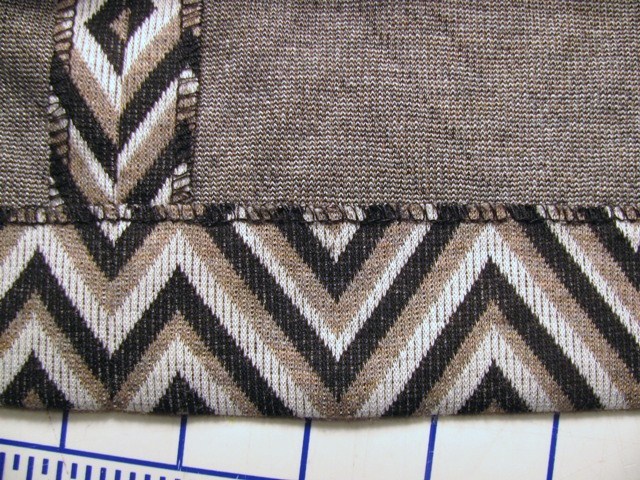
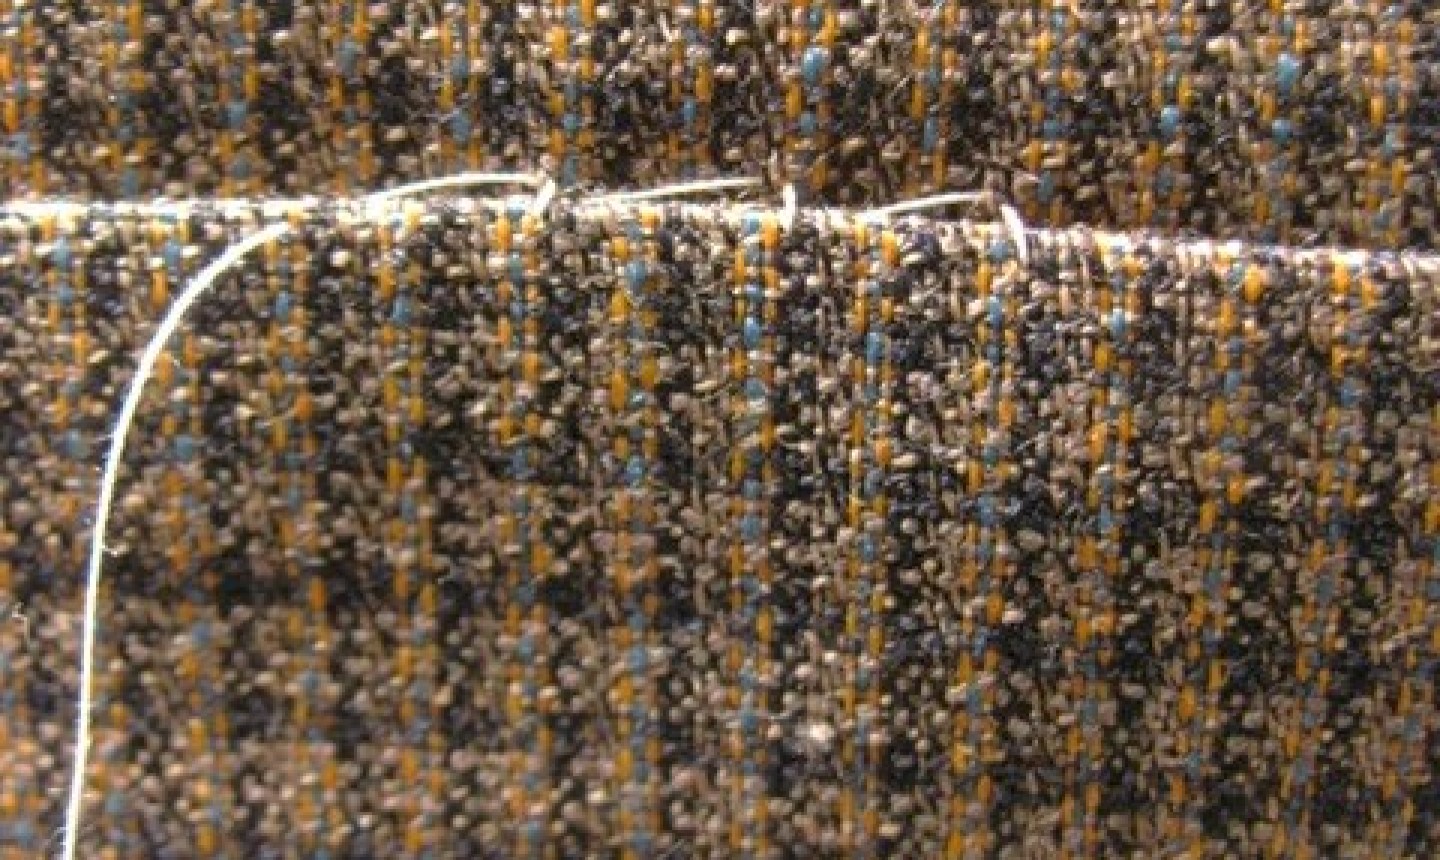
The secret to a well-executed hem? A slip stitch. If done properly, it’s hardly visible from the right side and produces a secure hem. You can also use a zigzag stitch, as pictured above.
1. Prep Your Thread
Position the garment so the hem is turned up and facing you. (You’re going to sew from right to left.) Thread a needle with roughly a 20″ length of thread. Knot one end of a single thread.
Pro Tip: To strengthen and prevent the thread from knotting up, run it through some beeswax and iron before knotting.
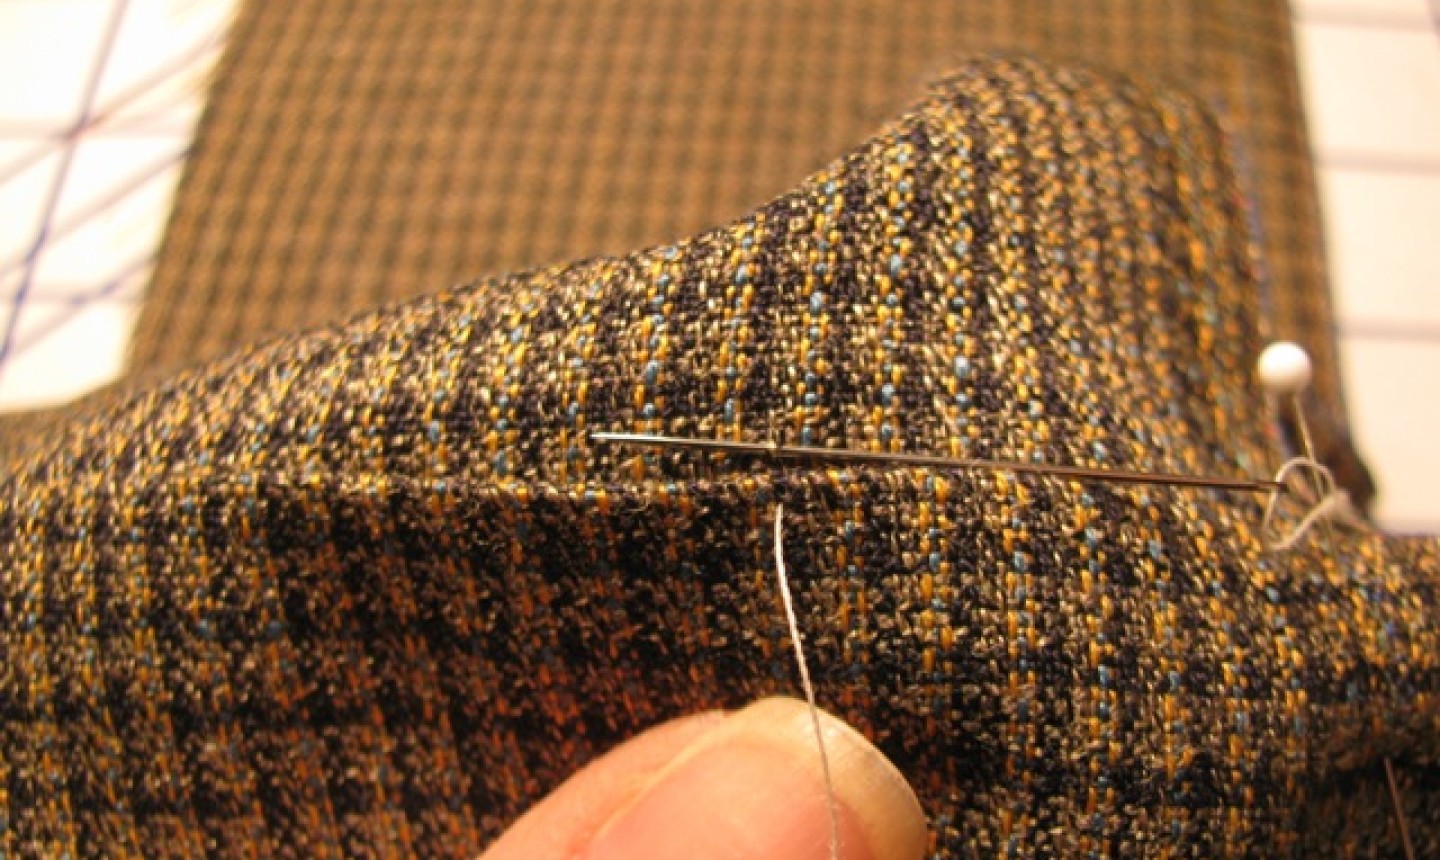
Insert the needle into the hem’s top edge, starting from the underside and going up through the top of the hem edge. Notice the needle placement is roughly ⅛” or less from the hem edge.
3. Make the First Stitch
Take a tiny stitch directly above where you inserted the thread, at the garment base. Only pick up a small amount of fabric. (We’re talking one or two threads.) The resulting stitch should be quite small and perfectly vertical.
4. Keep Stitching
Angle the needle to enter the hem approximately ½” from the first stitch. Bring the needle up at the 6 o’clock position and repeat the process described in steps 2 and 3.
Continue this process across the hem, making sure only a thread or two is captured each time and the spacing between each stitch is consistent. On the right side of the garment, only small, evenly-spaced pick stitches should be visible. If applying on lofty or dense fabrics, the stitches will likely be invisible.
Looking for a short cut? You can forgo a hand sewn hem by Using Fusible Hem Tape in Place of Stitching
Its very helpful for me. Keep Writing!
sometimes you have to go back and review the basics - this is a great way to do that!
Well done I have benefitted