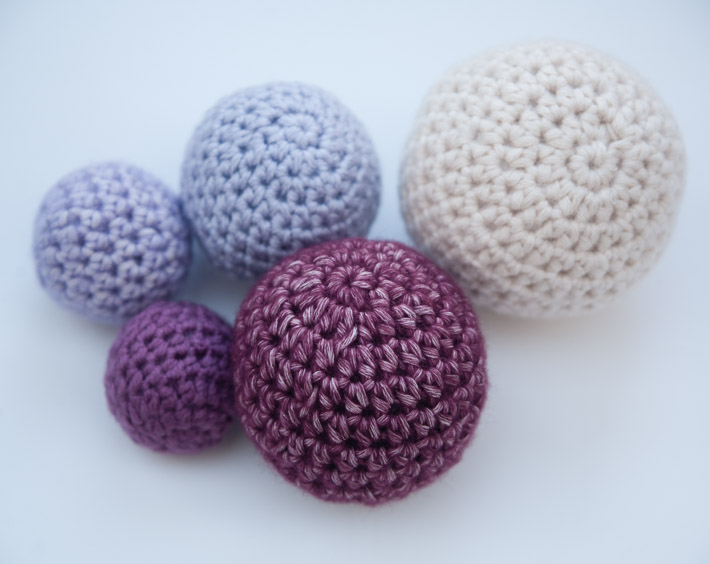
Photos via Lookatwhatimade
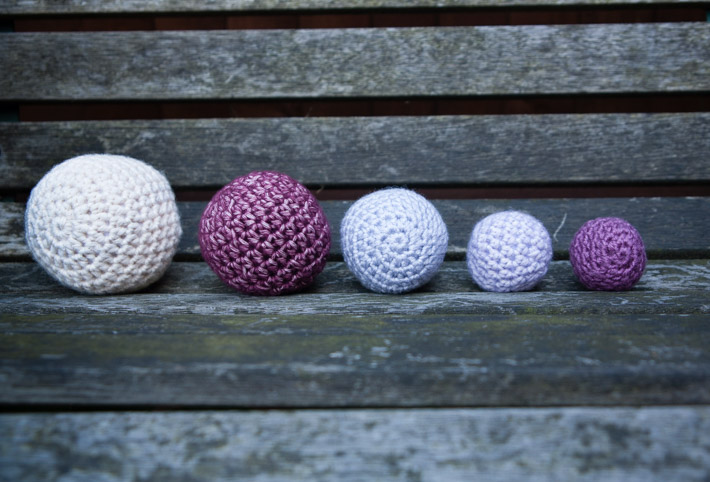
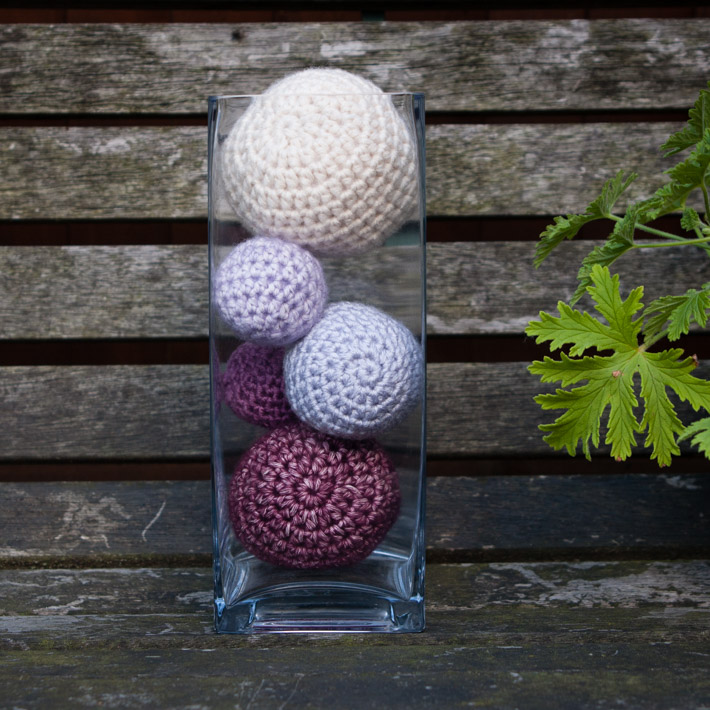
Whether you use them as tiny Christmas ornaments, giant poufs or anything in between, crocheting balls is fun. And the best part is, once you’ve crocheted one size, you can figure out how to crochet any size ball with a little help from a simple formula.
The half-double crochet stitch is the star of this show: it allows you to apply a basic ratio of 1:1 to the increase and decrease rounds (which shape the curves at the top and the bottom of the ball), and the ‘straight’ rounds (which form the fat center of the ball).
Let’s look at the general formula together, then walk through a specific example for making a tiny ball.
Crochet Ball Formula
What You Need:
- Crochet hook (use one hook size smaller than the size suggested on the yarn label)
- Yarn (the weight you choose will affect the size of your balls)
- Yarn needle
- Stuffing
Pro Tip:
Using a smaller hook will create smaller holes in your work, which means your stuffing won’t poke out!
Abbreviations:
- Ch – Chain
- Hdc – Half-double crochet
- Hdc2tog – Half-double crochet two together (half-double crochet decrease)
- Rnd – Round
- Sc – Single crochet
- St – Stitch() – The total number of stitches you should have in the finished round
- * – Repeat instructions between parentheses the number of times specified
Instructions
Closed Start
Each ball starts with 7 sc made into a magic ring.
Increase Rounds
The rest of the curve is then made in half-double crochet, with 7 increases in each round.
Increase by 7 hdc in each round until you reach the circumference you require. Count your rounds!
Straight Rounds
Next you’re going to work rounds straight (hdc in each stitch without any increases). The number of straight rounds you work depends on the number of increase rounds you worked. It’s a 1:1 ratio, so if you made 10 increase rounds, you will need to make 10 straight rounds.
Decrease Rounds
To form the top curve to close the ball, decrease by 7 stitches in each round until you have 7 stitches left, stuffing as you go.
Hdc2tog 3 times, leaving the remaining stitch unworked.
Finishing
Fasten off, leaving a 4″ (10 cm) tail of yarn. Use a yarn needle and the end tail of yarn to close the hole formed by the last 4 stitches. Make sure that your ball is well stuffed before closing it completely. Work away your tails of yarn.
Smallest Ball Pattern:
The smallet version of this pattern has just two increase rounds (the stitches worked into your magic loop count as an increase round!), two straight rounds, and two decrease rounds.
Rnd 1: Create a magic ring, then ch 1, 7 sc into the ring. (7)
Rnd 2: Make 2 hdc in each st around. (14)
Rnds 3 – 4: Hdc in each stitch. (14)
This is a good time to start stuffing your ball.
Rnd 5: Hdc2tog 7 times. (7)
Continue stuffing as you work.
Rnd 6: Hdc2tog 3 times. (4)
Leave the remaining stitch unworked and skip to the Finishing section in the generic pattern above.
I would like to know the ratio to increase and decrease using double crochet. I’m making a 15 cm across ball for dodgeball for school. The ball I’m making will have a fabric sack around the stuffing in the centre so not worried about it leaking.
I would like a free prIntable pattern of different sized round balls.
Thanks for the info. I lost my pattern for a simple ball which I crochet actually for a dog. When a dog is being trained in obedience, after he has done his work, this ball is thrown for him to play with. This of course only works for a dog that likes balls, but we call it an incentive ball and it is the best. Can you provide me with a pdf of a straight pattern? Thank you
I’ll would like the pdf of the pattern? Thanks
I’ve been crocheting for awhile now and have never had this problem before, but my witch house (a ball) has gotten flimsy and wavy around the edges. No matter what I try nothing helps. Has anyone experienced this and if so what was done to complete the ball? The pattern is 47 rounds of SC.
Simple directions if you already understand how to crochet. I like that you laid out the concept that will work for ANY size ball. I mean really- you could go teeny tiny or the size of an airplane and it would work!
To those who think the instructions are hard... not! Very easy to follow and it's the smallest ball she has given the simplest instructions to use. She also offers a FREE pdf to download , so do it and quit complaining.
I love the idea of these ball sizes but the instructions are dufficult to undersrand. Can you maje a video tutirial?? Please
Your instructions are very hard to follow. You should Bo a tutorial and show examples. I love the end results, I just can’t follow.
... so im not too sure but what do you mean by doind a hdctog 7 times? like 7 in each around or 7 total