Whether you sew garments, quilts, accessories, or home decor, you will find that some projects require you to temporarily mark the placement of closures, darts, pockets, appliqués, stitching lines and other design elements. Sometimes a pin or a small snip in the seam allowance will do, but you often need more precise markings that won't disappear too quickly but also won't scar your fabric forever. Keep reading to learn more about fabric marking tools.
After many years of sewing, I still feel overwhelmed by the abundance of marking tools on the market. Which ones work best for different fabric marking needs?
Here's a pro and con guide for some common fabric marking tools:
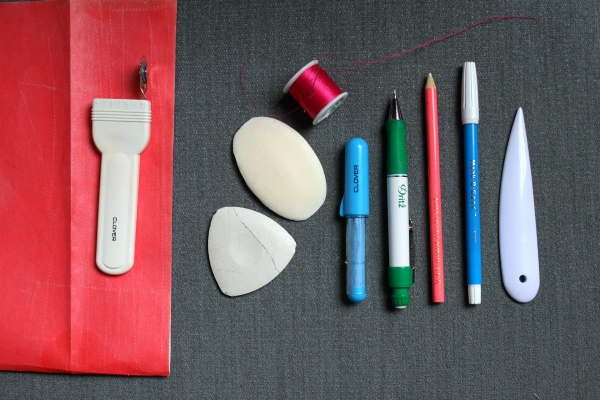
Note: Always test ANY marking tool on a scrap of your fabric first to see how it reacts and how easy it is to remove. Even "disappearing" inks may not completely disappear on certain fabrics or colors. I have found that no marking tool is ever 100% consistent.
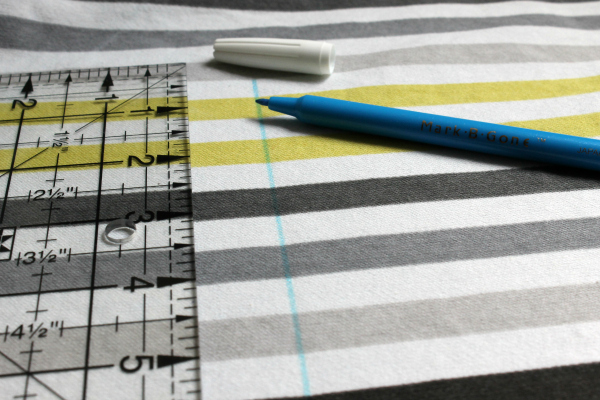
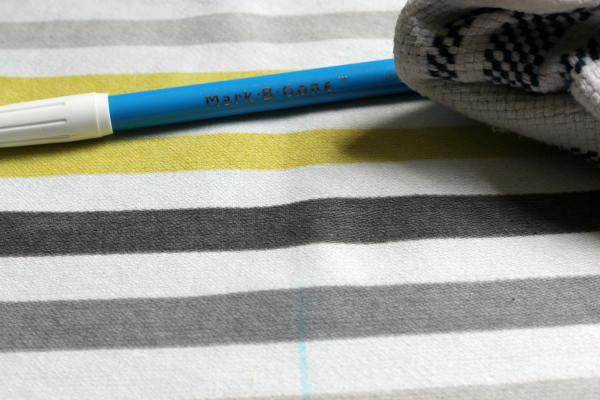
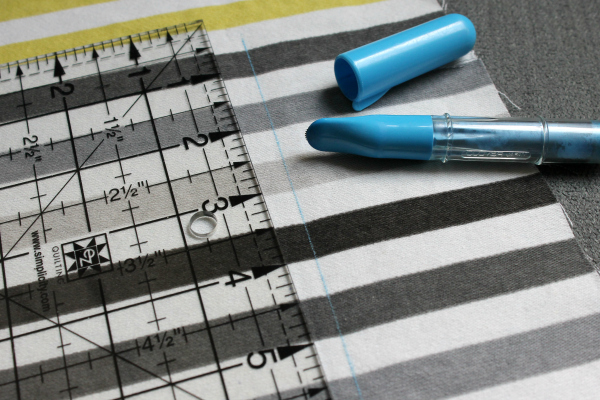
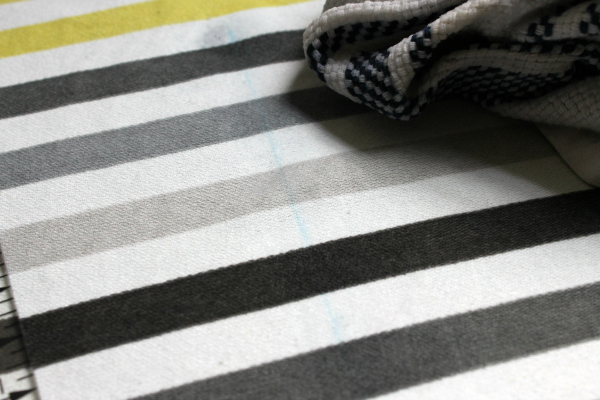
1. Water soluble or disappearing ink pens
Pros: Precise lines; easy to mark small dots or circles; bright colors show up well on light fabrics; marks typically disappear completely with a light blot of water, touch of the iron, or with time
Cons: Sometimes disappears too fast; marker tips can dry up quickly; marks can bleed or spread; sometimes reappears after initial removal
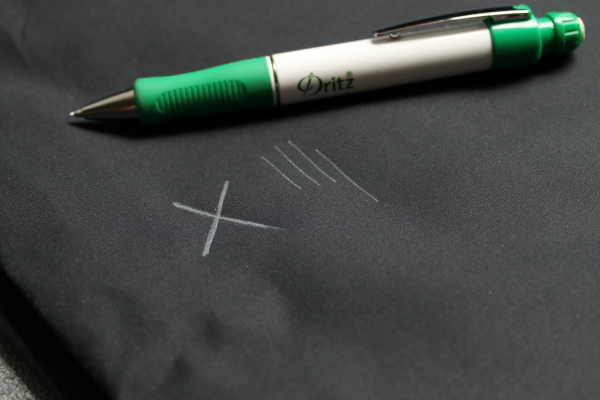
2. Ceramic lead pens
Pros: Makes thin accurate marks; comes with different colors of refillable lead; erases or washes away easily with water
Cons: Expensive; fine tip breaks easily and sometimes drags on fabric; less effective on thick or textured fabrics like wool or felt
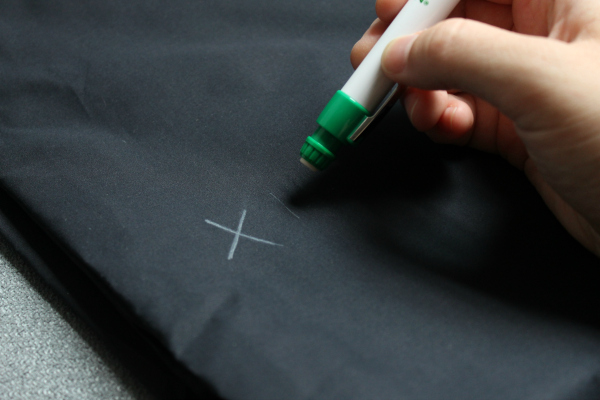
3. Tailor's chalk
Pros: Leaves smooth lines; good for marking thick or textured fabrics; usually fades and brushes away easily (which is sometimes a con, depending)
Cons: Easily breaks, dulls and crumbles; must be regularly sharpened; can fade or brush away too quickly
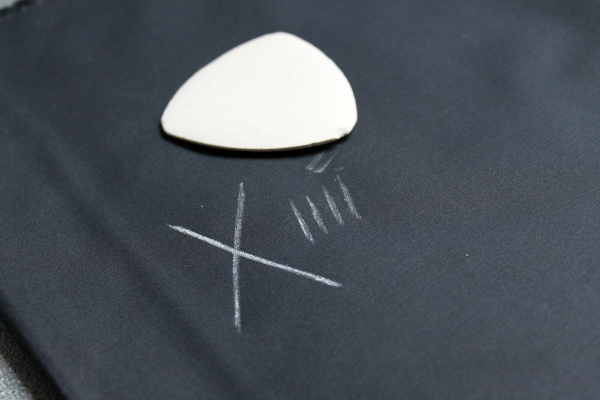
4. Chaco Liner Pens
Pros: Leaves a very thin, precise line of powder; rolls easily and doesn't drag on fabric; comes in a variety of colors; never needs sharpening
Cons: Expensive to purchase and refill; colors can be hard to remove from fabric initially and may need thorough wash
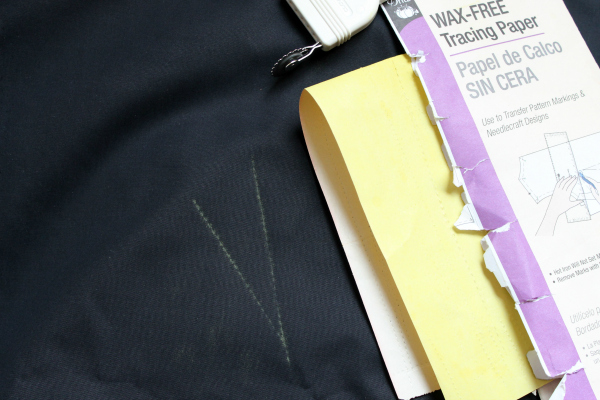
5. Tracing/carbon paper and tracing wheel
Pros: Ability to mark both sides of the fabric at once if you sandwich fabric with the carbon paper; each packet comes with a variety of colors to use on light or dark fabrics; easy to mark long lines, curves or corners while copying a template or pattern exactly
Cons: Carbon can smudge the rest of your fabric (or your hands); lines sometimes don't transfer clearly unless with heavy pressure; less visibility of where you're marking because the paper covers the fabric
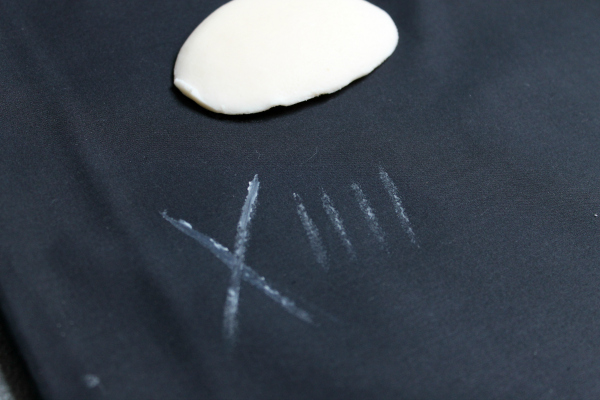
6. Bar soap slivers
Pros: Already available in your home (or free from hotels!); easily glides over all fabrics
Cons: Leaves residue so should only be used on washable fabrics; can leave uneven smudges; limited colors
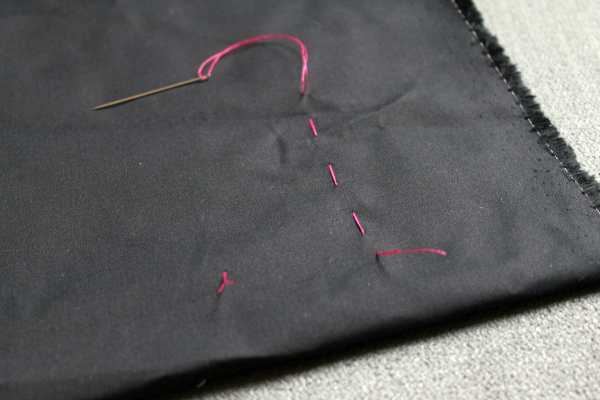
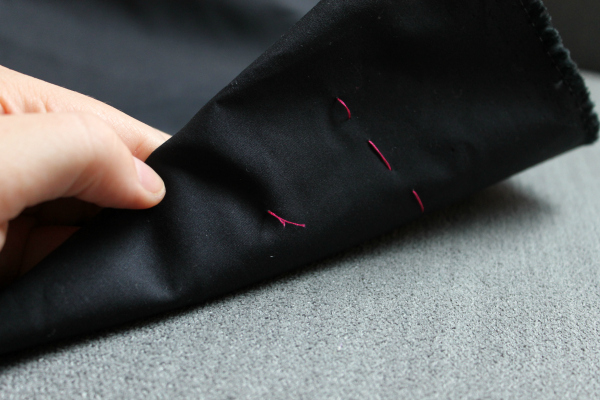
7. Tailor's Tacks or Thread Basting
Pros: Won't stain so is safe for delicate or white fabrics; can mark both sides of fabric at once; colors are unlimited (depending on thread stash)
Cons: Takes longer and is more tedious; thread may pull out of fabric while handling
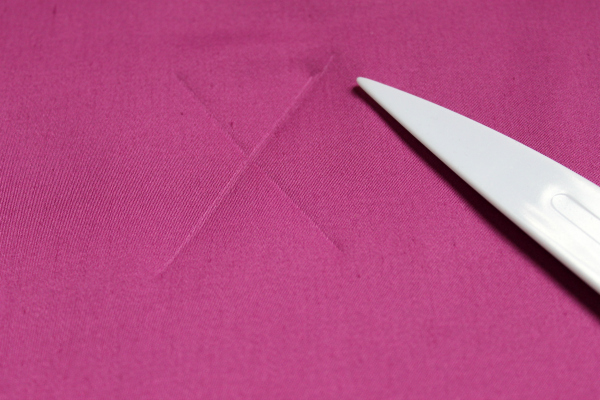
8. Hera Marker (or any sturdy plastic tool like a point turner)
Pros: Won't stain; creases both sides of fabric at once; never needs replacing (unless lost!)
Cons: Less effective on synthetic or stretchy fabrics that don't crease well; may leave "shine" on fabric
9. Wax
Pros: Glides on fabric easily and leaves clear lines; won't rub off or brush away unless pressed with an iron
Cons: May not completely remove with iron; may stain lighter fabrics

Share tips, start a discussion or ask other students a question. If you have a question for an expert, please click here.
Already a member?
No Responses to “Sewing Essentials: A Guide to Fabric Marking Tools”