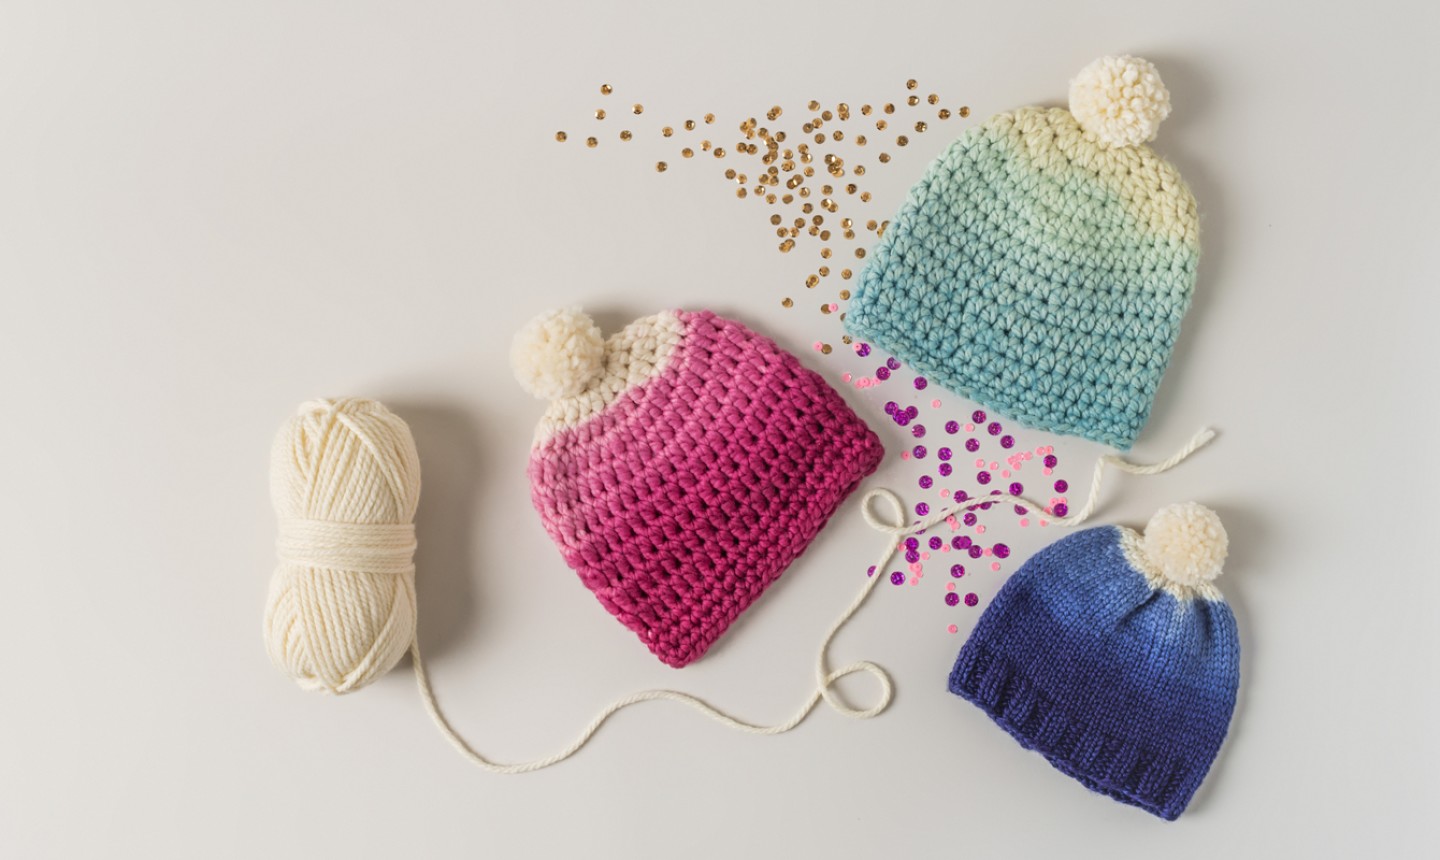
 We are ALL aboard that ombré bandwagon. But rounding up tons of yarn colors to create a perfect fade? Not so much. That's why we love dip-dye. Just knit or crochet your fave basic hat, dip it, put it on, and look ombré-dorable. Seriously, it's that easy.
Ombré Dip-Dye Hat
Level: EasyWhat You Need
- A hat! (see our suggestions below)
- Fabric dye, such as Rit All-Purpose Dye (make sure your dye will work with your hat: for example, if your hat is wool, there's a dye for that. If it's acrylic, there's a dye for that, too.)
- White vinegar
- Dish soap
- A large bowl or tub
- Gloves (optional)
Good to Know: Choose a simple, one-color hat pattern, and knit it in a natural, undyed yarn for best results.
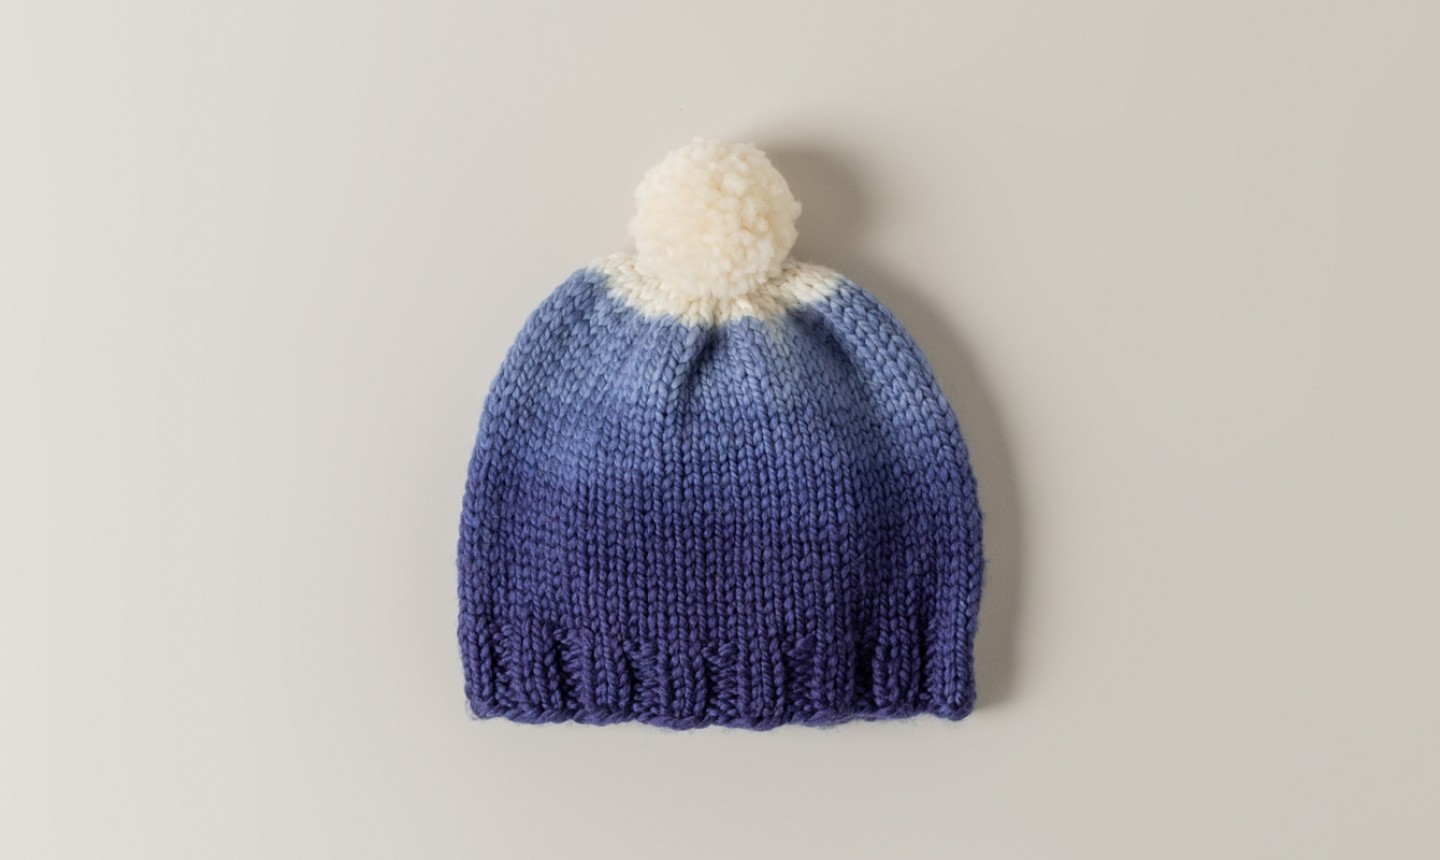
 For this dark blue beauty, we used the Striped Hat pattern from our class Startup Library: Knitting, but nixed the stripes and worked it all in the Ecru shade of Cloudborn Merino Super-Bulky.
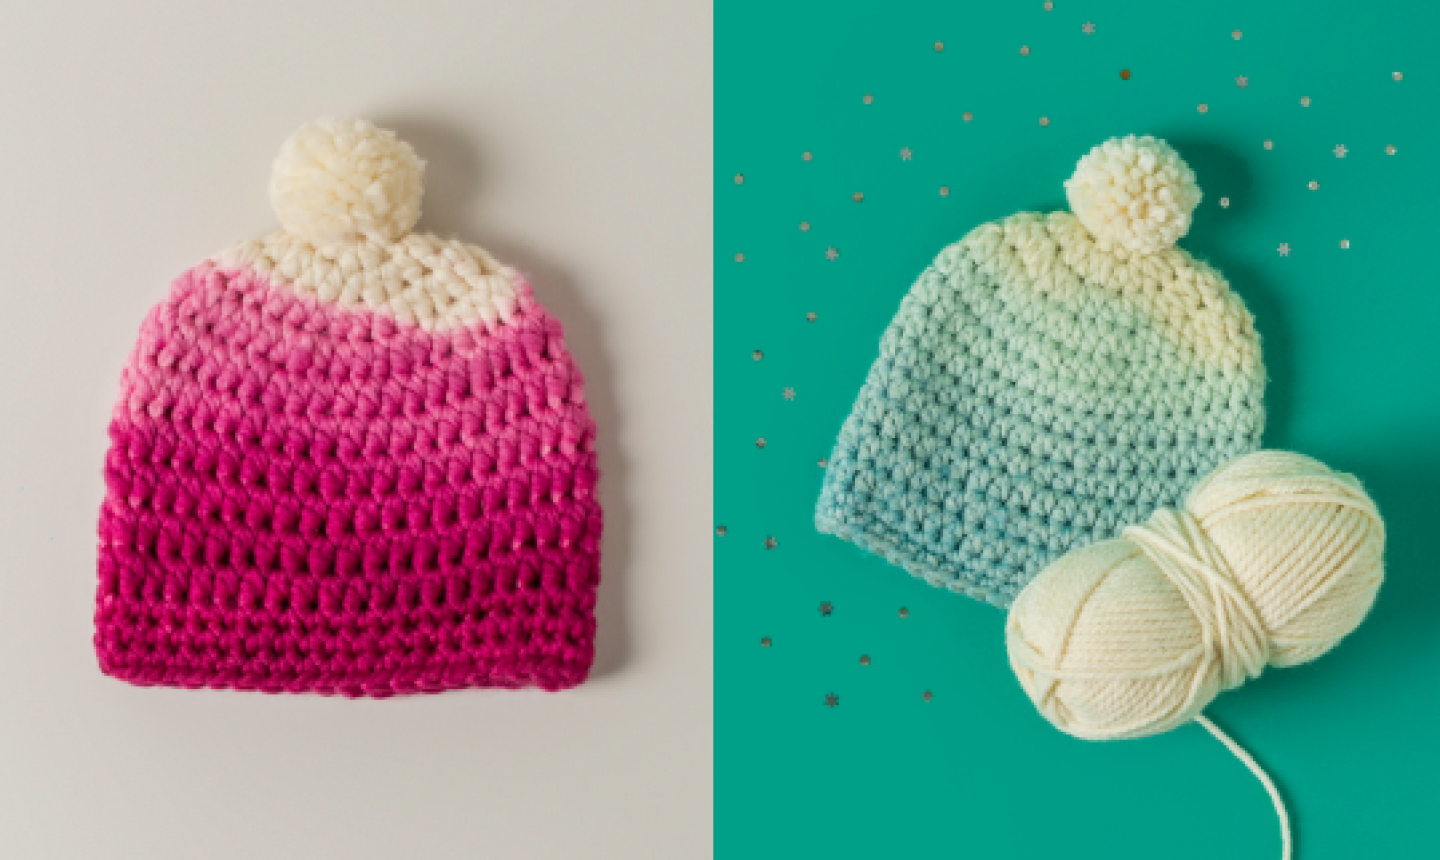
 For our crochet hats, we whipped up two versions of the Bulky Hat from our class Startup Library Crochet, and got dipping. The pink hat is crocheted with Cloudborn Superwash Wool Super Bulky in Ecru, and the lighter blue hat is made with Sprightly Acrylic Wool Super Bulky in Ecru. Word to the wise: despite using special acrylic-friendly dye, the acrylic blend hat took much longer to pick up the dye, and never got the same dark hues that our wool version did. If you're looking for bold color, go 100-percent wool here.
Dip or Dye Trying
1. A Clean Hat Is a Happy Hat
Give your finished hat a soak before you get started. This will get rid of any blemishes, plus a wet hat will absorb the dye and help the dye bleed between colors.2. Dye Bath Time
While your hat soaks, prepare the dye bath. Refer to the instructions on your bottle to set this up. We used Rit dye and set up our dye bath in a gallon bucket set inside a utility sink. Depending on where you're working, take proper precautions to protect your work area (dye stains, obvi).Add vinegar and dish soap, if suggested, and make sure your water is plenty hot. Stir in your dye, again following the amounts suggested by your particular brand of dye.
3. Dip It, Dip It Good
Take your hat out of its presoak and gently squeeze out the excess water (make sure there's no dye on your hands before you touch your hat!). Hold on to the top of the hat and dip it into your dye bath, stopping just before the hat is fully submerged (that's how you get the white bit at the top). Quickly pull your hat out another quarter, leaving the bottom half of your hat in the dye. You should have a white section and light section out of the dye bath; the rest of the hat is still soaking.Leave the bottom half of the hat in the dye for about five minutes, then lift the hat out another quarter, so that just the very bottom of the hat is still submerged. Let this bottom part of the hat sit in the dye for another five minutes.
4. Touch-Ups
If you've pulled your hat all the way out of the dye and nailed it on the first try, kudos. If you're wondering if you can get that bottom edge a liiiiiitle bit darker, read on. When making touch ups, remember that you can get parts of your hat darker, but you can't go back and make things lighter (had to state the obvious).To darken up, dip your hat back in the dye bath just up to the sections you want darker. Leave it in there for another five minutes. Still want it darker? Try adding more dye to your mix and dunk again.
5. Rinse and Dry
Once you're done dyeing, follow the directions for your particular dye and gently rinse the excess color out of your hat. Then lay your hat flat to dry (bonus: this step blocks your hat too!).Once it's totally dry (trust me: you do NOT want to wear a slightly damp hat in winter), put it on and brace yourself for strangers asking "Where'd you get that hat?!"

Hi - this is exactly what I was looking for! I love that shade of pink. Which color code is it??