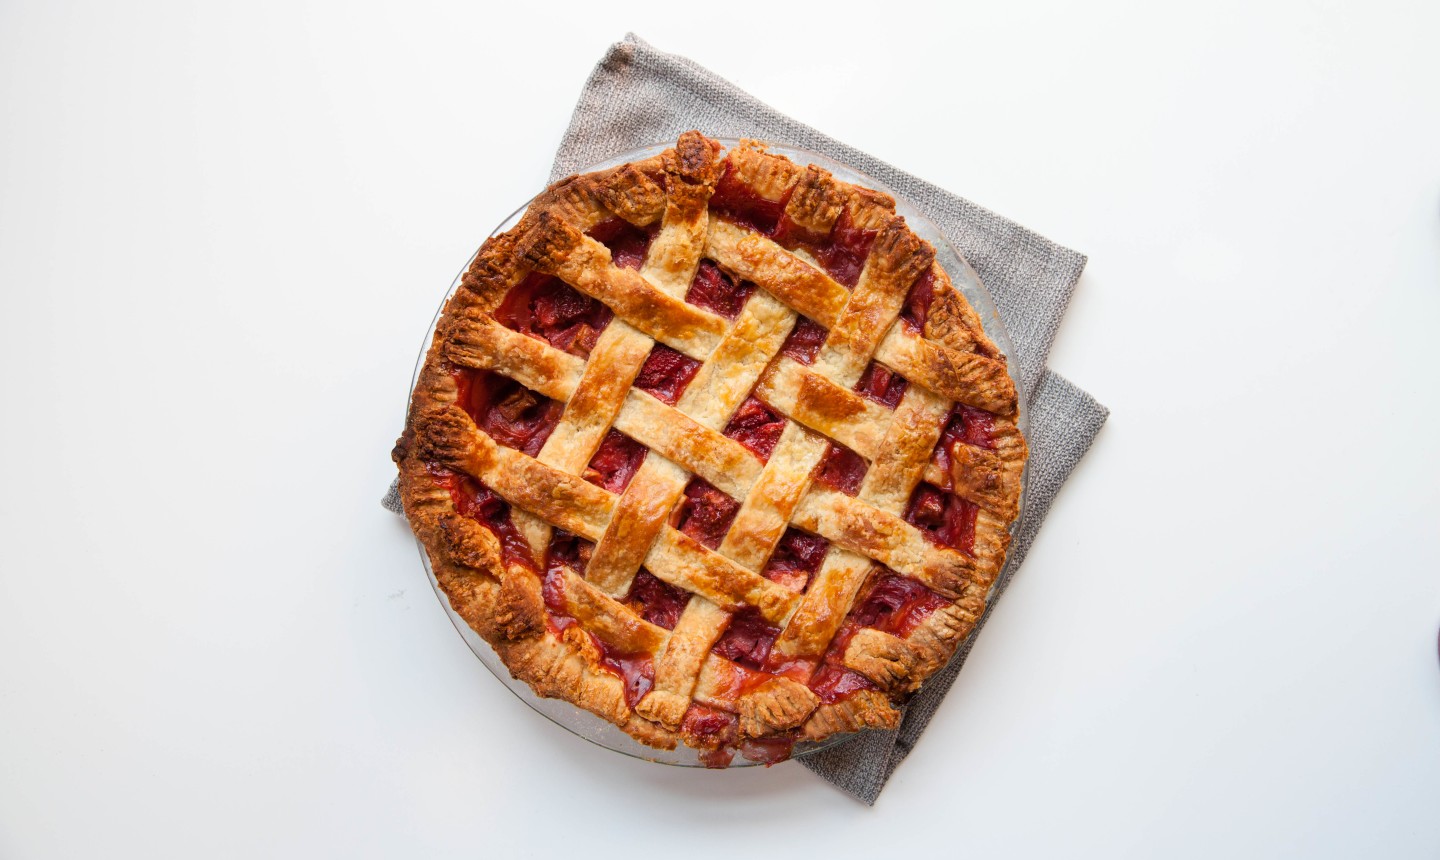
Pies don't have to be pretty to be the star of your holiday dinner, but putting a creative spin on the crust certainly doesn't hurt. And when you pair it with a creative edge, your dessert will be a showstopper.
1. Lattice
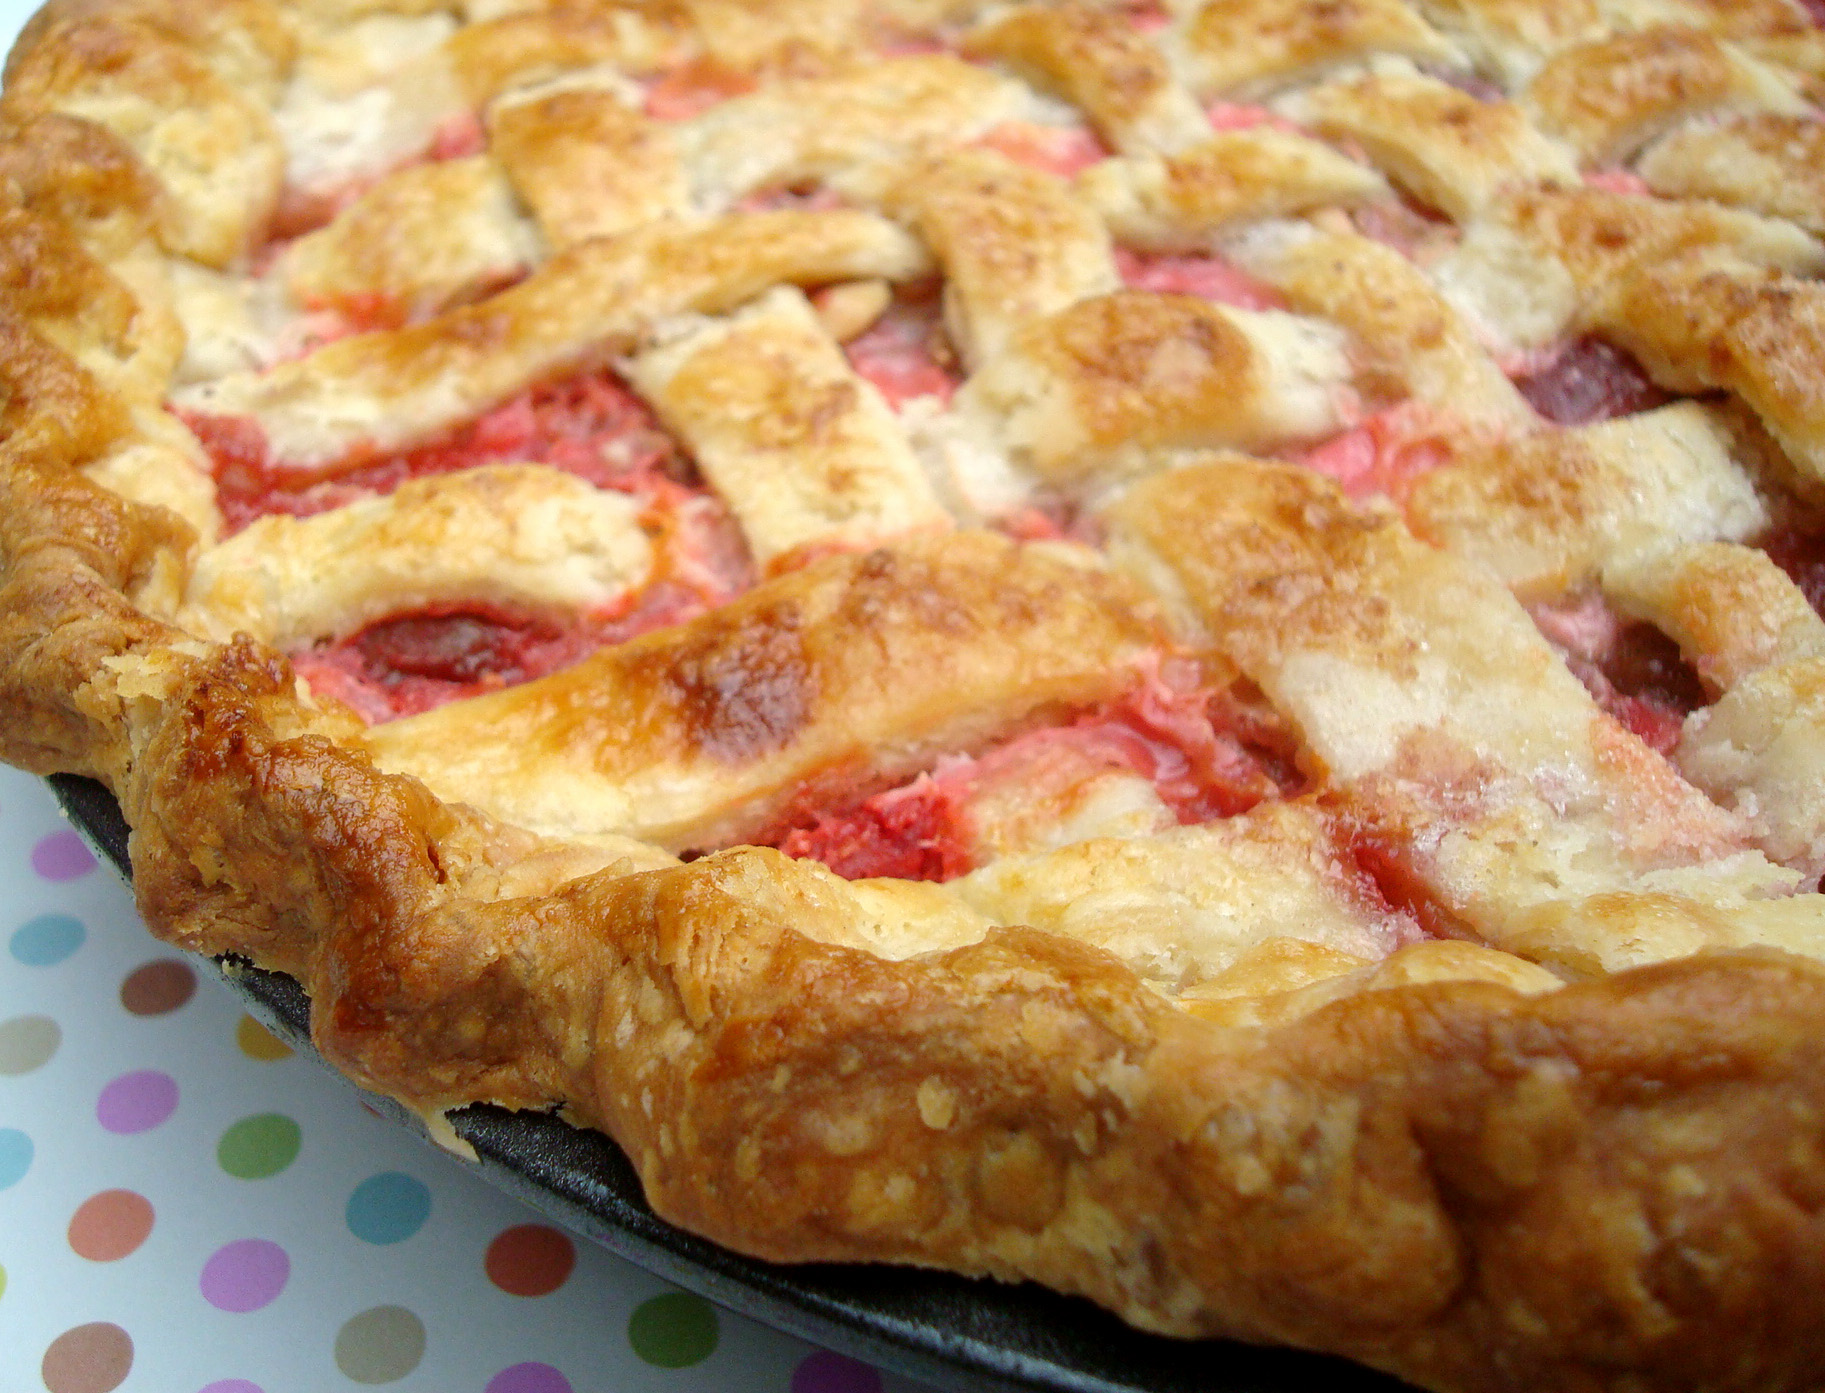
If you have a recipe that calls for a double crust, use a lattice crust instead. With its classic basket-weave texture, it allows some of the filling’s color to shine through for a stunning color contrast.
2. Cut-Out Shapes
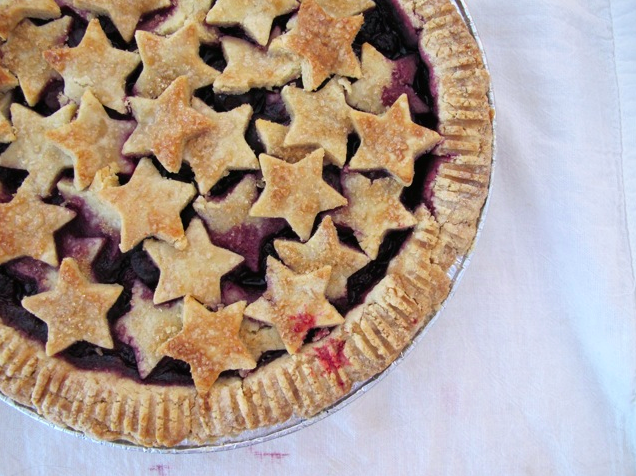
Photo courtesy CakeSpy
Use a cookie cutter to make stars, leaves or another decorative shape and lay it on top of your pie-in-progress. You can layer the shapes to create a cohesive design, or arrange them in a more free-form way, like in the image above. The filling poking through the negative space gives the crust a casual-yet-chic finished look, and if you have excess dough... hello, pie crust cookies!
3. Quilt-Like Crust
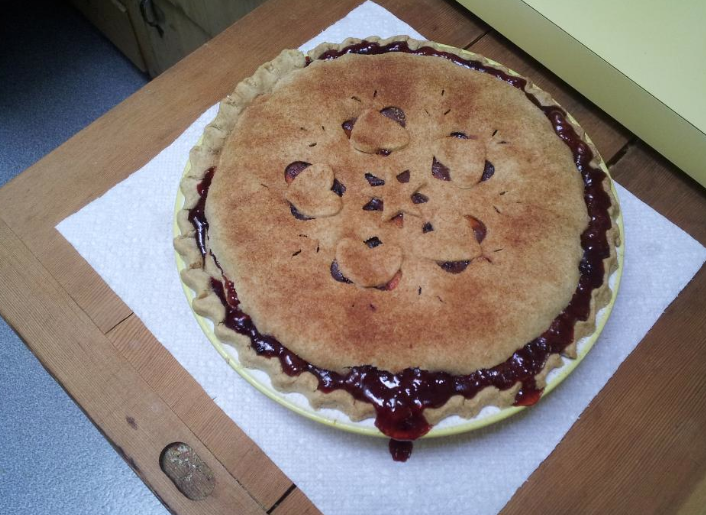
Photo via Craftsy member Quiltedwings
For a charming country-style look, the top crust was rolled and cookie cutters were used to cut out shapes before applying it to the pie. But cleverly, the cutouts are also used, placed in reverse alignment over the negative space from the cutout. The result is a pretty, almost quilted-looking result.
4. Cutout Within a Cutout
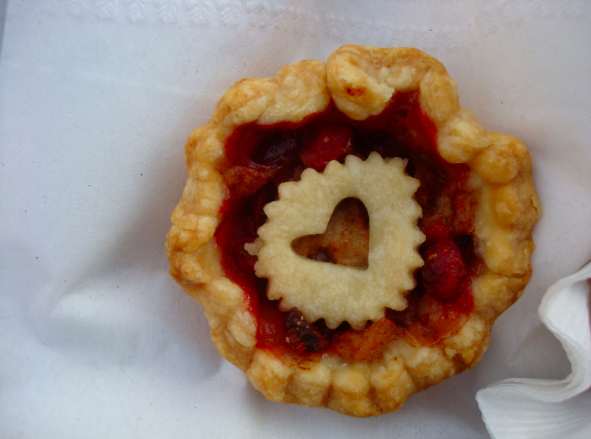
Photo courtesy CakeSpy
It's pie-ception! For a pretty garnish for mini pies, consider this: cut out a disk of dough, then cut a decorative shape in the center. When placed on the pie, it looks like an official seal of love.

Share tips, start a discussion or ask other students a question. If you have a question for an expert, please click here.
Already a member?
No Responses to “Decorative Pie Crust Techniques for an Eye-Catching Dessert”