Need somewhere to drop your keys when you walk in the door? A place to stash extra toiletries? Whatever you need to declutter, this simple, free crochet bowl pattern can come in handy.
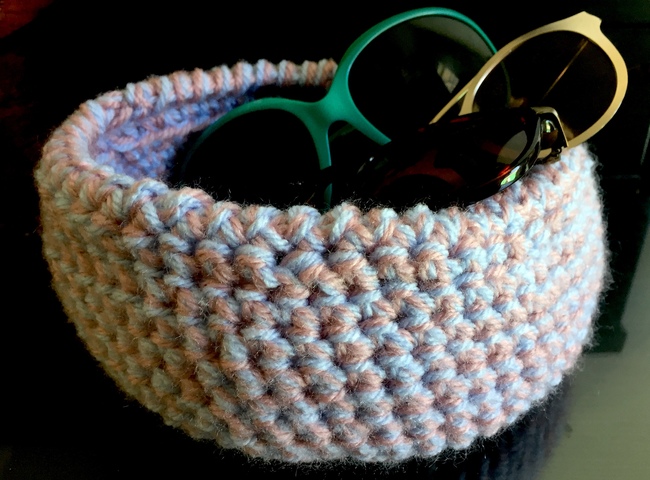
Photos by Kathryn Vercillo of Crochet Concupiscence
Bowl vs. basket — what's the difference?
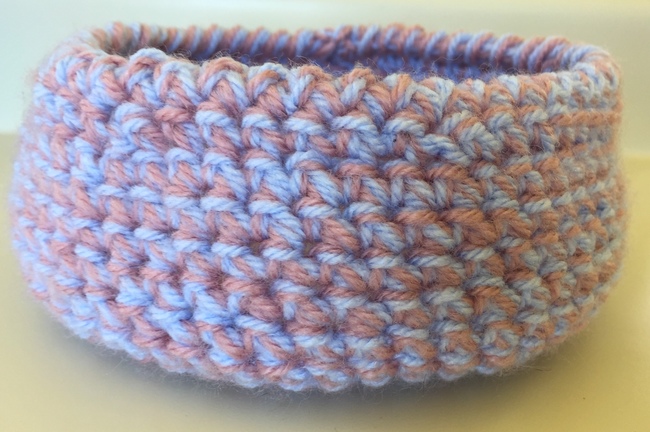
A crochet basket is really similar to a bowl, but typically crochet baskets have the same diameter from top to bottom, while crochet bowls have a smaller diameter at the lip than at the center of the bowl.
Free crochet bowl pattern
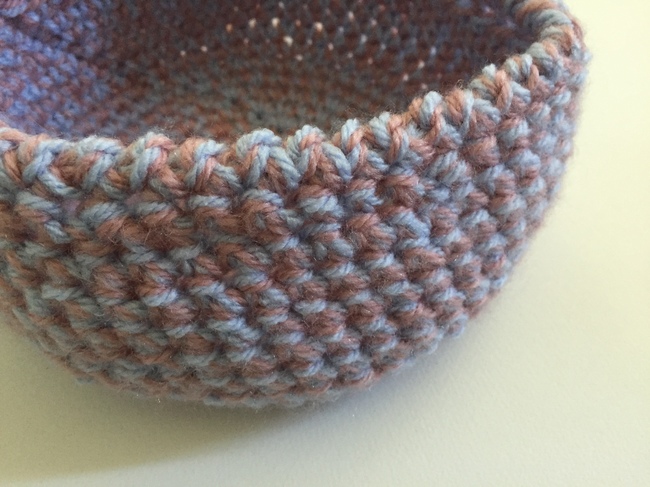
This crochet bowl is made using two strands of worsted weight yarn, worked in a single crochet stitch.
The double strand and short stitch create a dense texture that holds up well, building up sturdy sides of the bowl. A single row of decreasing creates a bowl shape — plus, it's worked in the back loop only, which makes it more functional and adds a nice design detail. The bowl is capped off with a twisting reverse crab stitch.
This crochet pattern is written in U.S. terminology using standard crochet abbreviations.
Dimensions
This pattern creates a bowl that's 7" in diameter at its widest point. This may vary depending upon your tension and materials.
Materials
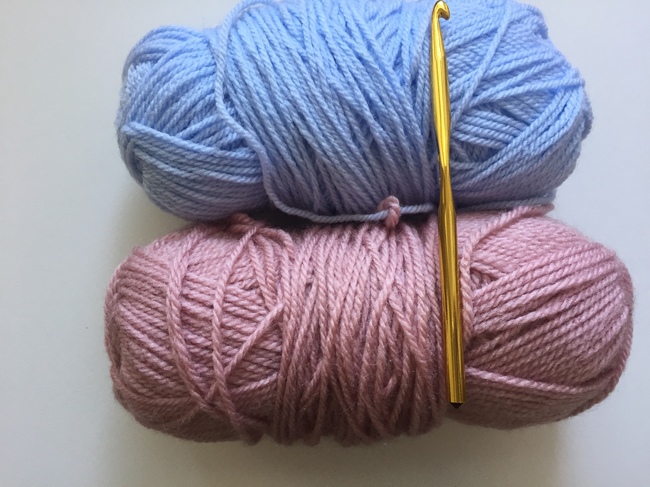
- 2 skeins of worsted weight yarn
- Size K / 10.5 / 6.5 mm crochet hook
- Tapestry needle
I used about half a skein each of Sprightly Acrylic Wool in the Misty Pink and one skein of Sprightly Acrylic Worsted in Sky Blue.
How to crochet base of bowl
Start by making a flat crochet circle for the base of the bowl.
Round 1: Ch 2, 7 sc into first ch, sl st to close. (Alternatively, crochet a magic circle and work 8 sc into the circle.) Total: 8 sc
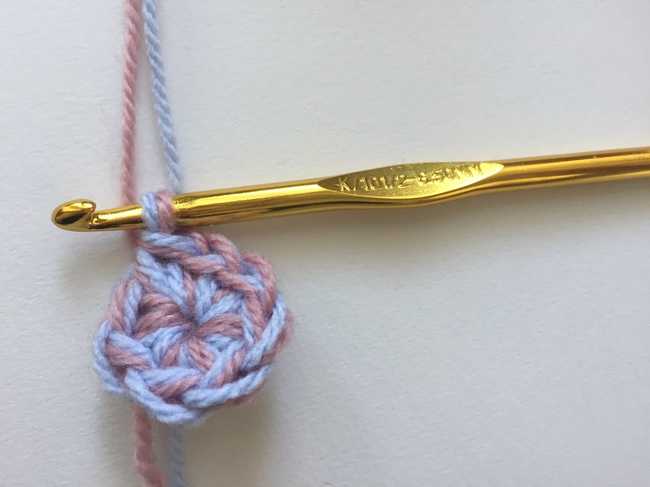
Round 2: Ch 1 (counts as first sc here and throughout), sc in same sp, 2 sc in next st and each st around, sl st to close. Total: 16 sc
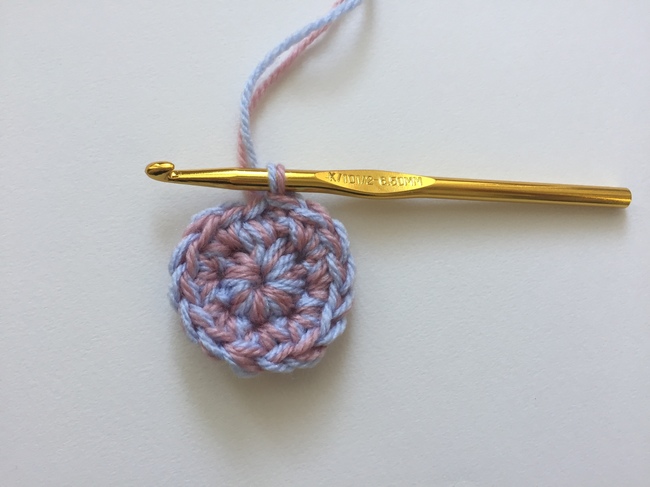
Round 3: Ch 1, 2 sc in next st, *sc, 2 sc, repeat from * around, sl st to close. Total: 24 sc
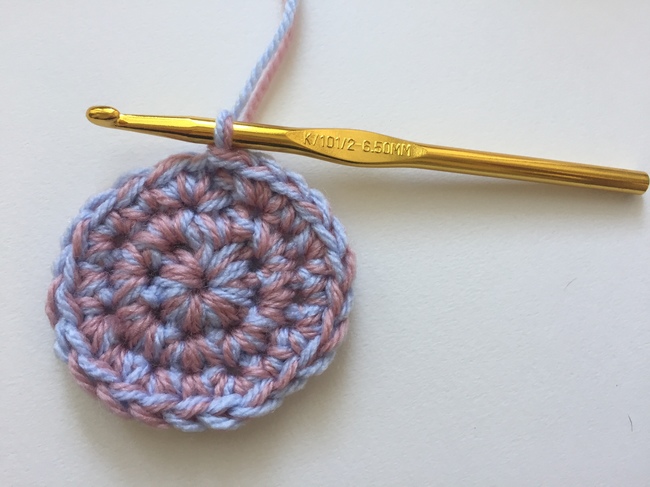
Round 4: Ch 1, sc in next st, 2 sc in next st, *sc, sc, 2 sc, repeat from * around, sl st to close. Total: 32 sc
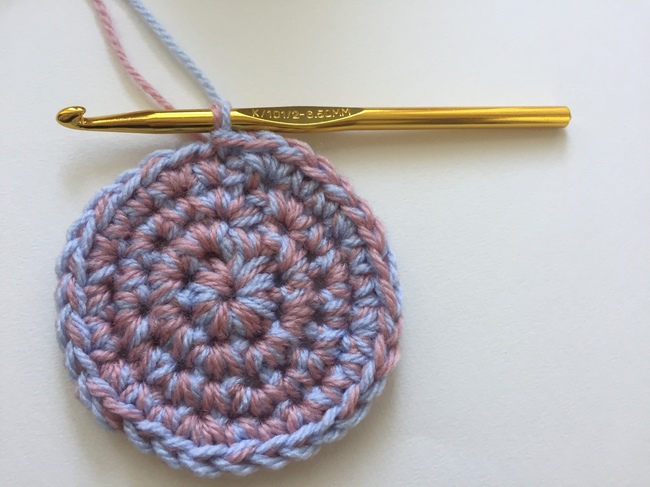
Round 5: Ch 1, sc in each of next 2 st, 2 sc in next st, *sc in each of next 3 st, 2 sc, repeat from * around, sl st to close. Total: 40 sc
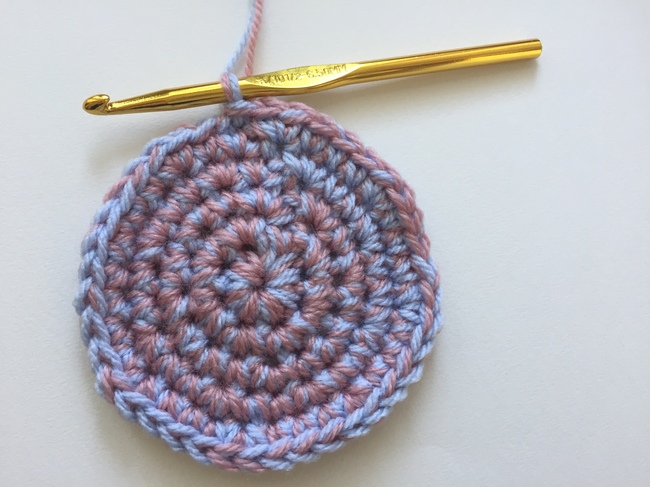
Round 6: Ch 1, sc in each of next 3 st, 2 sc in next st, *sc in each of next 4 st, 2 sc, repeat from * around, sl st to close. Total: 48 sc
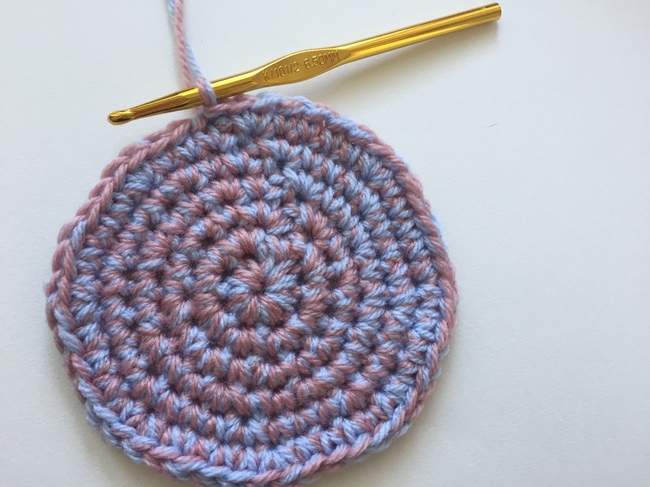
Round 7: Ch 1, sc in each of next 4 st, 2 sc in next st, *sc in each of next 5 st, 2 sc, repeat from * around, sl st to close. Total: 56 sc
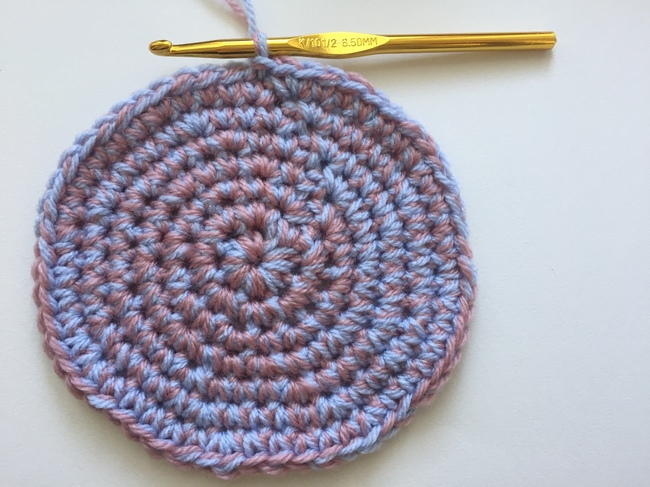
How to crochet the walls of the bowl
Next you'll build up the walls of the crochet bowl by working in rounds without increasing or decreasing.
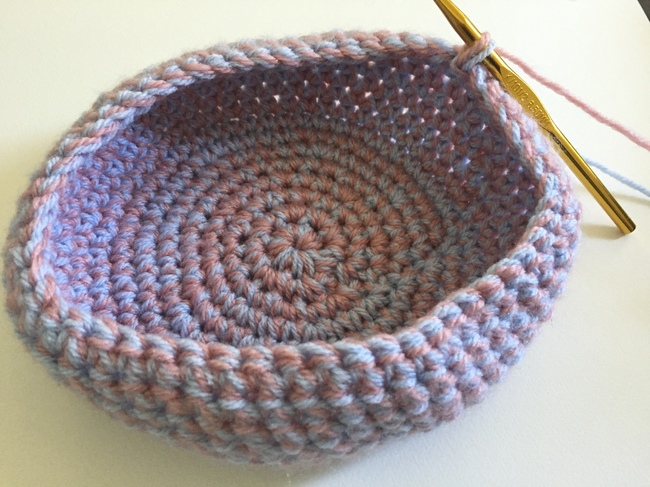
Rounds 8-15: Ch 1, sc in each st around, sl st to close. Total 56 sc per round
How to decrease to shape the crochet bowl
When the walls of your crochet bowl are caving in slightly, it's time to exaggerate that shape.
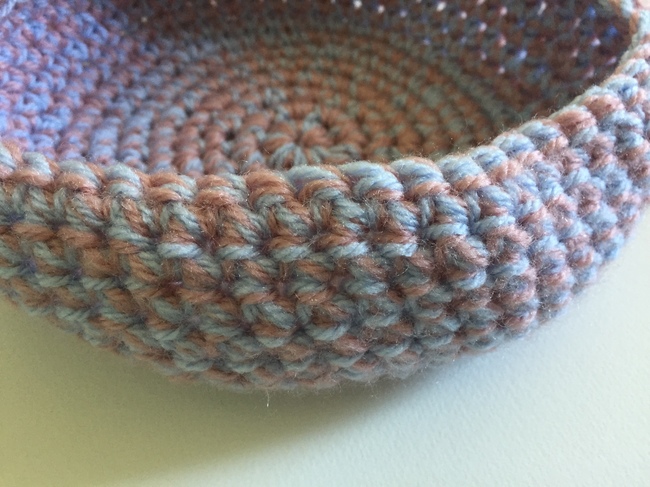
Round 16: Working in BLO: Ch 1, sc in each of next 5 st, 2sctog, *sc in each of next 6 st, 2sctog, repeat from * around, sl st to close. Note that all other rounds are worked through both loops but this round is worked in the back loop only.
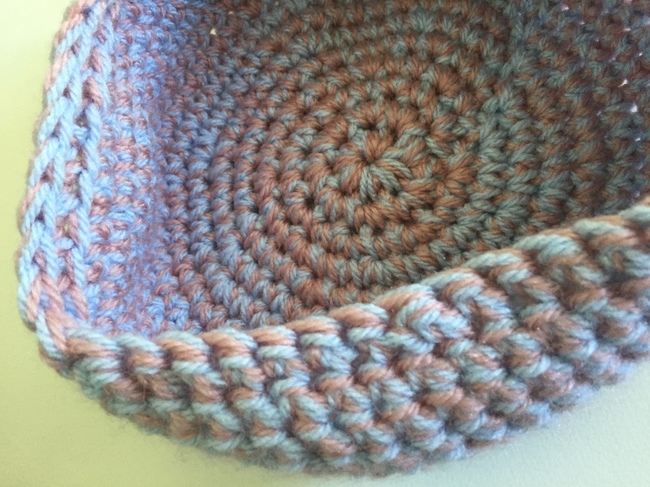
How to finishing the bowl with a crochet edging
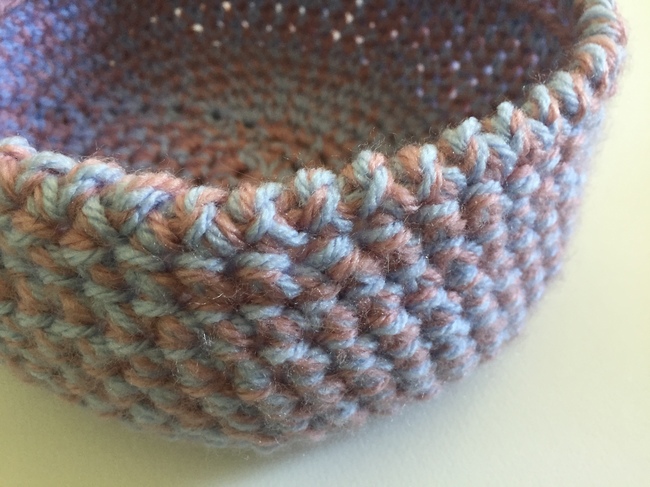
Round 17: Ch 1, reverse sc in each st around, sl st to close.
Finish off and weave in ends.
Pattern adaptations for making more crochet bowls
This free crochet pattern can be adapted in a number of ways to make crochet bowls of different shapes and sizes. Here are some basic changes that you can try:
1. Use more or fewer strands of yarn
If you work with only one strand of yarn (and switch to an appropriate hook size), you'll have a more lightweight bowl. If it's too thin to stand up on its own, you can stiffen it with starching.
For an even sturdier bowl, you could increase to three or more strands. Note that changing the number of strands will change the finished size of your crochet bowl.
2. Try a different yarn weight
If you decide to work with only one strand of yarn, a bulky or even super bulky yarn weight will give you a nice structure for your bowl. Play with different yarn weights for various effects. Of course, different weights (worked with different hook sizes) will create bowls of varying size.
3. Experiment with different fibers
For my crochet bowl, I used acrylic yarn with a bit of wool. It's a soft bowl that really gives a warm feeling to a room.
For bathrooms and kitchens, try cotton yarn. It has less stretch and can handle getting wet. Try other yarn types — such as T-shirt yarn or plarn — for a completely different texture.
4. Make the base of your bowl a different size
You can easily make your crochet bowl larger or smaller by changing the size of the circle at the base of the bowl. Crochet fewer or more rounds, following the basic rules of increasing to crochet a flat circle.
5. Add height to the bowl's walls
The "walls" or body of your crochet bowl can go on for many rounds. Use fewer rounds in this section for a shorter, more tray-like bowl, or add more rounds for a bowl with more depth. The taller you make the bowl, the less structure the walls will begin to have.
6. Give it more shape with additional decreases
This pattern uses a single round of decreasing to give shaping to the bowl. Make a rounder, more dramatic shape by adding additional decrease rows to the body (decreasing in each row or in every other row).
7. Spruce it up with a decorative edging
I used a reverse sc stitch (crab stitch) for a decorative edging. Choose from many other crochet edgings for different styles — a simple slip stitch edging or a fun shell stitch edging will give your crochet bowl a completely different design.
8 .Turn it inside out!
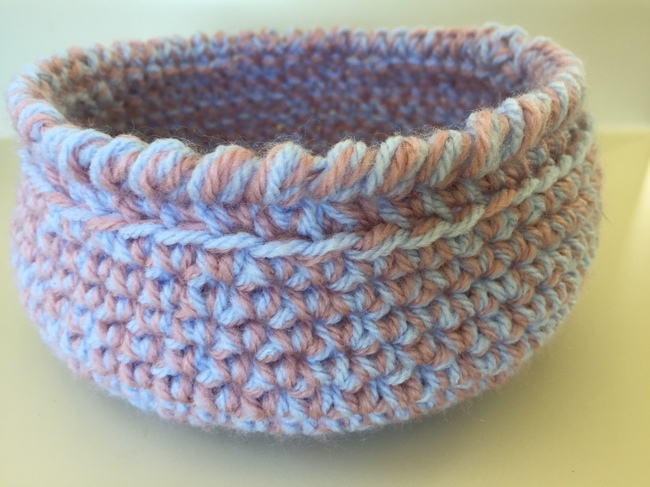 Once you've completed your bowl, turn it inside out for a slightly different look to the design. The "back loop only" decrease round helps exaggerate this effect.

Love this pattern!! Thank you so much!!!
How can I print the pattern for reference?