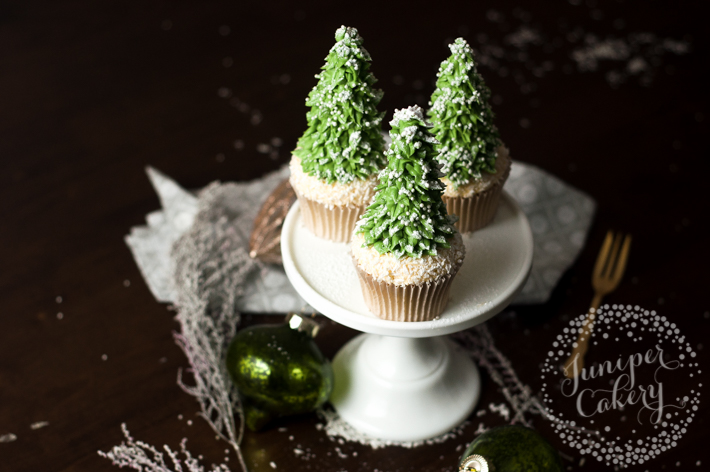
These fun Christmas cupcakes have a secret: there's an ice cream cone under there! That means you get to make a big splash at the holiday party with remarkably little stress. Just grab a few fun supplies, scoop up some shredded coconut and let it snow!
Christmas Tree Cupcakes
Level: Easy
What You Need
Instructions
1. Make a Buttercream Base

Pipe a thin layer of cream tinted buttercream on your cupcakes using a large plain round piping tip. This will be the snow covered "ground" of your cupcake.
2. Let It Snow
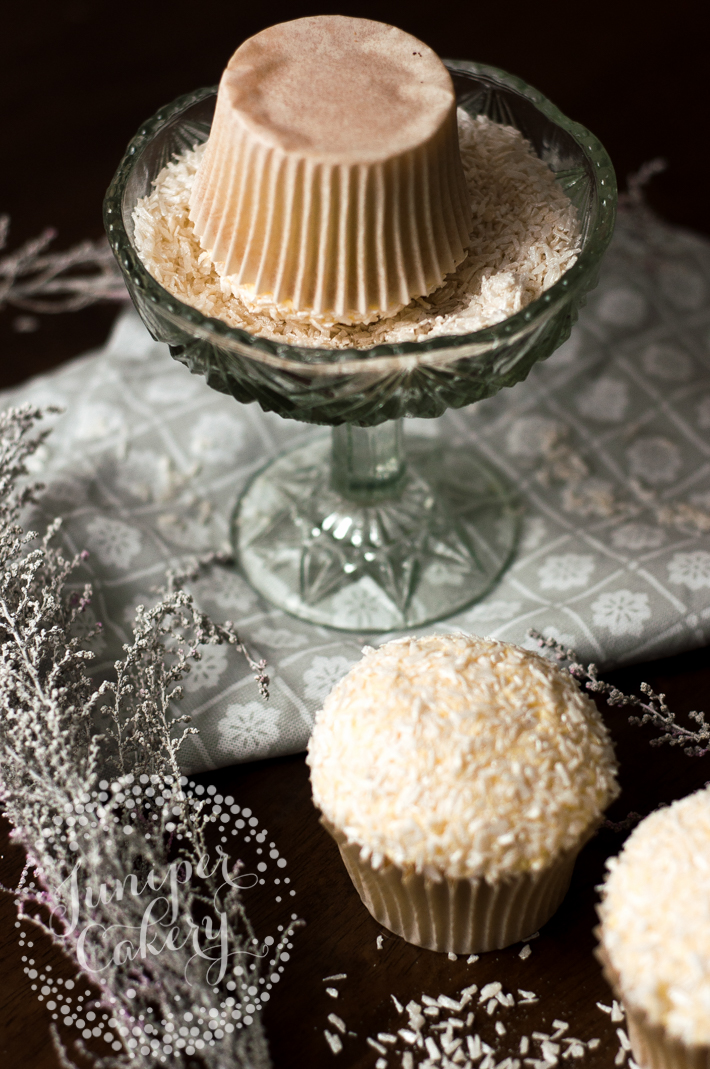 Dip and gently roll the top of your cupcake in a bowl full of dried coconut for a fake snow look. Set aside. (You can also amp this up by mixing white edible luster dust in with the coconut!)
3. Trim the Cone
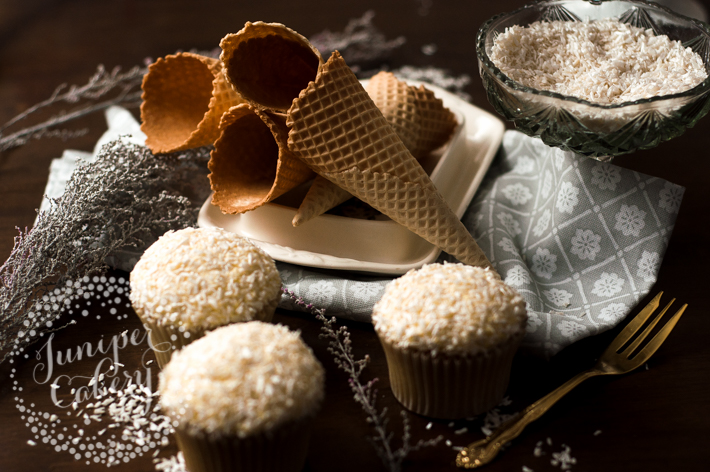
Using a sharp knife, gently trim down a waffle cone. You'll want to make it small enough that the base doesn't cover your whole cupcake, so the layer of snow show around the edges.
4. Place the Cone
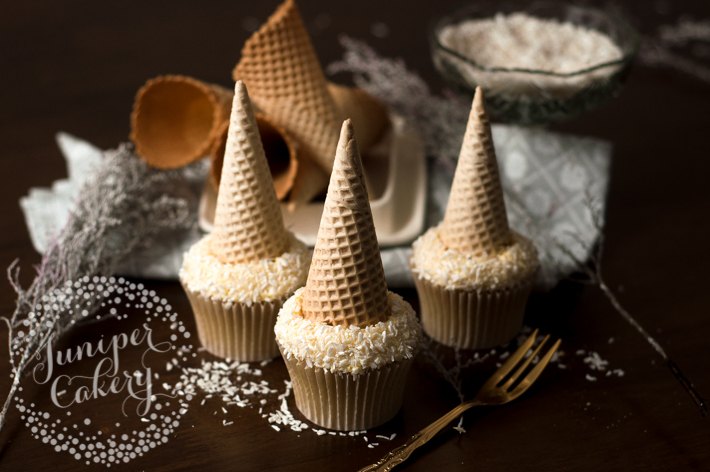
Gently nestle the trimmed ice cream cone into the center of your cupcake, making sure not to press too hard.
5. Pipe the Tree
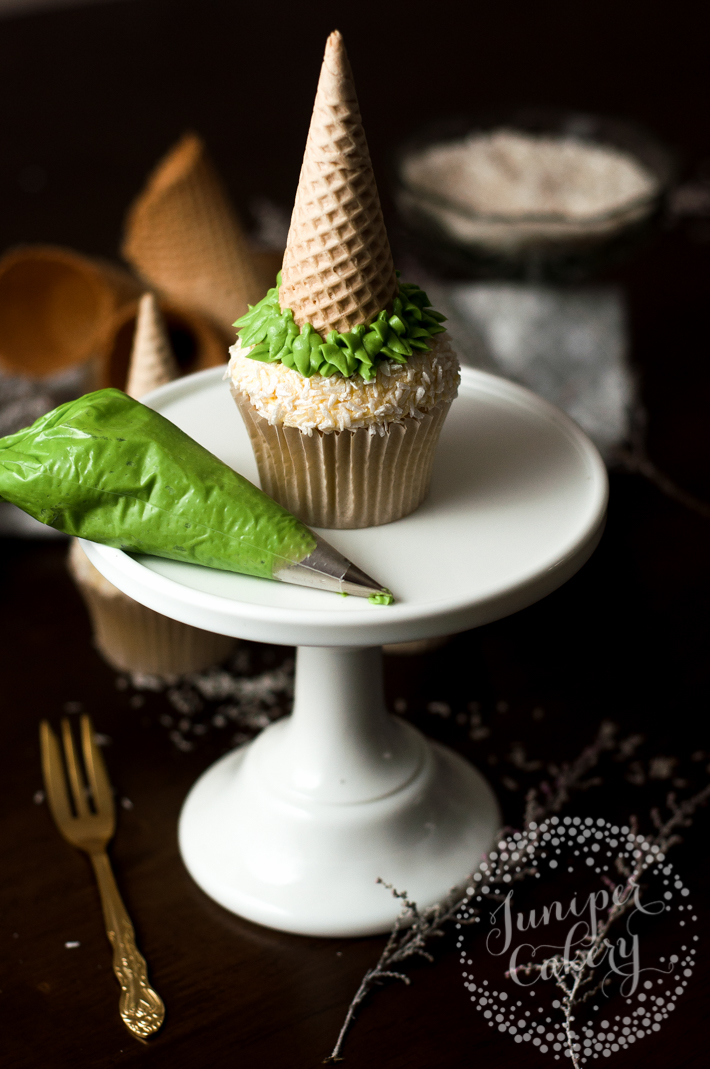
Grab a piping bag fitted with a closed star tip (though you can use a leaf tip or even a grass piping nozzle if you prefer). Fill the bag with green buttercream and begin adding the boughs to your tree. Start at the very bottom and work your way around to the top so that the buttercream "foliage" layers over each row as you work upward.
6. Decorate!
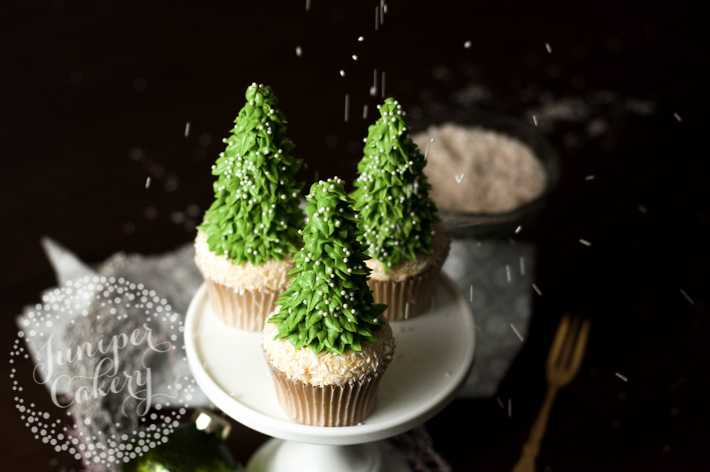
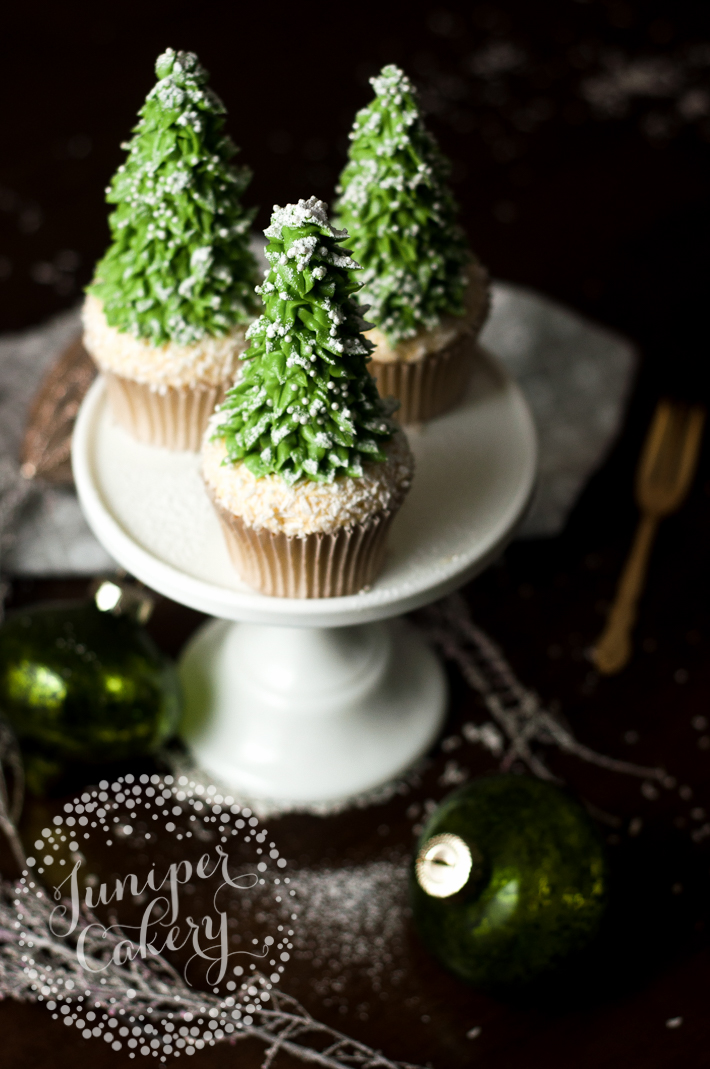
Add any decorations you like to the top of your piped Christmas trees (think cute gingerbread star cookies or even small fondant angels). You can also keep it simple with a dusting of coconut snow.
Happy holidays!

Which piping tip did you use? Do you have a specific one? Thank you!
What size waffle cones did you use?
will be making some of these to sell at our Christmas fayre. and for the grandchildren they look fab and easy too
Cute idea but not sure how to eat it.
These are so universal! It could be meltingly hot here in west Australia but we can make these putting aussie decorations on the tree. Love the idea. Thankyou