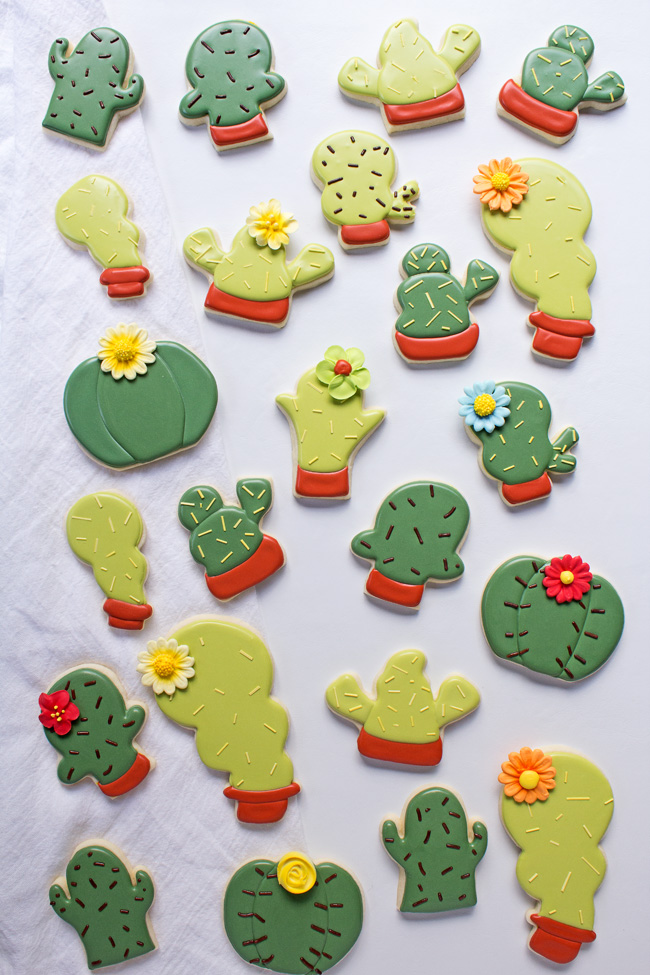
Breaking news: you can totally make cute cookies, even if you don't have cookie cutters that are the right shape. How? We'll show you.
These adorable cactus cookies were made with ghost, pumpkin and snowman cookie cutters. All you need to do is make a few small adjustments to get your shapes just right.
Cactus Cookies
Level: Easy
What You Need
Instructions
1. Plan Your Shapes
For any cookie you're making without a custom cutter, the first thing you need to do is find a few cutters that can easily be transformed into the design you're going for.
Here's what we used for our cactus cookies:
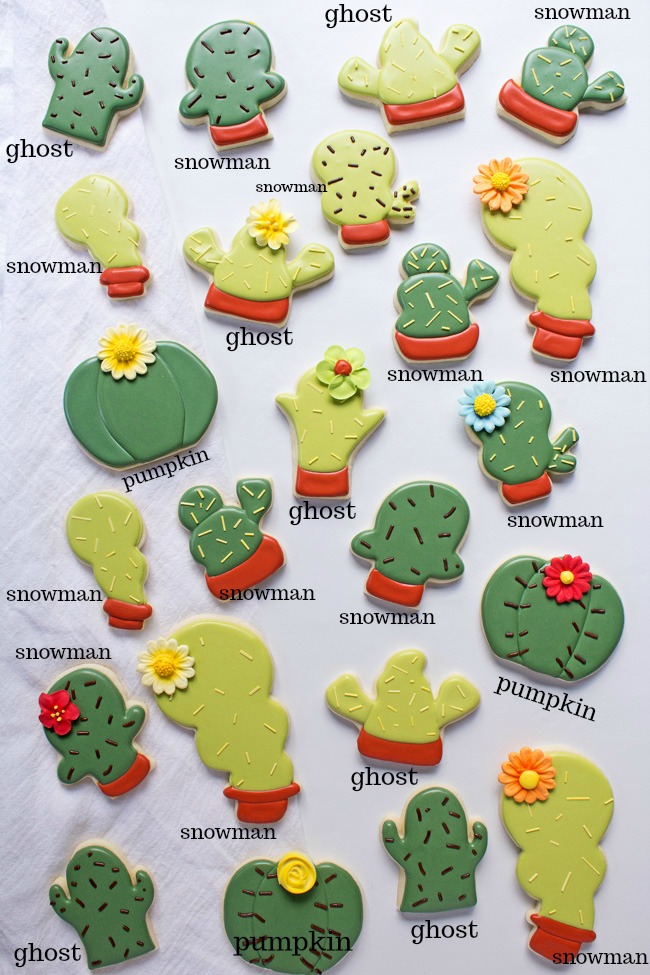
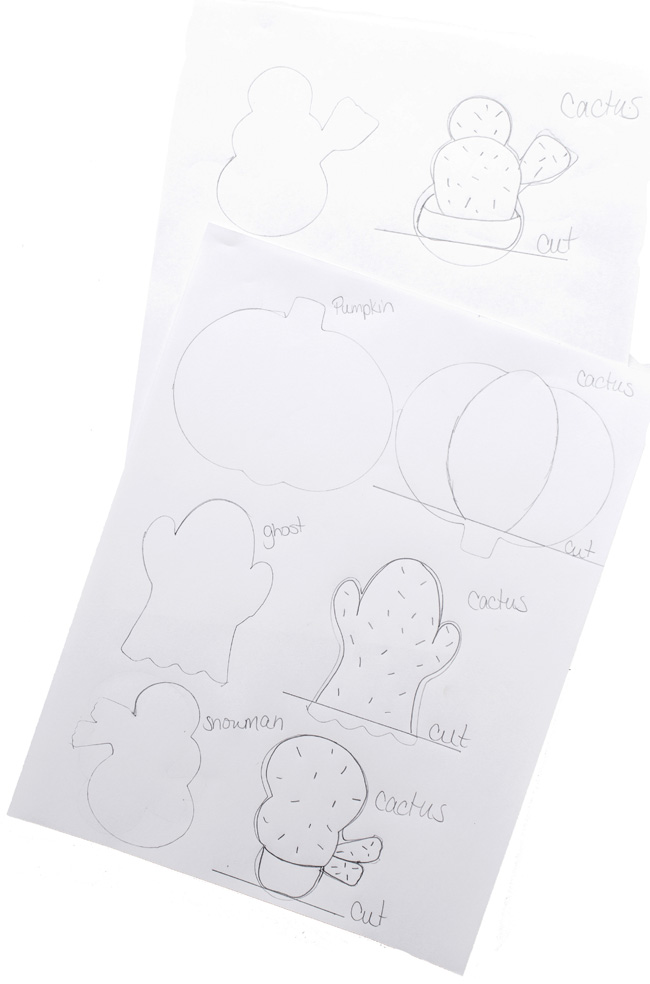
Use a piece of paper to map out how you can change each shape to get the form you want. You may be surprised how many different cute cactus cookies you can find. Here's what we did:
- We turned a few snowmen cookie cutters upside down, and you can see they'll make great cactus cookies!
- We used a few ghost cookie cutters as well — we just trimmed off the bottom and had an instant cactus.
- The same goes for a pumpkin cookie cutter. We just turned the cookie cutter upside down and trimmed off the stem and some of the bottom.
2. Make Your Sugar Cookies
Mix together your favorite sugar cookie recipe, roll the dough flat and cut out shapes with your cutters. Use a knife to adjust the shapes by removing sections of the dough and placing it elsewhere. Press the pieces in place with your fingers.
Bake the cookies according to recipe instructions and let them dry completely before decorating.
3. Pipe the Pot
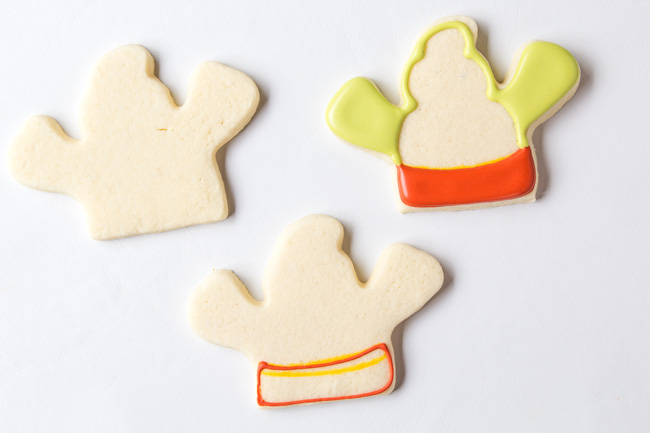
If you want your cactus cookie to be in a terra cotta pot, use a food-safe marker to draw it at the bottom of the cookies.
Next, outline the container with the terra cotta–colored royal icing. Let it dry for a few minutes then flood it with the same royal icing.
Let the icing dry completely before moving on to the next step. Royal icing colors can bleed into each other so letting it dry will help prevent this.
4. Pipe the Arms
Next, use one of the shades of green royal icing and pipe the pattern onto the cactus.
If you want the cactus cookies to look like the arms are separate, outline each section and let it dry for a few minutes. This will keep the royal icing from running together and leave your cactus looking like each arm is a different section. Or you can pipe the entire cactus so it looks like one surface.
Flood the arms with the same color of royal icing you outlined used to outline it.
While the icing is wet, add the chocolate jimmies or the DIY sprinkles. Carefully place them on the icing so they don't all end up in one place.
5. Fill It In
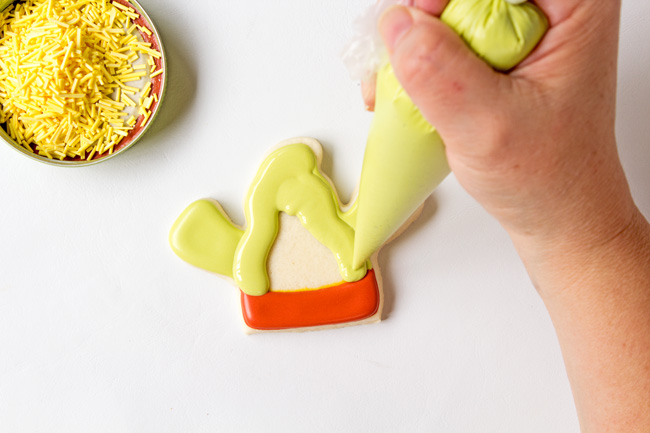
Let the arms dry for about 20 minutes and then flood the body with the same color of green royal icing. While the icing is wet, add the sprinkles. Let the icing dry completely before you package or stack them.
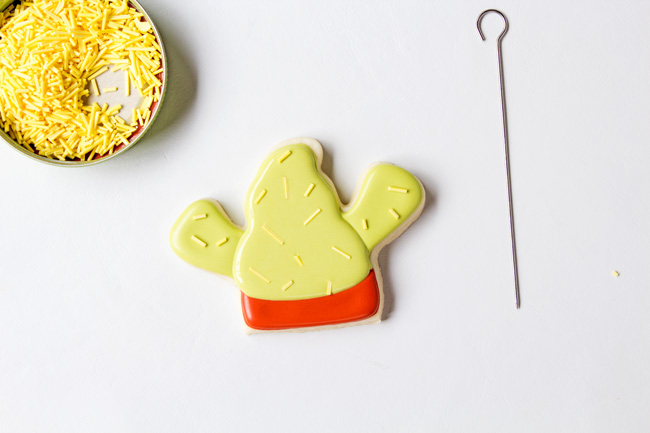
Good to Know: Depending on where you live, it could take the royal icing several hours to dry.
Variations
Here are a few more simple cactus cookies. Can you guess which cookie cutter was used to make them?
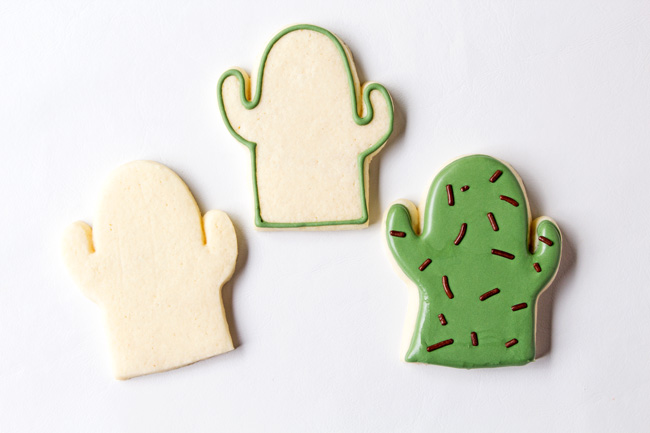
This cookie cutter was supposed to be a ghost.
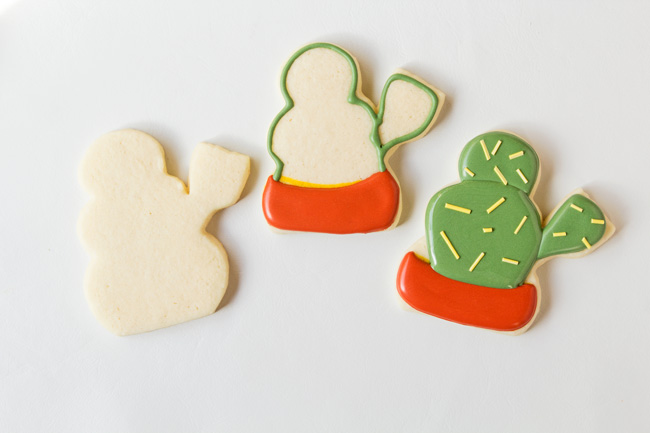
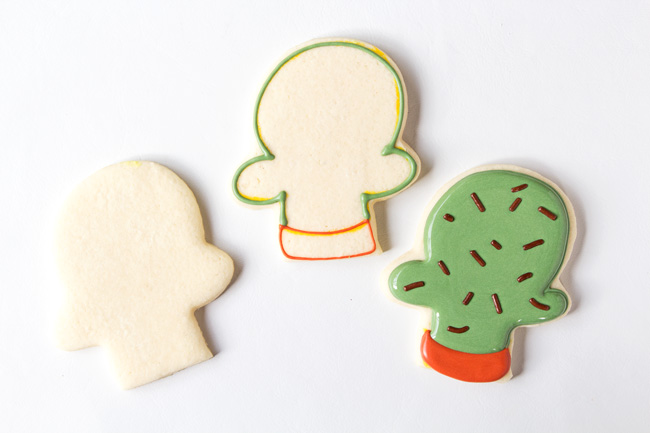
The two cookies above used two different snowman cookie cutters.
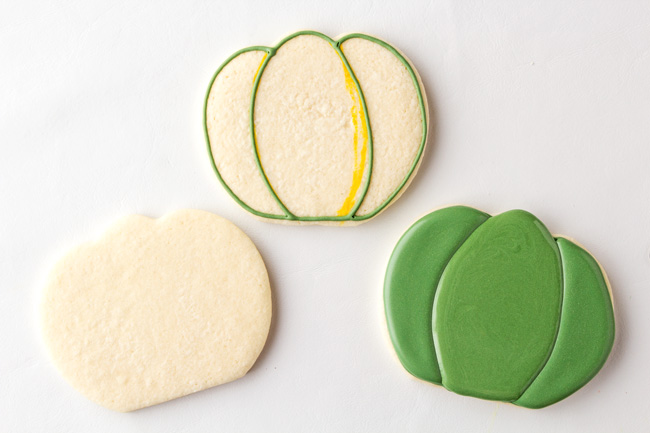
This last one was made with a pumpkin cookie cutter. None of them were supposed to be cactus cookie cutters, but we think they work well.
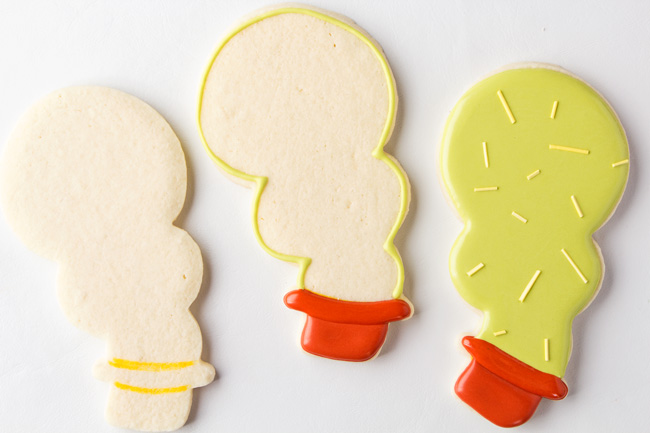
We never dreamed this snowman would make such a great cactus cookie!

Very clever!