Buttercream is one of those things that seem oh so easy, but manages to baffle many a baker! Lots of people ask us for tips about the dreaded air bubbles, dry-looking frosting, or simply how we get our buttercream so silky smooth. Our main answer is actually pretty simple — Find what works for you!
Different chefs, bloggers, and bakers use recipes that work for them and, more often then not, they've adjusted ingredients or methods accordingly. Look at the ingredients you're using, the equipment you have, and even what mood you're in. If you're still at a loss, then read on for our top buttercream troubleshooting advice!
Make sure your buttercream is perfect with these troubleshooting tips!
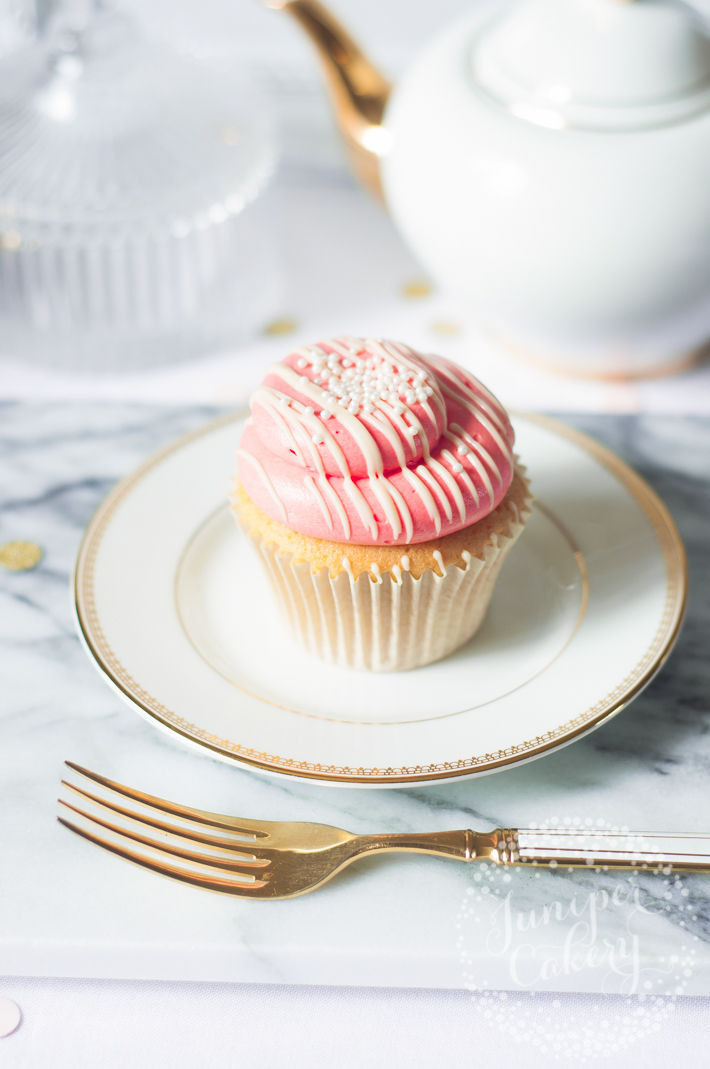
All photos via Juniper Cakery
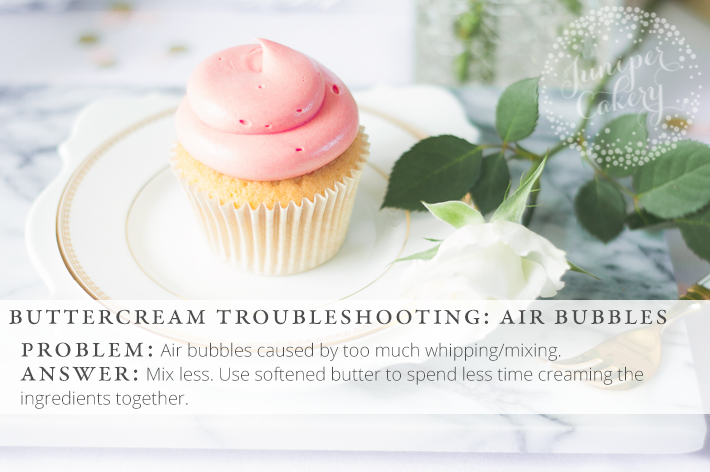
The dreaded air bubbles!
Whipping up tasty buttercream only to smooth it over your cake to find air bubbles popping up everywhere is a cake decorating nightmare! Air bubbles occur when too much air has been whipped into the buttercream. It's that simple. To solve the case try our top bubble-busting tips below.
Tip 1:
Begin making your buttercream with softened butter. Starting with chilled means it's stiffer and more troublesome to cream. You'll obviously end up having to mix and whip your butter more when it's stiffer, which creates air bubbles.
Tip 2:
Add a little bit of warmth to your buttercream when mixing. A couple of tablespoons of boiling water or even a little butter that has been zapped quickly in the microwave can help smooth your butter while mixing if you've not softened it before whipping.
Tip 3:
Simply whip or cream your buttercream less. It's tempting for a lot of bakers to leave the mixer on whilst filling cake pans or checking recipes (who hasn't done this?!). Instead, keep an eye on your mixing and whip your butter less to eliminate air bubbles.
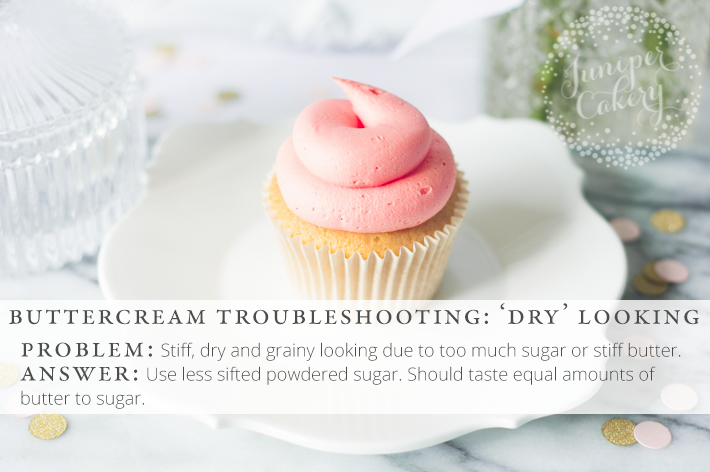
Buttercream far from silky?
We spot this type of buttercream a lot. Dry and rough frosting that features far from silky-smooth edges. There are two main culprits to this crime... stiff butter or too much sugar! Follow our go-to tips below to avoid creating dry-looking buttercream.
Tip 1:
Go easy on the sugar! Taste your buttercream to make sure you know what you're adding and how much. Ideally, you want to taste equal amounts of butter and sugar in your frosting — neither ingredient should overpower the other.
Tip 2:
If your buttercream is still stiff and dry, try testing different brands of butter. We recommend butter that contains buttermilk as from our experience this extra ingredient often creates a silkier appearance. Once you've found the brand for you, stick with it (pun fully intended)!
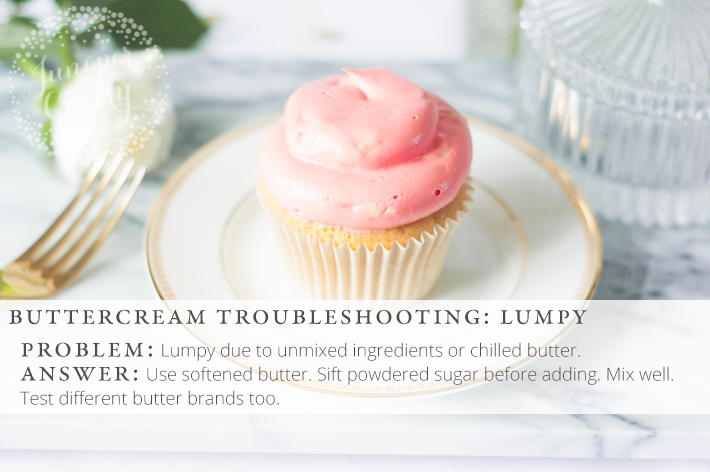
In for a bumpy ride?
Unsightly lumps and bumps appearing in buttercream is annoying and it can happen to anyone especially when pressed for time. To avoid this buttercream pitfall, try out our tips below!
Tip 1:
Use softened butter. Not only will this help eliminate the possibility of air bubbles, but it will also ensure that no unwanted lumps appear in your frosting.
Be careful with adding chocolate and make sure that every piece has melted. We recommend using good-quality couverture chocolate that will melt much better and be super silky!
Tip 3:
Bumps in your buttercream can also be the handiwork of clumped up pieces of powdered sugar. Make sure to sift your sugar before adding.
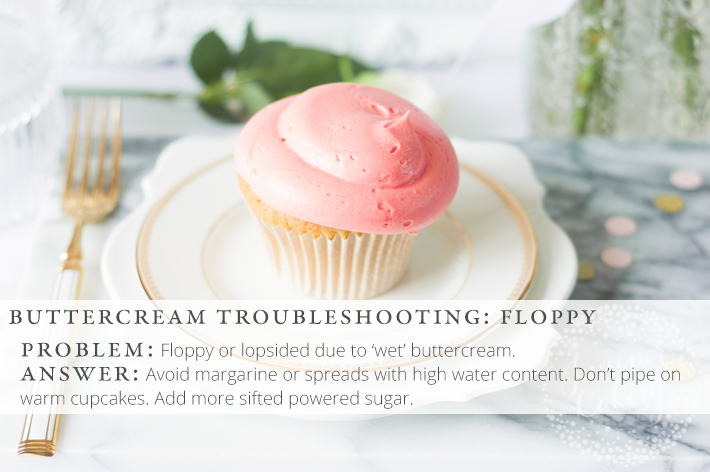
Floppy frosting conundrum?
Another buttercream mishap and major problem for bakers is buttercream with next-to-no structure. If your buttercream mysteriously flops, spreads or loses shape once piped or smothered then look no further than our top tips below!
Tip 1:
Once again, the suspect here may just be the butter you're using... or not using. We've had people asking why their buttercream seems to have disintegrated into a sloppy pile on top of their cupcakes only to then reveal that they've used margarine in their buttercream to shave off a few calories and grams of fat. Margarine generally contains a higher ratio of water than butter and means that there's a lot less fat to help hold its shape or structure. The same thing happens with vegan butter alternatives, however, shop around, test and find the brand that works best for you!
Tip 2:
Patience is a virtue. Sometimes floppy-looking buttercream has happened simply because your cakes haven't cooled down enough so that the heat from them rises up and begins to melt your swirls of frosting. Allow your cake or cupcakes to cool fully.
Tip 3:
Not using enough icing/confectioner's/powdered sugar in your buttercream can also lead to sloppy or wet-looking buttercream. Sift a little more in and make sure to taste test. Remember that you should be able to taste equal amounts of butter and sugar in your buttercream.
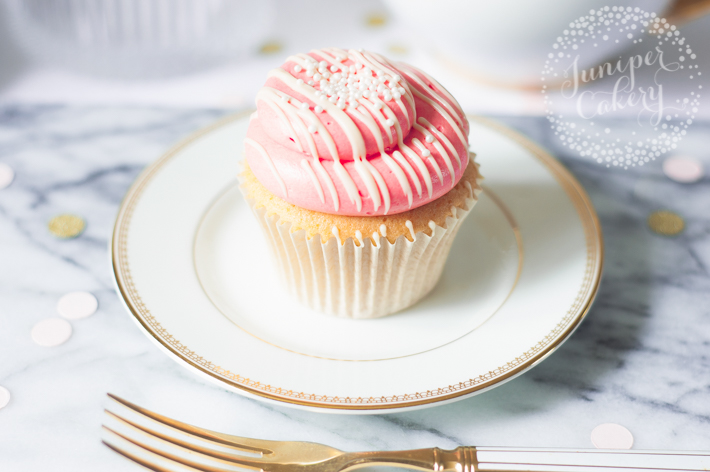
Armed with our handy troubleshooting advice for creating perfectly silky buttercream, we bet you just can't wait to get back in the kitchen to whip up deliciously smooth frosting!

I want to know more
Since buttermilk is the think liquid left over after the butter-making process, I am confused about your suggestion to buy butter that includes buttermilk as an ingredient. Can you specify the brand names you are referring to as a way to troubleshoot dry buttercream?