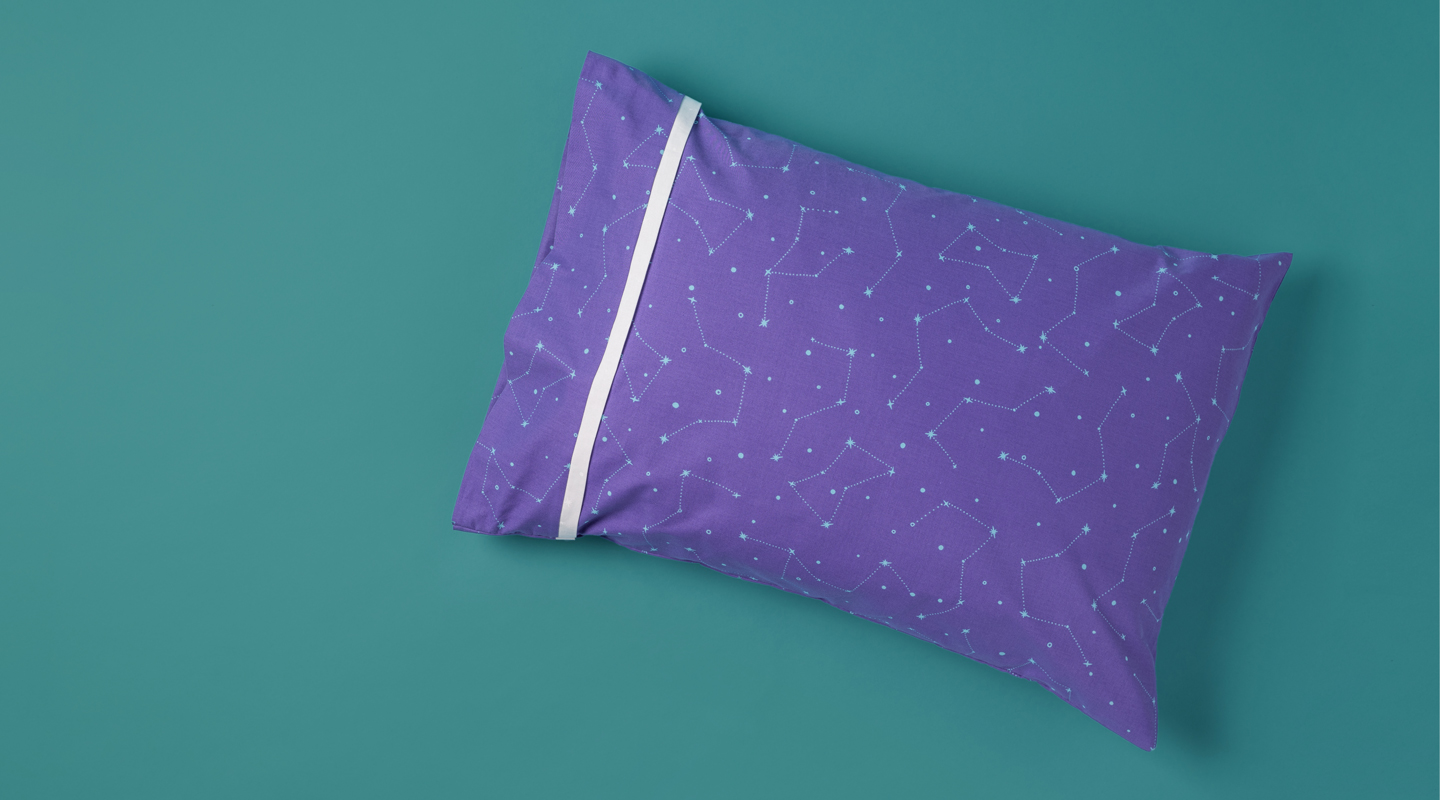
If you love to sew, there's no such thing as making too many pillows — and the same goes for making pillow cases! They’re beginner-friendly, fun to make with your kids and, thanks to this burrito method, you can bust this pillowcase out in just 15 minutes. Stitch up a set for every bed in the house, sew some as a gift, or round up your friends and donate a bunch to charity. The opportunities really are endless!
Burrito Pillowcase
Level: Easy
What You Need
- ¾ yard main pillowcase fabric (27” x width of fabric from selvage to selvage)
- ¼ yard cuff fabric (9” x width of fabric from selvage to selvage)
- Accent strip fabric (2” x width of fabric from selvage to selvage), pressed in half lengthwise to make a 1” folded strip
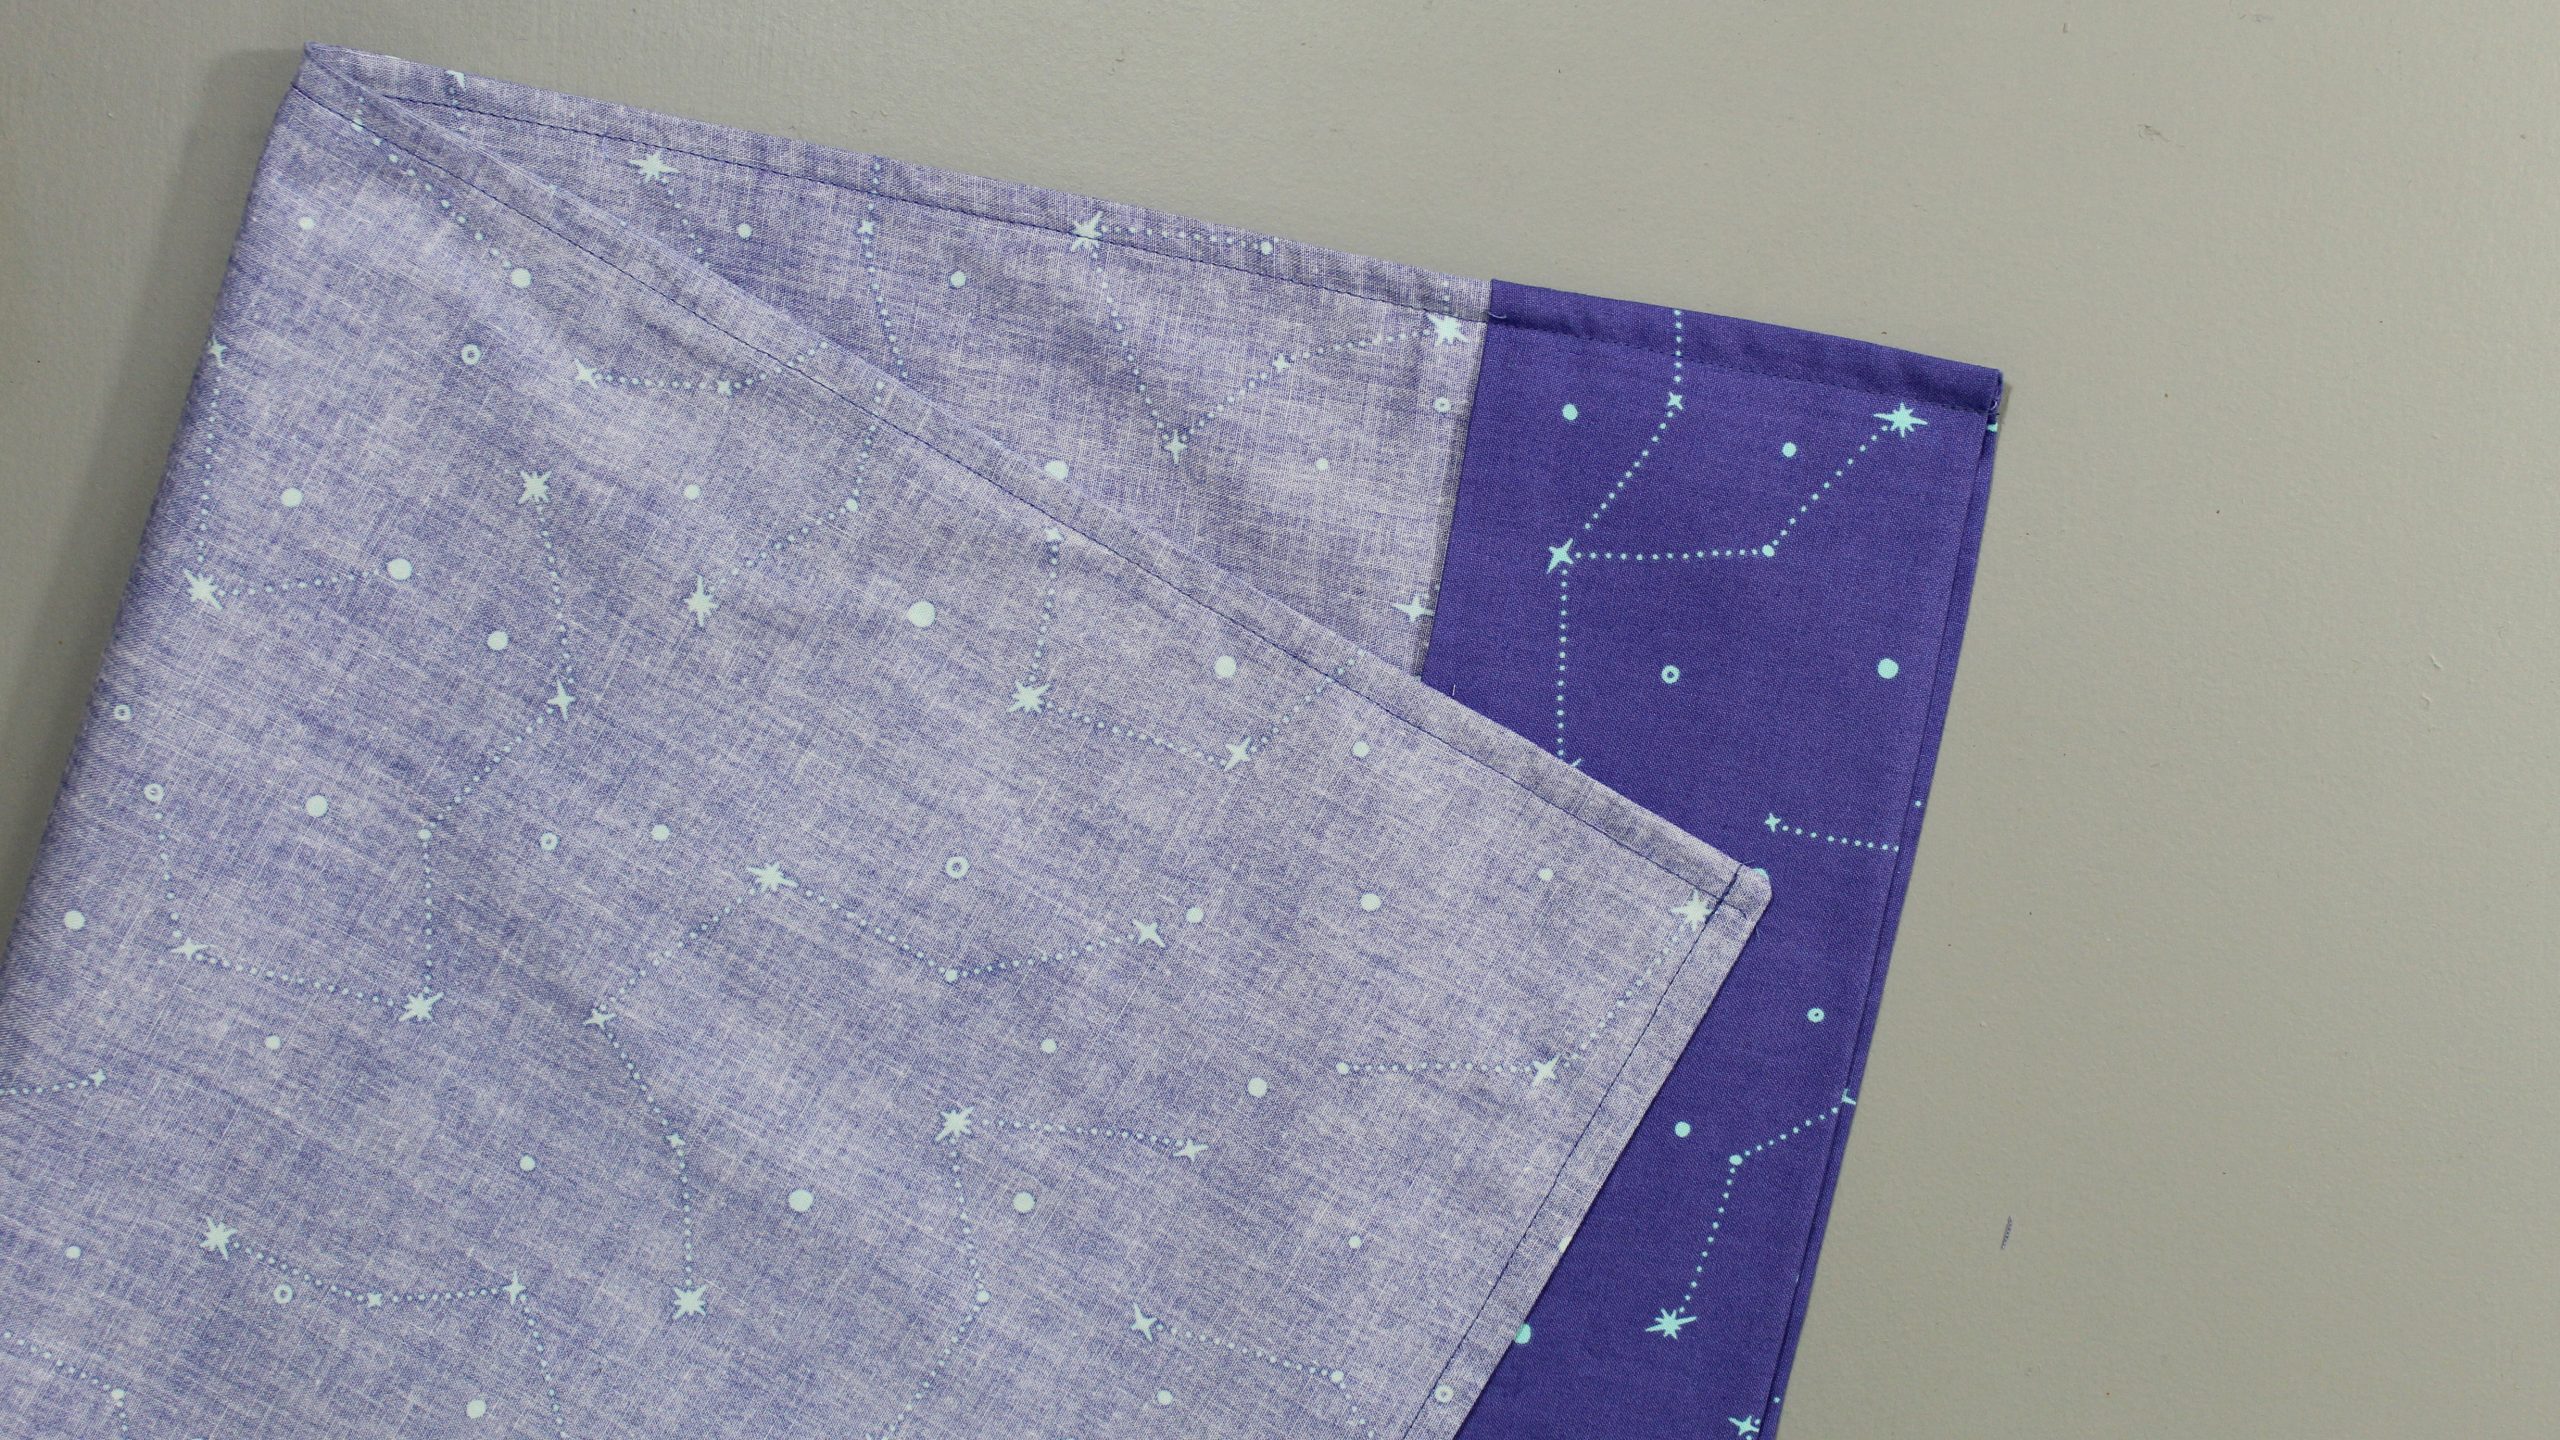
Pro Tip: In the step-by-step below, we used the same fabric for both the main pillowcase and cuff fabrics. But you can choose a second coordinating fabric if you want — check out the video above to see how it turns out!
Instructions
1. Layer Your Materials
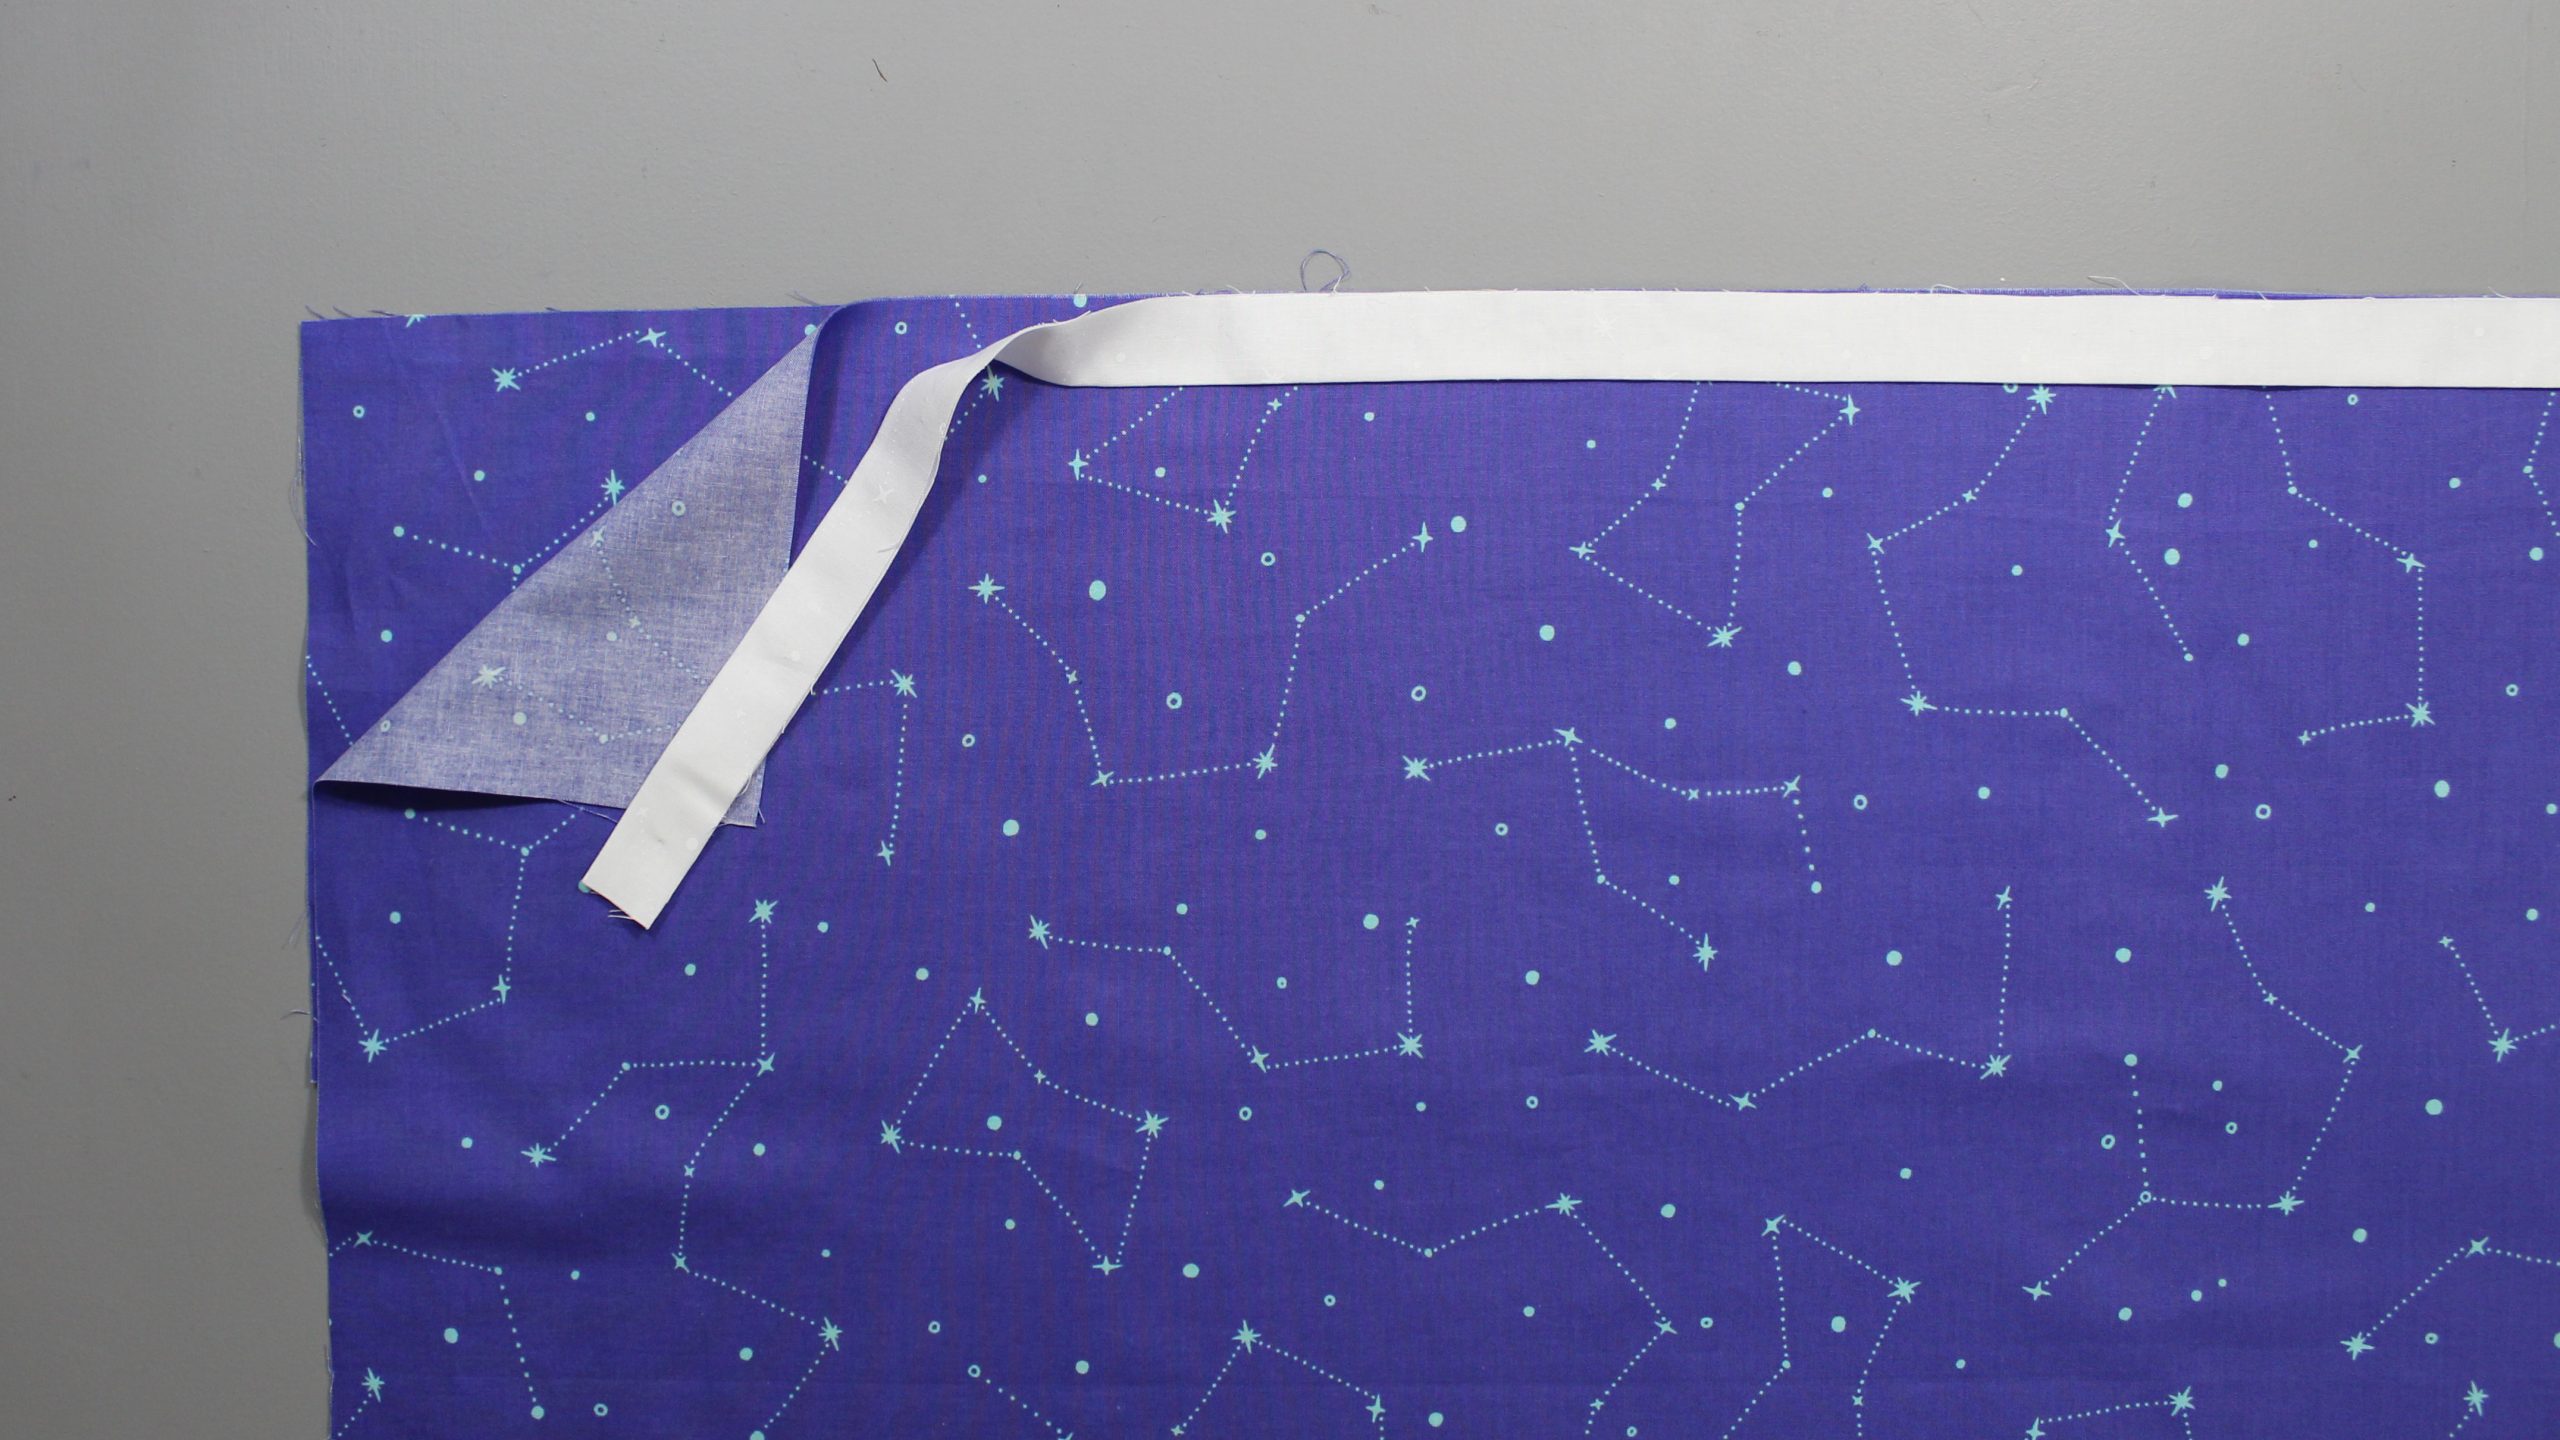
Place your cuff fabric on your work station, right side up. Layer the main pillowcase fabric on top of it, right side up, aligning the top raw edges. Line up the raw edges of the folded accent strip with the top raw edges of the other two fabrics.
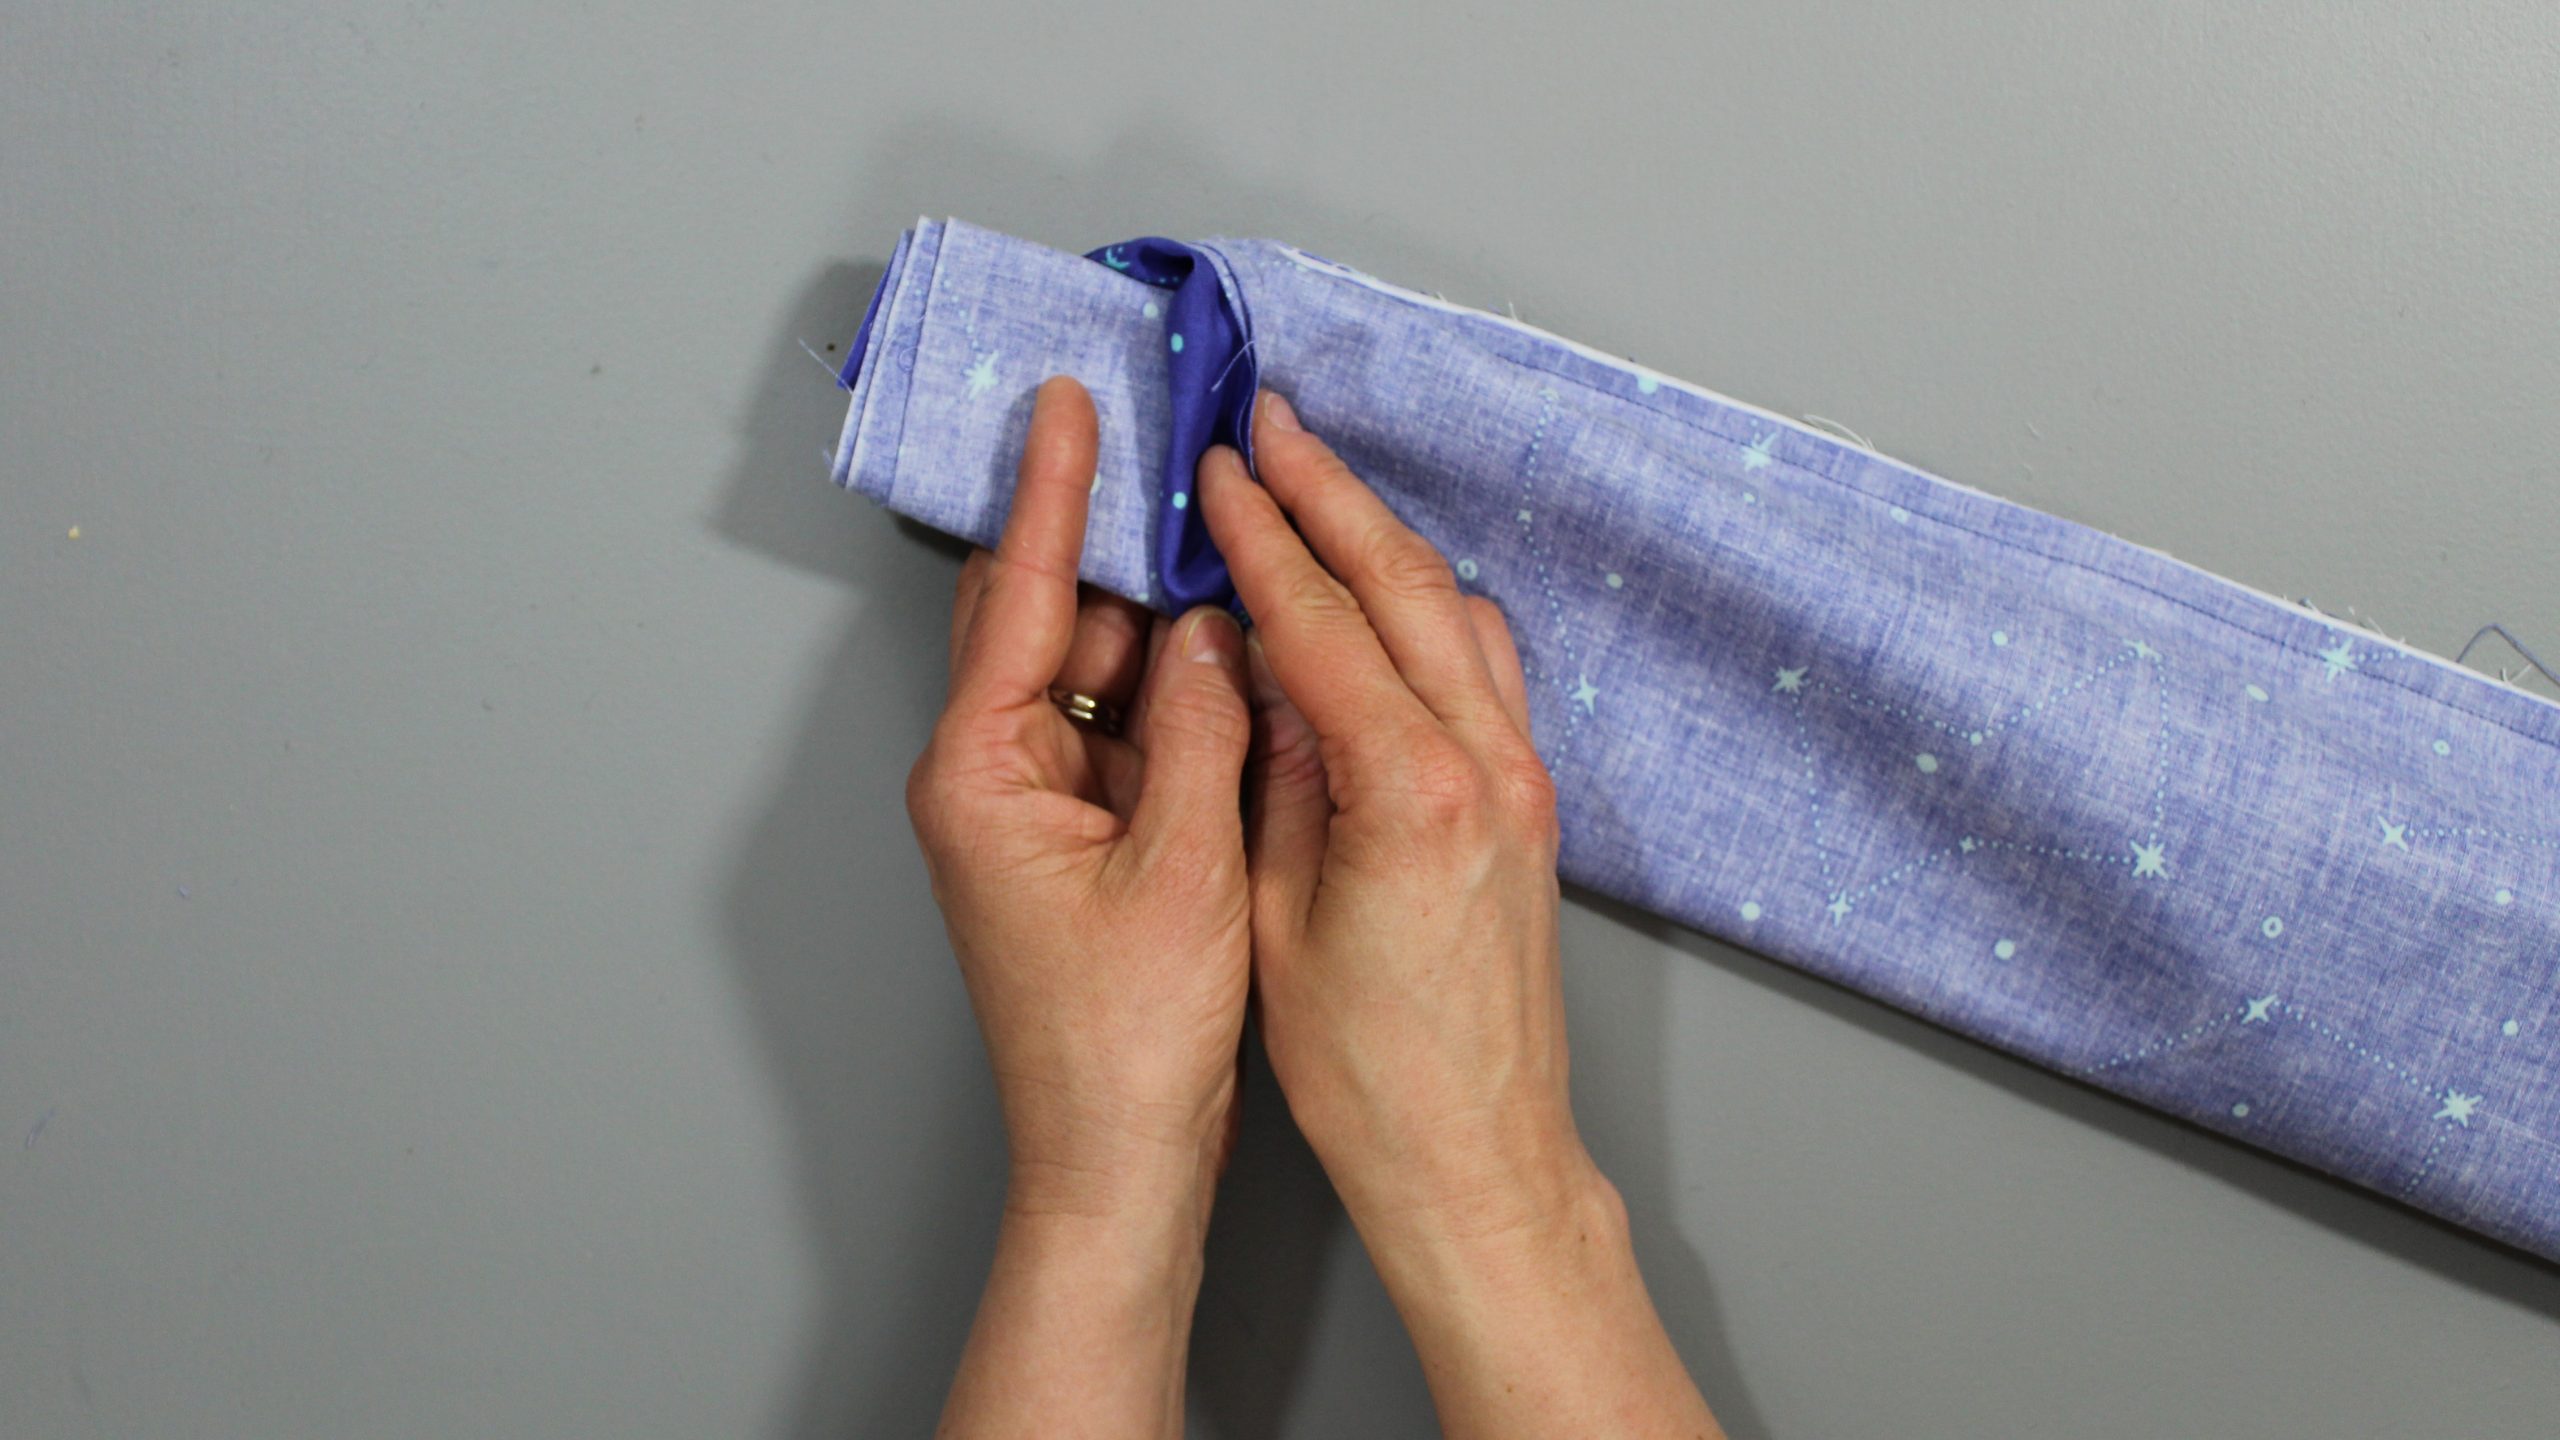
2. Roll Up the Main Fabric
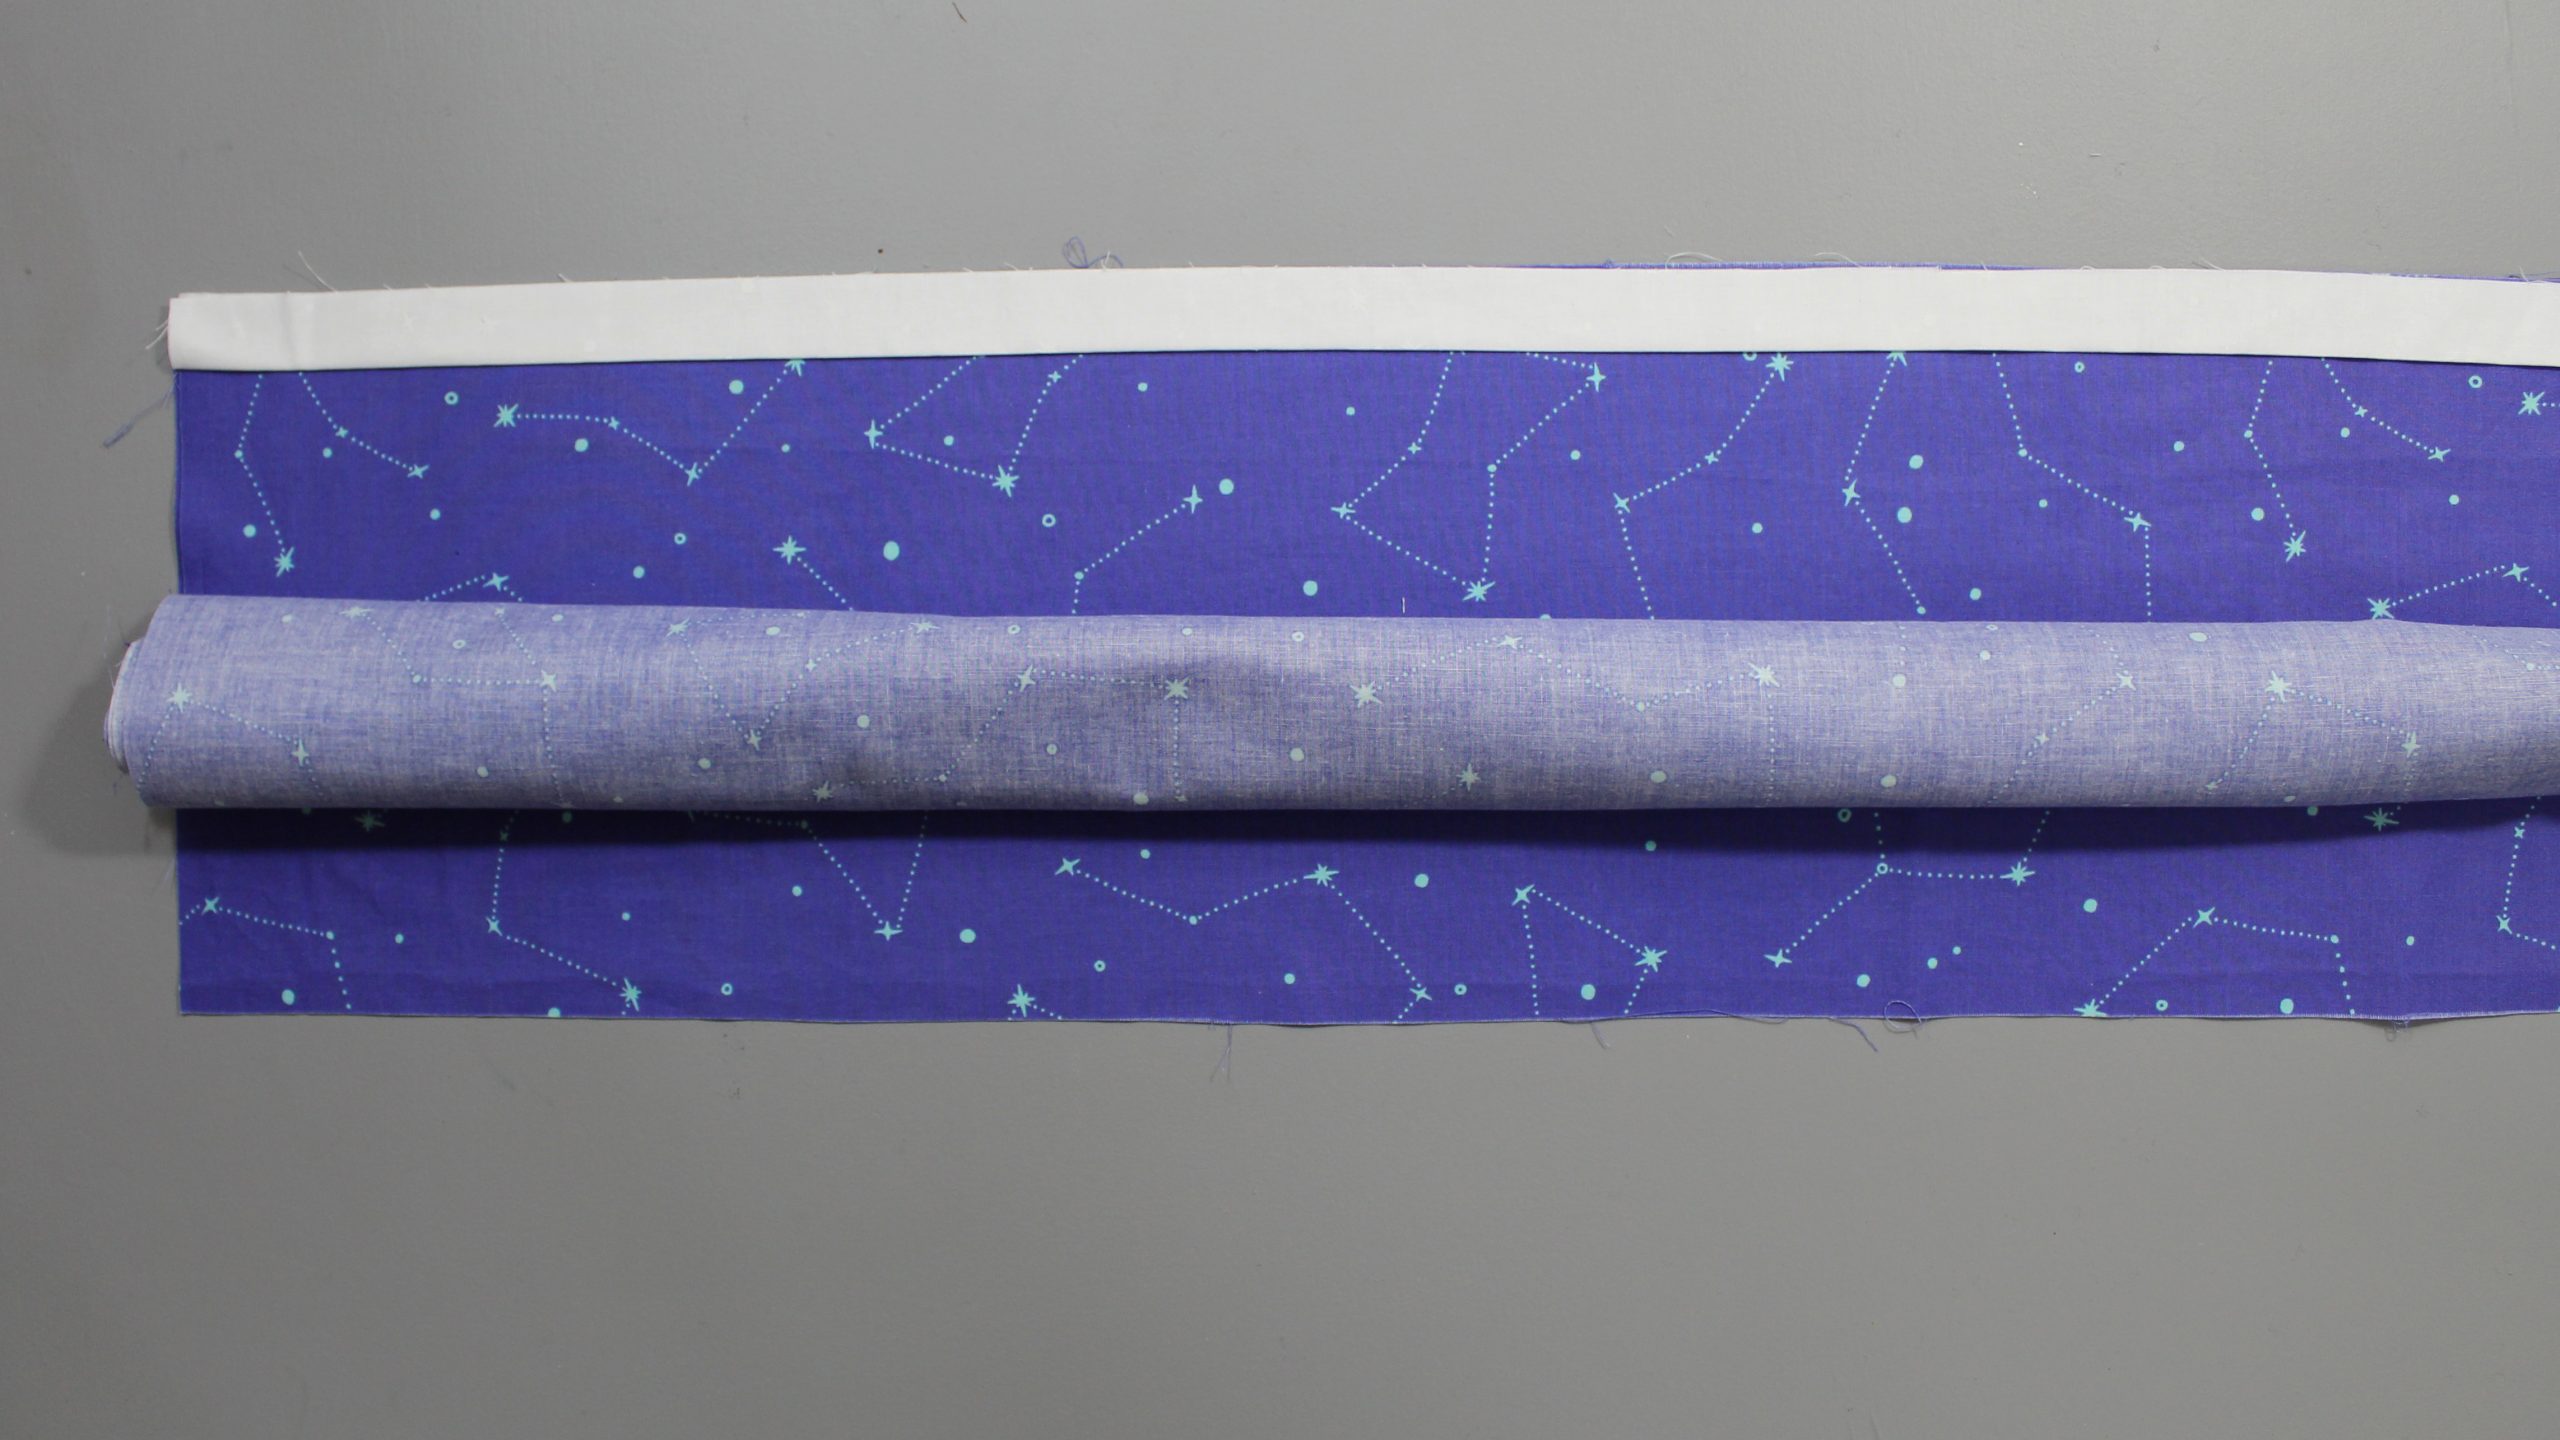
Starting at the bottom and working your way up, roll the main fabric panel into a little tube or “burrito.” Stop when you get to the center of the cuff fabric.
3. Fold Up the Cuff Fabric

Bring the bottom edge of the cuff fabric up and over the burrito. Align the raw edges. Pin in place, making sure to trap the accent strip.
4. Sew the Raw Edges
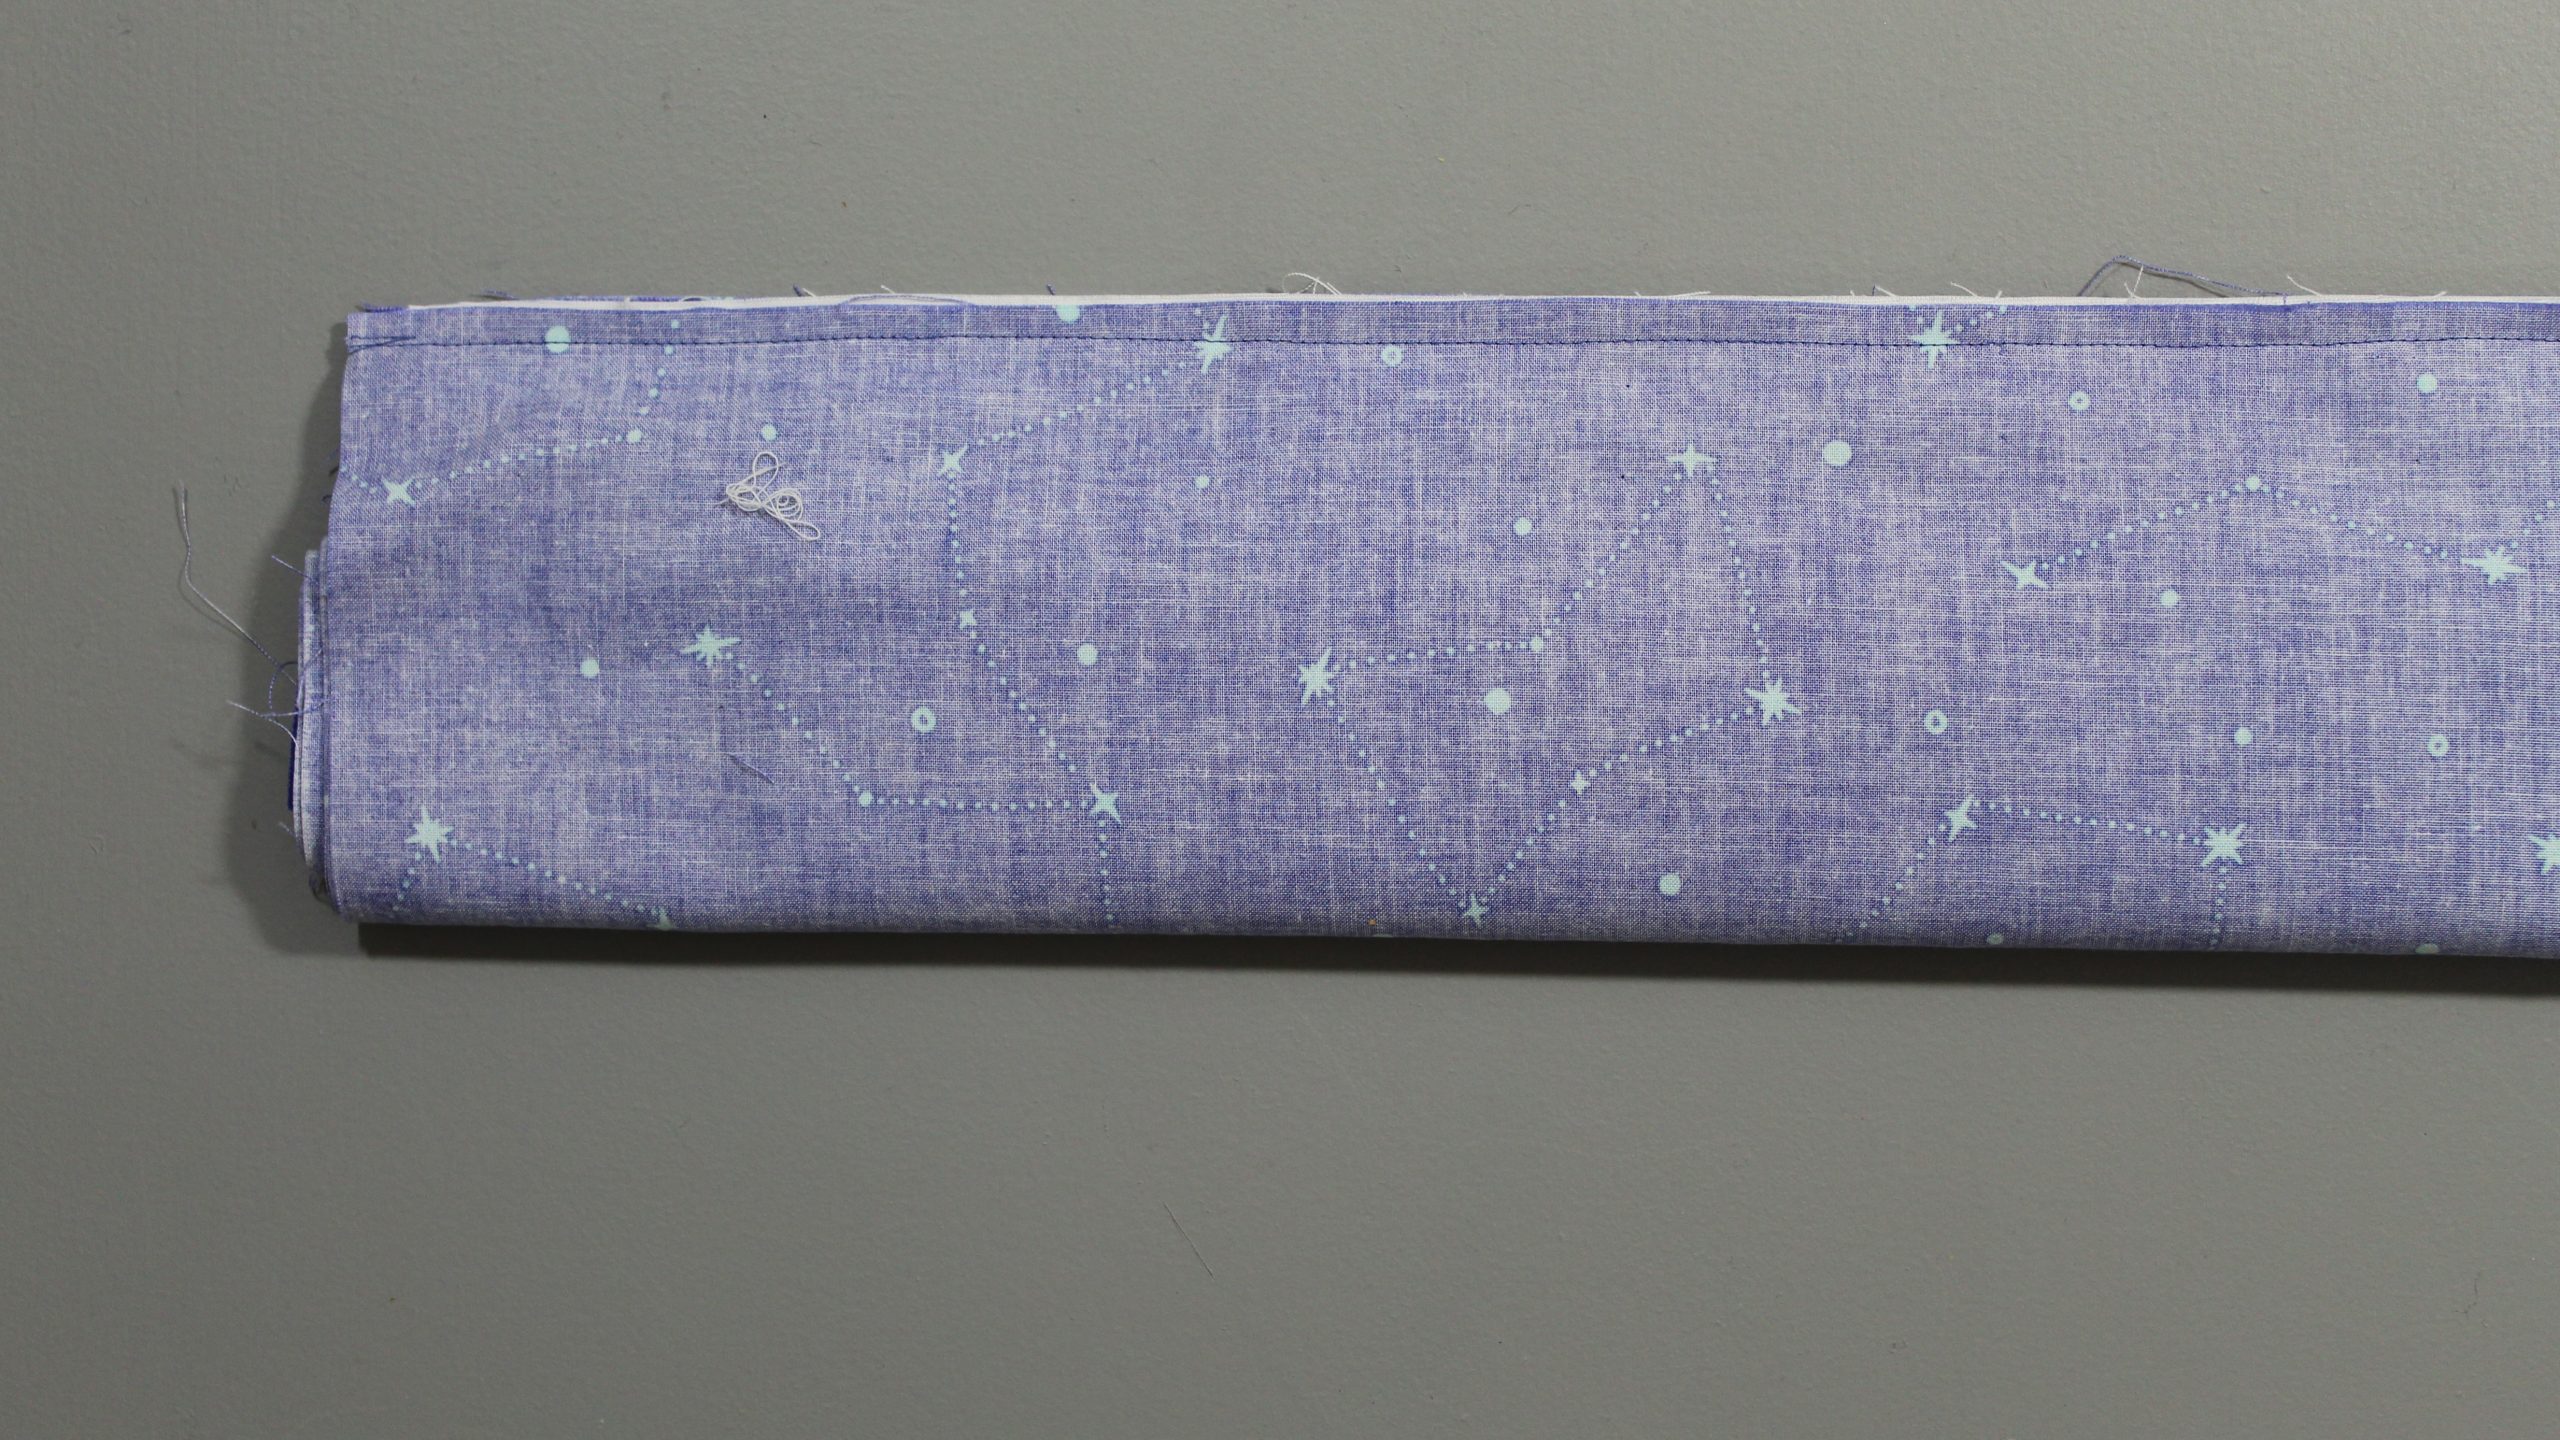
Stitch along the raw edges with a ¼” seam allowance, or use a serger to finish the edge. It should now look like a long fabric burrito.
5. Unroll and Press
Tug at the main fabric inside the burrito, gently pulling it out of the tube. Continue pulling your pillowcase from the inside out.
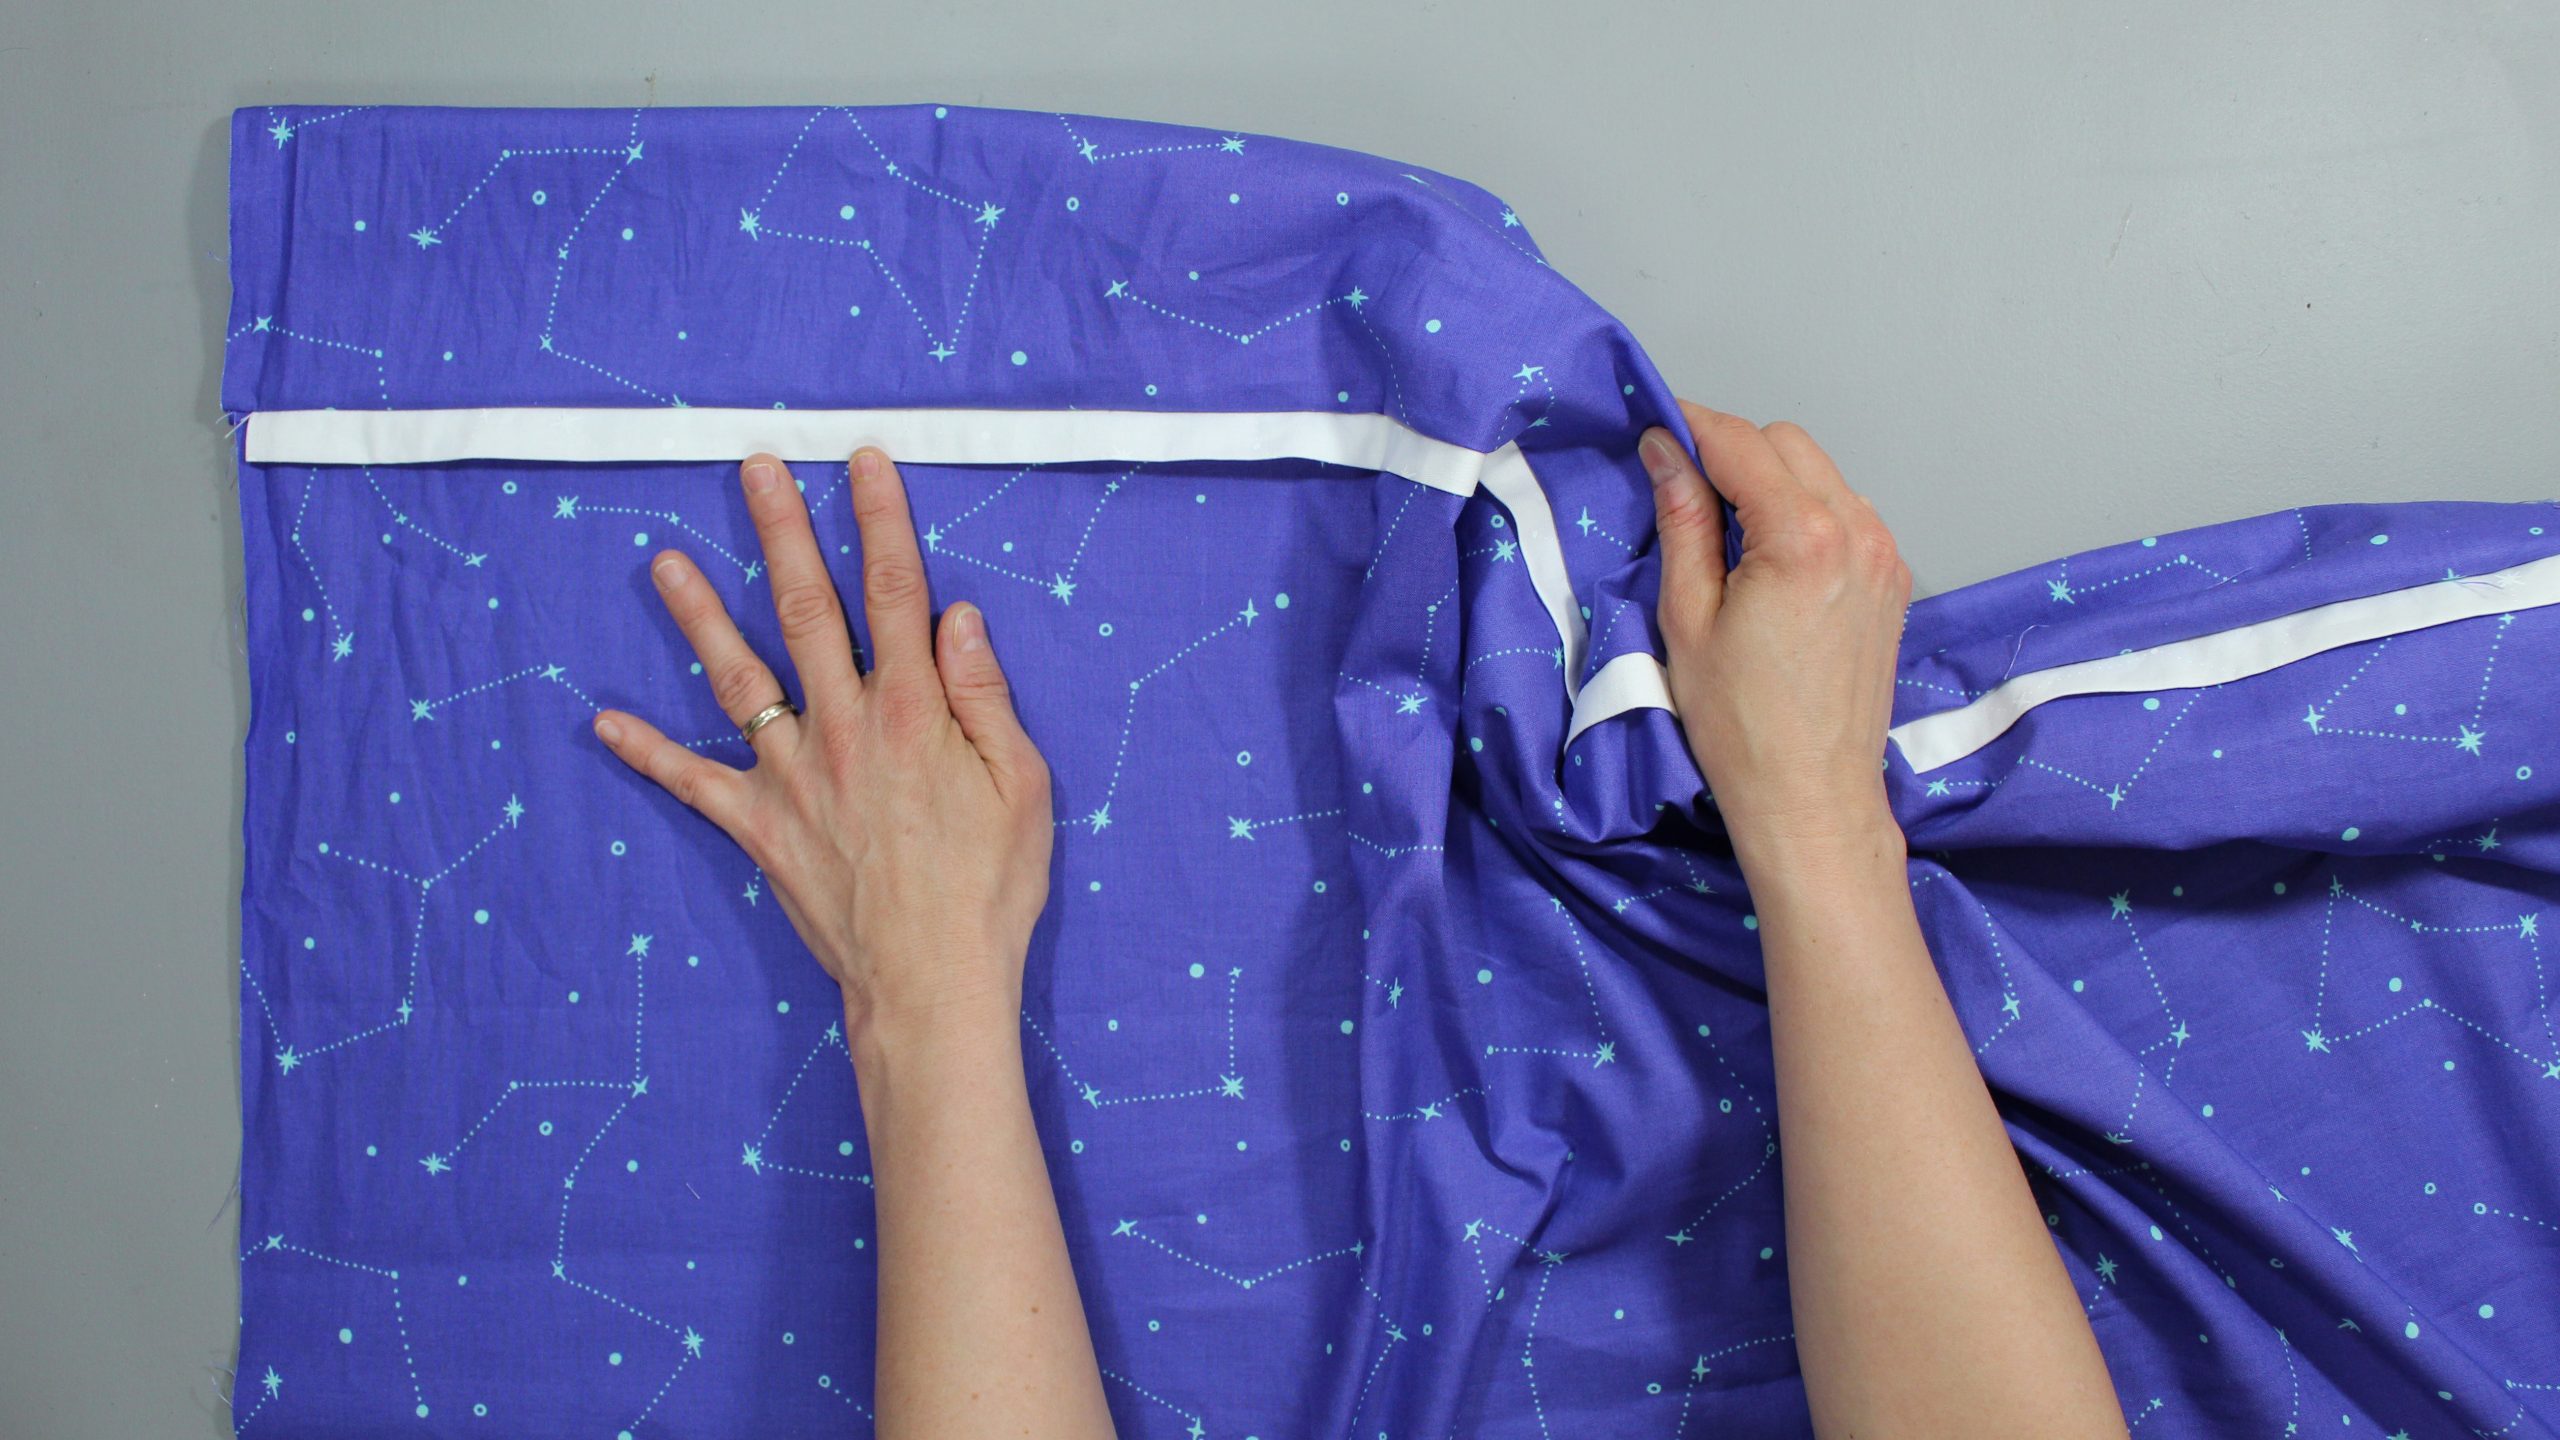
Once it’s fully unrolled, lay flat and press the wrinkles out, making sure the accent strip lays flat and in the same direction.
6. Trim to Size
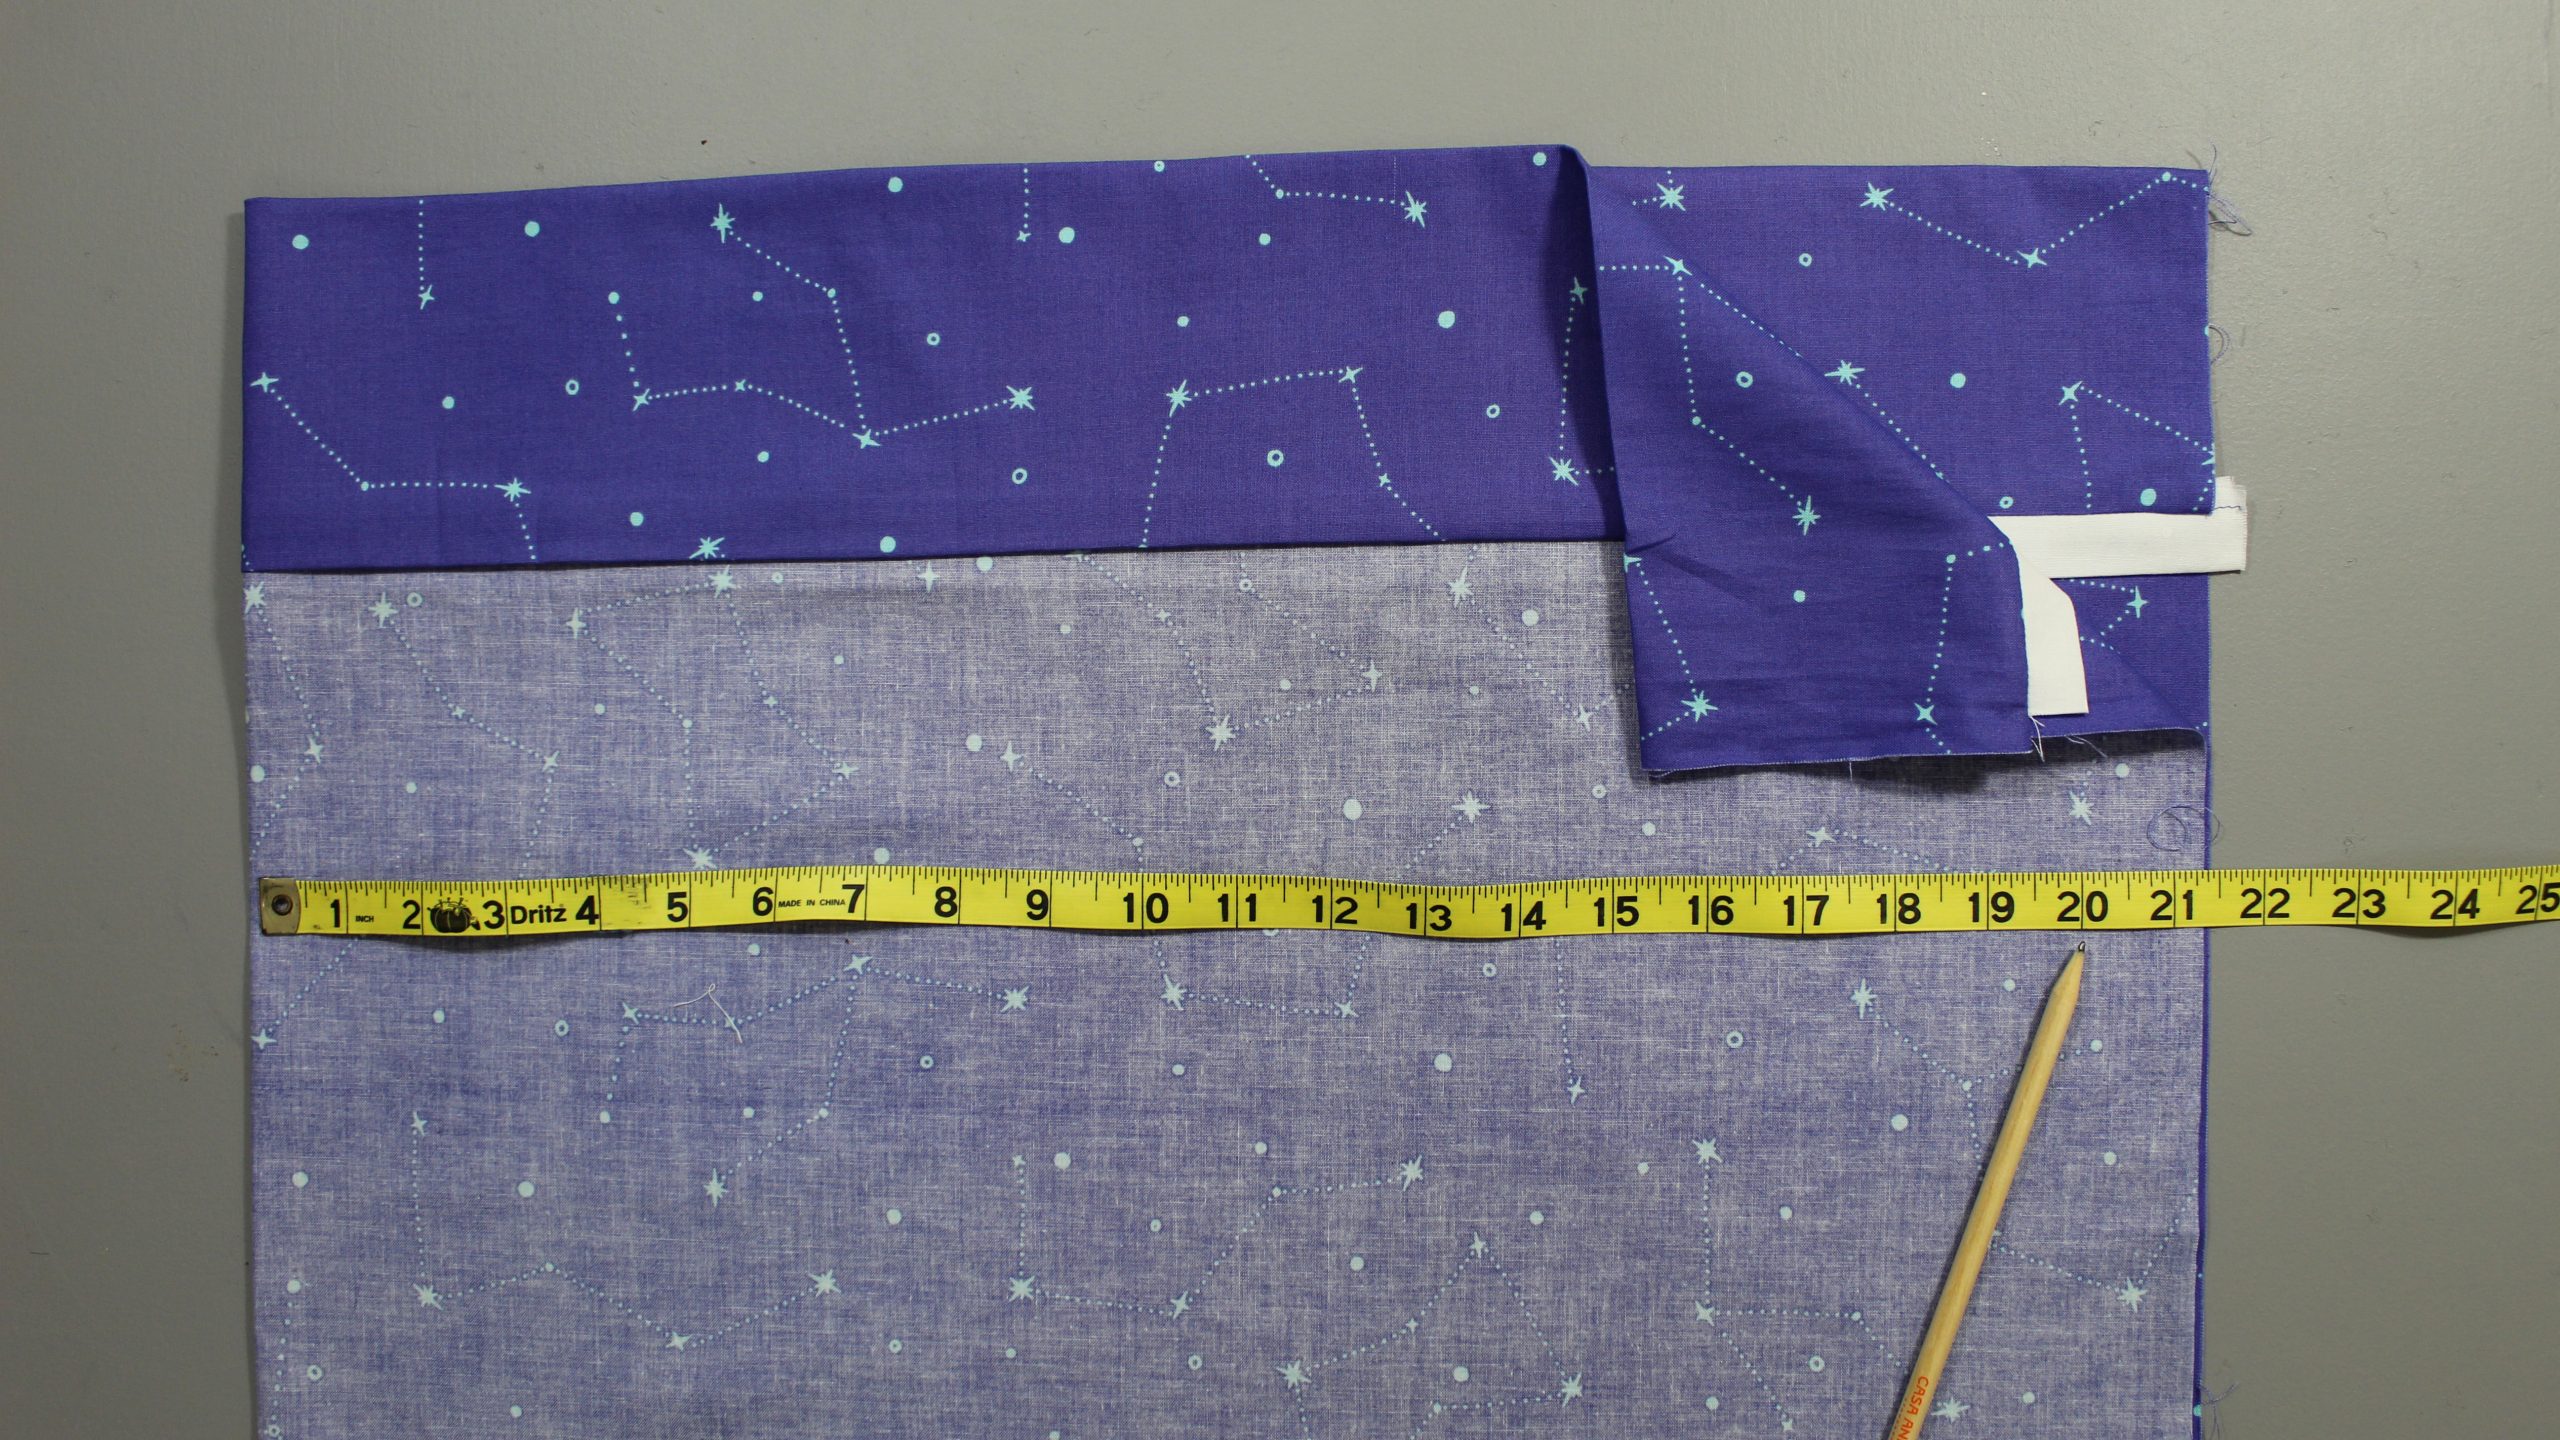
Trim the pillowcase to 28” long, measuring from the top of the cuff to the opposite end. Then, fold the pillowcase in half, right sides together. Finger press any wrinkles out, and align the accent strip so each half is laying on top of the other. (If needed, you can pin it in place.) Trim the pillowcase to 20” wide (which will give you a 40” total width).
7. Finish the Pillowcase
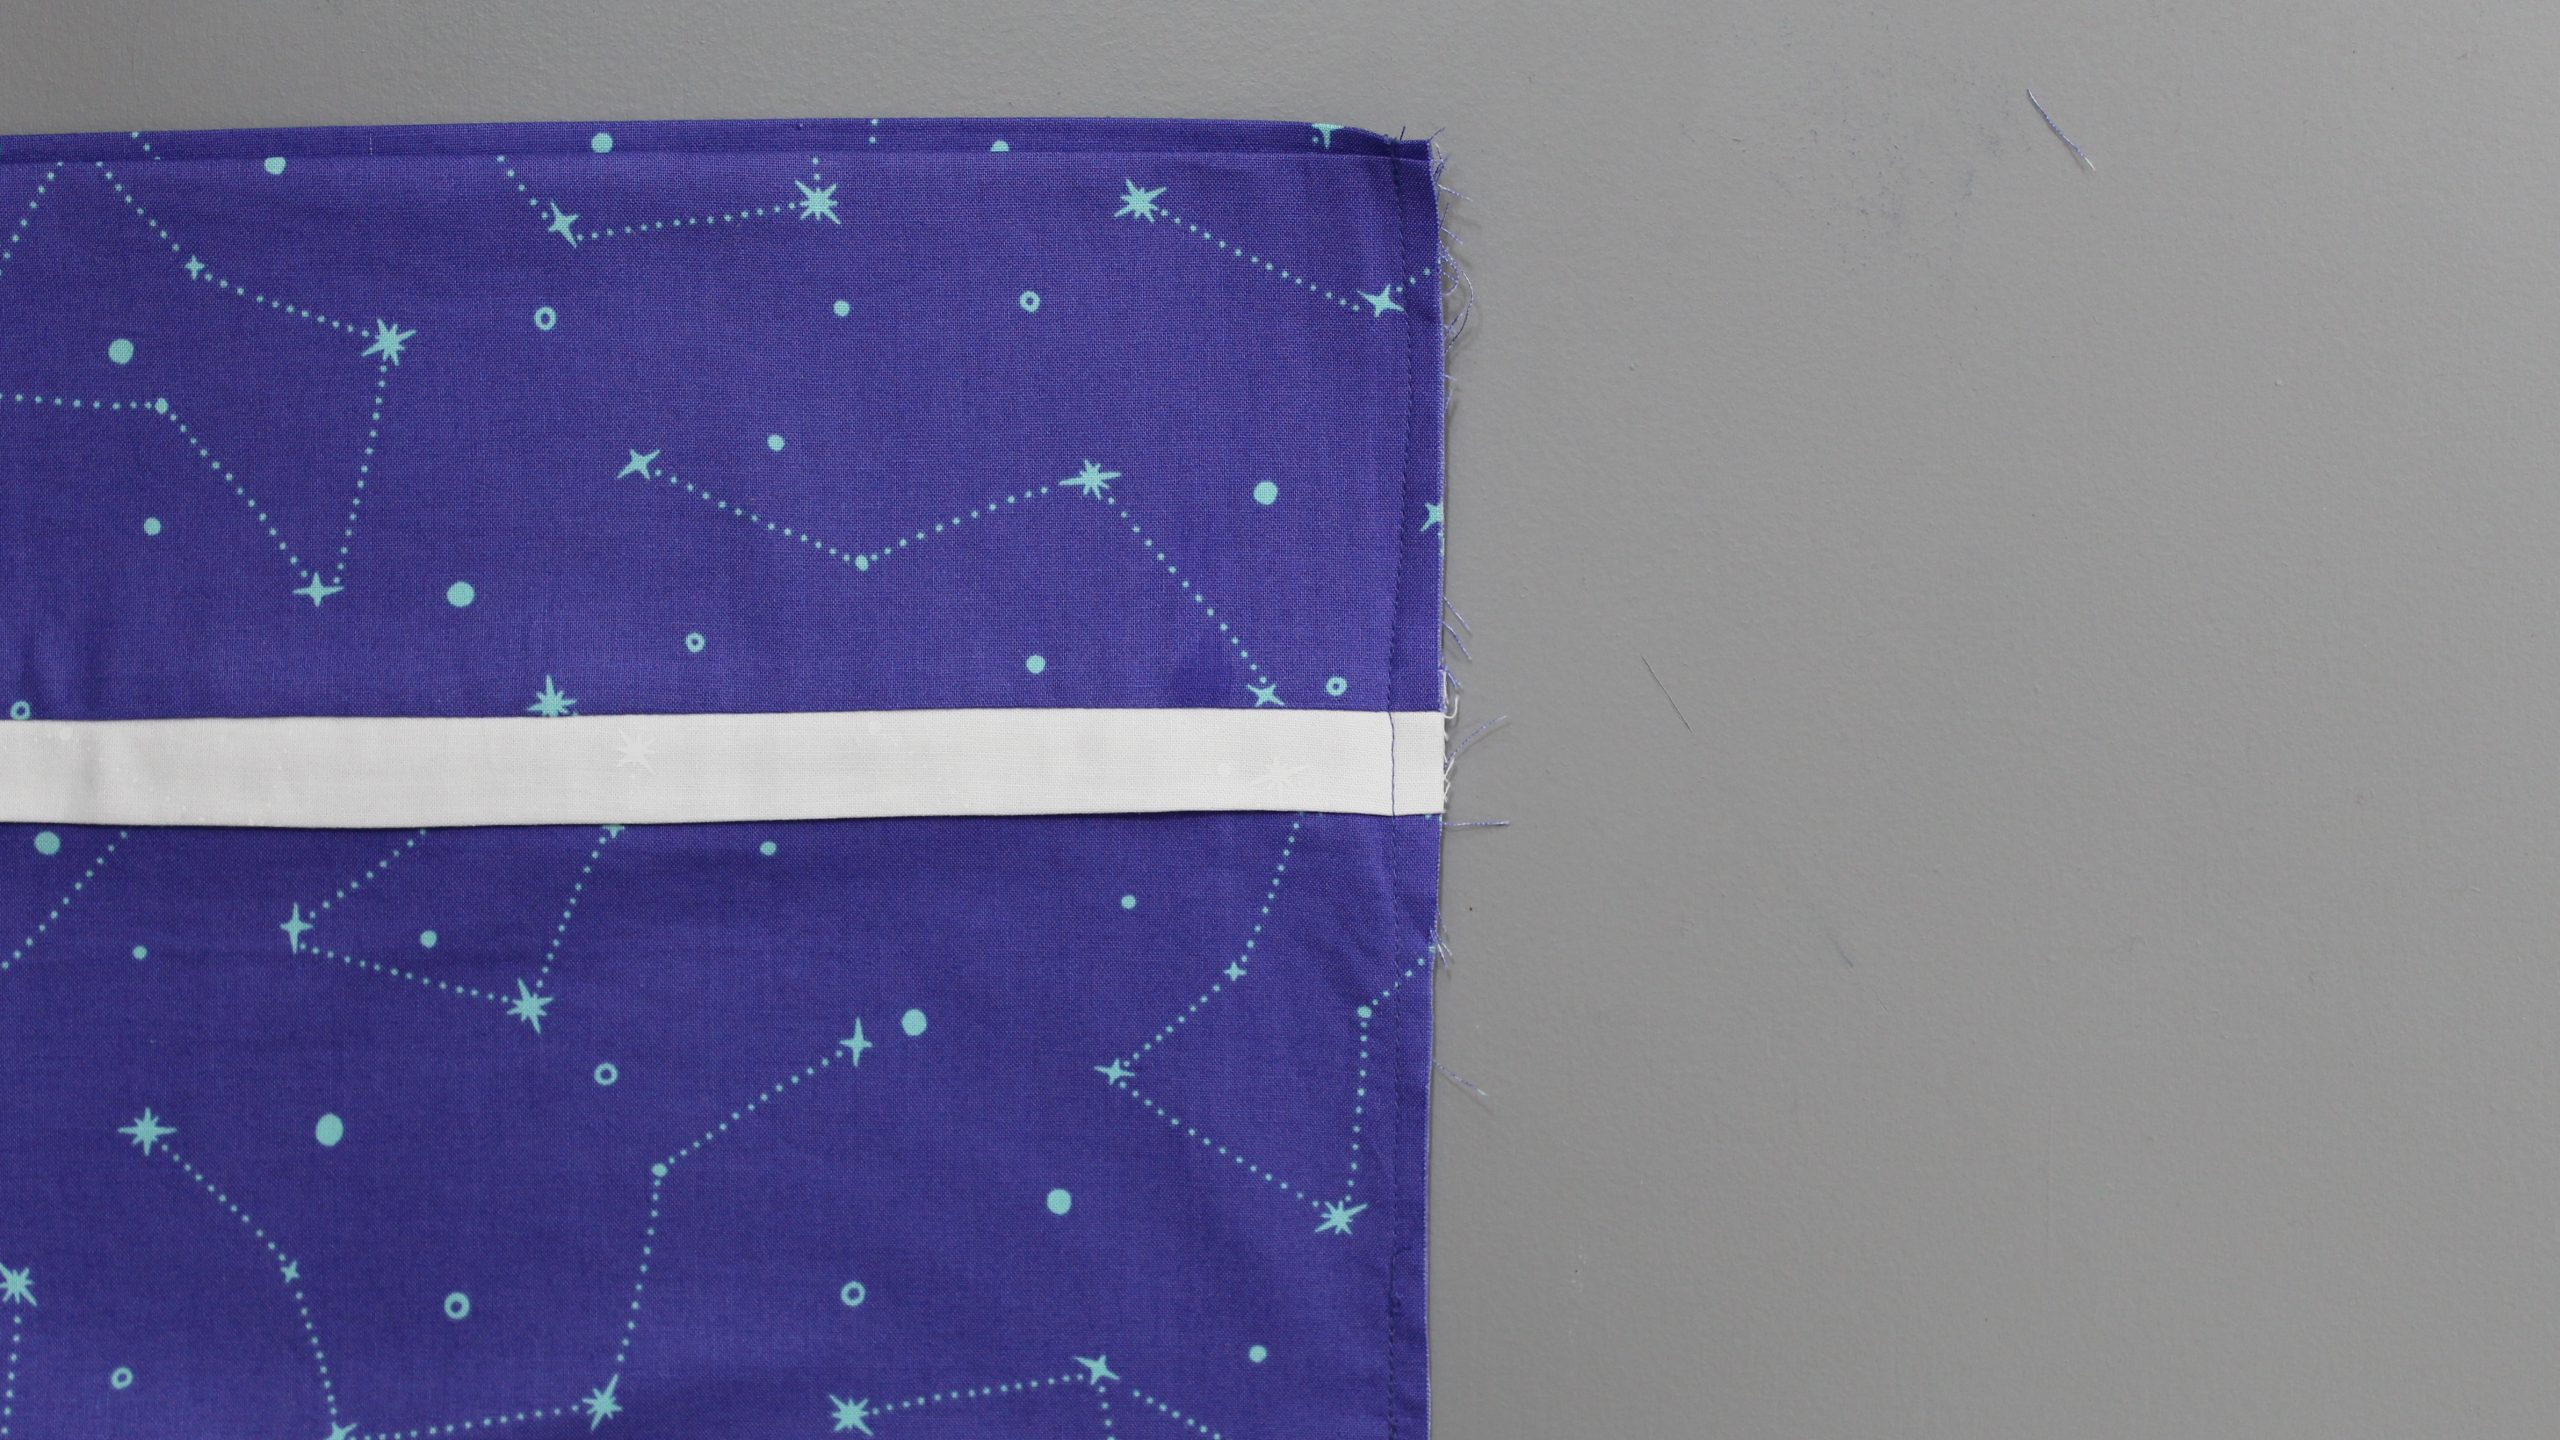
There are a few ways you can finish this pillow case:
Serger: Fold the pillowcase in half, then serge the raw edges on the top and right sides only. Turn right side out and press.
French Seams: Fold the pillowcase in half, wrong sides together (right sides should be facing out). Stitch together with a ¼” seam allowance. (Note: You will only sew the two sides with raw edges.) Trim the raw edges down to a slim ¼”.
8. Trap the Raw Edges
Turn the pillowcase wrong side out; gently poke the corners. Press.
Sew a ⅜” seam (or ½” if you prefer) on the same two sides you sewed in step 7. This will trap the raw edges inside and make a crisp finished edge.
9. Turn and Press
Flip the pillowcase right side out; gently poke the corners. Give it one last press and you have a pillowcase that’s ready to be filled!

Can I get written instructions Please
How do I cut the fabric for the pillow case
One of first things i sewed when i started sewing again.
There is no video attached to these instructions. Only pictures. Where can I print instructions??
I have made many pillowcases with similar instructions but use these instructions today. Easy to follow. But one thing I would suggest, especially for the beginners, is show the cloth fabric in a different print than the pillowcase itself. This could be confusing, especially when rolling the fabric up to the cuff.
I am dyslexic and would like to have written directions. Thank you.
I am just learning to sew and found these instructions easy to follow! For other super-beginners, here’s a few things I wish I knew: 1. If the print on your fabric has a vertical orientation that runs parallel to the selvedge, your finished pillowcases will have the pattern rotated 90 degrees. (My pillowcases feature sideways-hanging bats.) 2. If you’re creating French seams, trim down to 1/8 inch before turning the case inside out and finishing to avoid excess fabric sticking out of your finished seams. Thanks for the great tutorial!
Please send the written instructions to me. Thank you tons of appreciation!
Please send me or allow me to print the pillowcase burrito style
Could you please email written instructions to me? Thanks!