Reduce, reuse and recycle your way to a totally original Christmas tree! It all starts with a simple paper garland and paper airplanes made from leftover wrapping paper. Fold up your airplanes, then fly them straight into the tree for the most fun you've had decorating a tree, like, ever.
Sewn Paper Garland
Level: Easy
What You Need
Instructions
1. Paper Cuts

Cut your wrapping paper into small pieces. For the garland shown, we cut evenly sized rectangles. (A rotary cutter or paper cutter speeds this along.) You can also cut freehand or experiment with different shapes, even mixing and matching within your garland. Go wild!
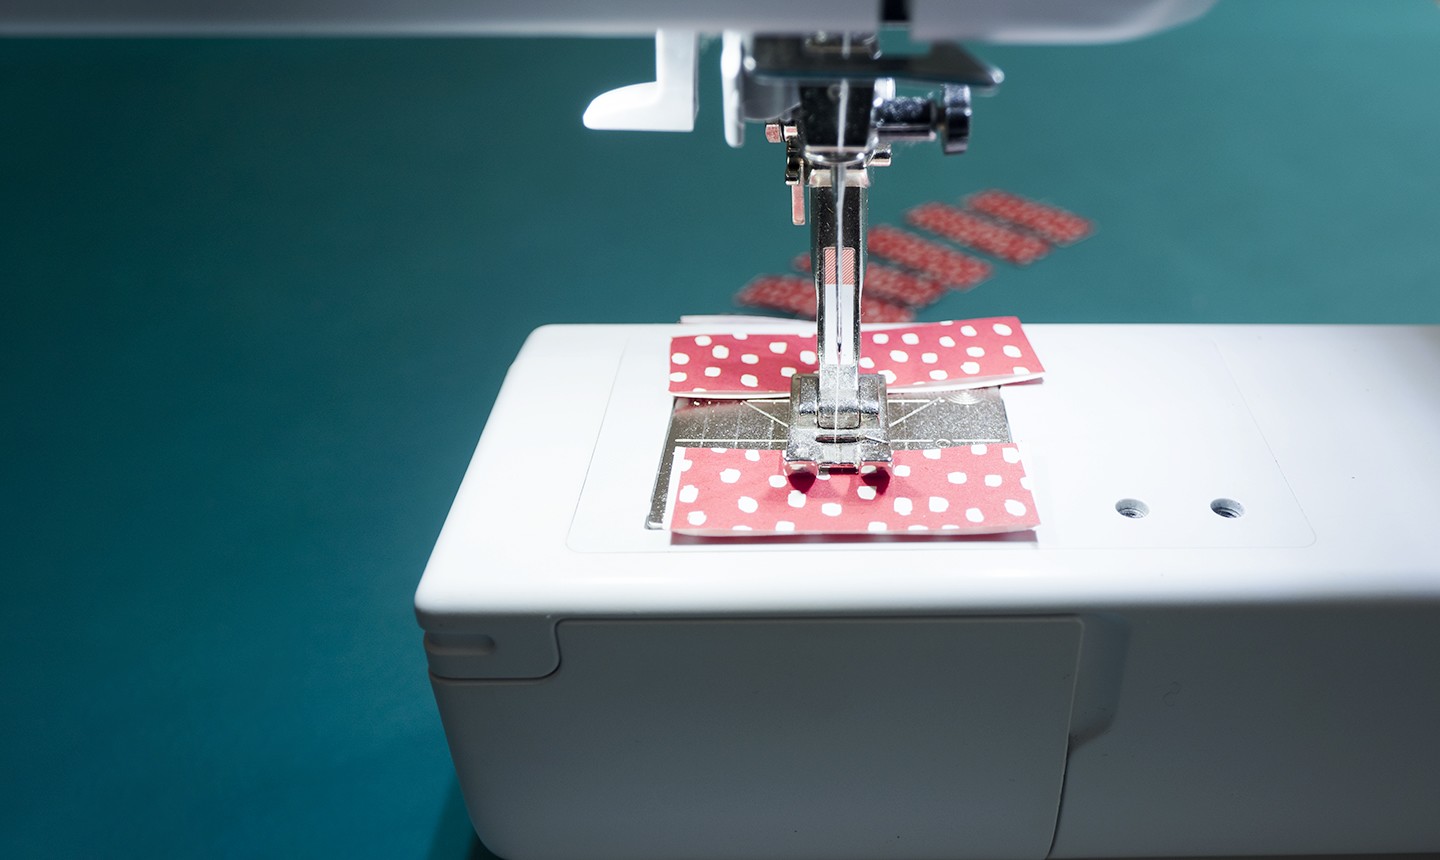
2. Feed the Machine

Slowly feed your paper pieces into the machine one by one. Continue stitching in the spaces between the papers — this will create a string that allows the the garland to hang easily from the boughs.
Pro Tip: If you want a double-sided look, stack two pieces of paper back to back as you feed them through the machine or use double-sided wrapping paper.
Paper Airplanes
Level: Easy
What You Need
Instructions
1. Cut Rectangles
Cut your wrapping paper into rectangles. There are no rules about size here, so feel free to make a variety of options.
2. Fold It All Up

Fold the paper in half vertically (hot dog style). Unfold, then fold the two top corners into the center line. Crease the fold with your finger.
Fold again into the center line and crease the folds.
Fold the paper in half, away from you, and crease. Then, fold down the wings on each side. Crease the folds one more time and add a tiny piece of tape to the body under the wings.

Now fly your plane straight into the tree, string that garland and you're done!

Share tips, start a discussion or ask other students a question. If you have a question for an expert, please click here.
Already a member?
No Responses to “Decorating Your Christmas Tree With Wrapping Paper Is a Genius Idea”