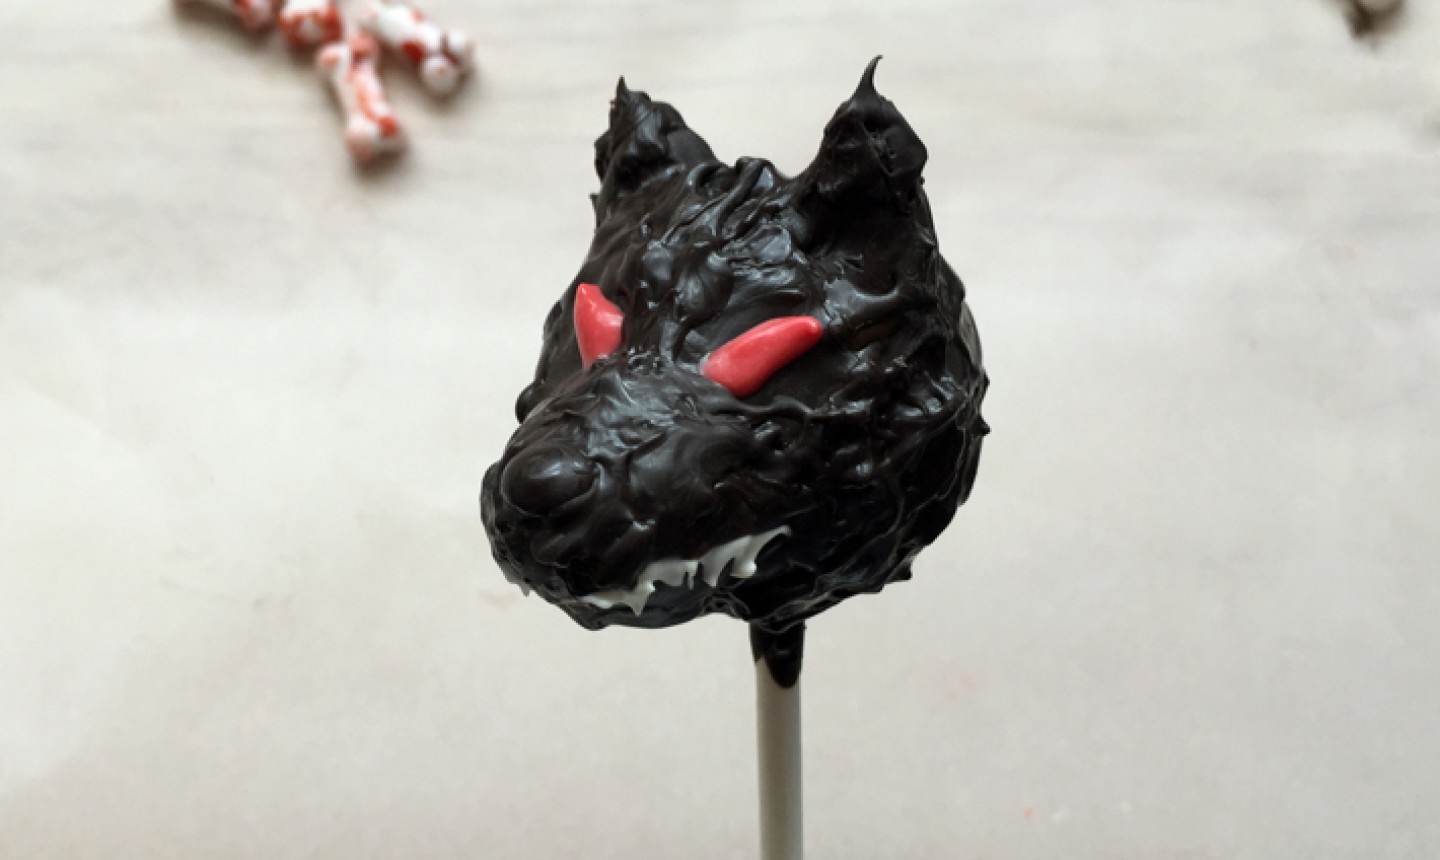
Devour at your own risk! These werewolf cake pops are as delicious as they are scary, and will have your guests howling for more. Best part: they're crazy easy to make!
Werewolf Cake Pops
Level: Easy
What You Need
Instructions
1. Prep the Pops
First, you need to make your cake pop dough. Mash up a baked cake (you can use any recipe you love) and combine it with buttercream.
Pro Tip: For every 2 cups of cake, use 1 tablespoon buttercream. Adjust this ratio until you have a doughy consistency you can roll into a ball.
2. Shape the Heads
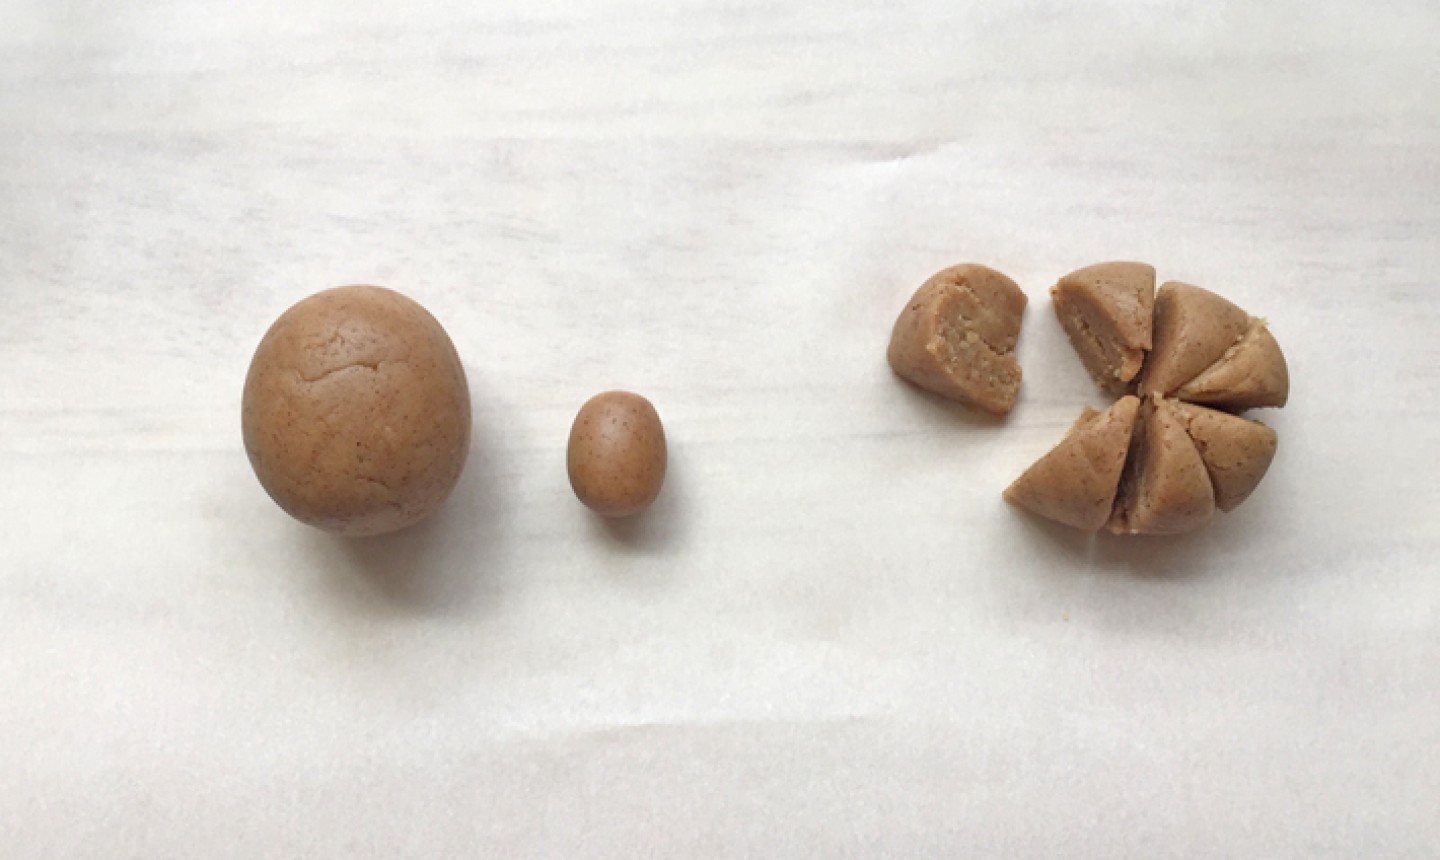
Line your work surface with wax paper, then transfer your dough to the table. Form a head by rolling a portion of the dough into a ball. Roll another ball and cut it into eighths, like a pizza. Roll each section into a small oval, forming the snouts.
Pro Tip: Use a cookie scoop to make your cake pops in uniform portions.
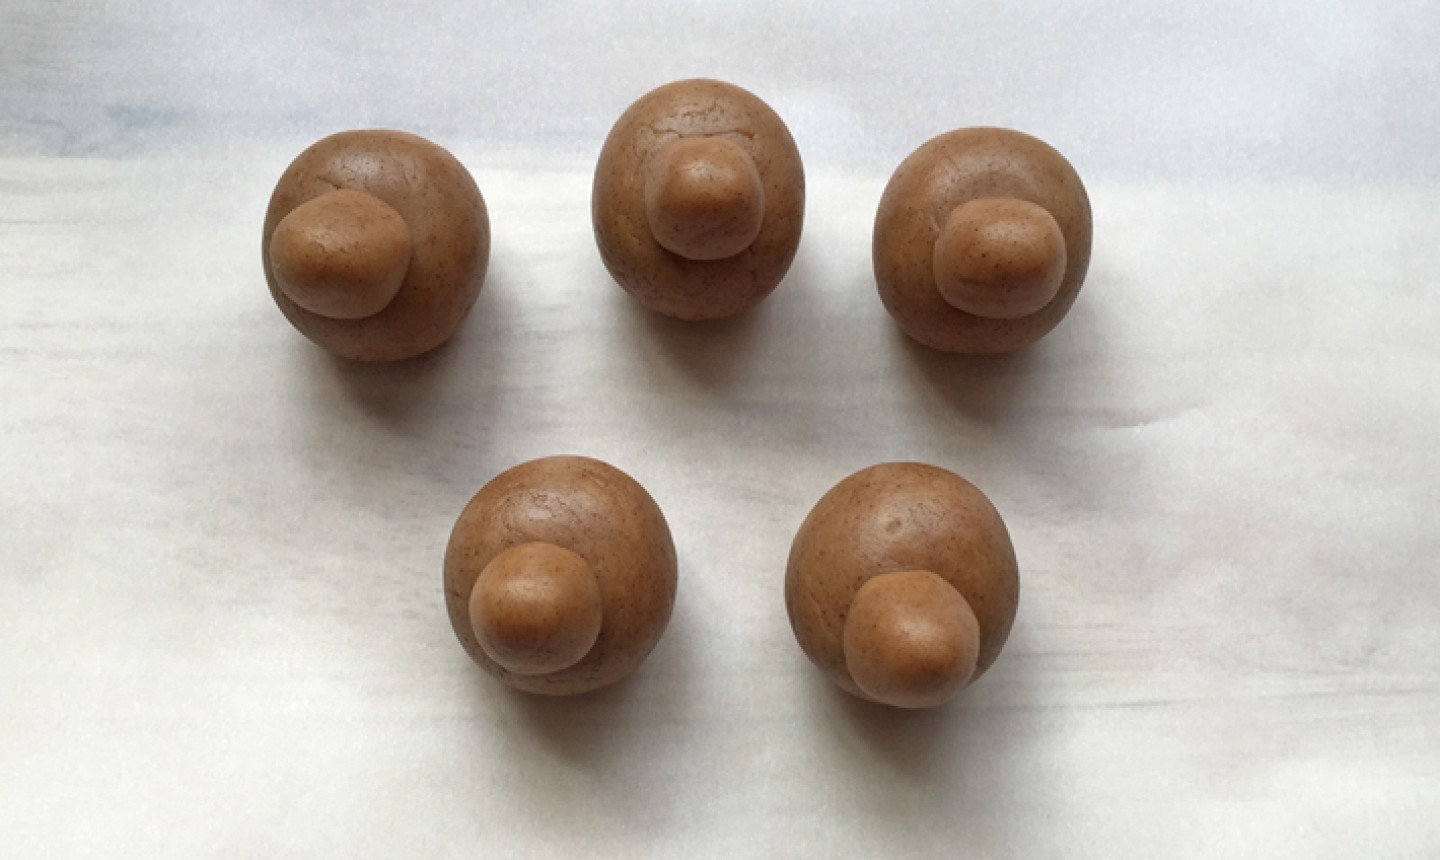
Gently press each snout onto the bottom third of the heads. Place the heads in a refrigerator to chill.
Good to Know: Right now, don't worry if the snouts look like small beaks — that's totally OK. They also shouldn't stick well to the big circles; we'll secure them later.
3. Cut White Candy Wafers
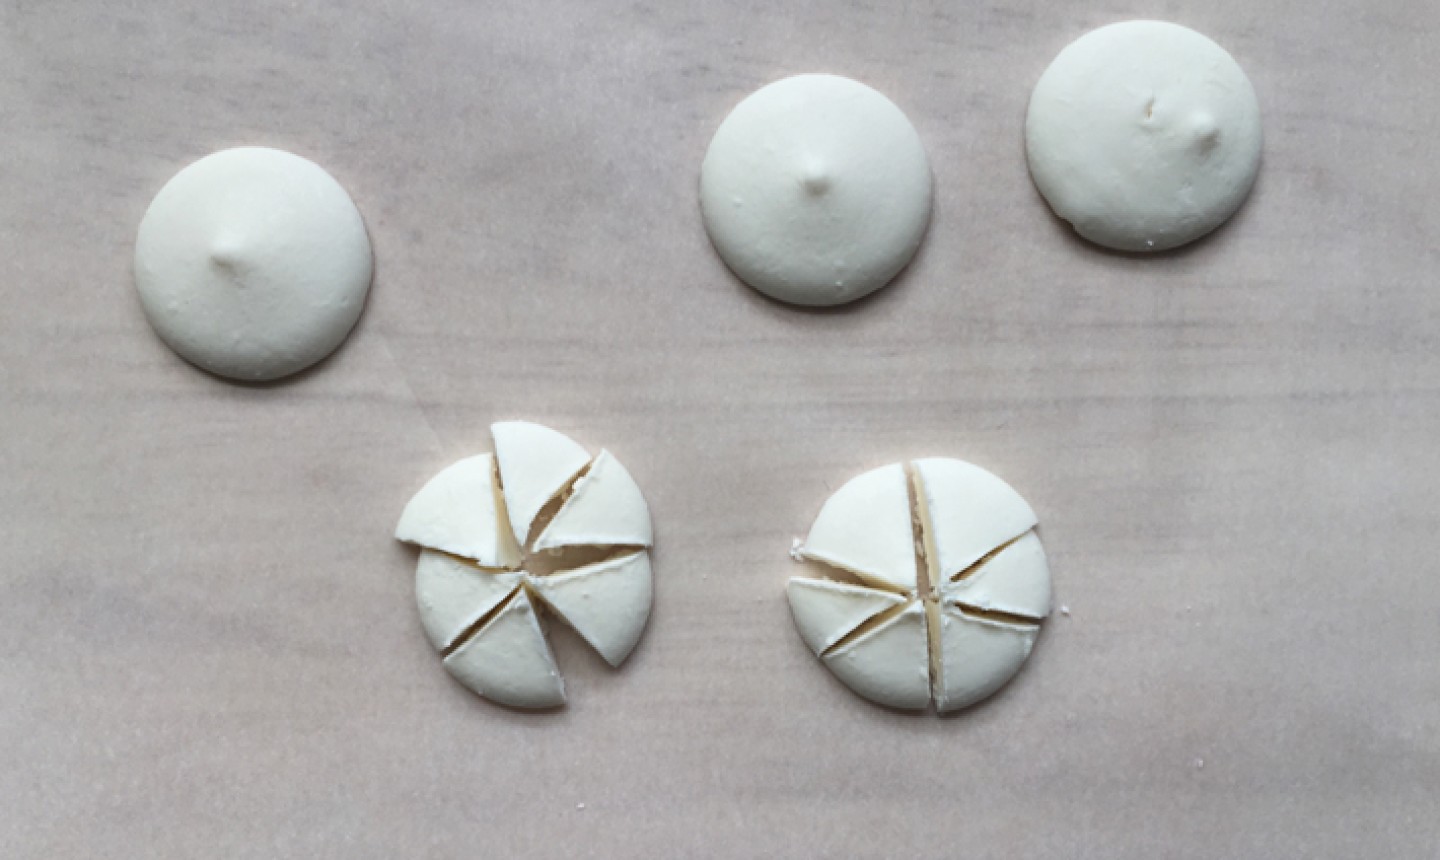
While your heads are chilling, cut a few white candy wafers into sixths. These will serve as the pointy wolf ears. Set them aside.
Good to Know: Each cake pop will need two ear pieces, so one whole wafer will be enough to decorate three pops. Cut as many as you need, depending on how many pops you're making.
4. Melt the Candy Coating
Melt black or dark brown candy melts in a microwave-safe bowl until completely melted and smooth. Then melt about 8 or 10 wafers each of white and red in separate containers.
5. Attach the Details and Sticks
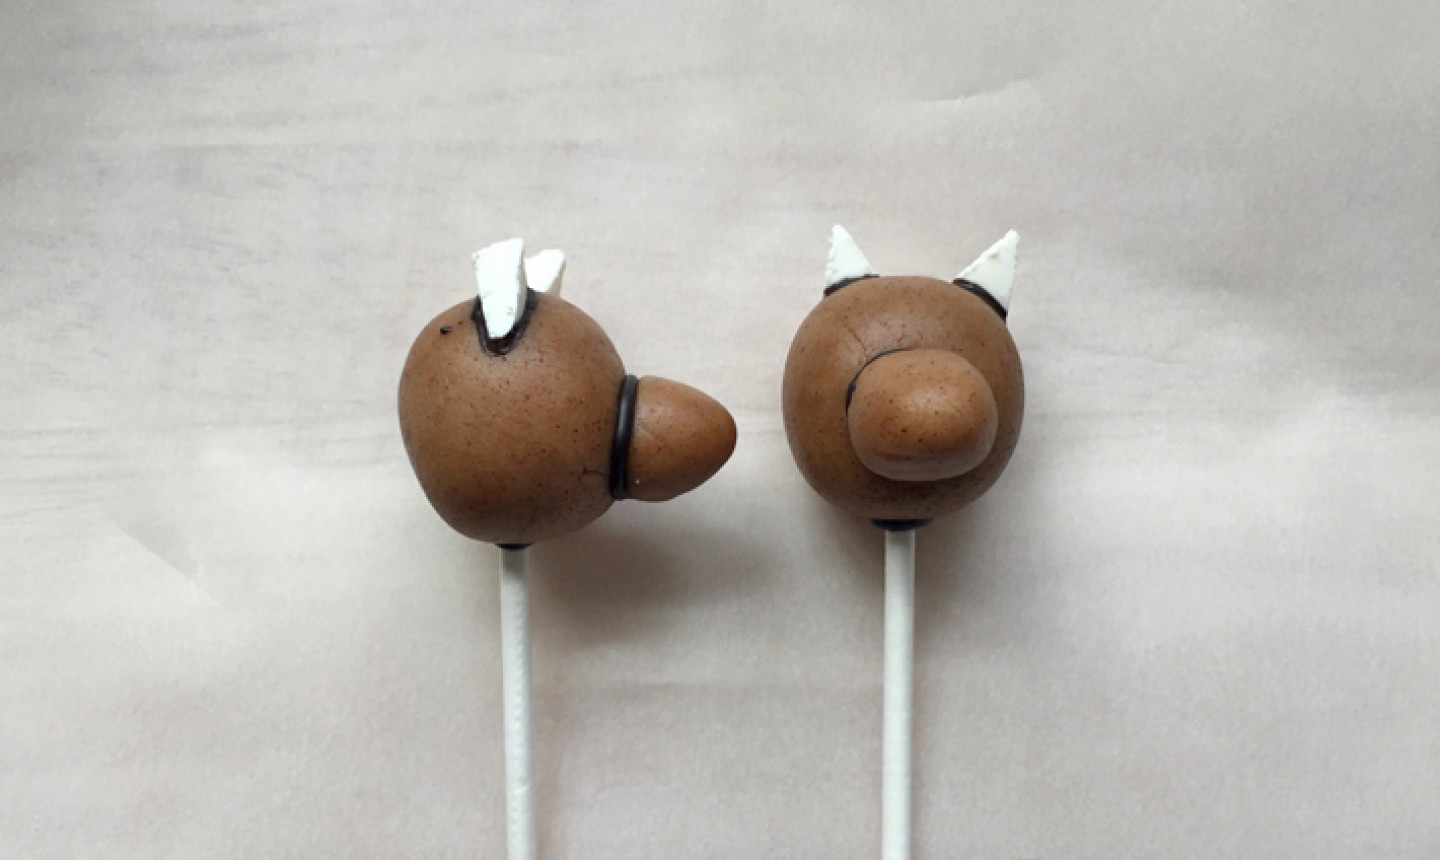
Remove the heads from the fridge and let them sit at room temperature for 5 minutes. Take the snouts off the heads one at a time, dipping the flat end into the dark candy coating and then pressing onto the faces to secure.
Dip a lollipop stick about ⅓" into the melted coating, then carefully push it into the bottom of the head.
Use a toothpick to add the melted coating to the bottom of the white candy melt pieces. Gently press them onto the heads to make ears.
6. Dip the Heads
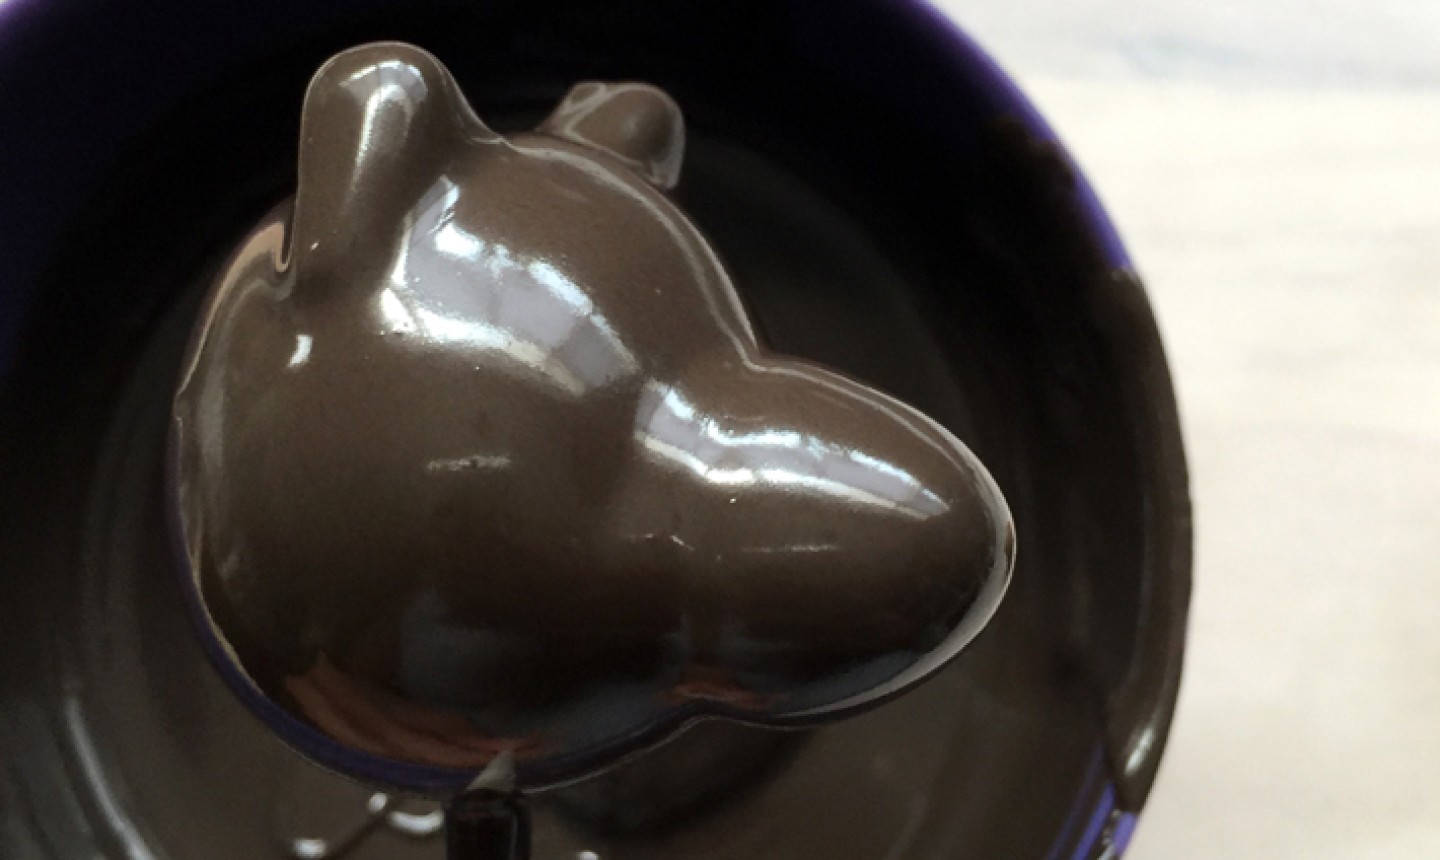
Dip each head into the dark coating and gently shake off the excess. Use a toothpick to dab the coating around the head (but not the snout) to create texture. Let it dry in a cake pop stand or styrofoam block.
7. Add the Details
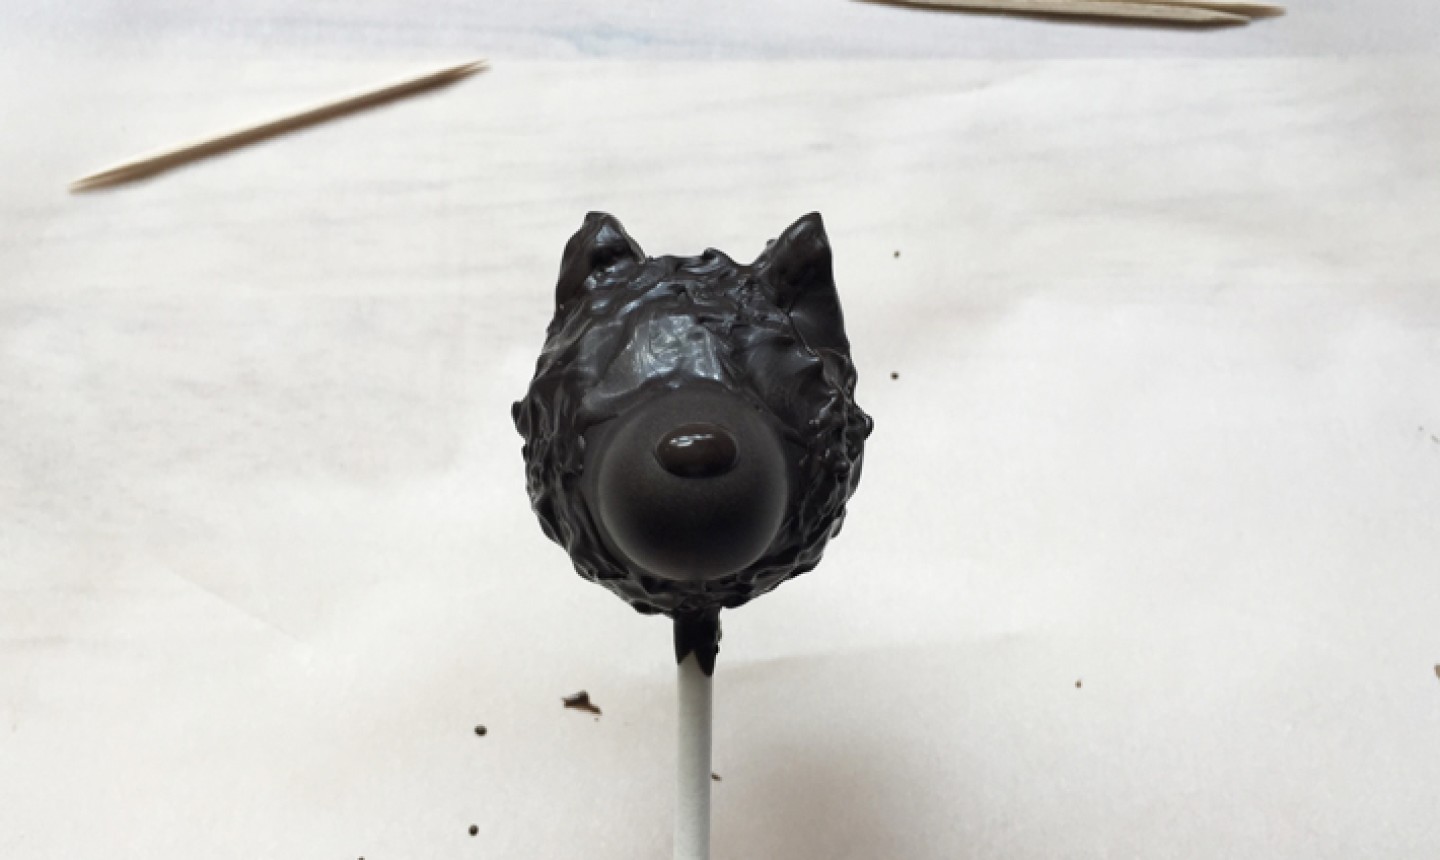
Use a toothpick to place a dollop of the dark coating to create the nose on top of the snout.
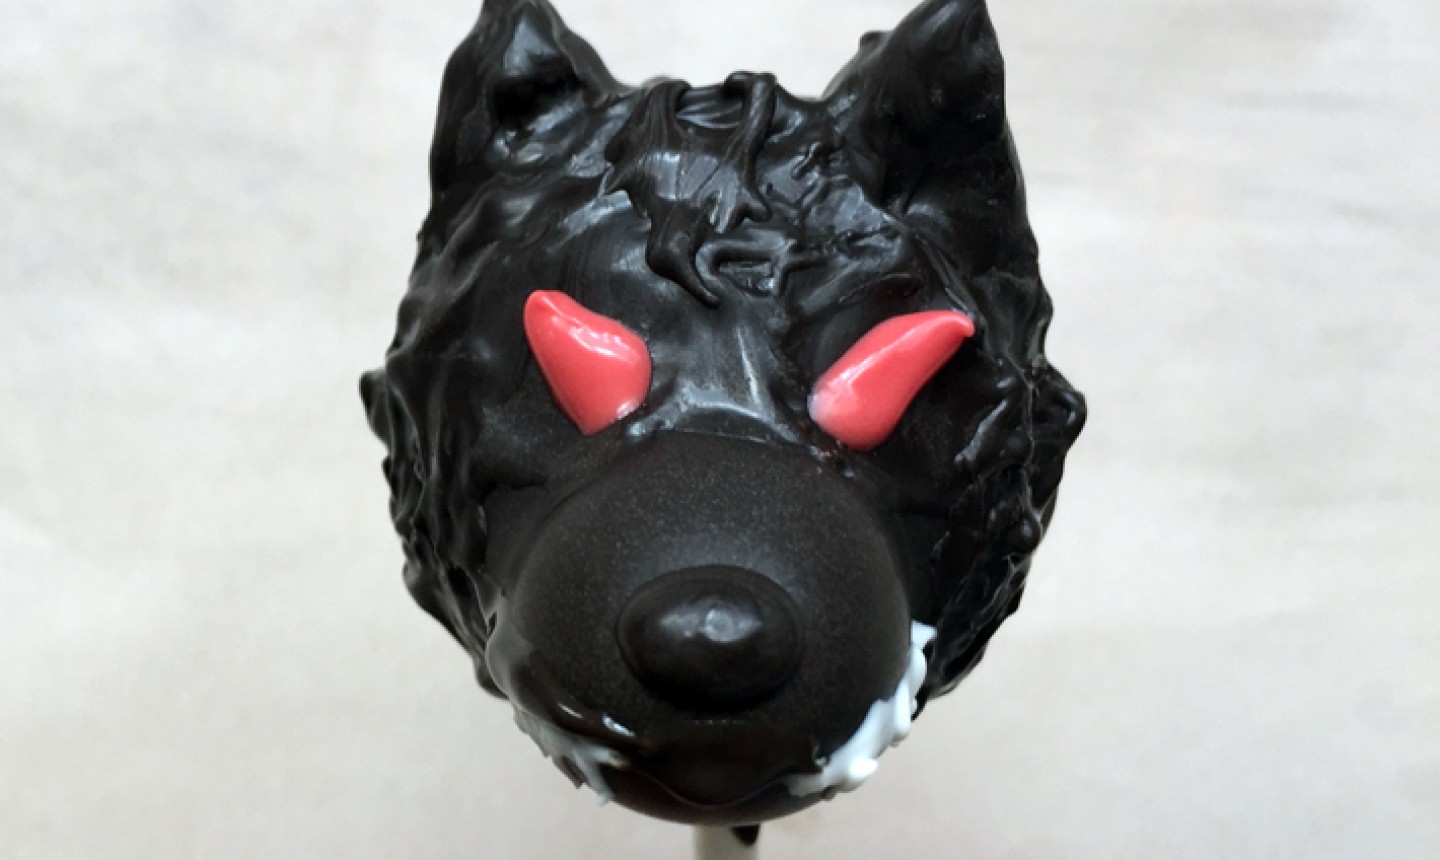
Dip another toothpick into your melted red candy melts, then create the eerie slanted eyes. Position them evenly just above the crease where the snout meets the head.
8. Make 'Em Bite
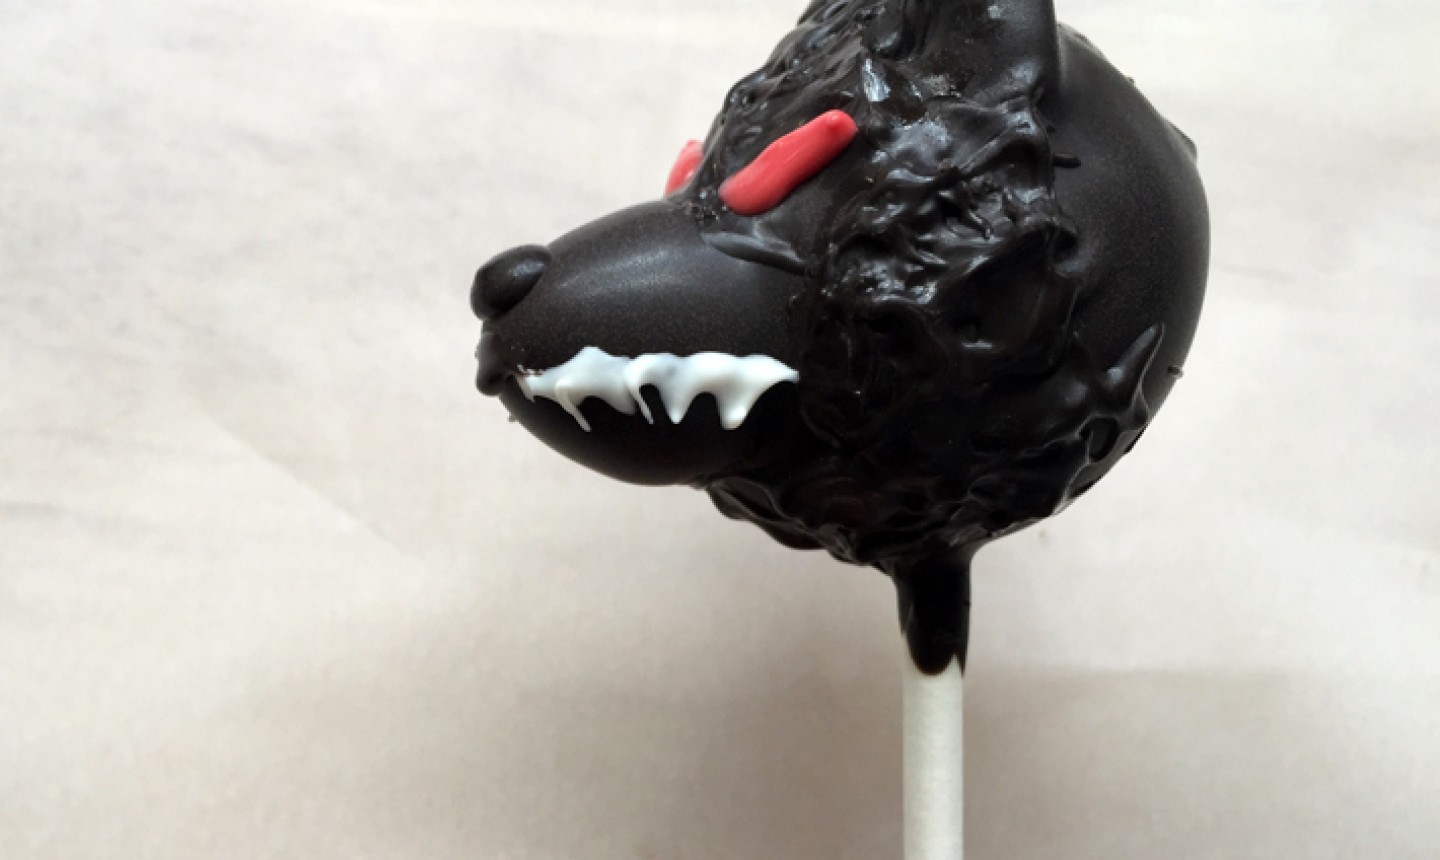
Dip another toothpick in the melted white candy melts, and create the teeth along both sides of the snout. Don't worry about making them perfect — they should look more rough and rugged to really emphasize the scare factor.
9. Add the Final Touches
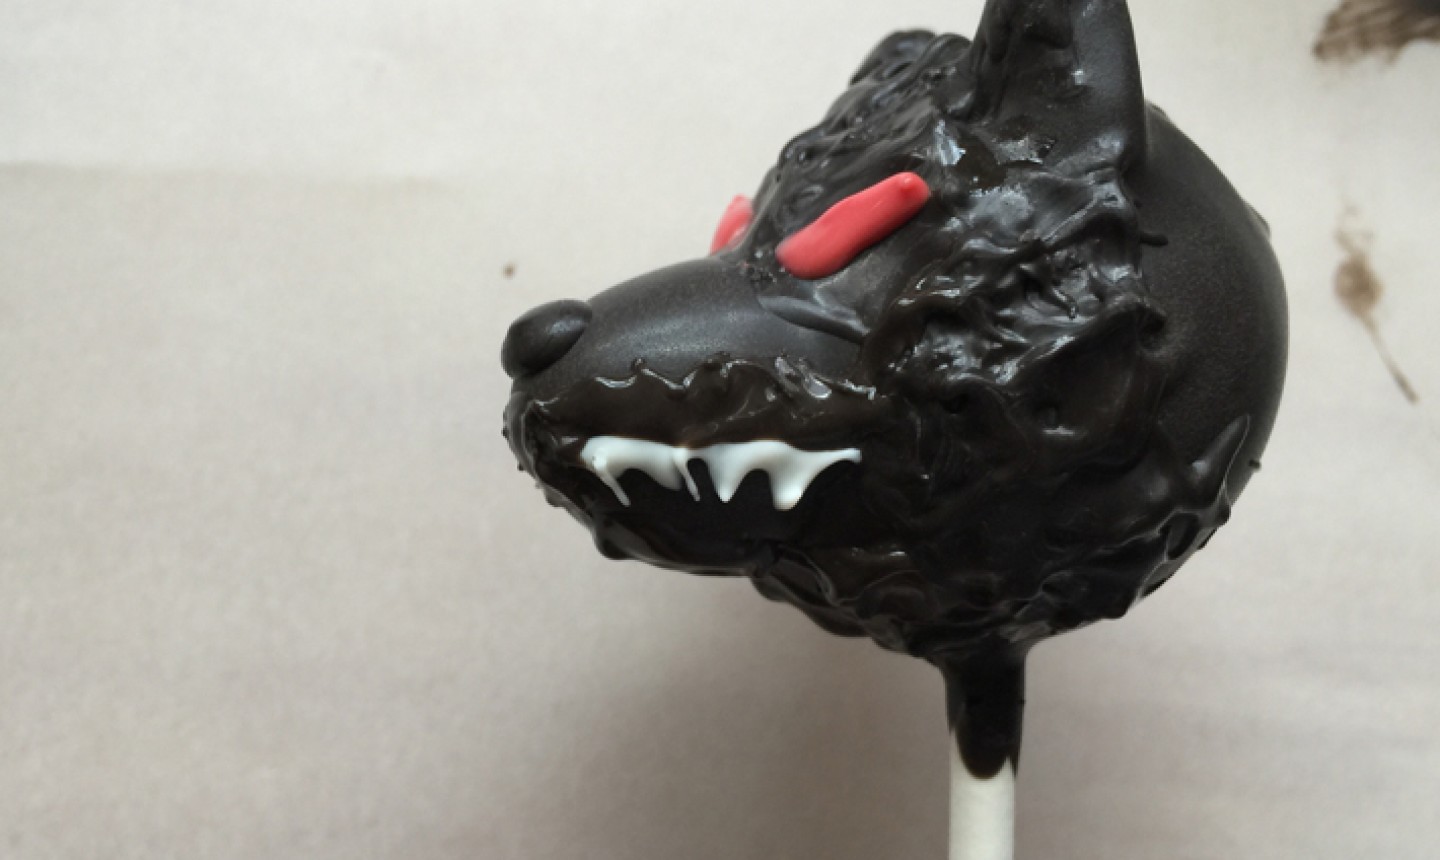
Using clean toothpicks, gently dab more dark candy coating around the face, starting with the area above the teeth. This will add even more rugged texture for a total creep-factor.
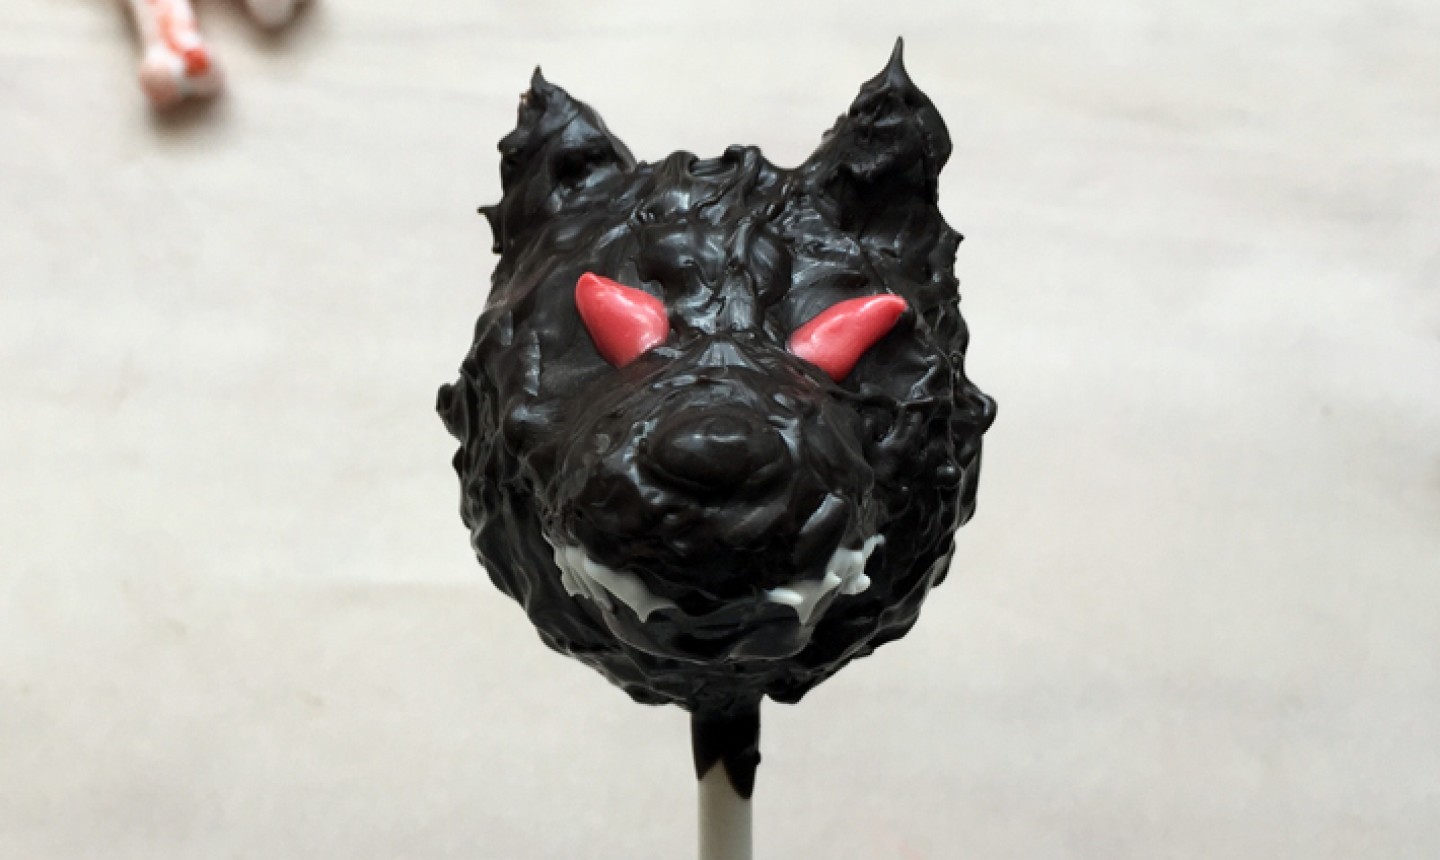
Continue creating more texture around and in between the eyes, and around the nose and ears by dabbing and pulling in short strokes. The more you dab, the more lifelike the fur will appear.
Let your pops dry completely, then serve during the next full moon!
FREE Online Cake Pops Class

Make custom cake pops that can't be topped!

Share tips, start a discussion or ask other students a question. If you have a question for an expert, please click here.
Already a member?
No Responses to “Make Ferocious Werewolf Cake Pops Worth Howling Over”