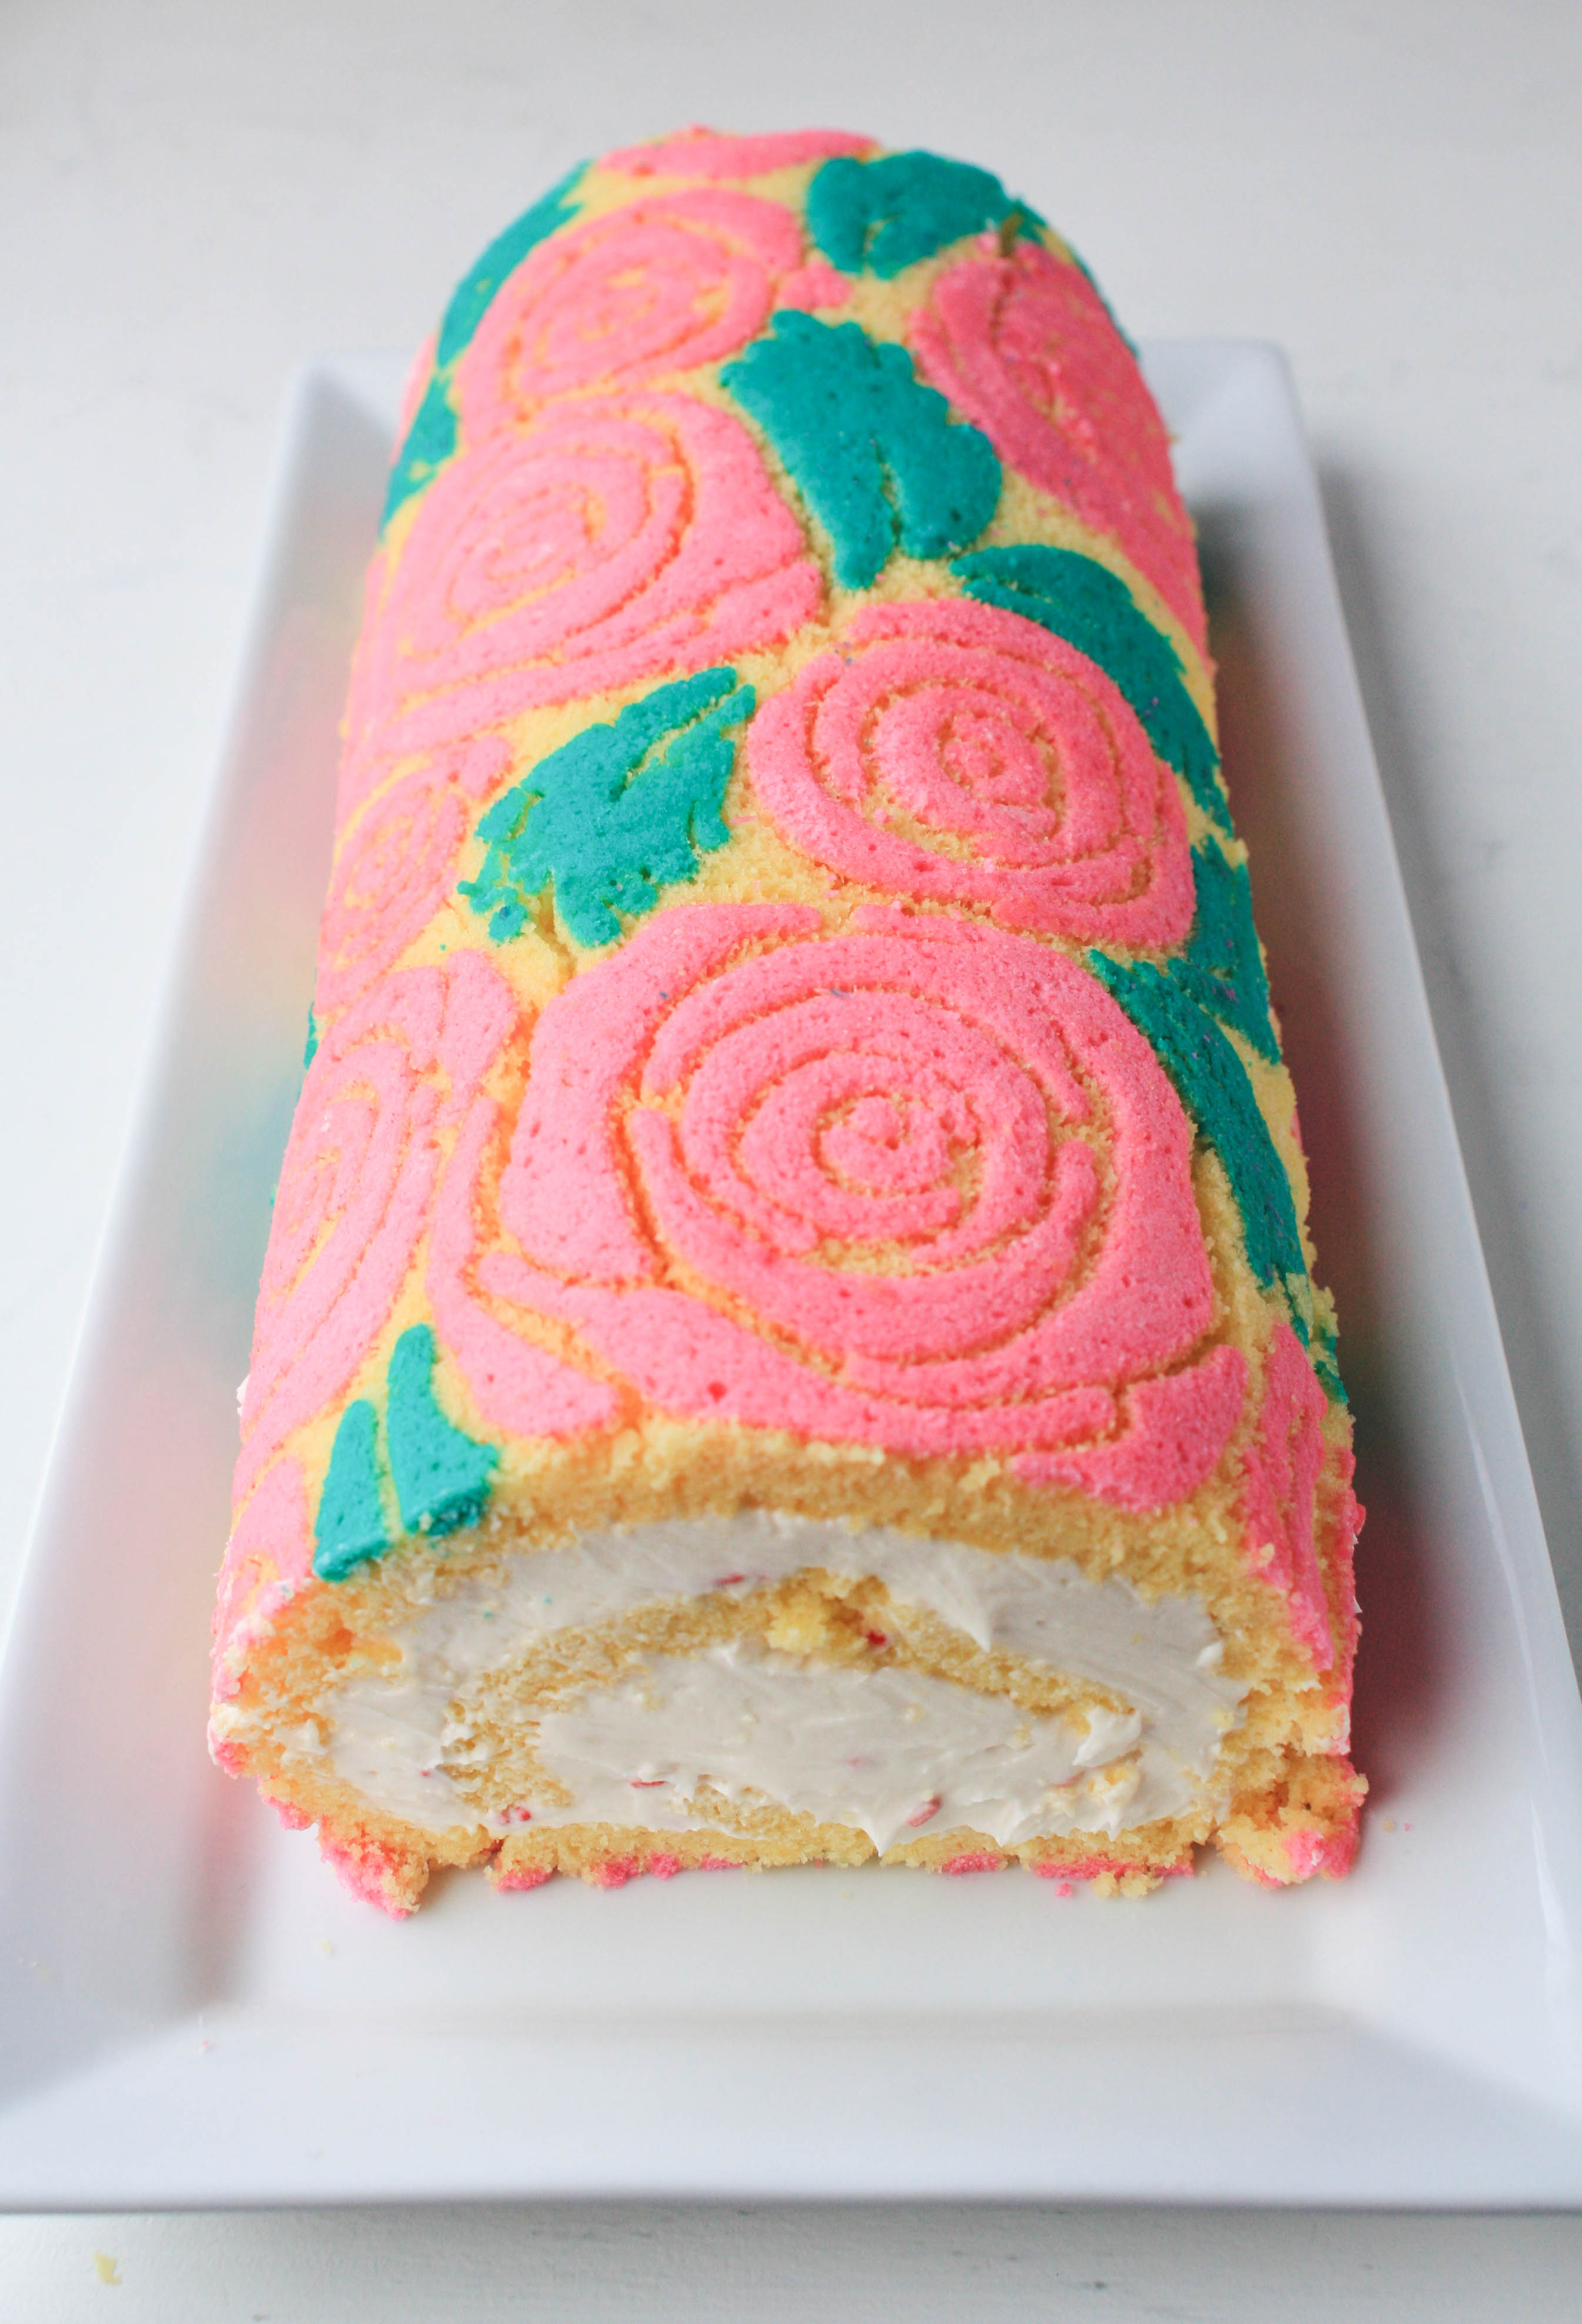
Show off just how sweet you can be with a delicious roll cake on Valentine's Day. (Or serve it on nights you watch The Bachelor.) The stunning rose pattern doesn't require any fancy-schmancy artistic skills either — if you can trace and pipe, you can decorate this dessert.
Rose-Covered Roll Cake
Level: Intermediate
What You Need
- Rose template
- Cake paste
- 2 walled cookie sheets
- Parchment paper
- Piping bags
- Dishtowels
- Small round piping tip
- Gel food coloring
- Marker
- Sponge cake batter
- Offset spatula or rubber spatula
- Pan spray
- Serrated knife
- Paper towel
- 3 cups of filling (we used American buttercream)
- Sprinkles (optional)
Instructions
1. Make and Color the Cake Paste
Mix together the cake paste you'll use for piping by following the recipe at the bottom of this tutorial. Divide the cake paste into two bowls and color the mixture so ¾ is pink and ¼ is green.
Spoon the colored piping paste into piping bags fitted with a small round tip.
2. Print and Trace the Pattern
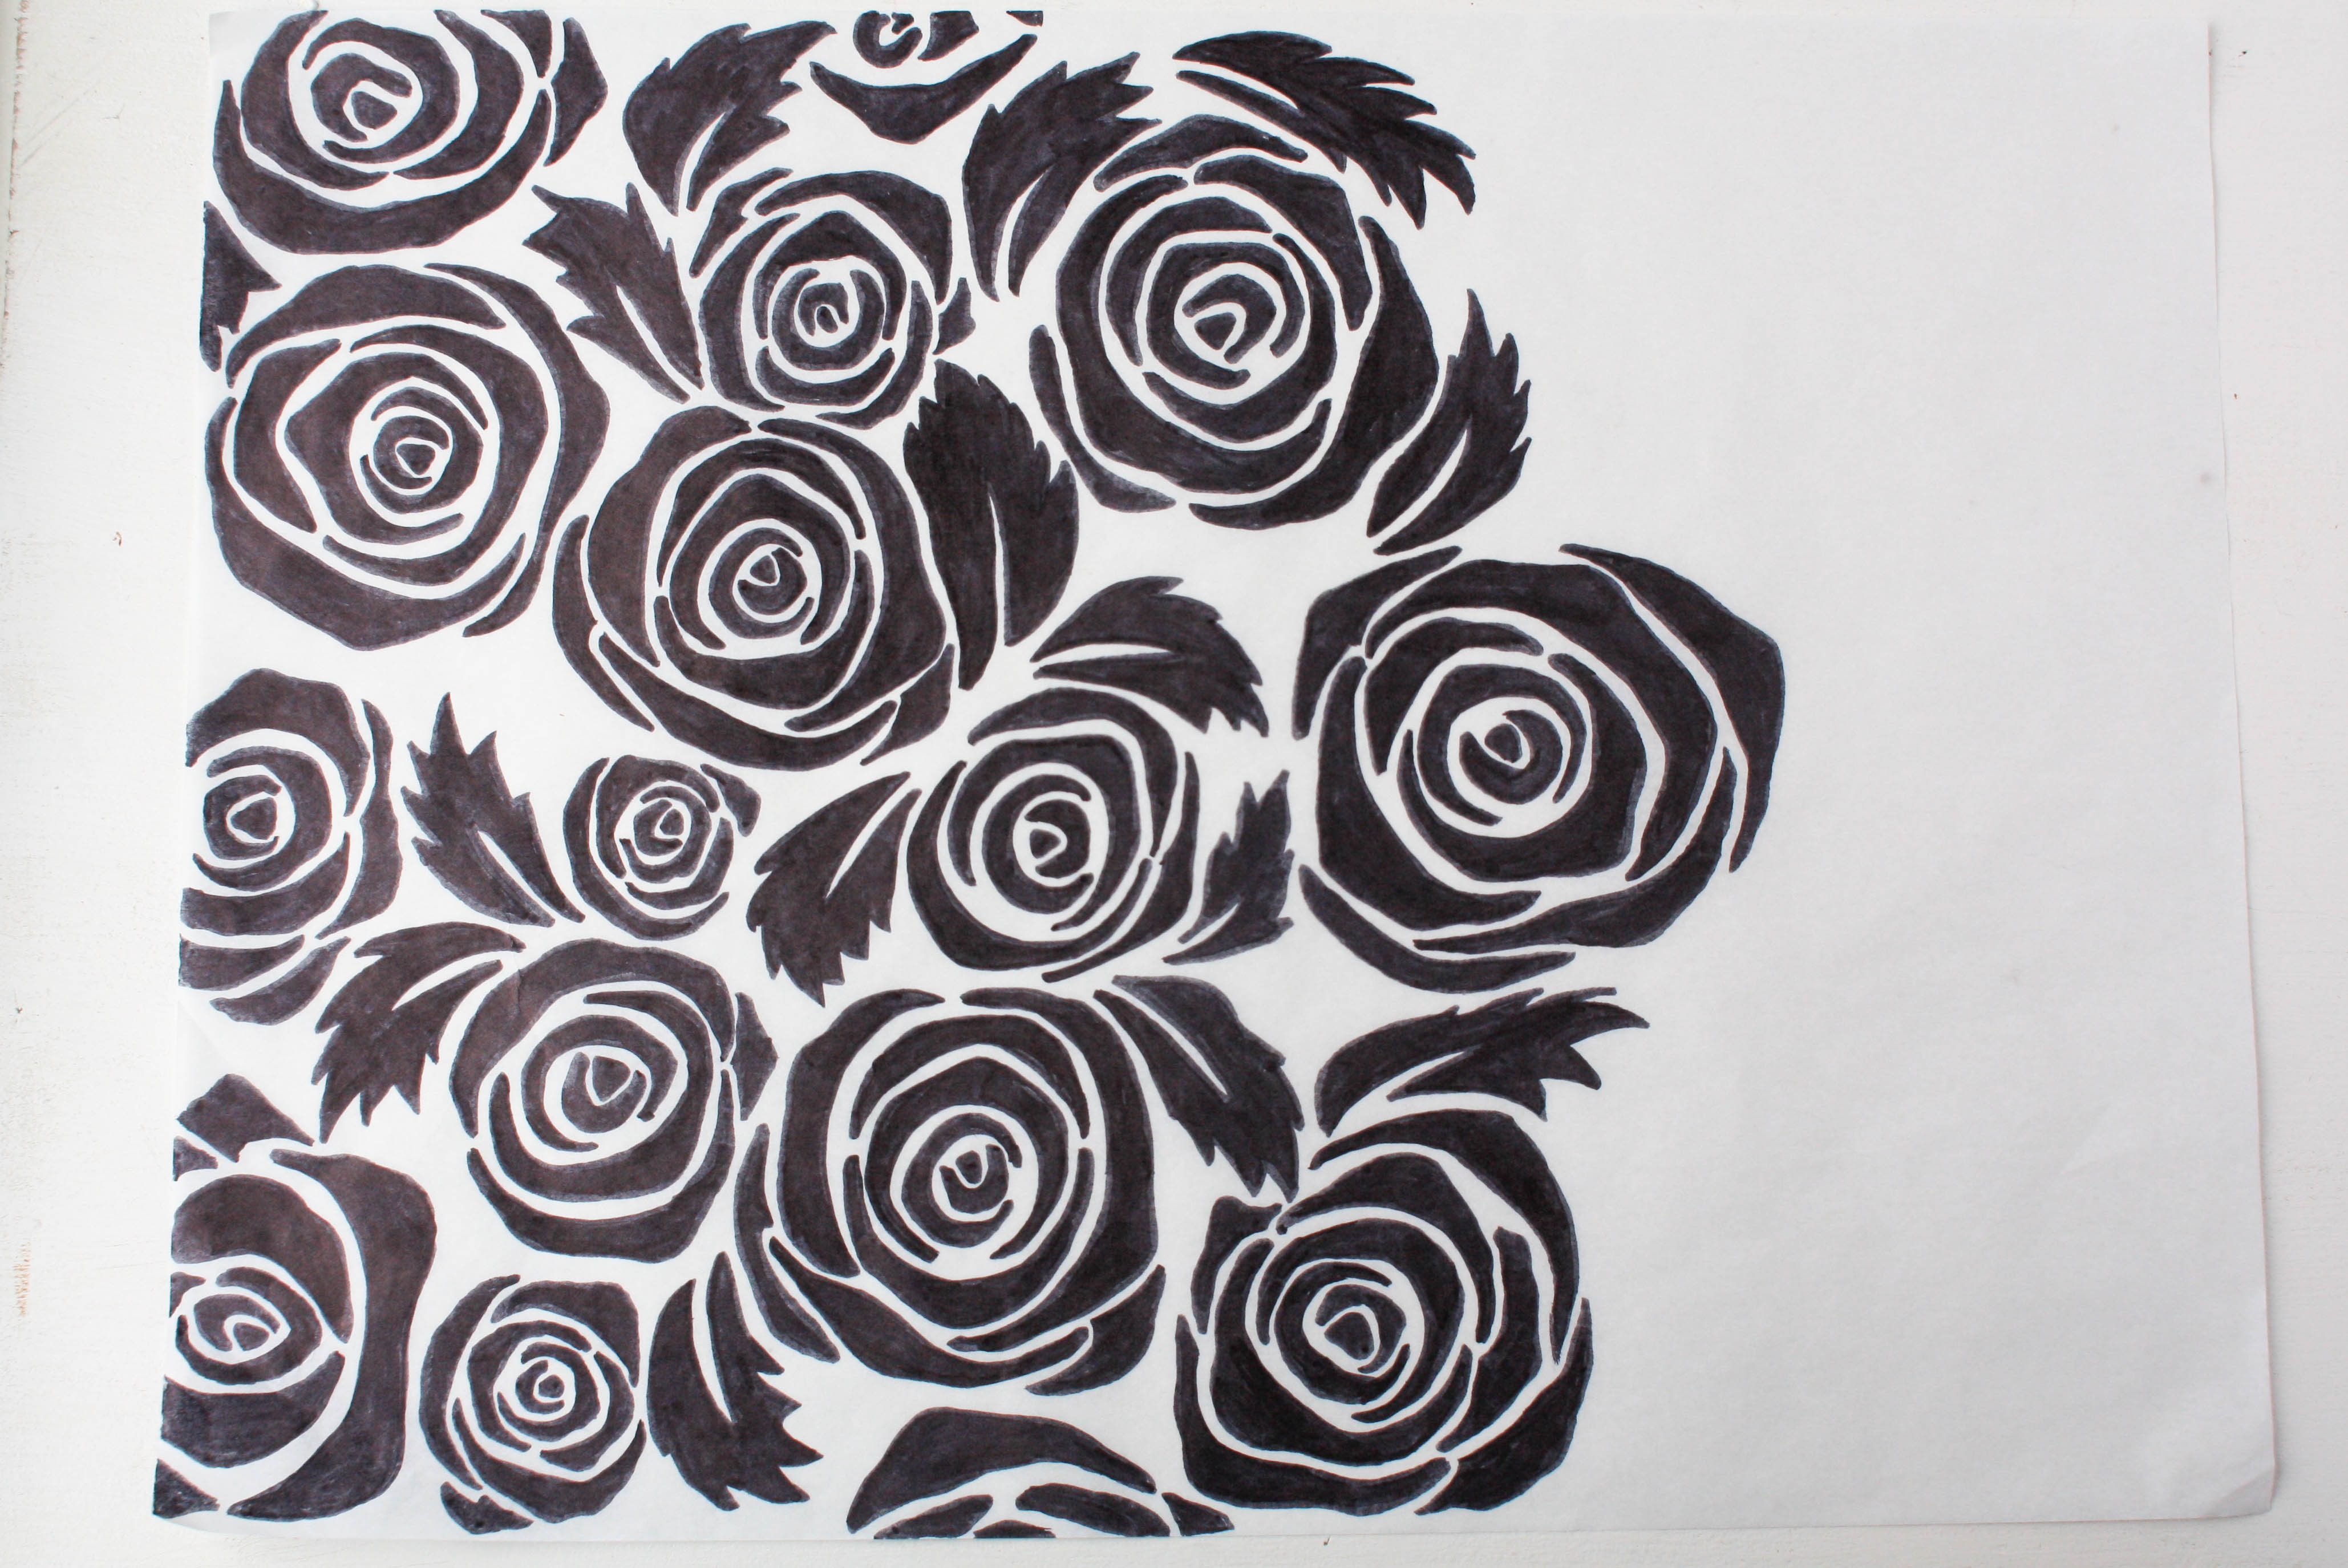
Print the pattern template, place it underneath a piece of parchment paper and trace it with a marker.
Lightly coat your cookie sheet with pan spray and wipe it around with a paper towel. This will ensure the paper sticks without warping. Place the parchment paper, marker side down, on the cookie sheet.
3. Pipe the Design
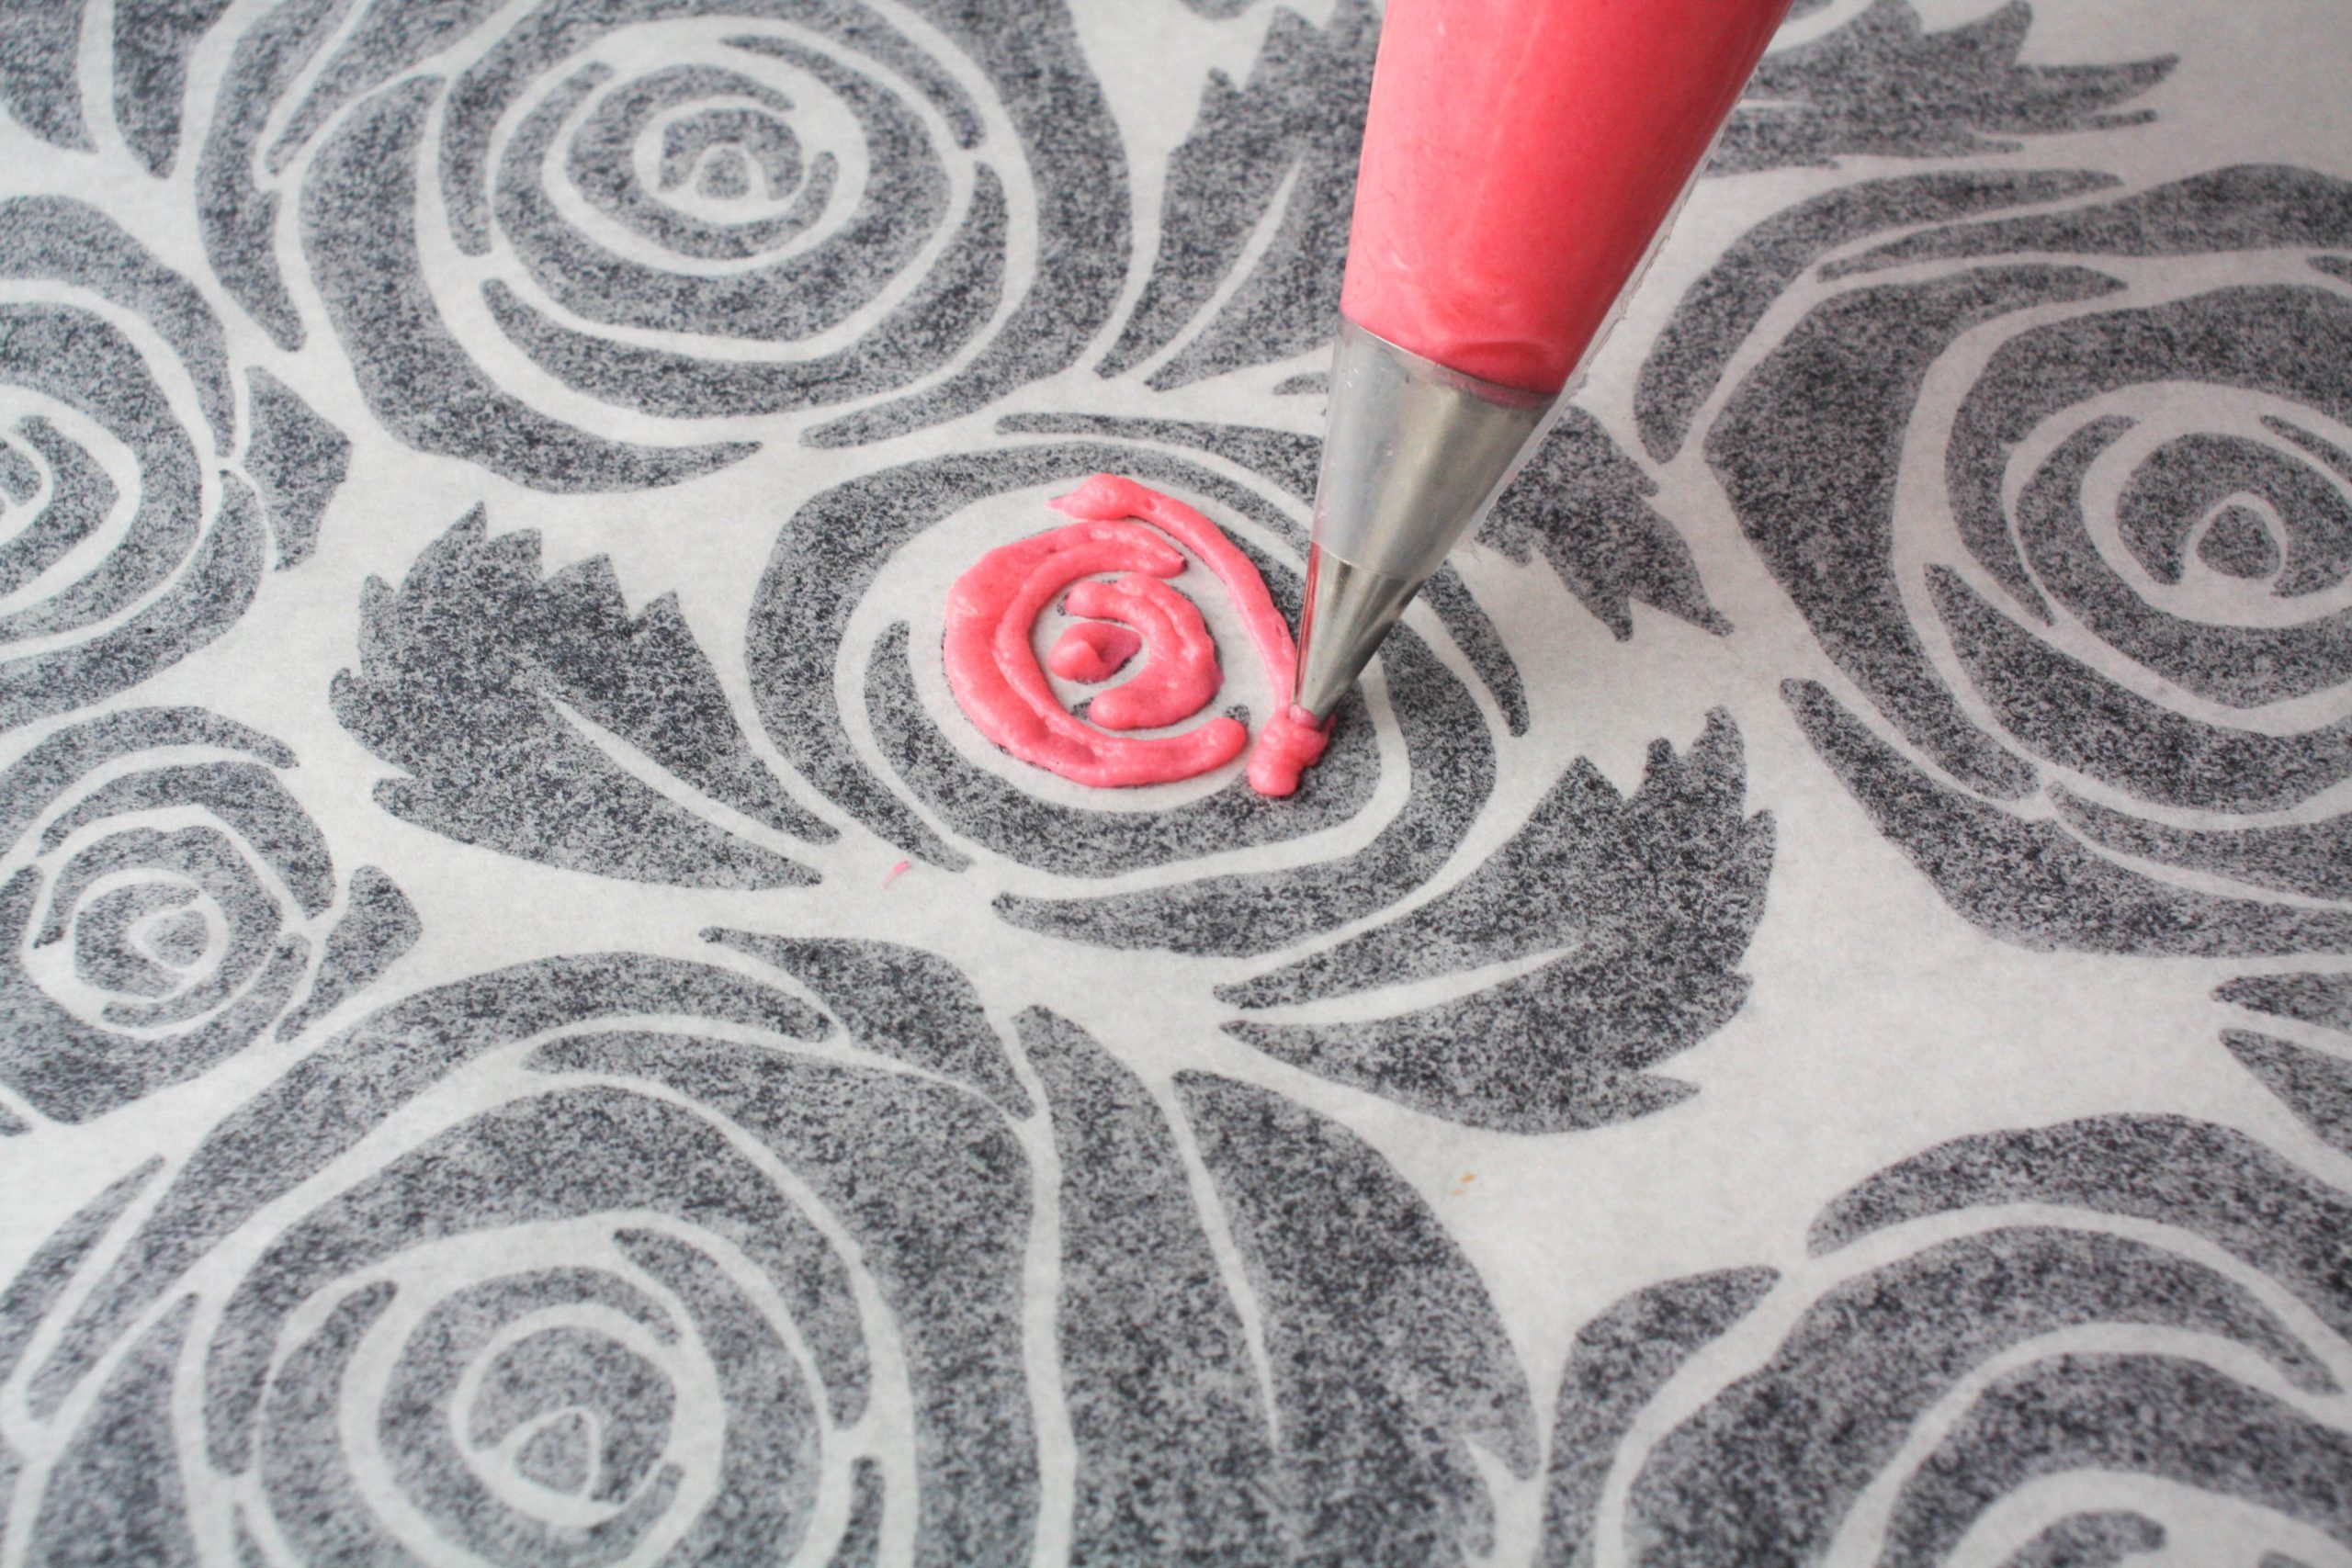
Pipe the design onto the back of your parchment paper, keeping in mind the cake will be viewed in reverse. Start with the most intricate roses, working your way out to the leaves.
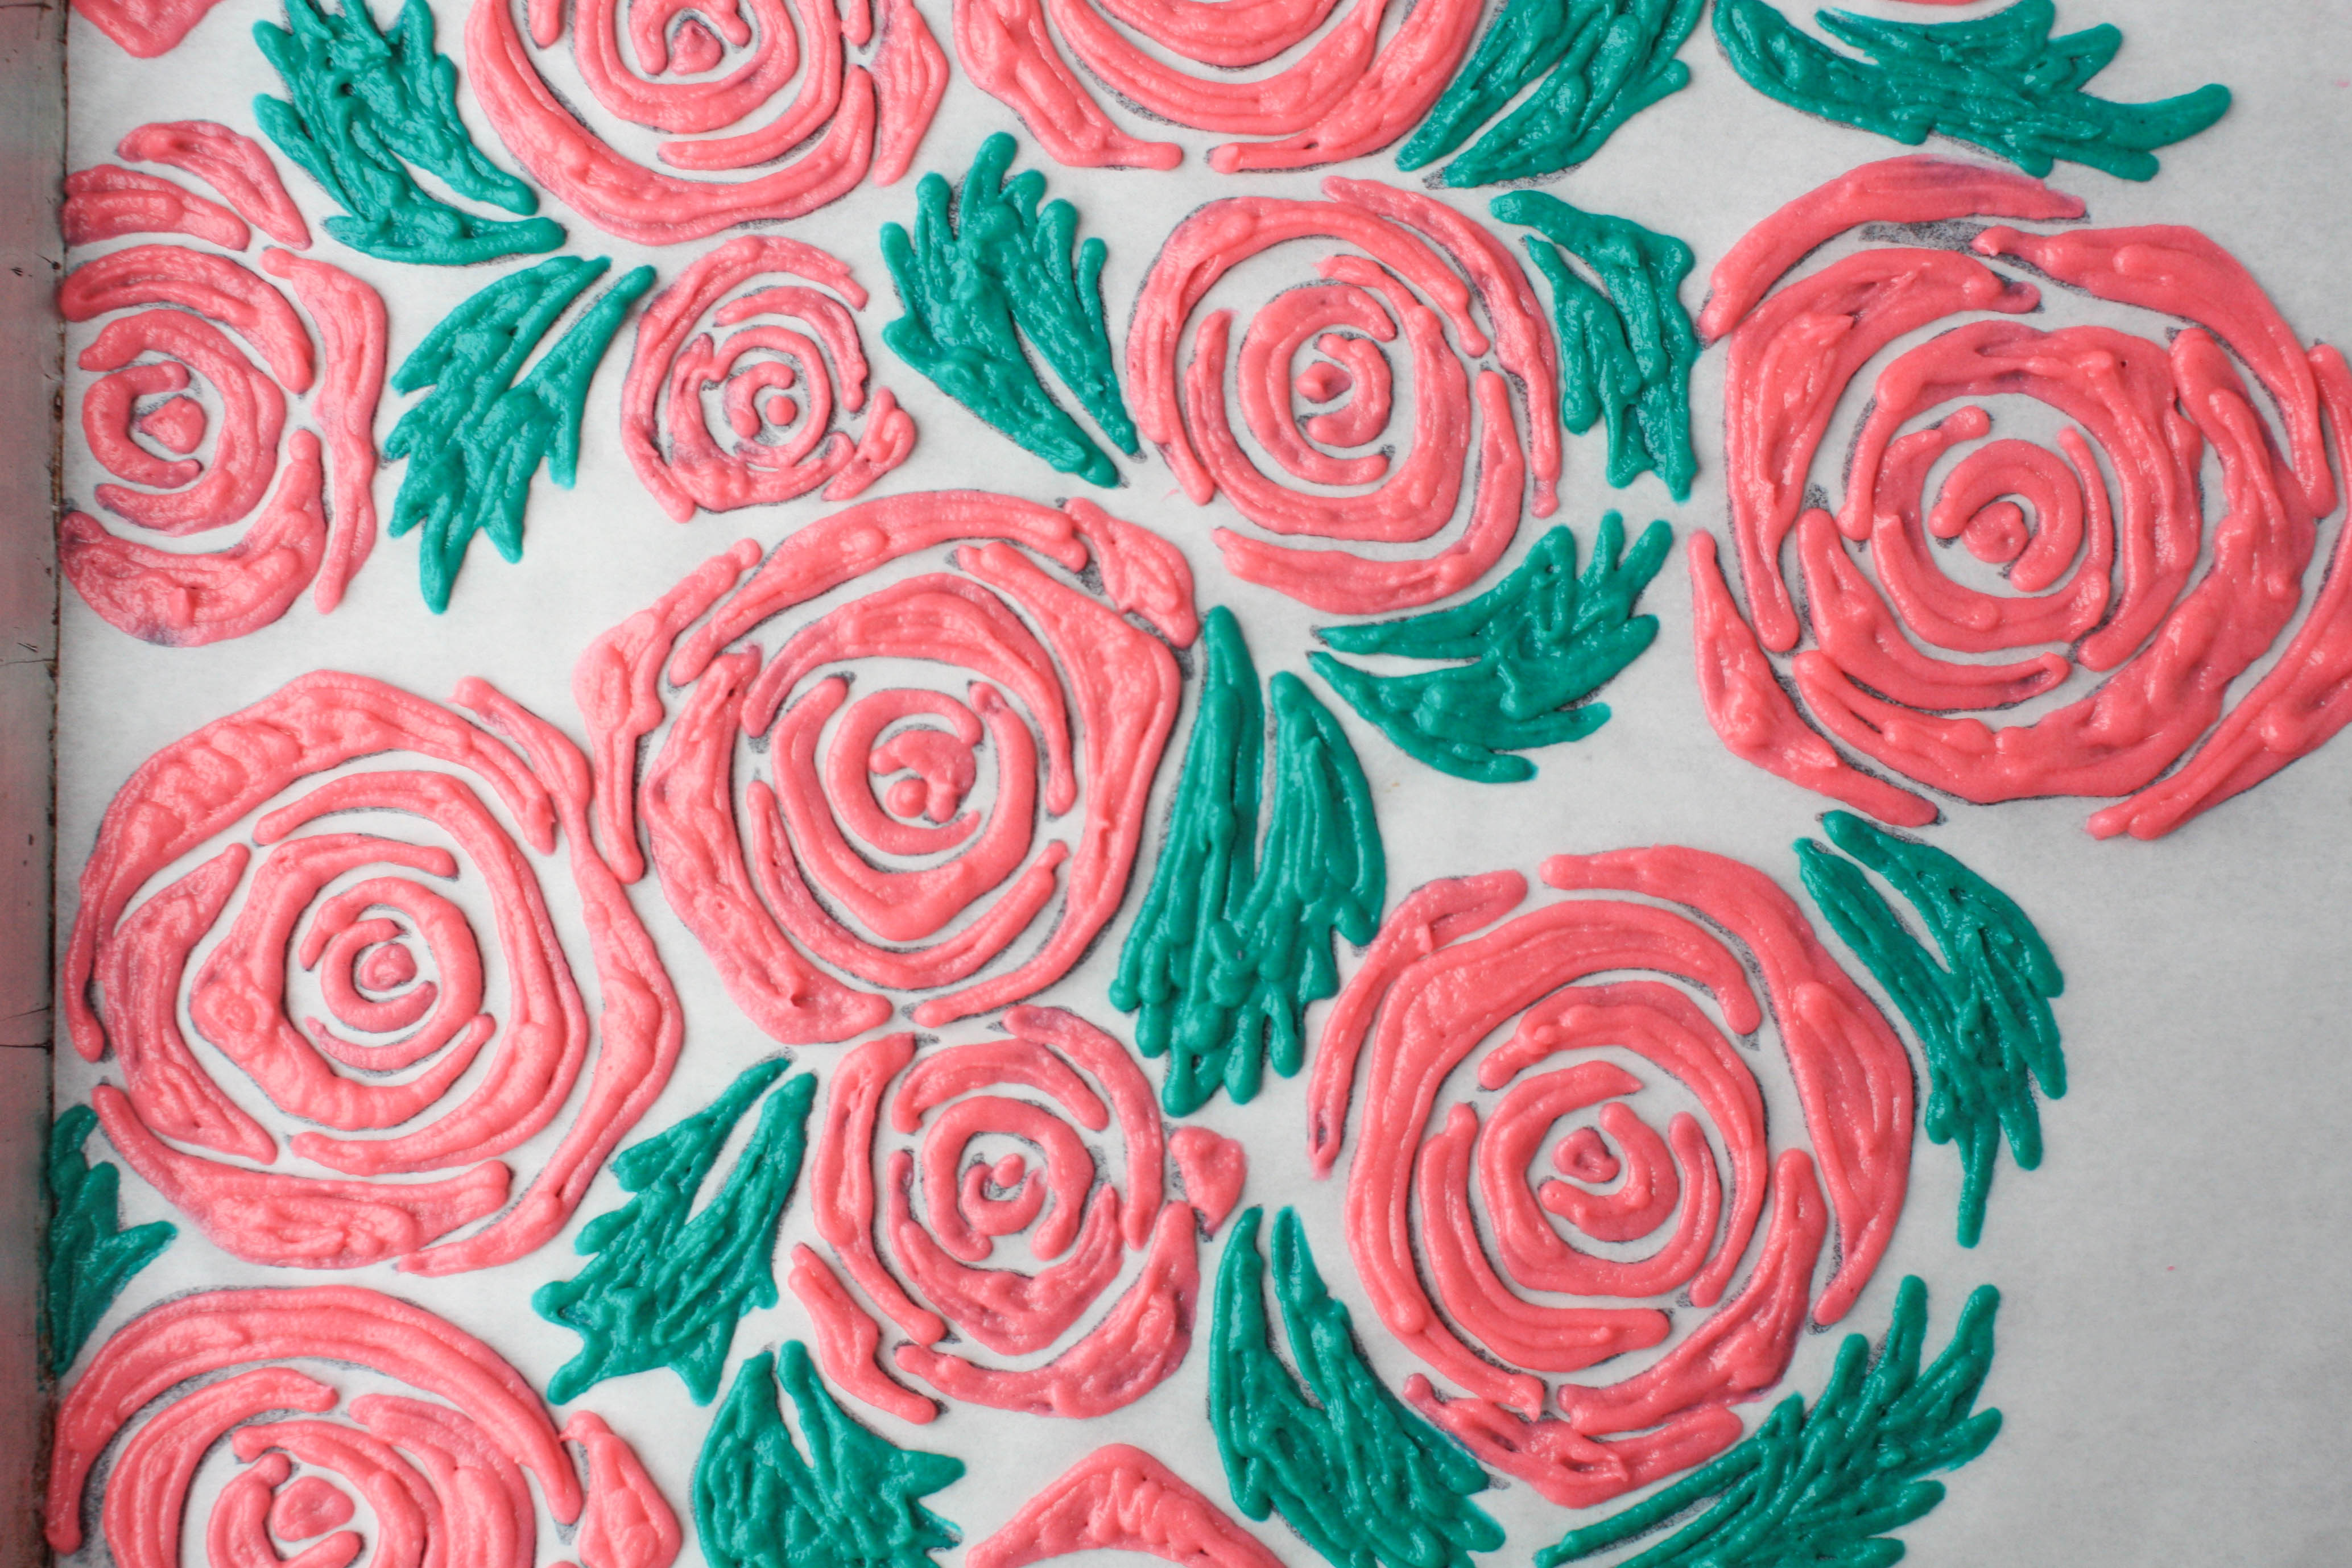
Once you're done piping, gently tap the cookie sheet against your work surface a few times. This smooths out any piping lines in the larger spaces. Place the cookie sheet in the freezer until the paste is solid, at least 15 minutes.
4. Mix the Sponge Cake Batter
As the design freezes, prepare the sponge cake recipe. You can use any recipe you like best; we opted for a lemon sponge cake.
Good to Know: It's important to use a true sponge cake recipe. A thicker cake, like a pound cake or boxed mix, might break when you try to roll it.
5. Bake
Remove the cookie sheet from the freezer and pour the sponge cake batter over your frozen design. Tap the cake pan against your work surface a few more times to make sure the batter gets down into all the nooks and crannies of the roses. Bake according to your recipe's instructions.
6. Flip the Cake
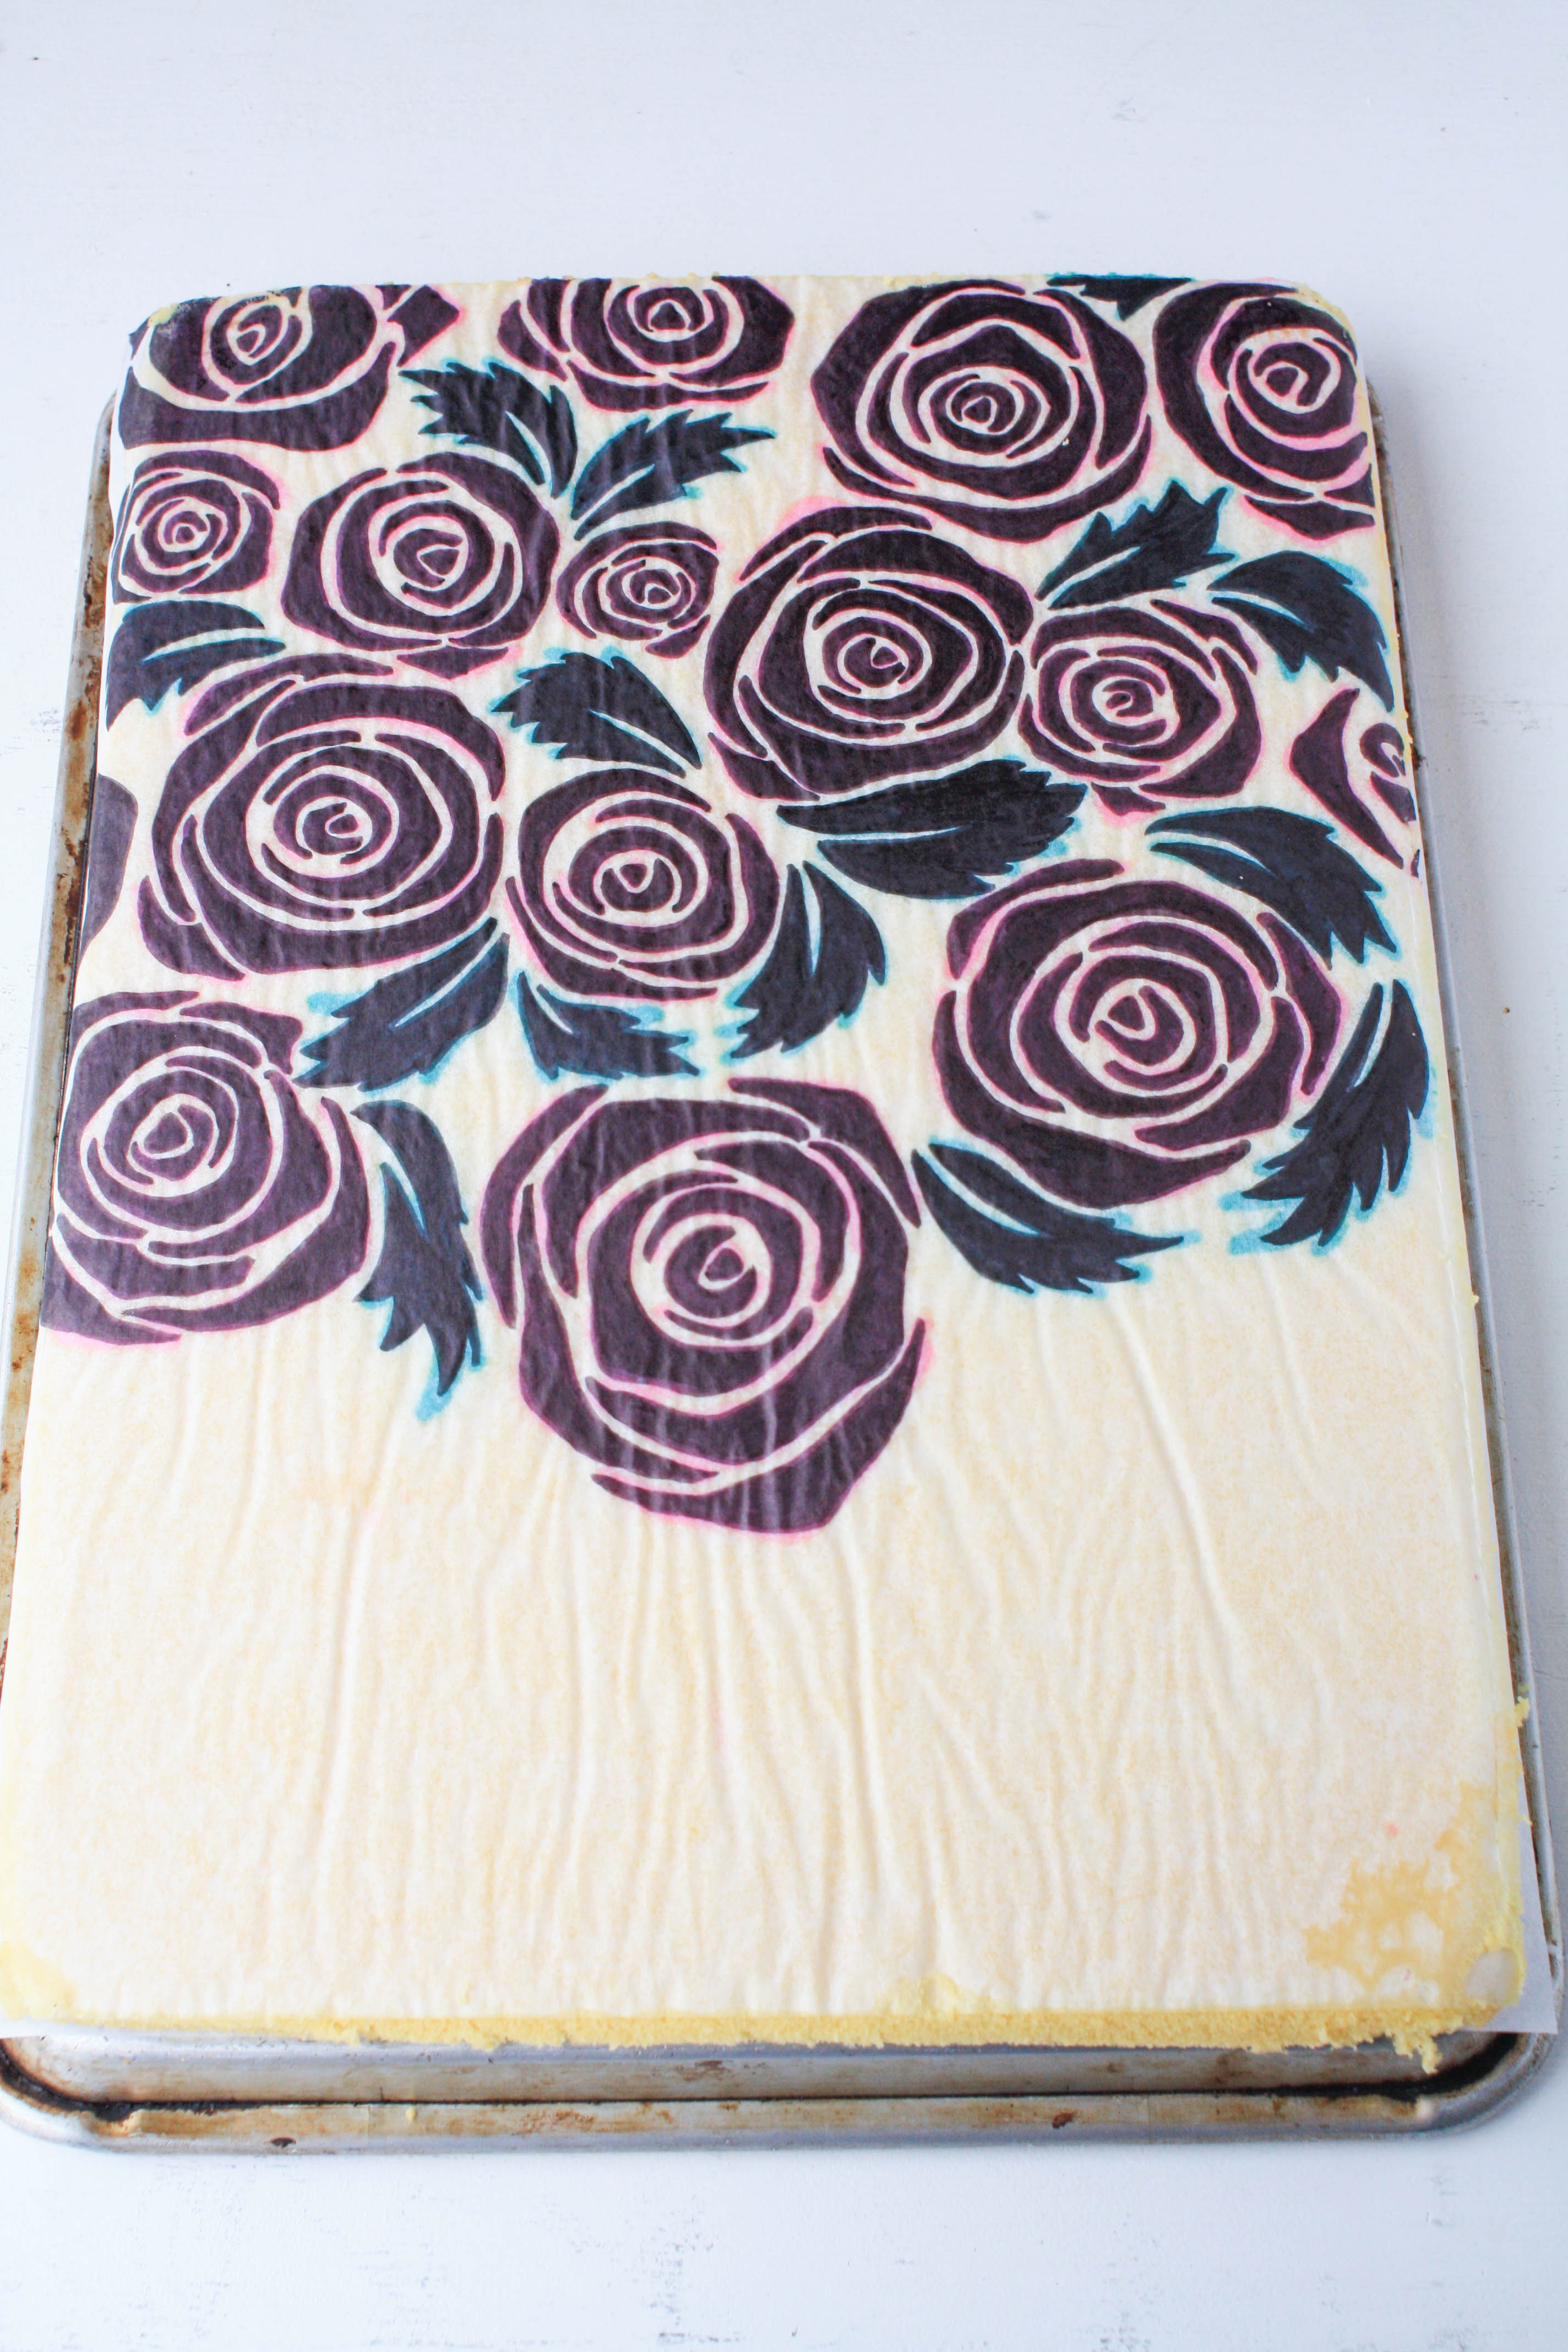
Remove the cake from the oven. When it's still warm, place a dishtowel on top of the cake and an upside-down cookie sheet on top of the dishtowel. Flip the whole thing over and remove the sheet pan the cake was baked in. Your parchment paper will now be on top.
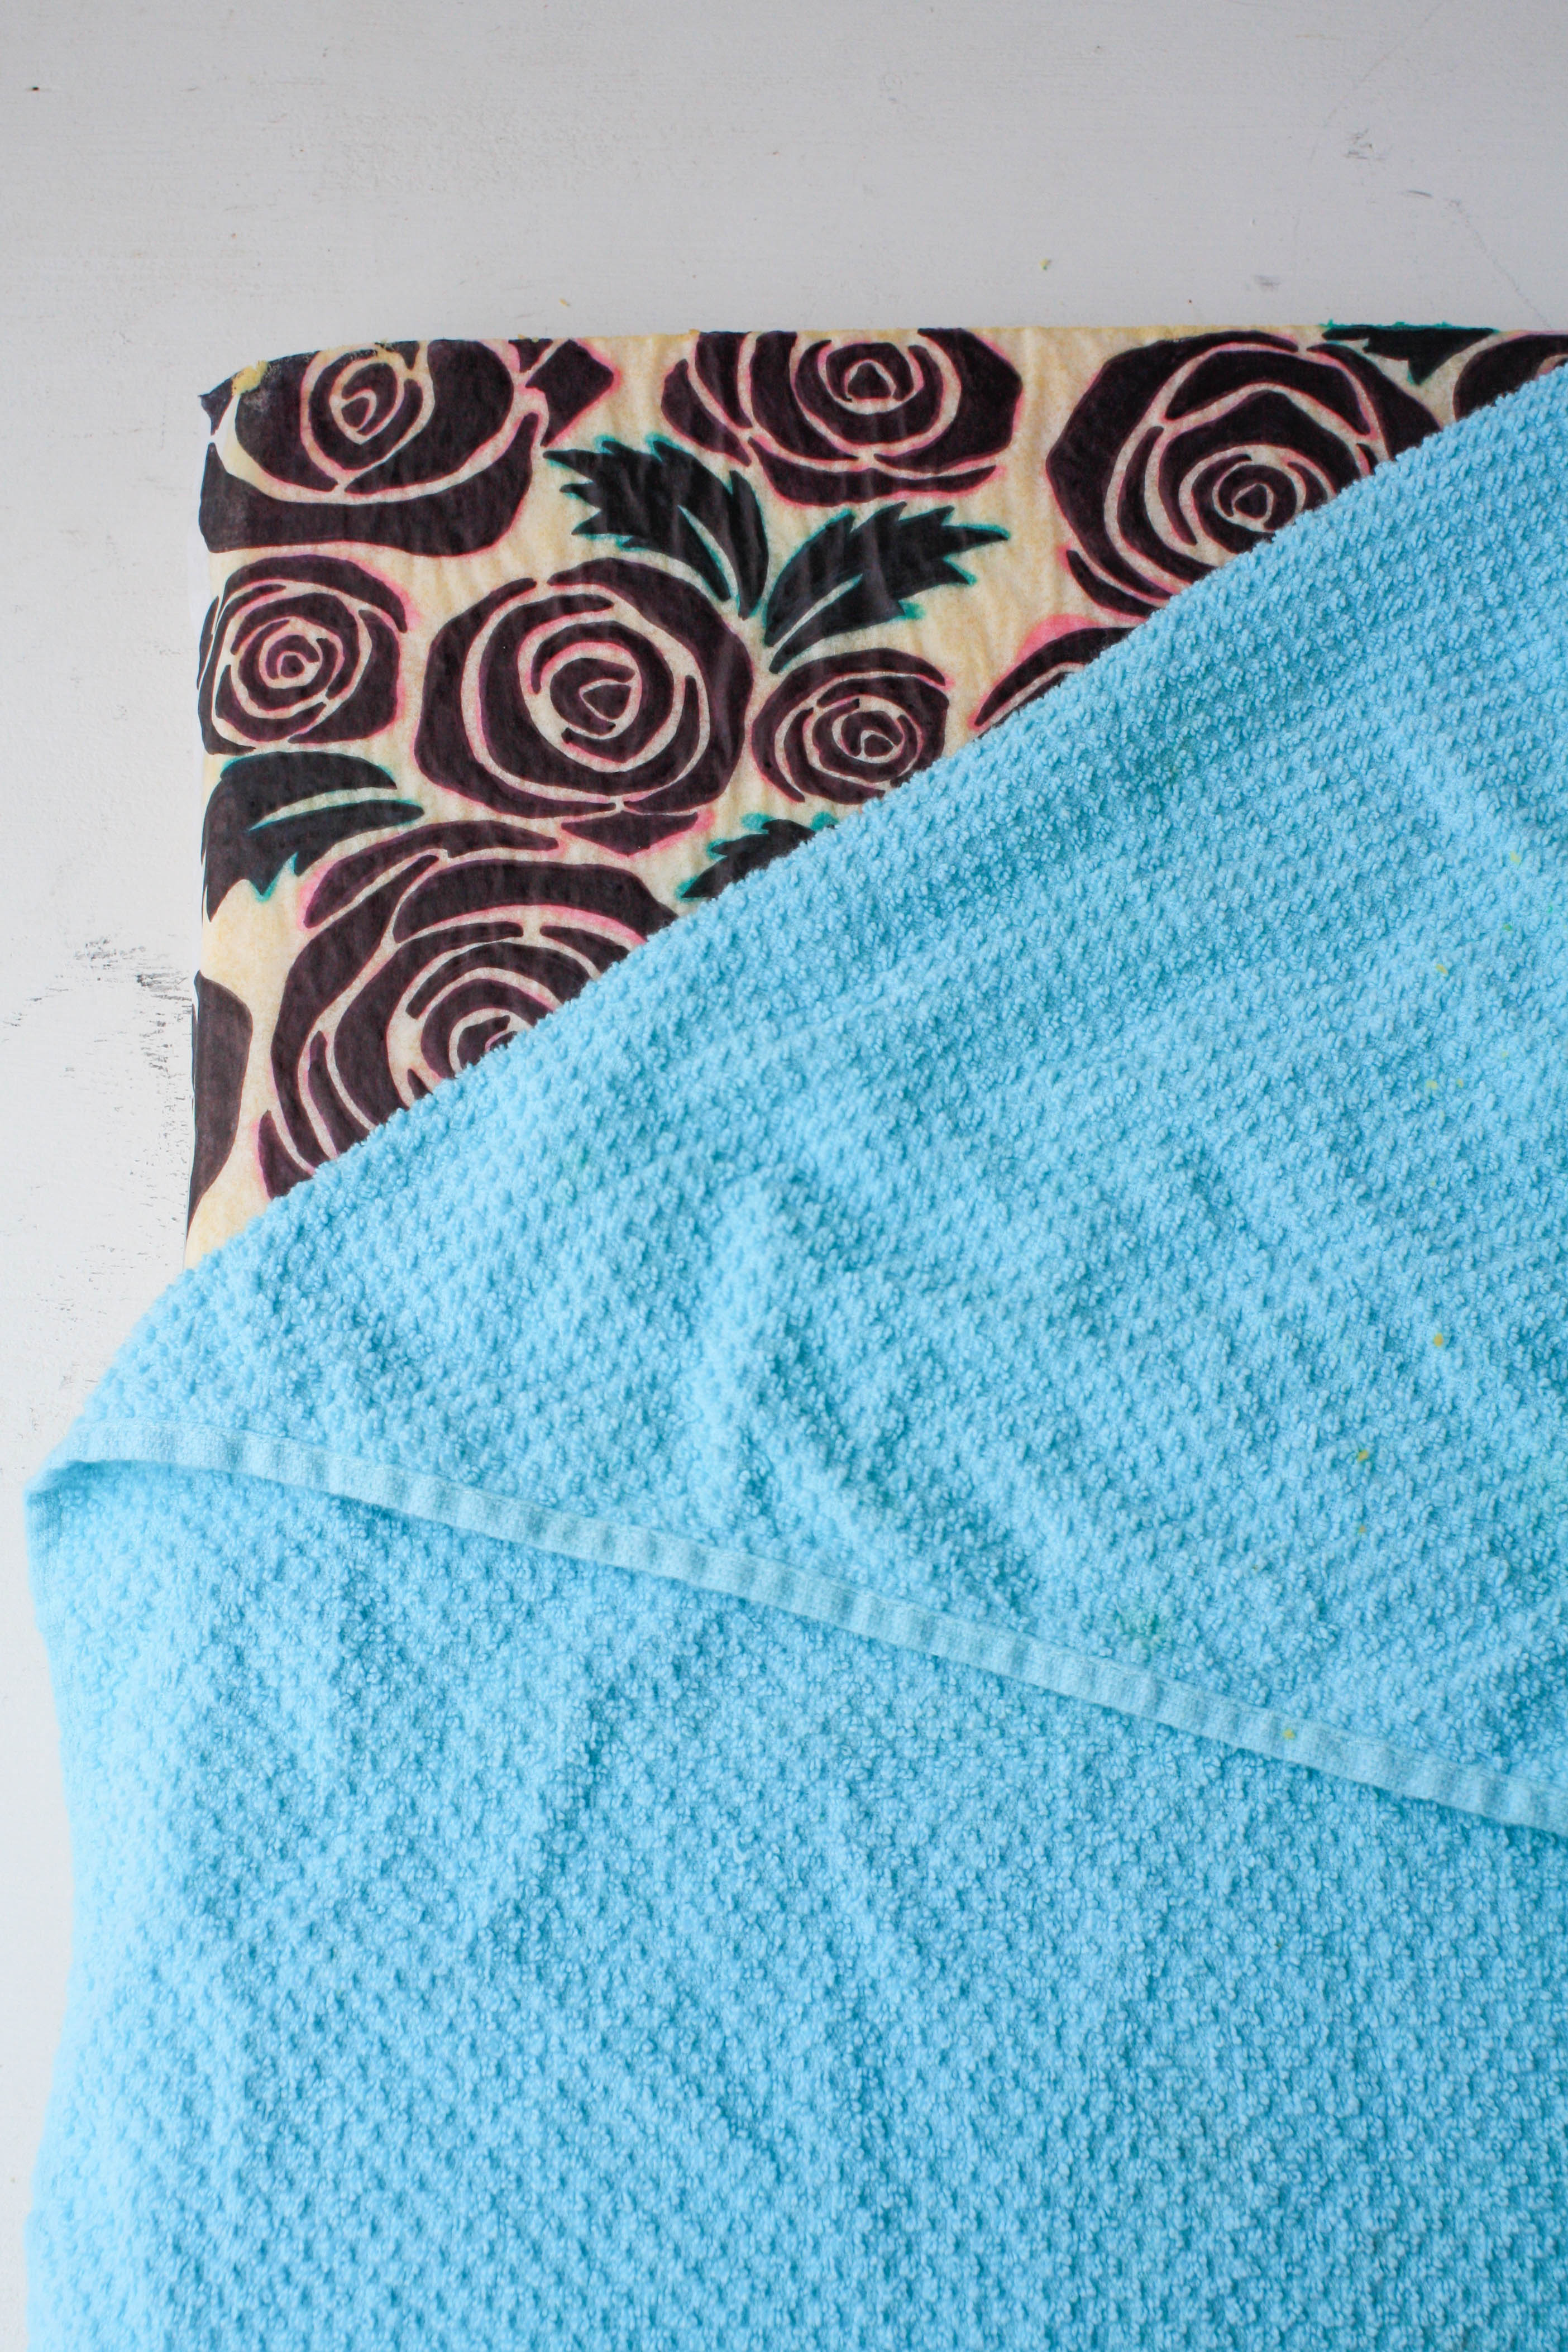
Place another dishtowel over the cake and another upside-down cookie sheet over that. Flip the whole thing over again, removing the other cookie sheet and parchment paper. Your cake will now be design-side down on a dishtowel.
7. Roll
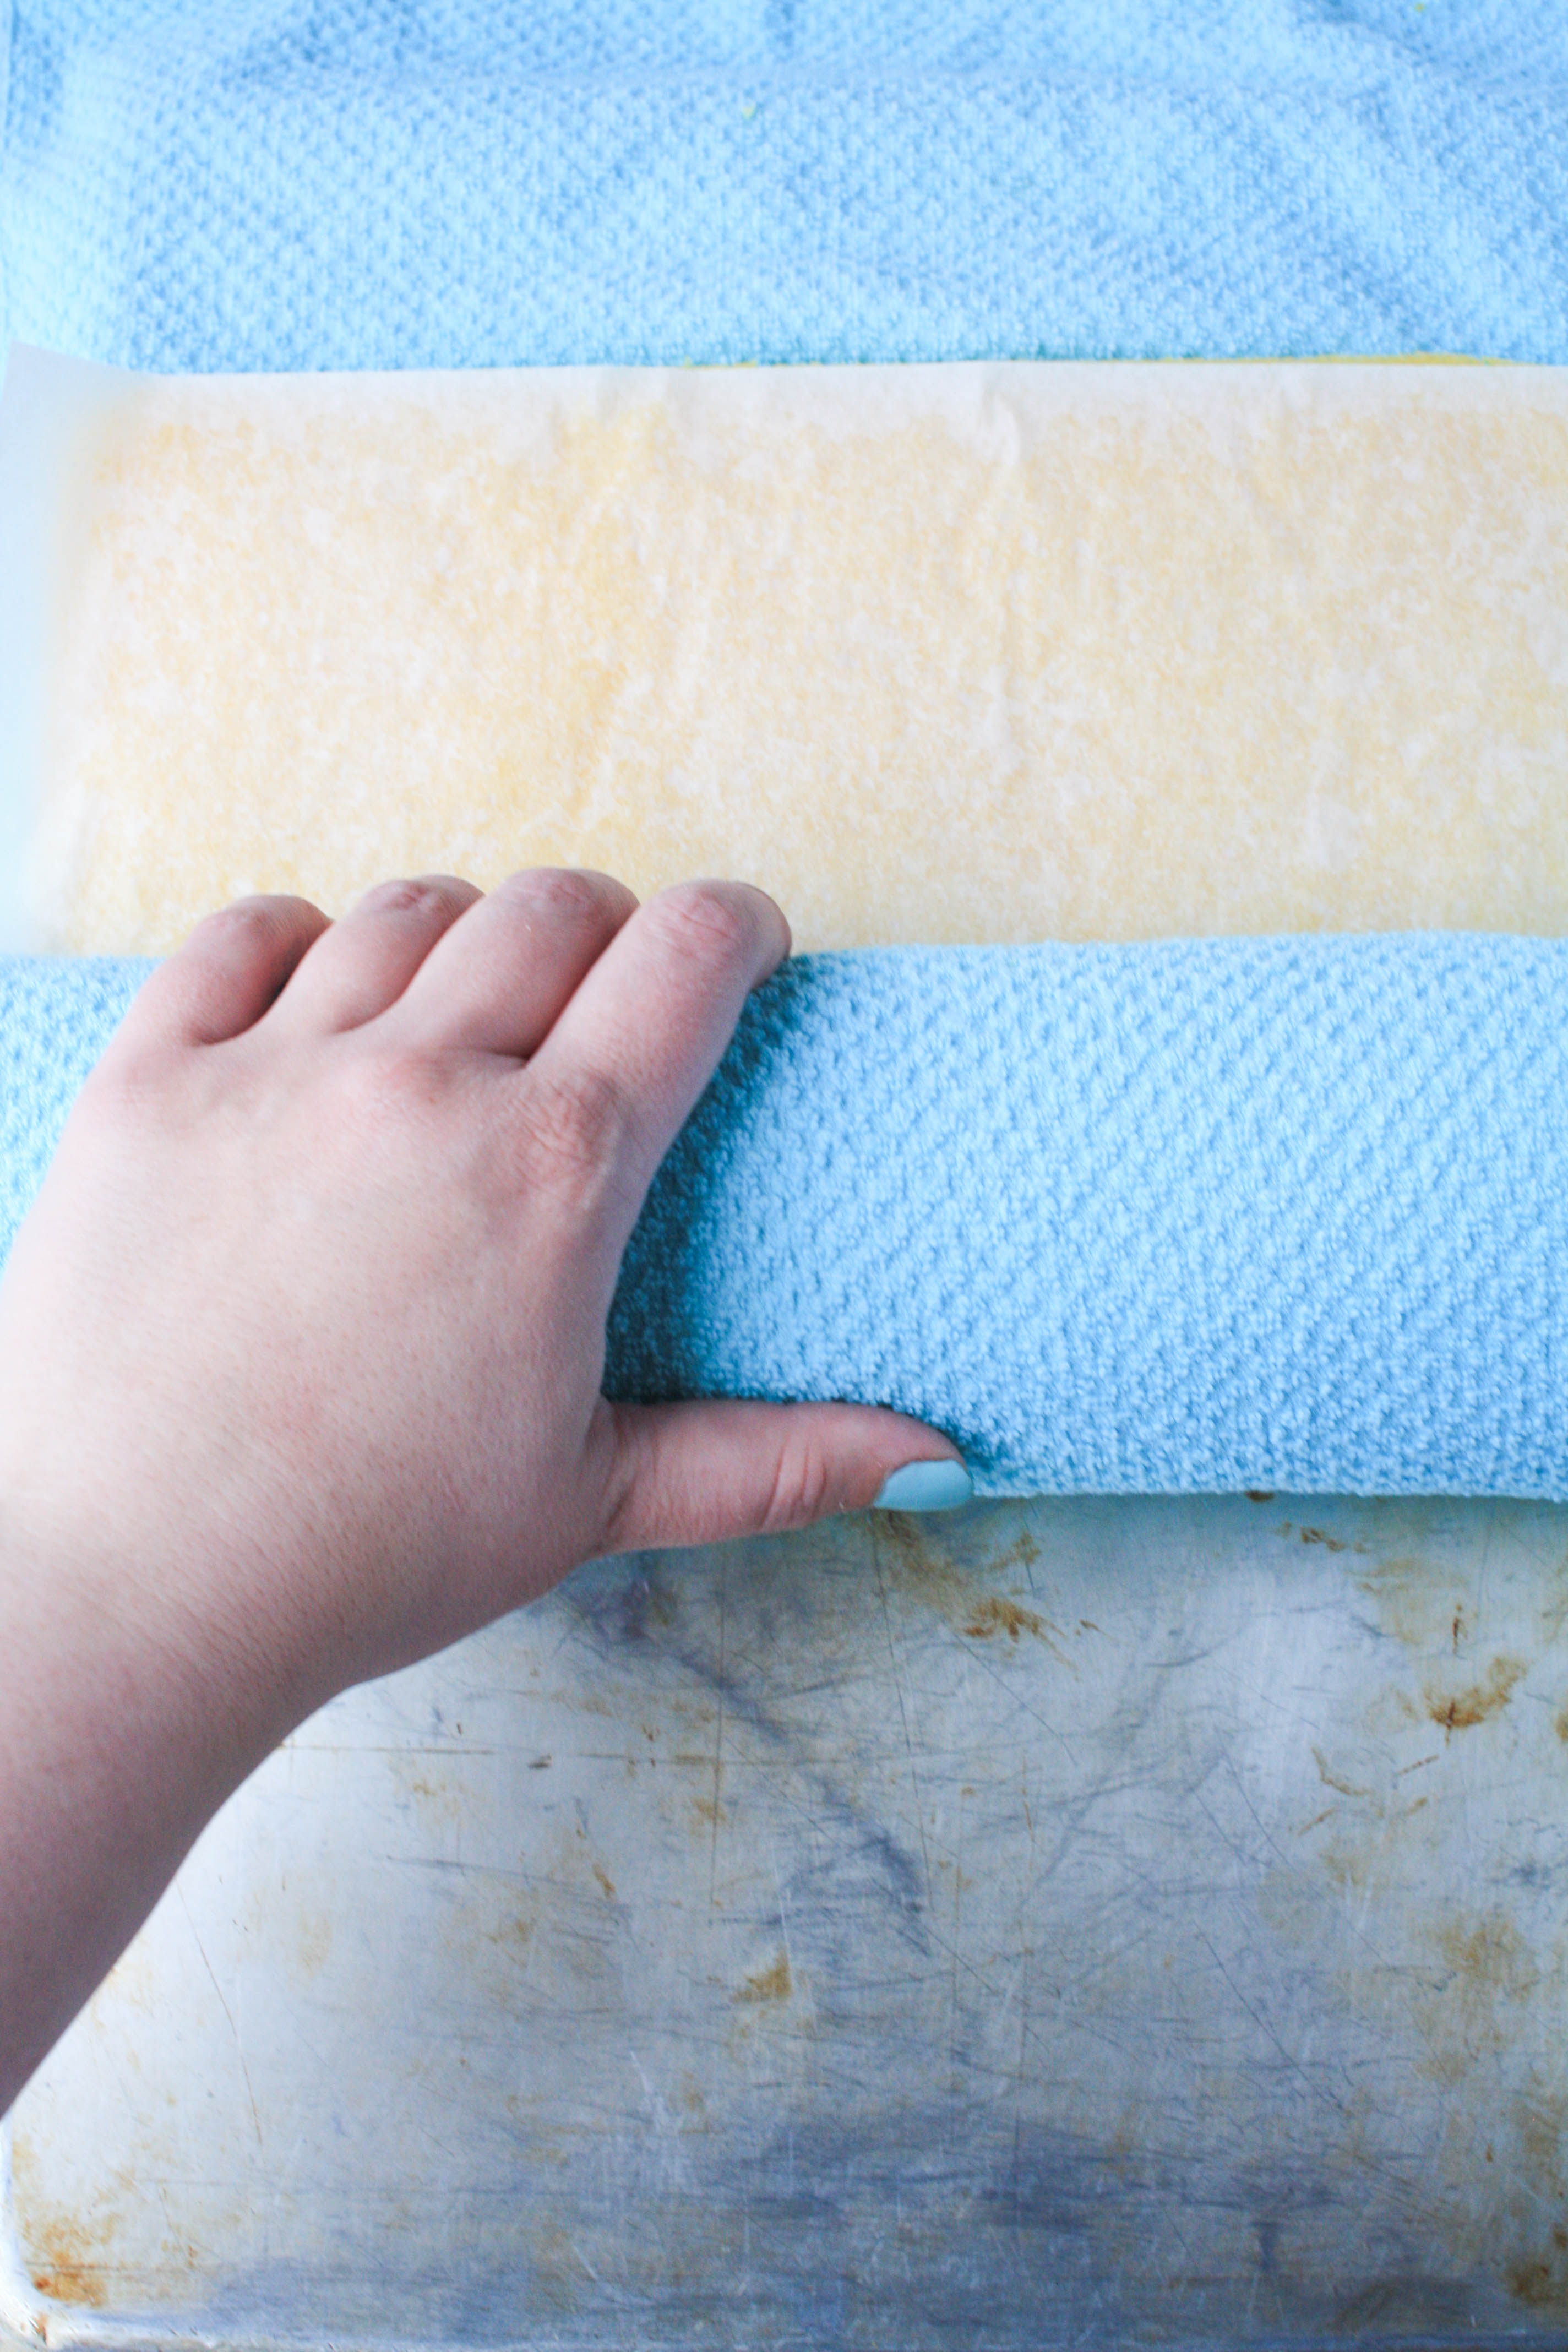
While the cake is still warm and pliable, use the dishtowel to roll it up into a log.
Pro Tip: If you live in a humid climate, dust the towel with powdered sugar to prevent sticking.
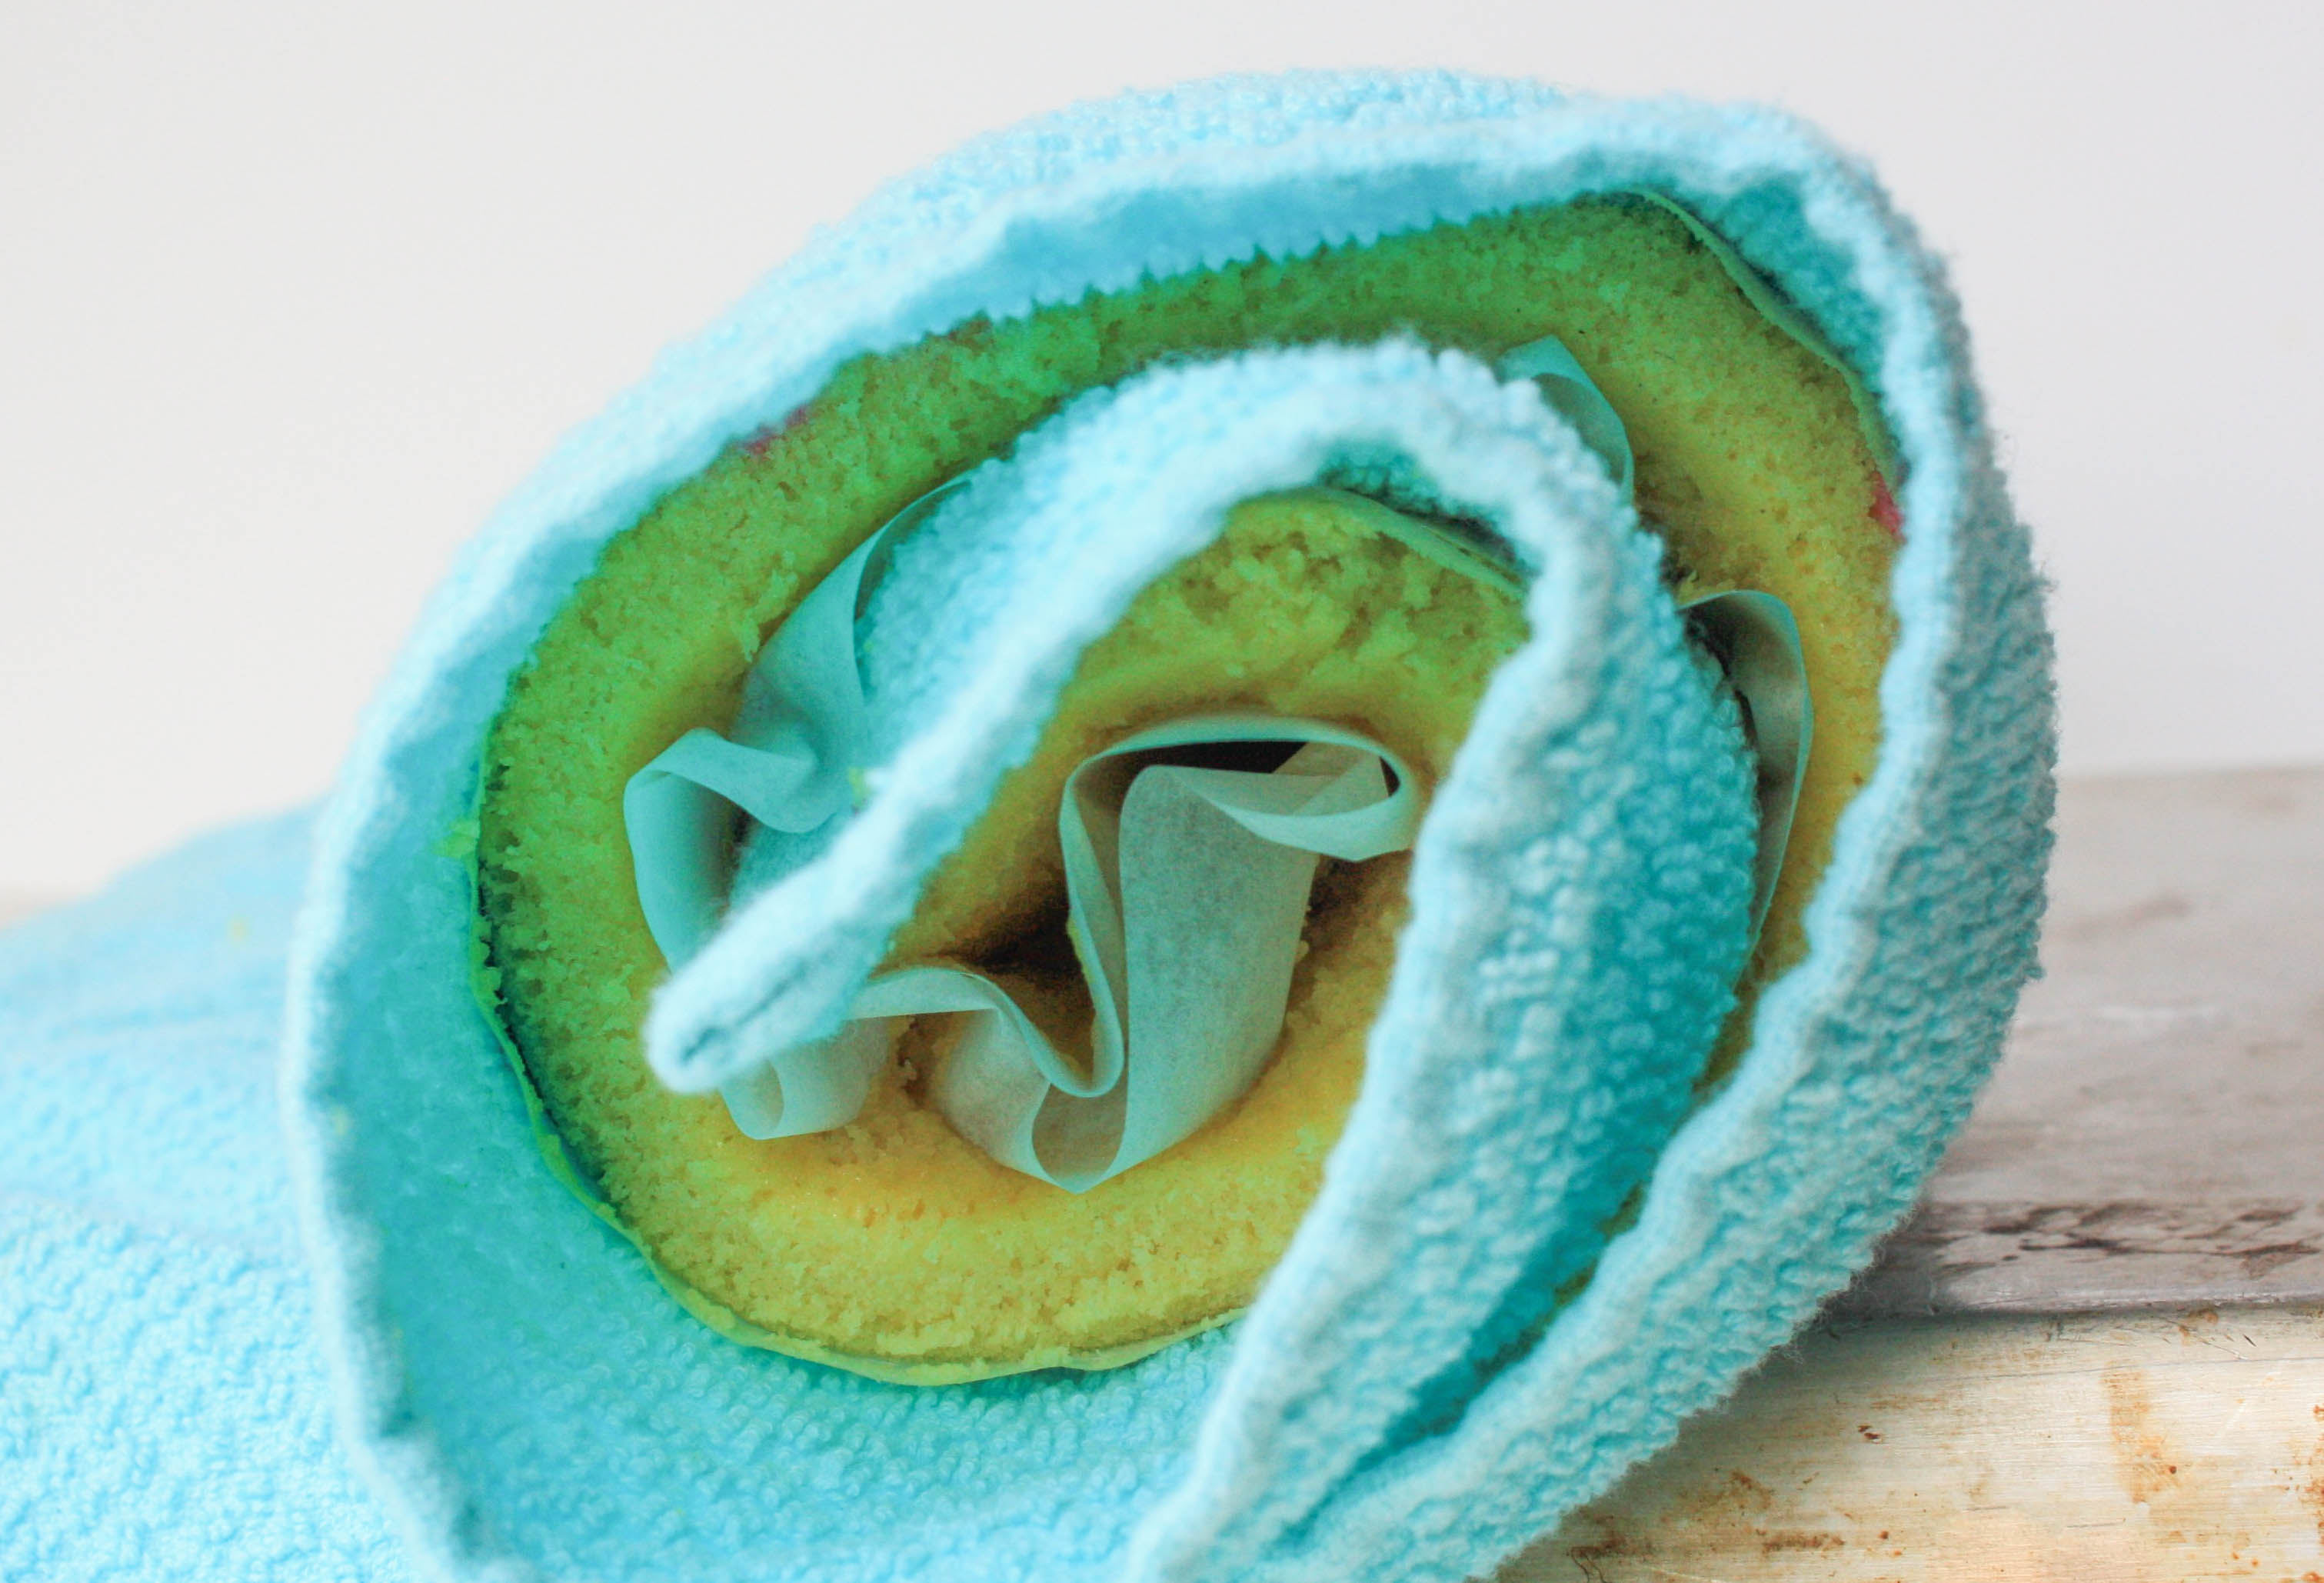
Let the cake cool completely while rolled up in the towel.
8. Prep and Spread the Filling
Prepare your filling while the cake is cooling. We used American buttercream, but you can use any type of buttercream you like. Ganache or whipped cream are also great options.
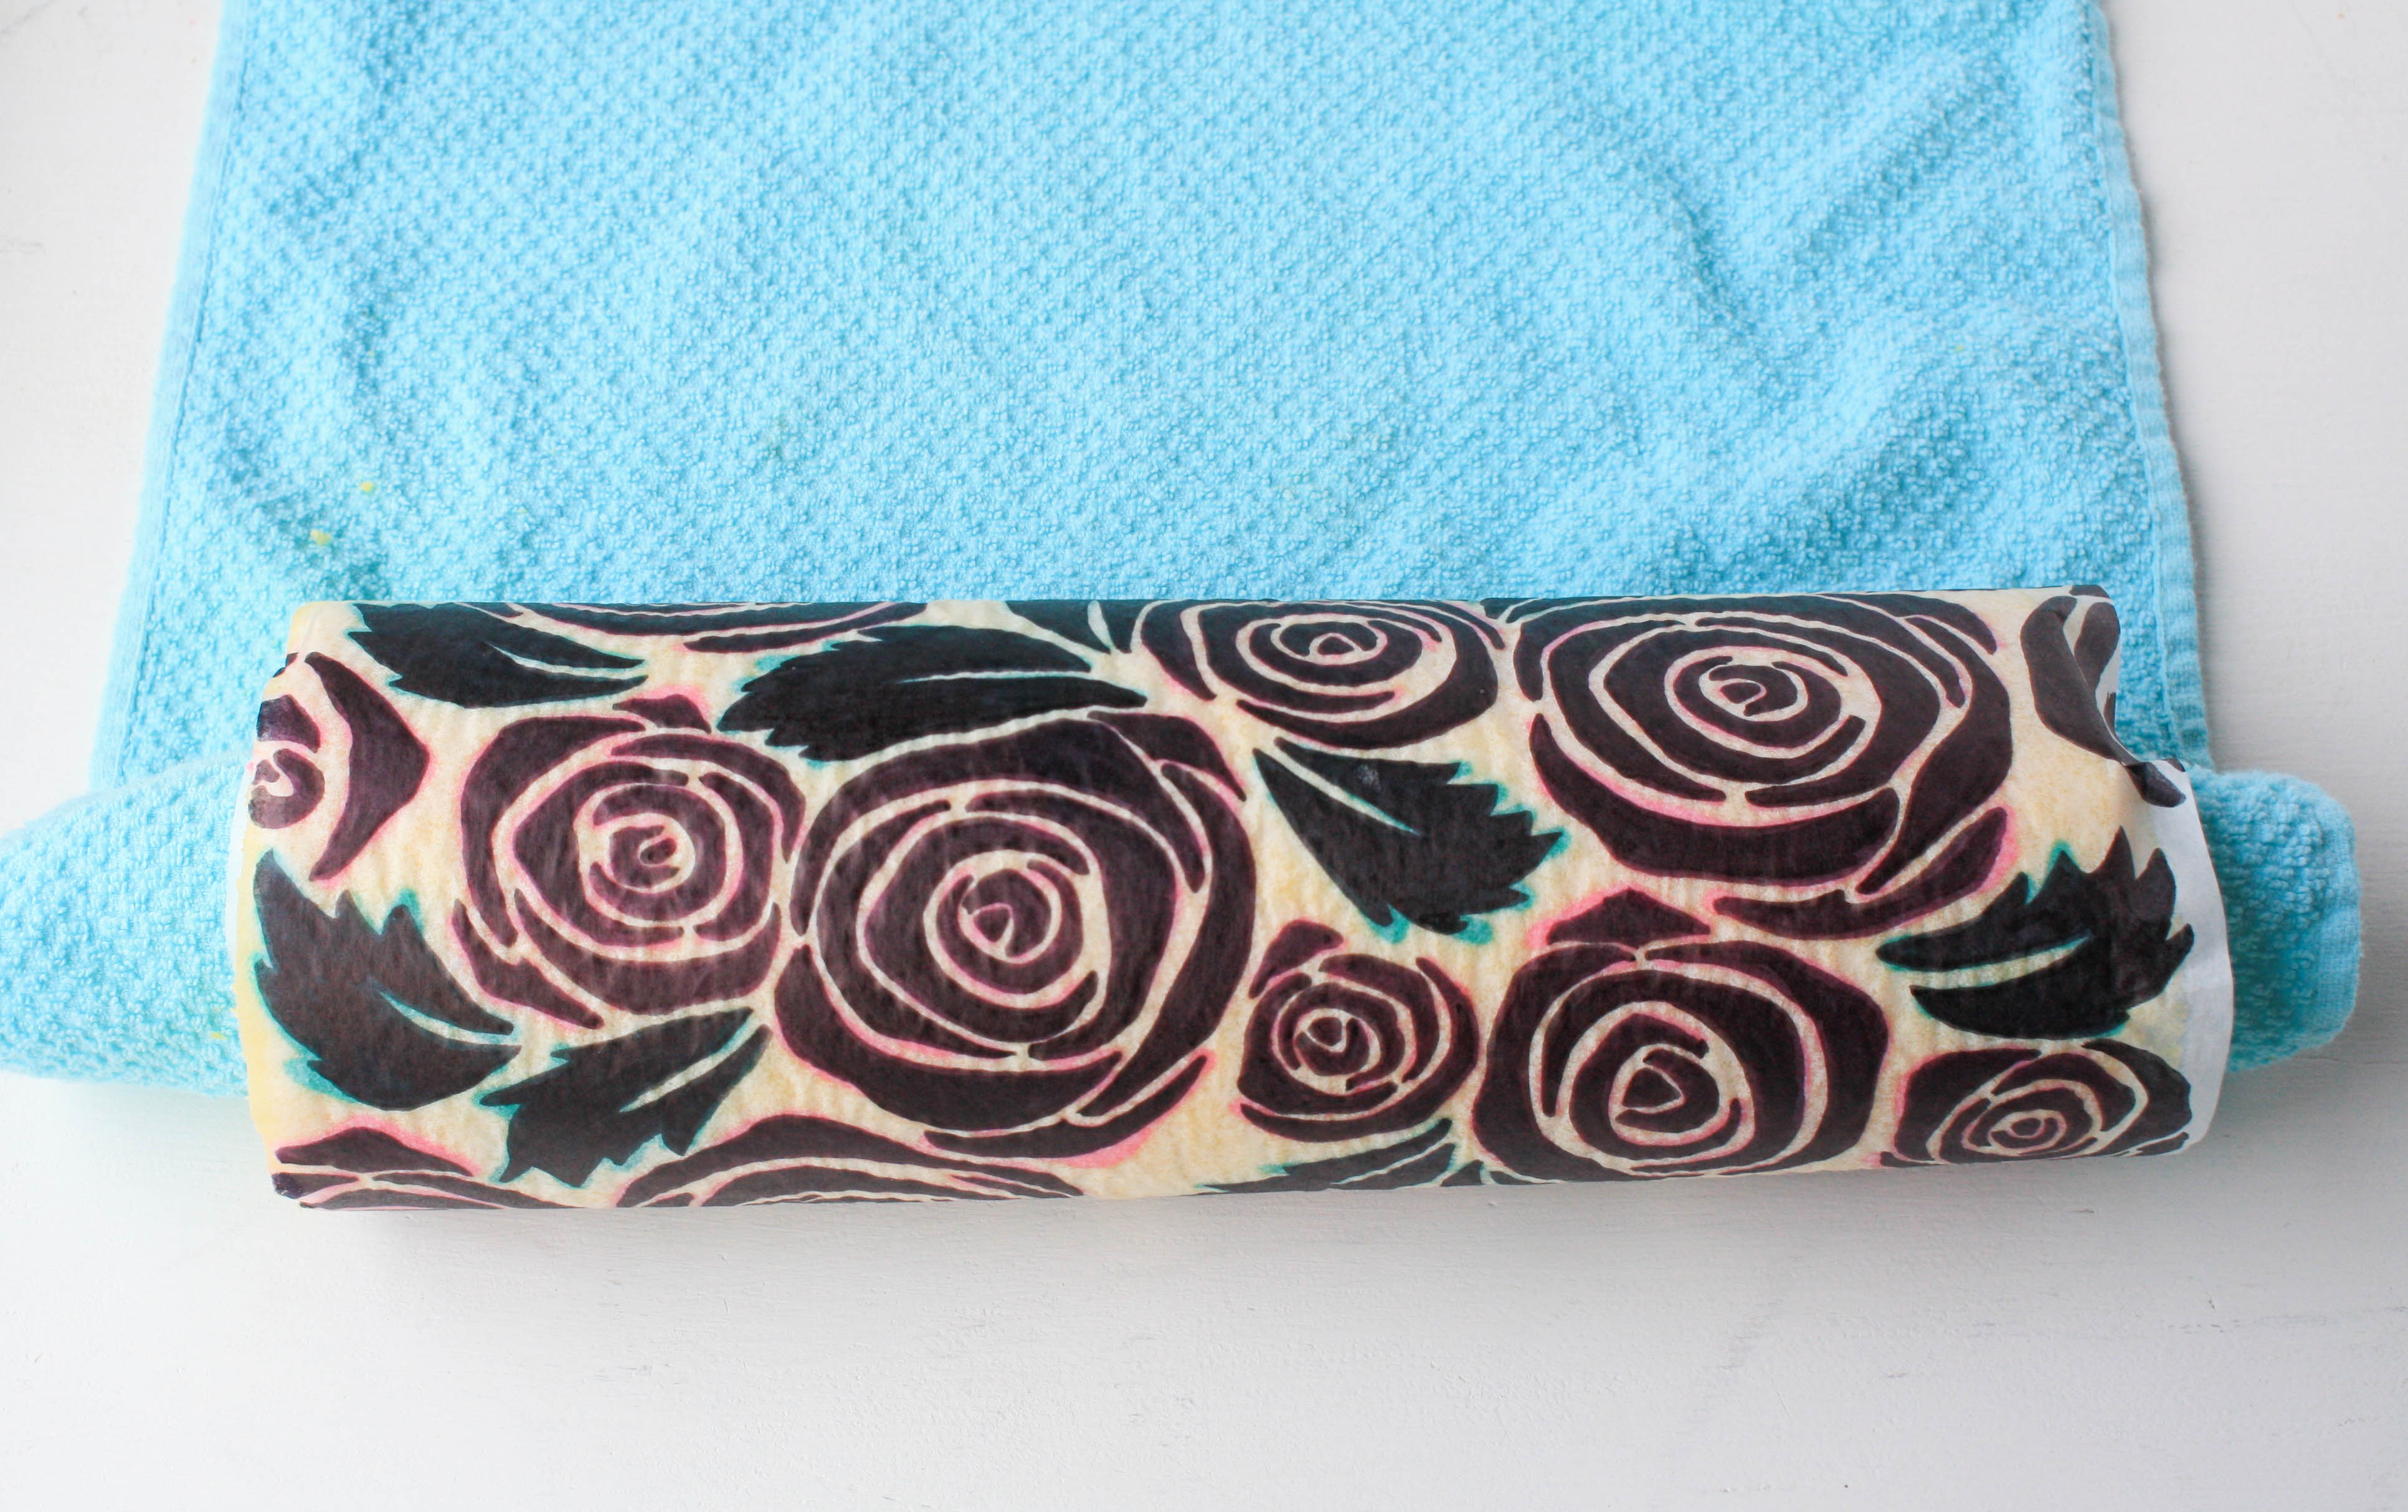
Once the cake is cooled, carefully unroll the towel and lay the cake flat.
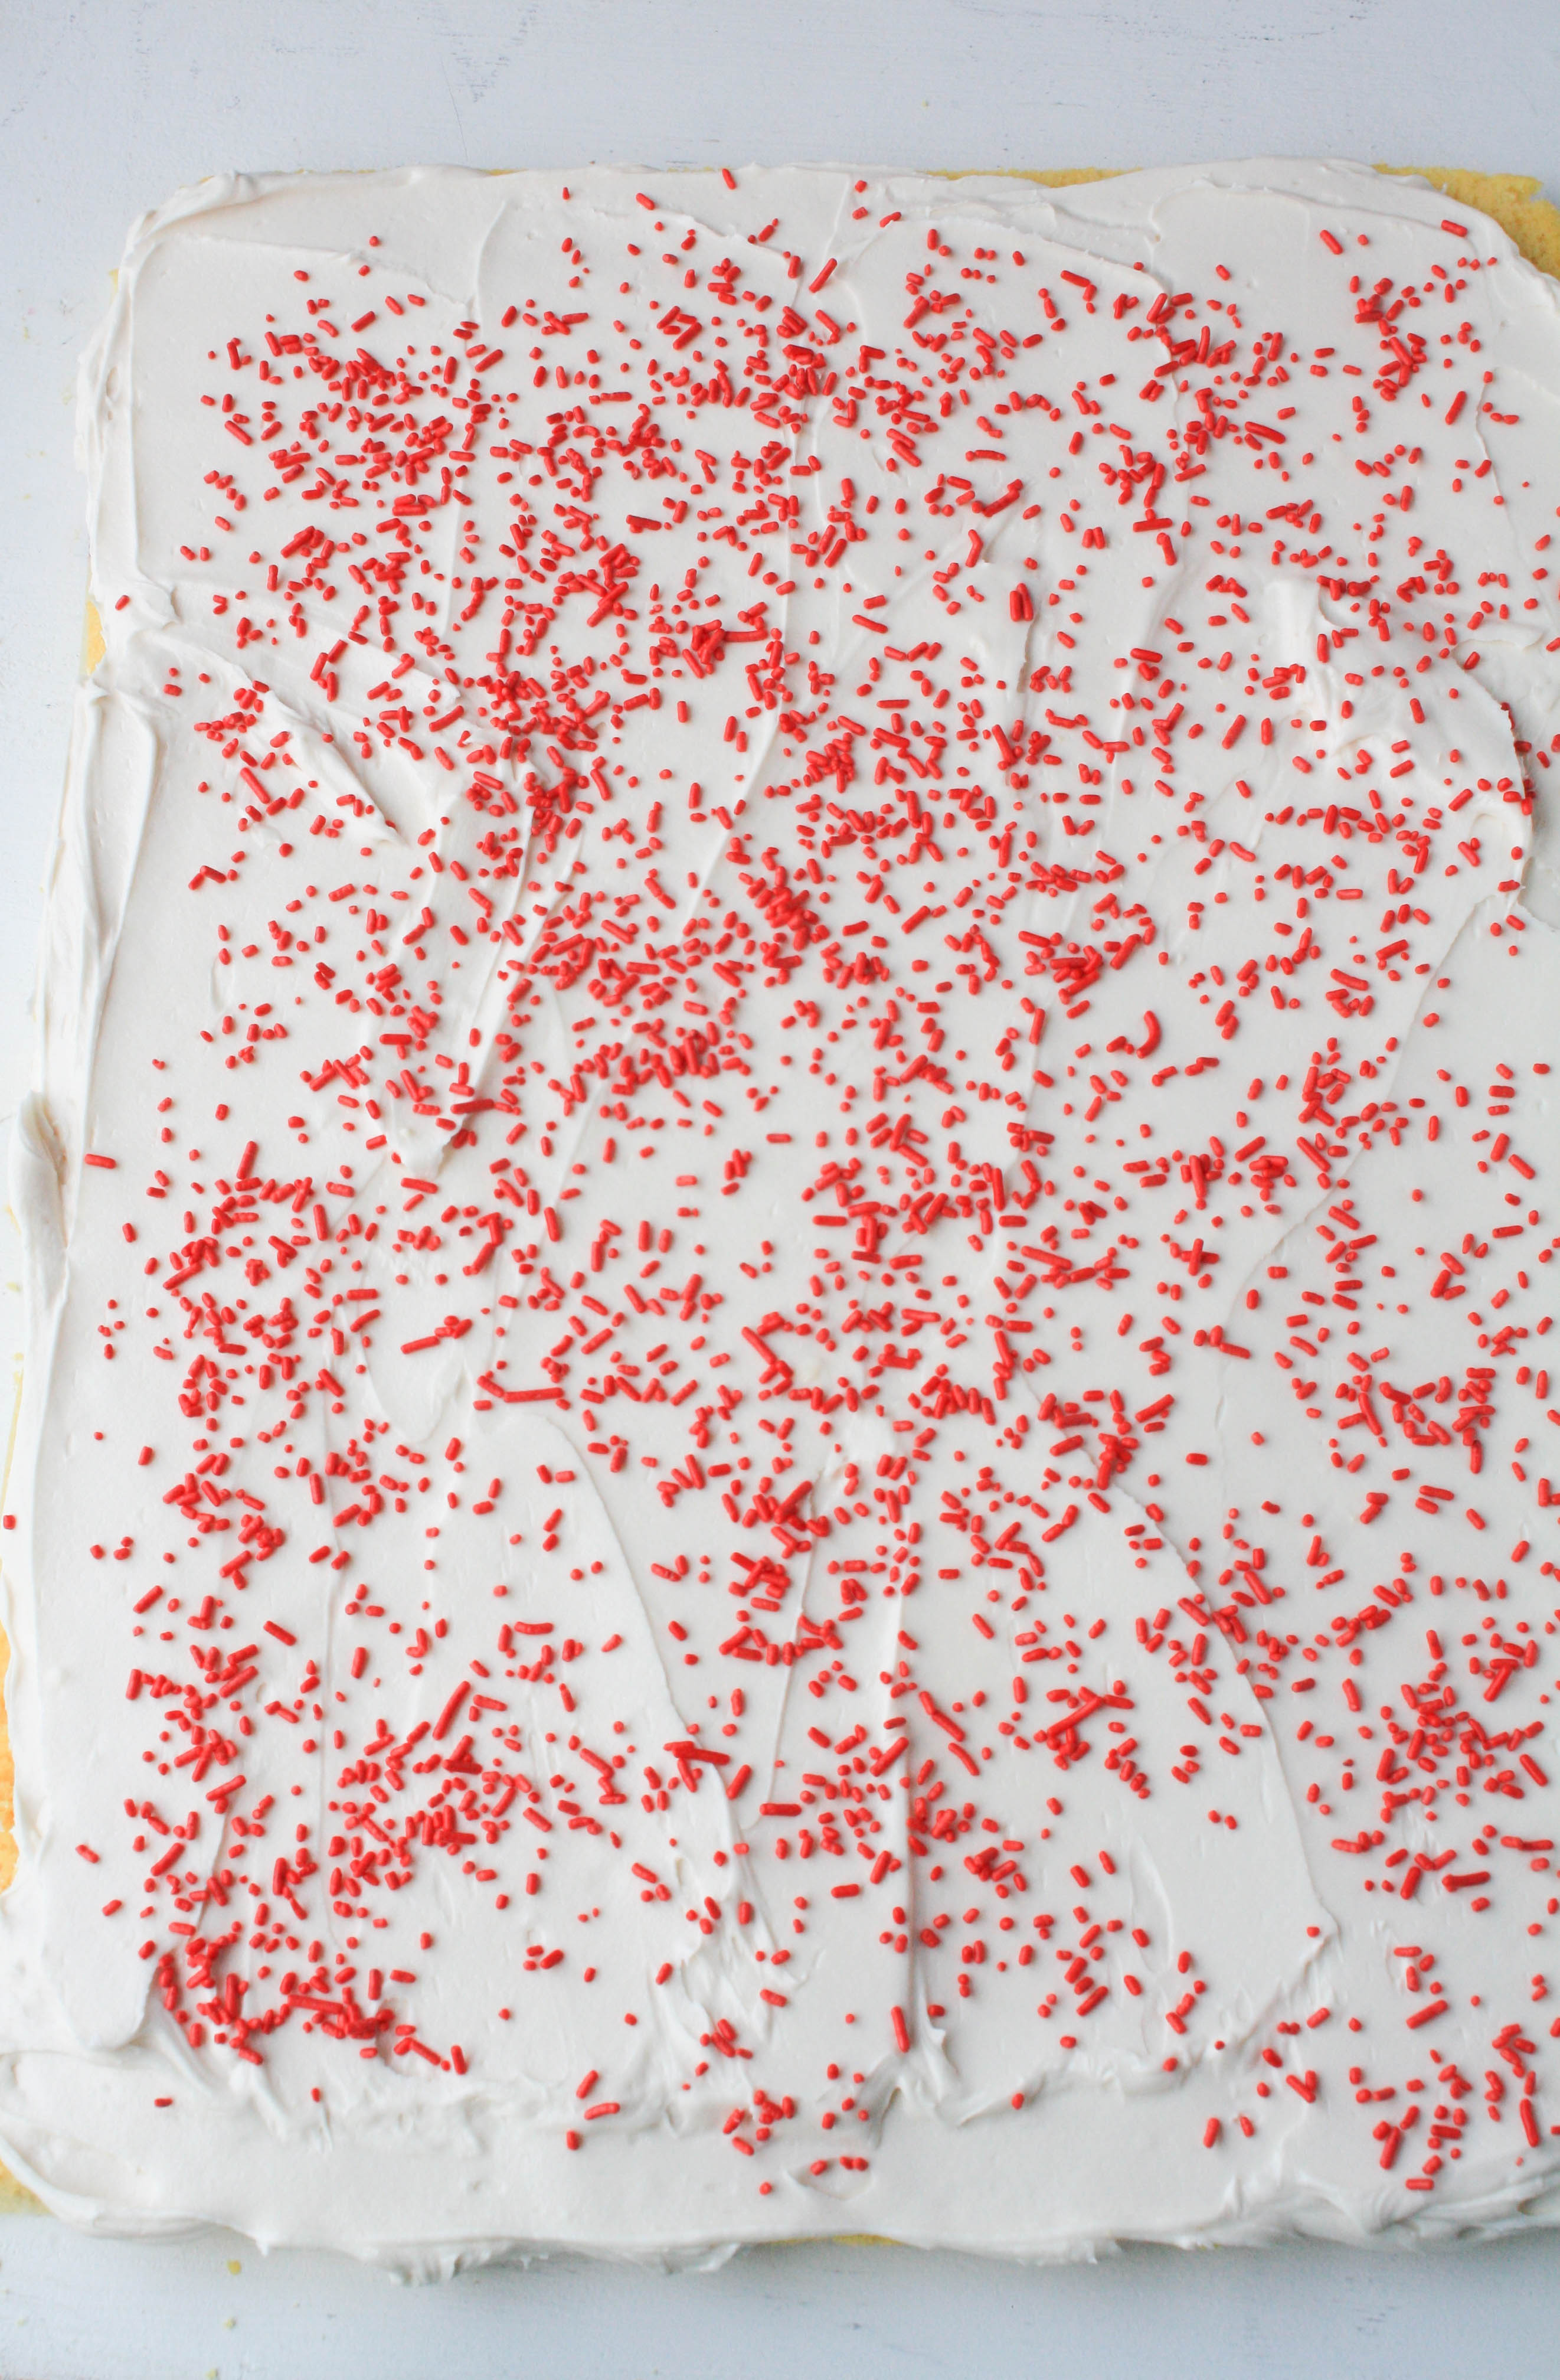
Spread your filling evenly across the cake. We added a handful of sprinkles, but you can add fresh fruit, chocolate chips, chopped nuts, or just stick to the buttercream filling.
9. Roll and Serve
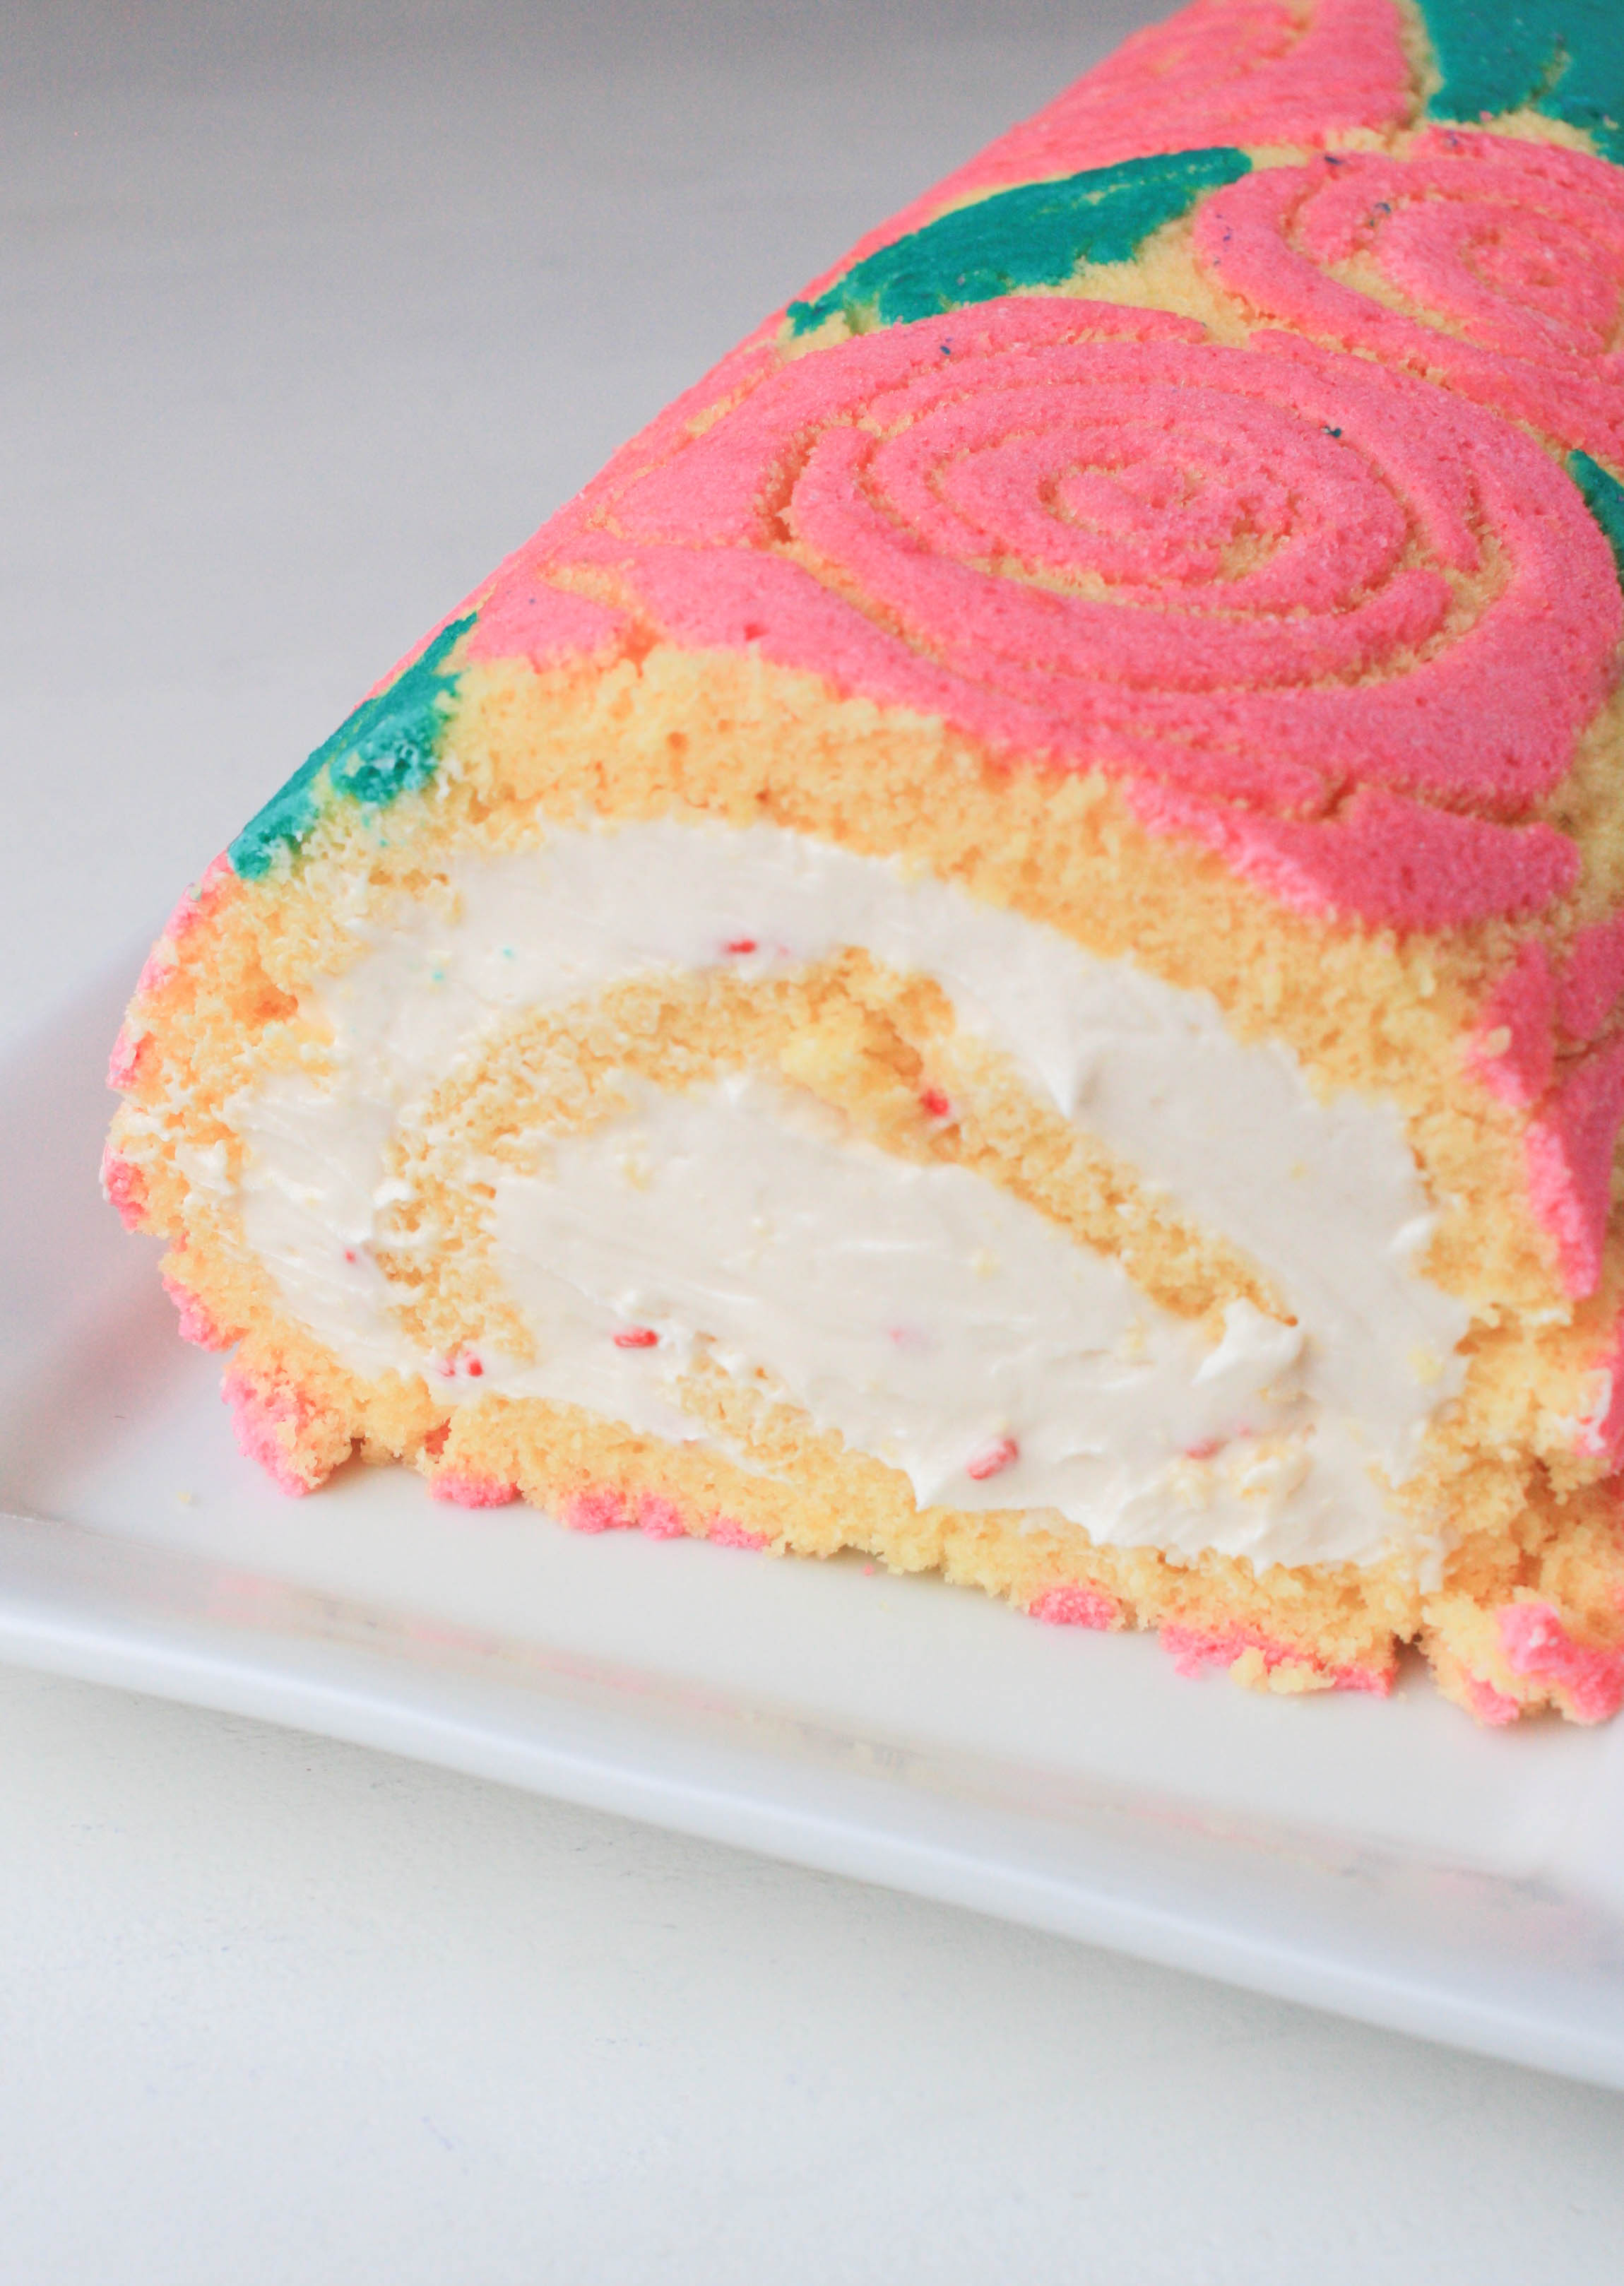
Roll the cake back up and use a serrated knife to trim the ends (and give a sneak peak to what's inside). Put it on a platter and serve!
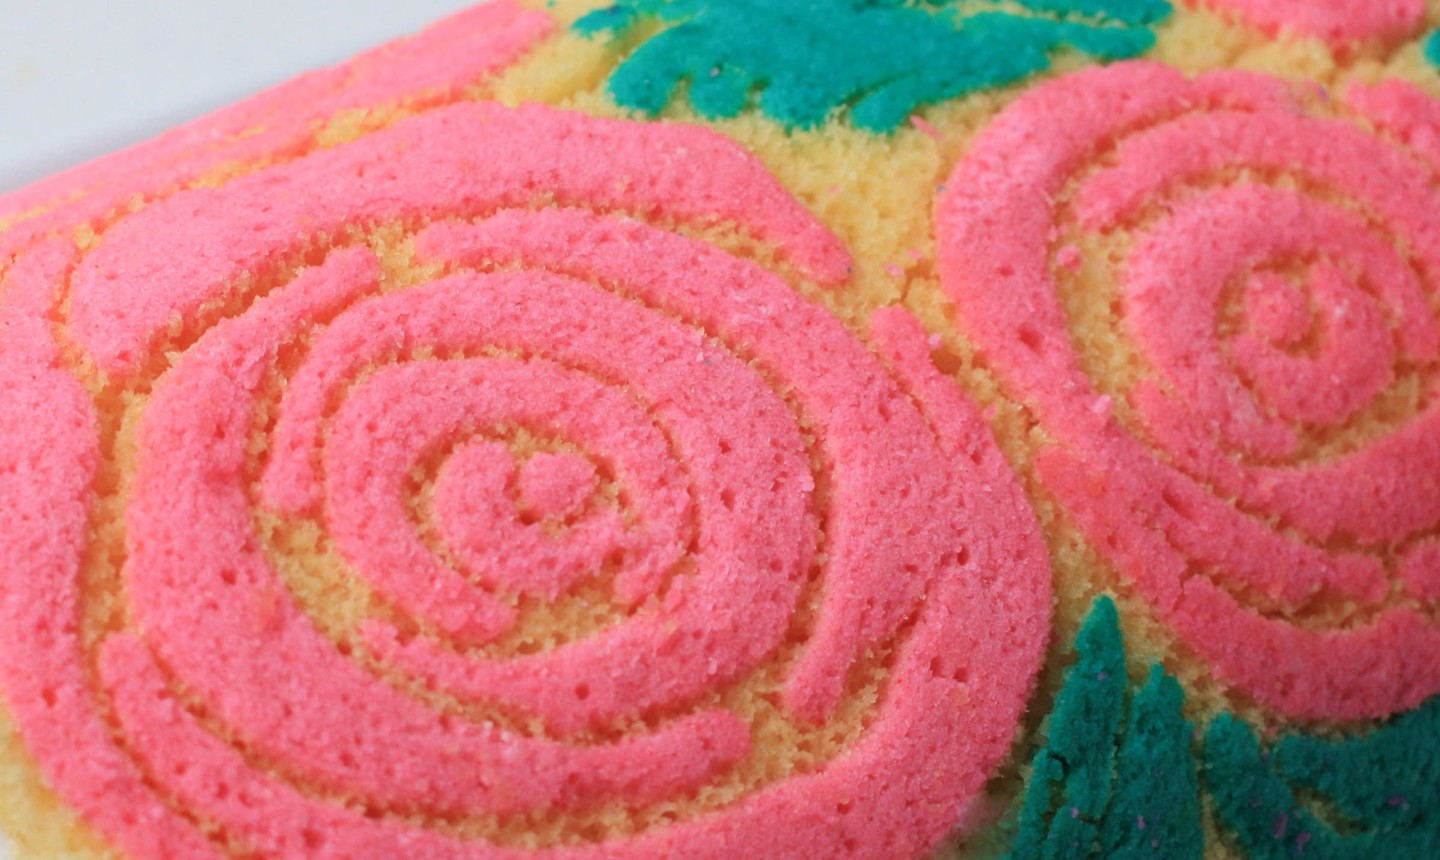
Leftovers can be stored in the fridge and (when tightly wrapped with plastic wrap) can be kept for up to three days.
Cake Paste
Ingredients
- 2 egg whites
- ¼ cup granulated sugar
- ⅔ cup all-purpose flour
- 3 tablespoons unsalted butter, softened
- Gel food coloring
Instructions
1. Combine egg whites, sugar and flour in a small bowl. Whisk until combined.
2. Switch to a rubber spatula and add the softened butter until the mixture forms a paste.
3. Divide and add food coloring.


I made this with a different sponge cake. The cake part was great, and we filled it with a whipped chocolate ganache. The decorations, made as described here, were an unpleasant texture. Hard, somewhat rubbery, it really threw the experience off. Kind of like finding part of a gummy worm in a chiffon. There are better ways to achieve the stencil effect.
looks fabulous can't wait to try this ...but can't find the template ...how do i find it or just try to draw my own...thank you for a beautiful cake ...
Please, please give a link to the template. I so want to try this.
Please, how do I get the rose template
Can't wait to try this beautiful cake. Thanks for the information
Very beautiful thank you for sharing 💓
What is the point if you can’t print a template??? I seriously don’t know why this article exists? Is there a template option if you are a member? Someone tell me what I am missing here (besides a template, lol!)?
I would love to make this, but need the rose template. Can you tell me where to find it? Thanks!
There is no template to print. I miss the old Craftsy so much.
Hi, Step 2 says to print the pattern template, where is the template link?