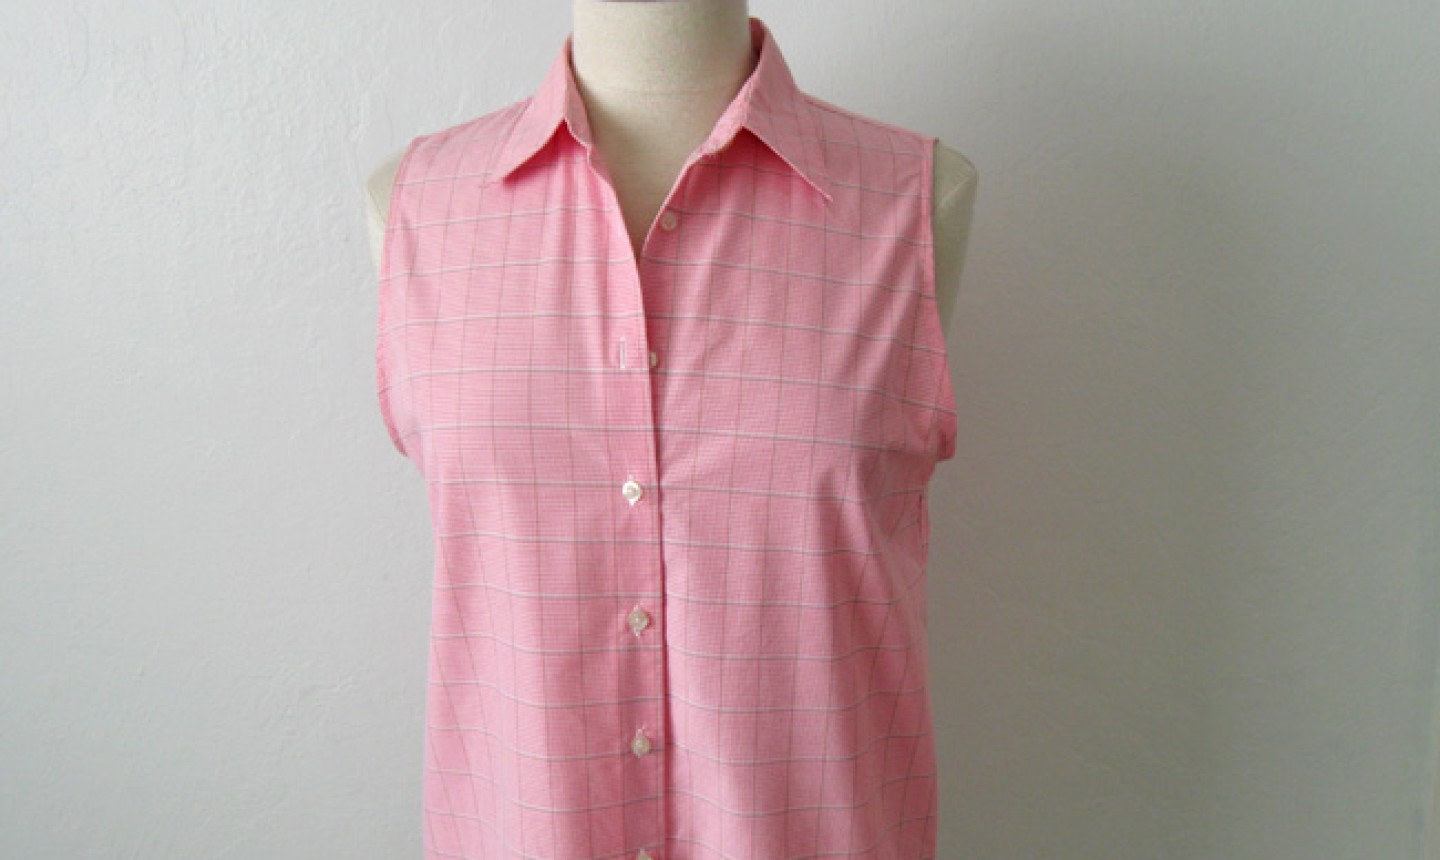
Whether you have a bumper crop of button-downs or you’ve found your favorite one, but it doesn’t come in a sleeveless version: this DIY is calling your name. Consider it instant air-conditioning for a basic blouse.
Sleeveless Button-Down Shirt
Level: Easy
What You Need
Instructions
1. Remove the Sleeves
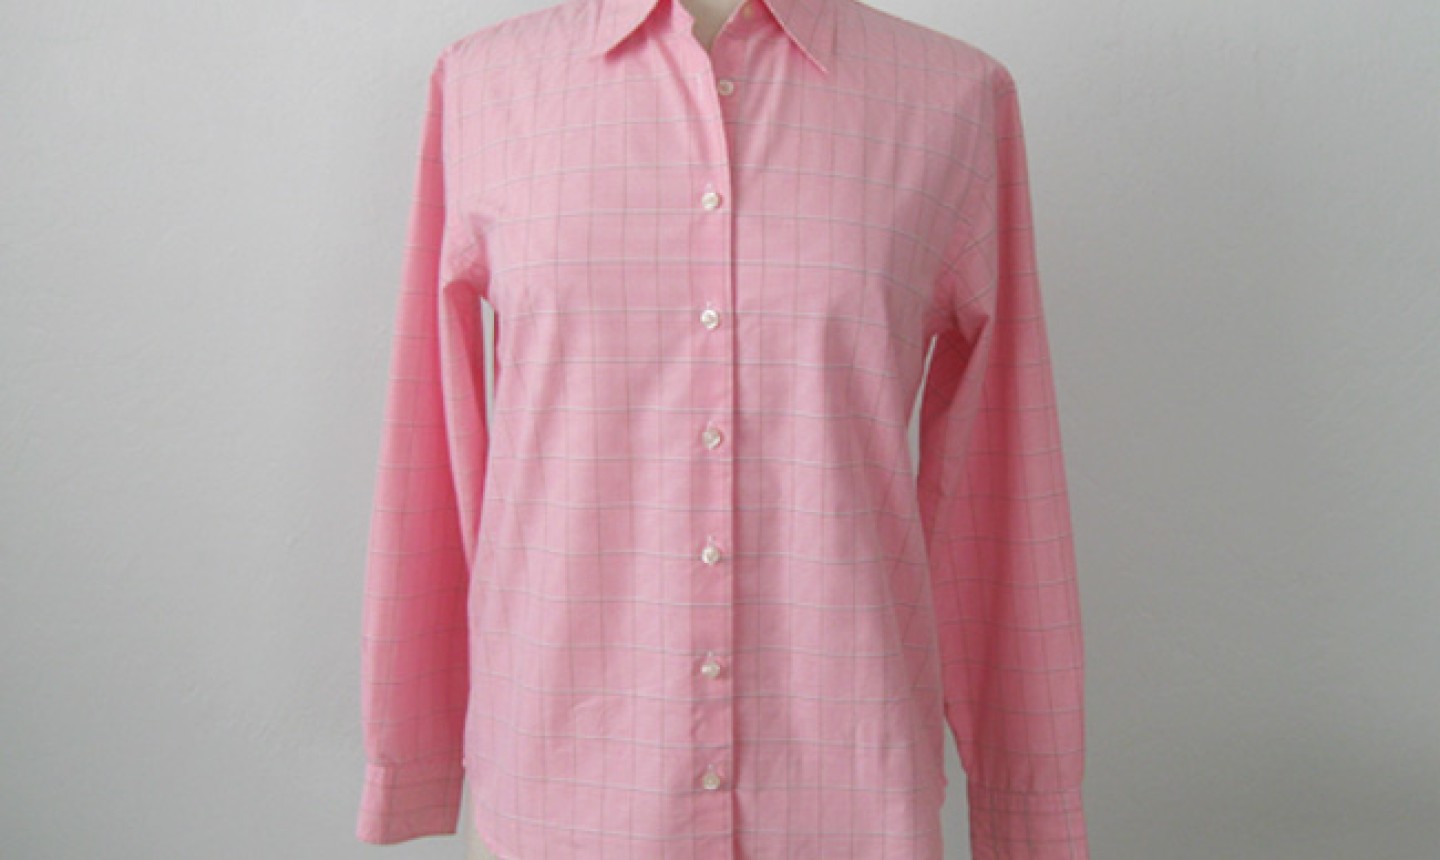
There are two ways to do this. One is to use a seam ripper to undo the stitching where the sleeve is sewn to the garment. Many shirts are sewn with a flat fell seam, which means the seam allowance is pressed toward the shirt side and stitched down. It’s a bit more time consuming to carefully remove the seam, but it will keep more fabric on the shirt side, particularly at the underarm.
Or you can trim verrrry closely on the sleeve side of the seam. If the top or shirt is very loose fitting, then the underarm will be a bit low and not as attractive in a sleeveless version. Don’t cut the sleeve yet, other than to remove where it is joined to the body of the garment.
Good to Know: Once the sleeve is removed, don’t trash it! You’re going to re-purpose the fabric to finish the new sleeveless top.
2. Press the Sleeve Flat
Open the sleeve (either by removing the seam or carefully cutting) and press it flat. Remove the cuff from the sleeve — you won’t use this part, so feel free to roughly cut it off.
At this point, you should have two large pieces of fabric to use for finishing the shirt.
3. Make Bias Tape
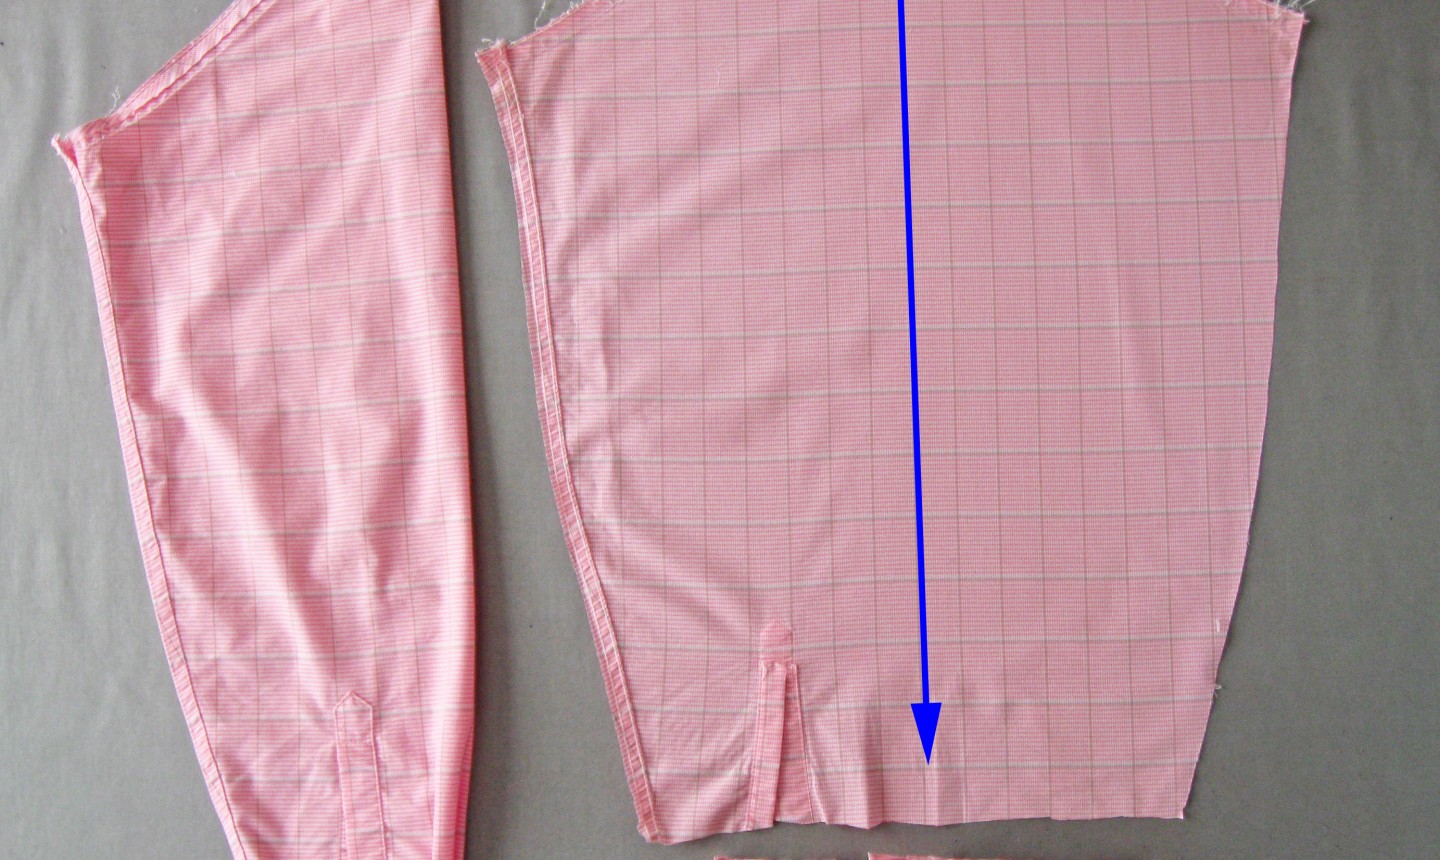
Find the straight grain of your shirt — we’ve marked it with the blue arrow above. On most shirt sleeves, the straight grain will go straight down, from the top U shape to the cuff.
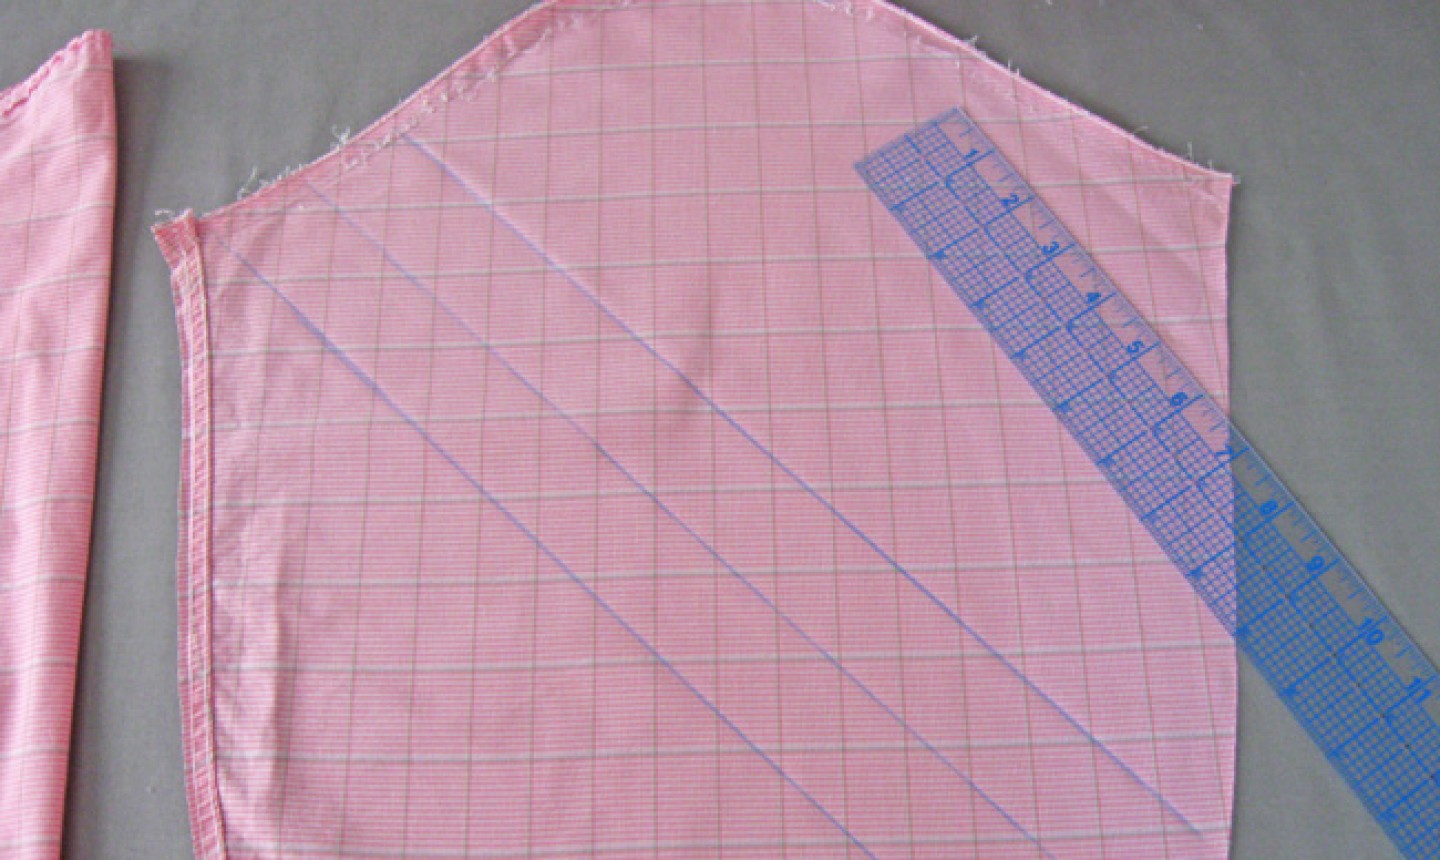 Cut bias pieces 1½” wide, which will be folded in half lengthwise and pressed.
Pro Tip: You can also use pre-made, store-bought bias tape instead! It comes in packages at the fabric store and is available in any color. Make sure to choose single-fold bias tape for this project.
4. Reshape the Armhole
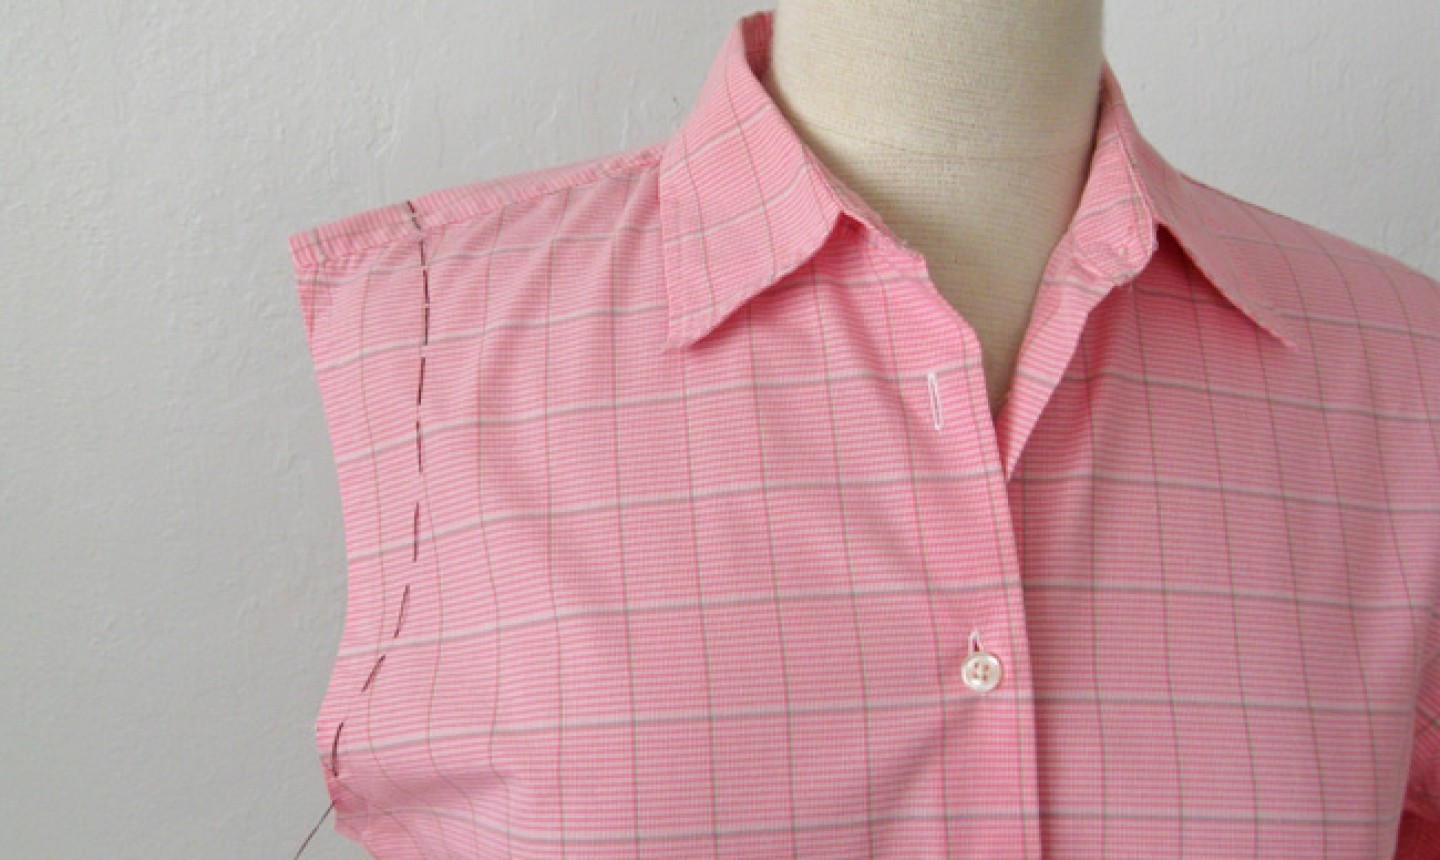
Typically, a shirt or top with sleeves extends further out on your shoulder than one that was originally created to be sleeveless does. You’ll likely need to move the edge in, so it’s easiest to reshape the armhole.
Use an existing top to determine how wide the shoulder should be, and use that measurement to adjust the armholes.
Mark where you’ll make your adjustment (we used basting stitches, but any method will work). Starting at the top, cut away the excess fabric, leaving about ¼” where the bias tape will be sewn. About two-thirds of the way down the underarm, begin tapering the cut — you don’t want to remove anything near the bottom, which would make the armhole too low.
5. Sew on the Bias Tape and Trim
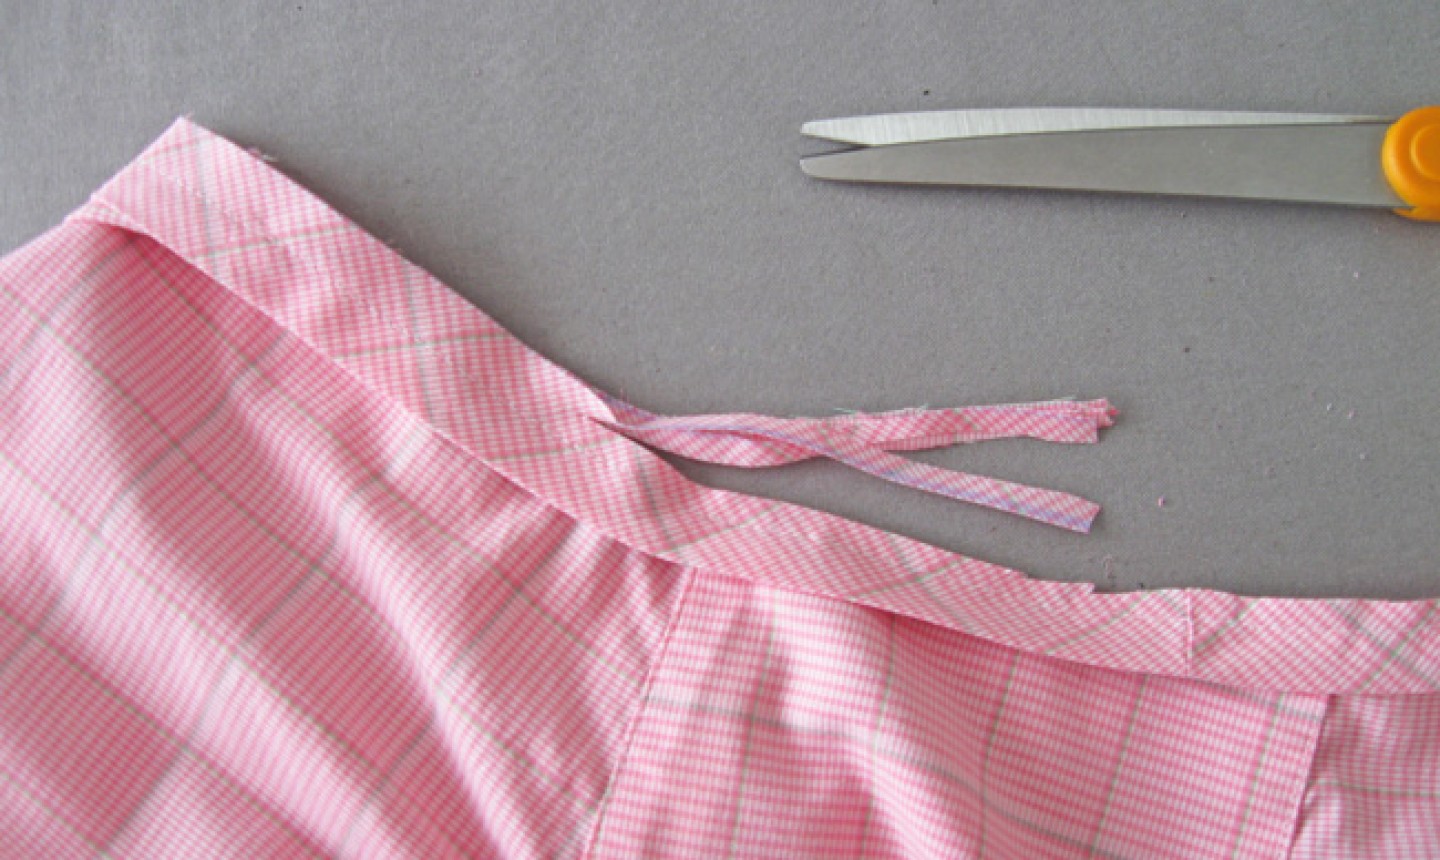
Pin the bias tape onto the shirt, with the edges aligned to the edge of the armhole and the fold away from the edge. Stitch all the way around, ¼” away from the edge of the tape, overlapping where the bias tape ends meet.
After stitching, trim away about ⅛” (or half) of the seam allowance. Press the bias tape away from the garment.
Pro Tip: To make pressing easier, use a tailor’s ham or improvise one by rolling up a thick towel and placing it in the armhole. This raises up the edge and makes it easier to use the iron. Press a small portion, rotate the garment and continue pressing all the way around.
6. Finish the Arm Holes
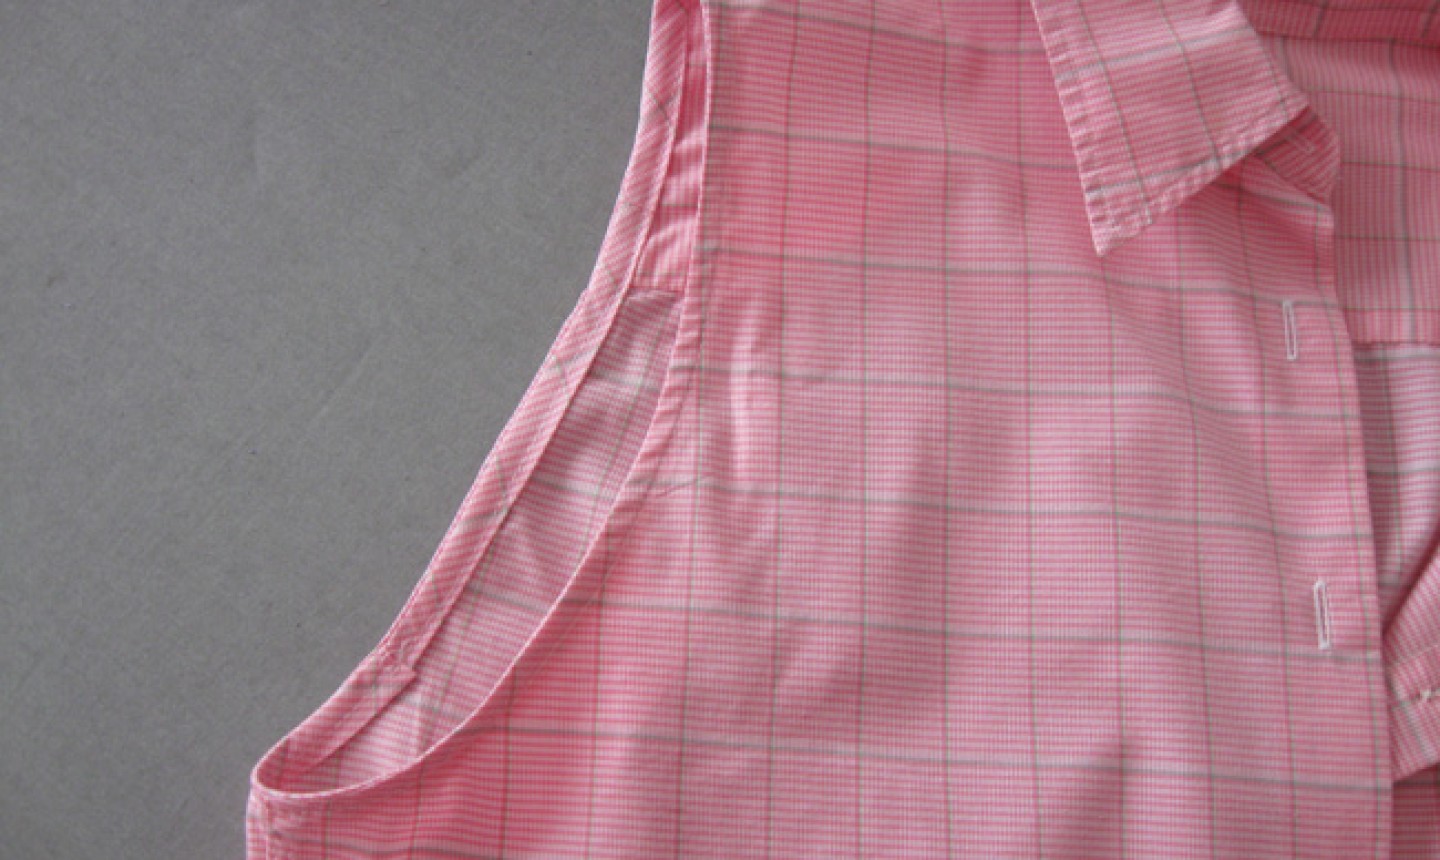
Turn the garment inside out and press the binding to the inside. Stitch along the binding fold edge. This creates a clean, smooth finish inside your new sleeveless top, with no raw edges.

Add ice-tea or lemonade and enjoy a warm day!
Share tips, start a discussion or ask other students a question. If you have a question for an expert, please click here.
Already a member? Sign in
No Responses to “Give Your Favorite Button-Down A Sleeveless Makeover”