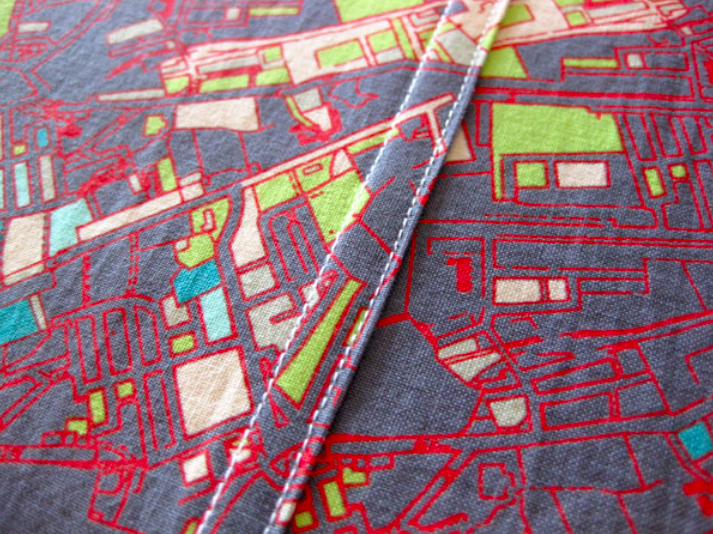
Take a look at your jeans or a men’s dress shirt and it’s likely you’ll spot flat fell seams. On the outside of the garment there’s a pair of stitch lines, while the inside is all tidy without any raw seam edges. If you’ve wondered how it’s done, it’s not magic — sewing a flat fell seam is a technique every garment sewer can (and should!) learn.
Flat Fell Seam
Level: Easy
What You Need
Instructions
1. Pin
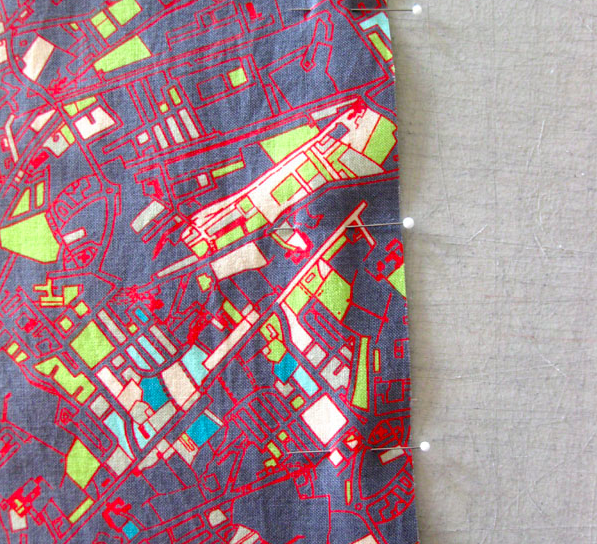
Pin the fabric of the seam together, wrong sides facing.
2. Stitch
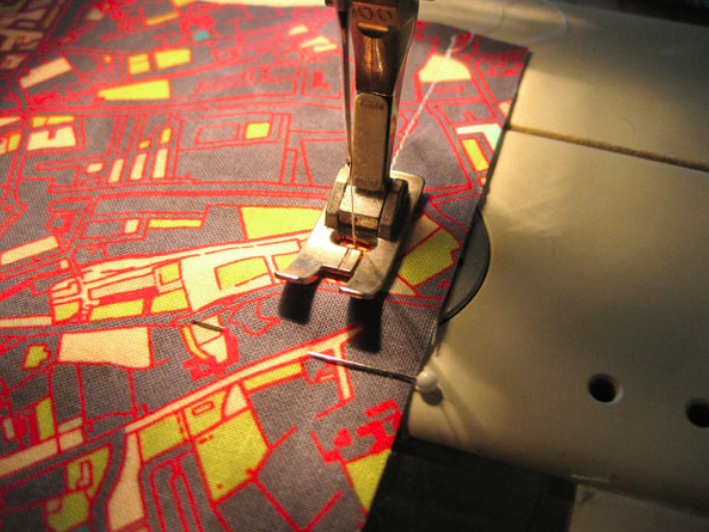
Sew the seam at the project’s allotted seam allowance. (We used ⅝”.)
3. Press
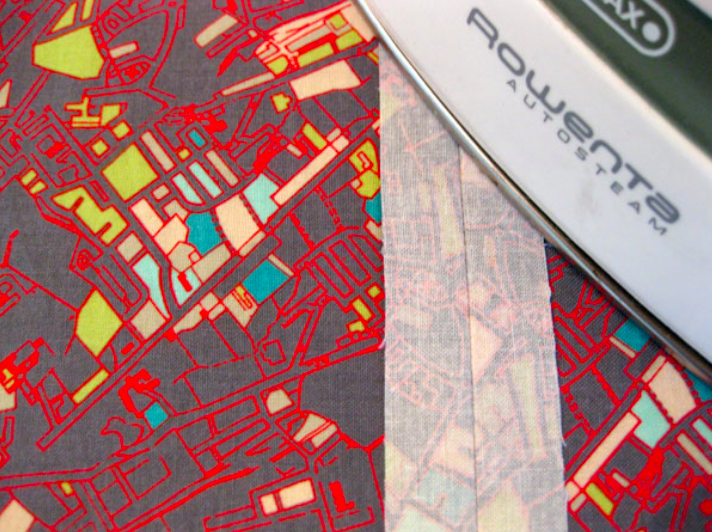
Press the seam open on both sides of the fabric.
4. Trim
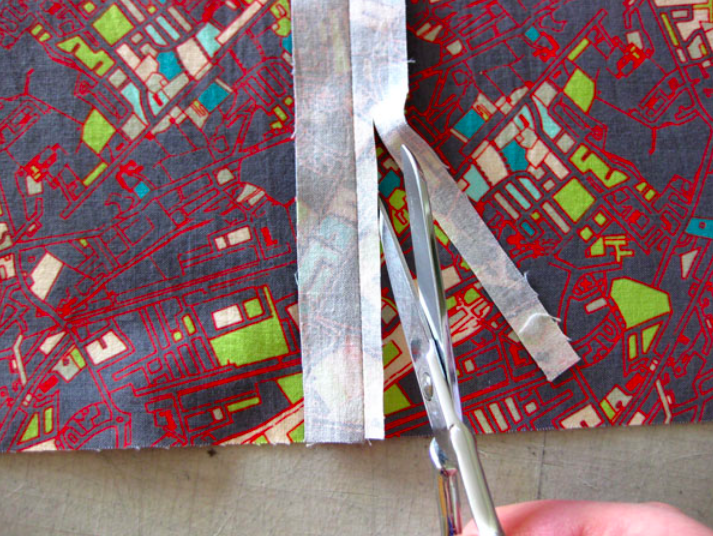
Trim one side of the seam allowance down to ¼”. Do not trim the other side.
5. Fold
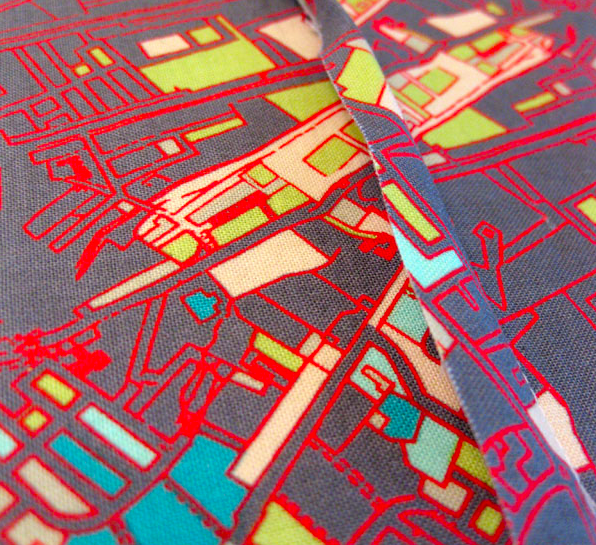
Press the untrimmed seam allowance over the seam and on top of the trimmed side. Fold the pressed side under, tucking the raw edge into the fold.
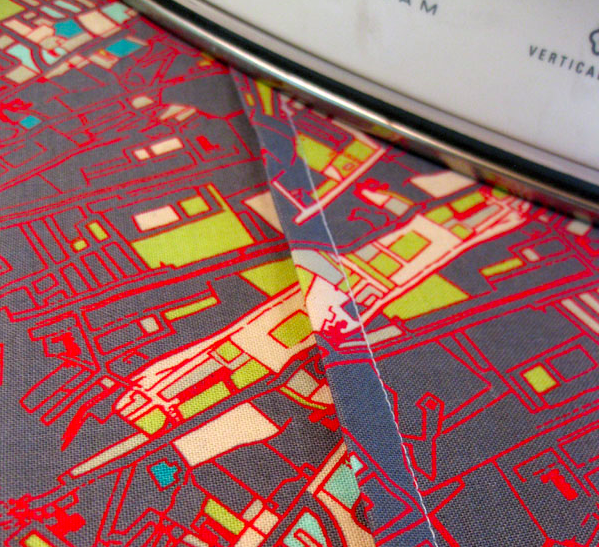
Press the fold, making sure the raw edge is fully tucked under and the flap left is the same width along the seam.
6. Finish
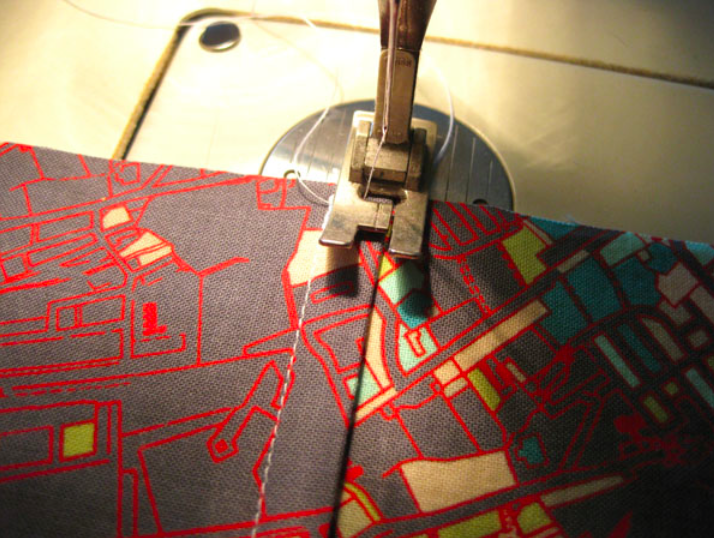
Line up your fabric in your machine so the stitching is close to the fold. Stitch along the edge of the fold, trapping all the raw edges inside.
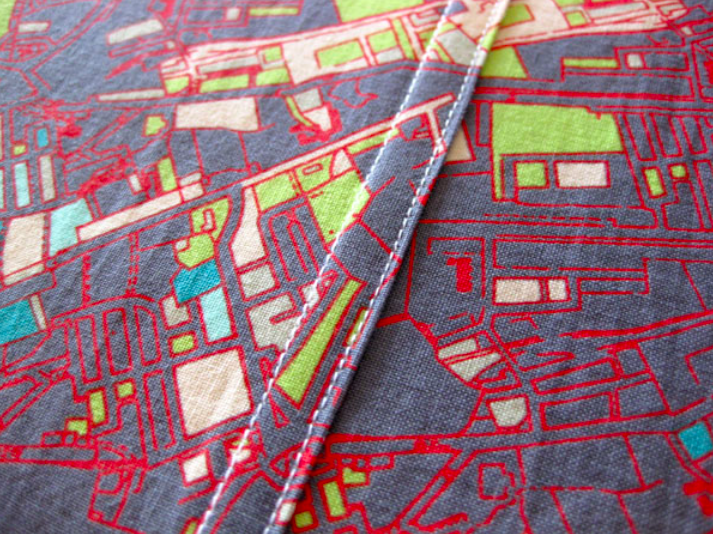
That’s it! You’ve just finished a neat and tidy flat fell seam.

If there is no need for a pattern seam allowance for fit, would it work to line up the two raw edges ¼ “ away from each and sew ½ back? This would eliminate trimming.
Fab finish. Will be giving this a try for sure.
Thanks for sharing. I love the look of this finished seam as it looks professional and gives the garment a high-end feel. I’ve seen this done by hand too.
It would be more clear if the photos in step 5 were at the same orientation as the other photos.
Thank you for sharing it. Was sewing a dress shirt with full on french seams, in arm holes and sides. I found it too thick at the intersections under the arm. So flat felt save the day!!