When it comes to adding detail and color onto cakes, our preferred method is to arm ourselves with fine artist’s brushes and hand-paint onto fondant! We even forego edible printed plaques, photographs and motifs to paint in full images or designs; it adds such a wonderful bespoke feel to a cake and cupcakes. Painting onto cakes may seem like a daunting task, but all you need is practice, creativity, a steady hand and…the perfect cake paint!
Without further ado, here’s our tips for mixing the perfect cake paint
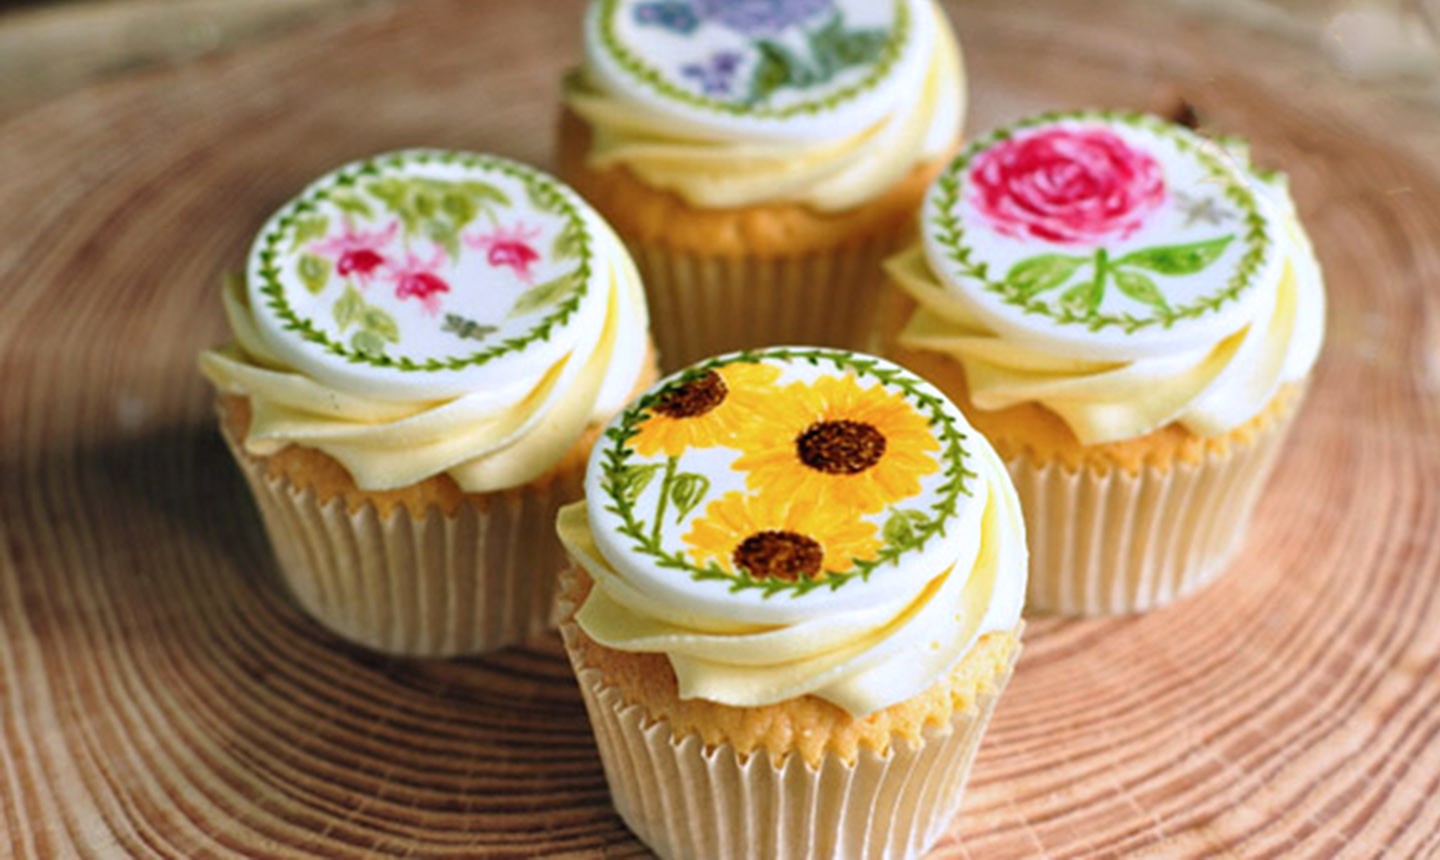
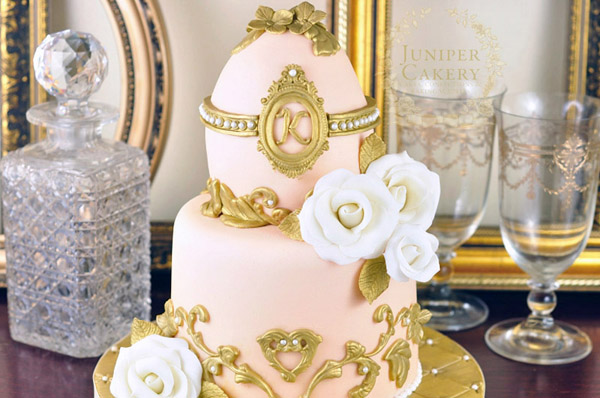
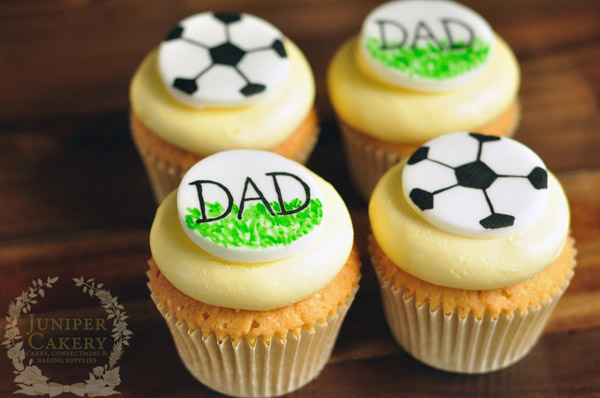
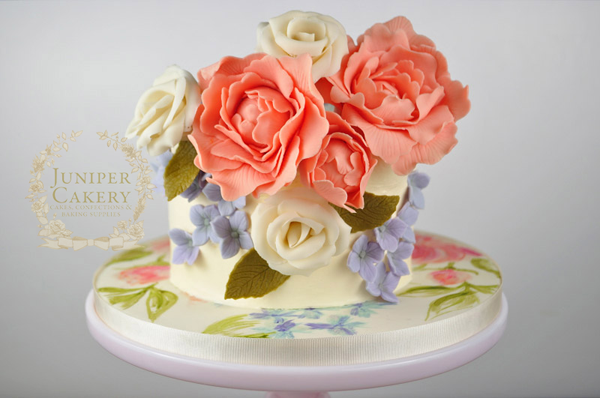
All photos via Juniper Cakery
Discover some great ideas and tips to help you hand-paint stunning designs onto cakes with Kate Sullivan’s The Art of Painted Cakes!
Tip no. 1: Experiment and find your perfect cake paint mixture!
With so many different edible paint recipes (vodka, lemon juice, etc) to choose from, mixing up cake paint might seem confusing. But it’s simply a matter of finding what you feel comfortable with. We suggest you try all manner of ‘carriers’ before even you even think of hand-painting a 3-tiered wedding cake.
To help here’s a quick look at our thoughts on different mixtures…
Rejuvenator spirit/color thinner: Generally for use on powder colors or luster dusts, but can be mixed with concentrated gel or paste colors. Takes a while to dry and can be a little sticky to work with. Also, can be a little costly compared to other mix substitutes!
Lemon juice: This doesn’t evaporate very quickly, so you’ll find yourself left with wet or tacky painted surfaces for a while. This means you can’t add detail on top of your work for some time.
Water: Adding water to gel or food color paste is perhaps one of the most economically friendly, but it is fairly similar to using rejuvenator spirit and lemon juice if not worse. A lot of cake decorators use water as a glue, so to use it also as a carrier or thinner for cake paint seems a little scary!
Lemon extract: Extracts contain alcohol. Alcohol is quick to evaporate and so quick to dry, which is why lemon extract is sometimes recommended! This is perhaps not one of the most purse-friendly additives to homemade cake paint unless you find a great deal on large bottles. Also, when testing this medium we could still smell and taste a little lemon which we weren’t sure about; imagine painting a fondant covered chocolate fudge cake with lemon flavored cake paint!
Mix gold or silver luster dust with your preferred ‘carrier’ to paint luxurious metallic detail onto cakes. Create your own shimmering creation with the help of Marina Sousa’s Jeweled Wedding Cake class!
Vodka: Our preferred medium. It dries quickly which has its pros and cons; you can add another coat onto your work in around a minute, but you’ll need to add a few drops of vodka to your mix every so often. Also, great if painting a sheen with luster dust, as when you’re finished you can saran wrap your paint palette of luster dust paint and simply “awaken” it with a little alcohol for next time. Don’t worry about painting with alcohol on kids’ cakes because the alcohol evaporate away completely leaving nothing behind but your hard work!
Everclear: This has a very high alcohol content so when painting your work will dry incredibly fast. This is perfect if you know you’ll need to add extra painted detail on top (e.g., if you are painting a bouquet of roses and need to add layers of depth and color fairly quick). Another great thing about using alcohol is that if you mess up, you can take a clean brush and paint over the mistake with a some alcohol and carefully wipe it away!
Tip no. 2: Invest in good paintbrushes!
Getting a solid collection of fantastic brushes in a variety of types and sizes is essential. There are so many styles and shapes from ultra fine to Japanese calligraphy brushes; all perfect for adding both designs or intricate details to your cakes! Just remember to only ever use your brushes with edible work and materials.
Tip no. 3: Begin small to get big results!
Always build up your work. Begin working small and then add bolder colors and detail as your work dries. Once you try doing too much at once you’ll begin to feel overwhelmed. Layering is key to this process! If it helps and you have a base color running through your design, sketch out your shapes and silhouettes with a thin brush and a light color first.
Tip no. 4: Practice makes perfect!
Make sure that you challenge yourself and practice as much as possible. You’ll soon find that as you become more confident and creative, your work will start to get steadier and more impressive!

Tip no. 5: Take an art class!
There’s no better way to improve your skills as a designer than to take a class. If you’re busy, in the middle of nowhere or feel a little anxious about this why, not sign up for some great classes here on Craftsy! They’re not only taught by a team of fantastic and talented experts, but they’re convenient and user-friendly. We love that you can pause and repeat classes and even ask the instructor questions and advice!
We’d highly recommend Mary Murphy’s Watercolor Flower Bouquet class to learn some fantastic advice and techniques for creating floral designs!
If you’ve been putting off attempting to hand-paint onto a cake, we hope these tips and hints will give you the enthusiasm you need to start working on your next creation!
Share tips, start a discussion or ask other students a question. If you have a question for an expert, please click here.
Already a member? Sign in
No Responses to “Bright Young Thing: 5 Tips for Mixing the Perfect Cake Paint”