
Nope, we’re not talking about that kind of fruit cake. These beauties are covered in buttercream and, in one case, potato chips! Whip one up for your next backyard party and get ready for the “tricked ya!” jokes and “so cute!” compliments to roll in.
Watermelon Cake
Level: Easy
What You Need
Instructions
1. Prep the Batter
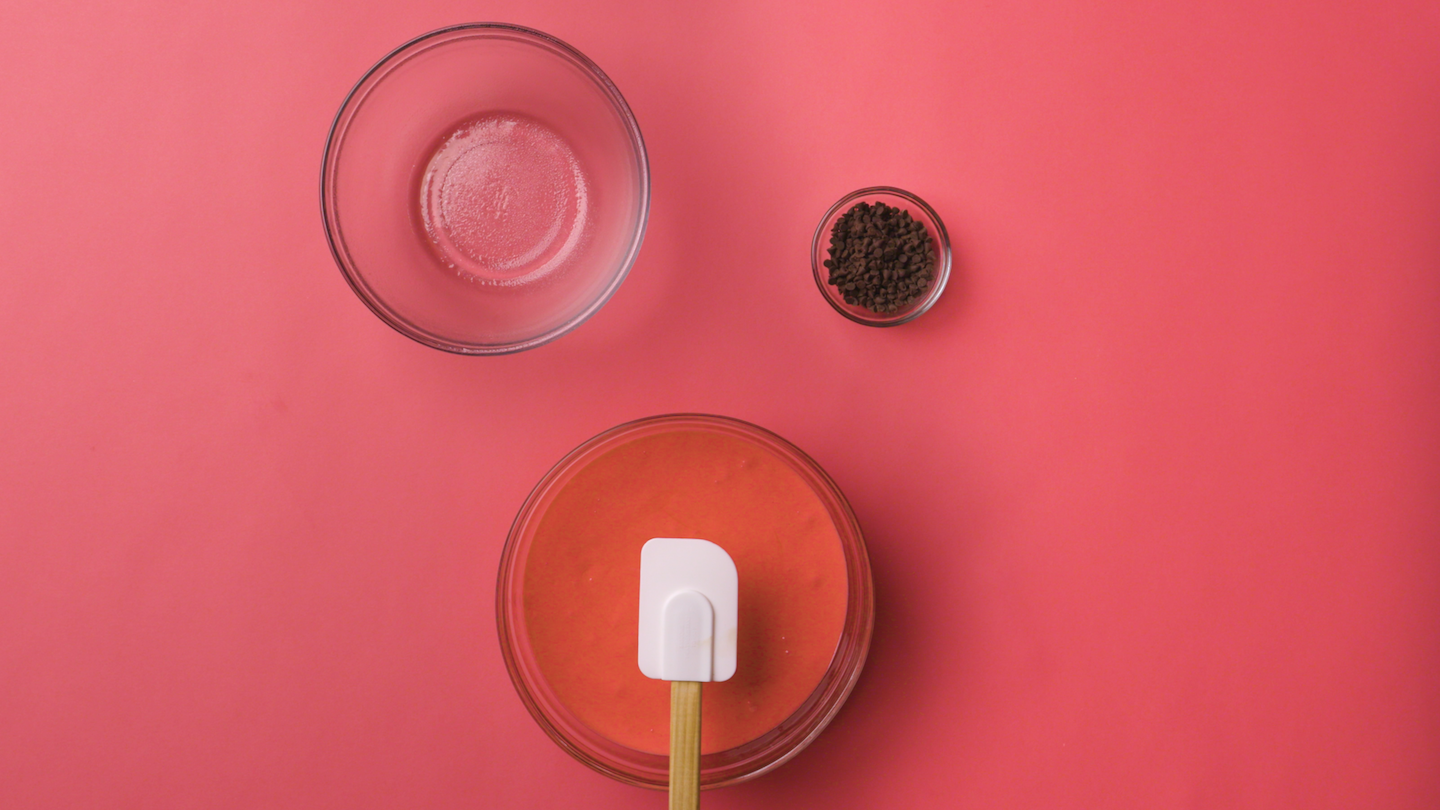
Mix together the vanilla cake recipe of your choice. Once the batter is ready for baking, add drops of pink and red food dye. Mix until the batter is one solid, dark pink color — like the inside of a watermelon!
2. Add Chocolate Chip “Seeds”
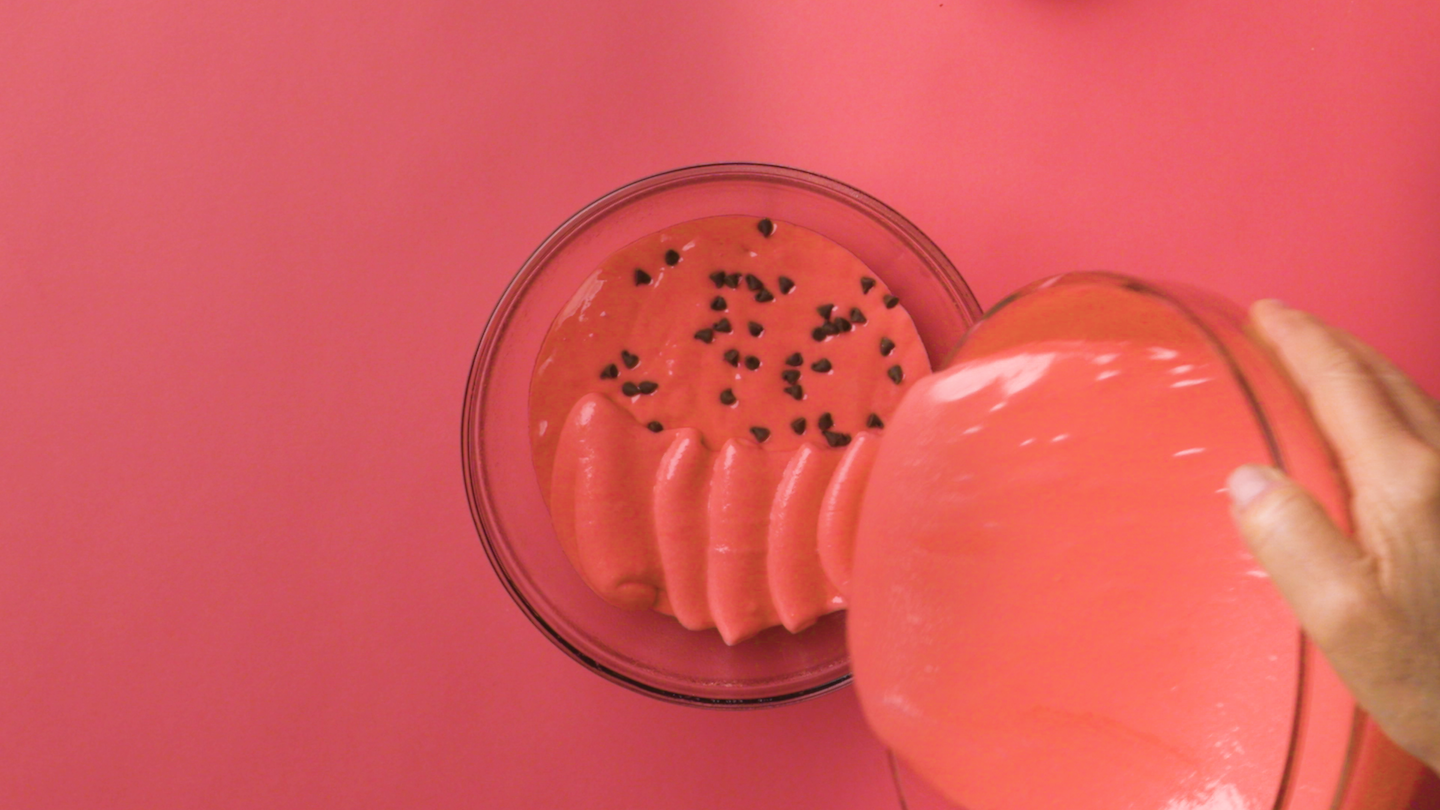
Seedless watermelon isn’t nearly as fun. To add this detail, pour a bit of your batter into a prepared oven-safe bowl. Then sprinkle chocolate chips on top of the batter before pouring more in. Keep adding batter and chocolate chips, alternating until all the batter is poured.
3. Bake
Bake at 350 F for 40-50 minutes. When the cake is done, let it cool completely before moving on.
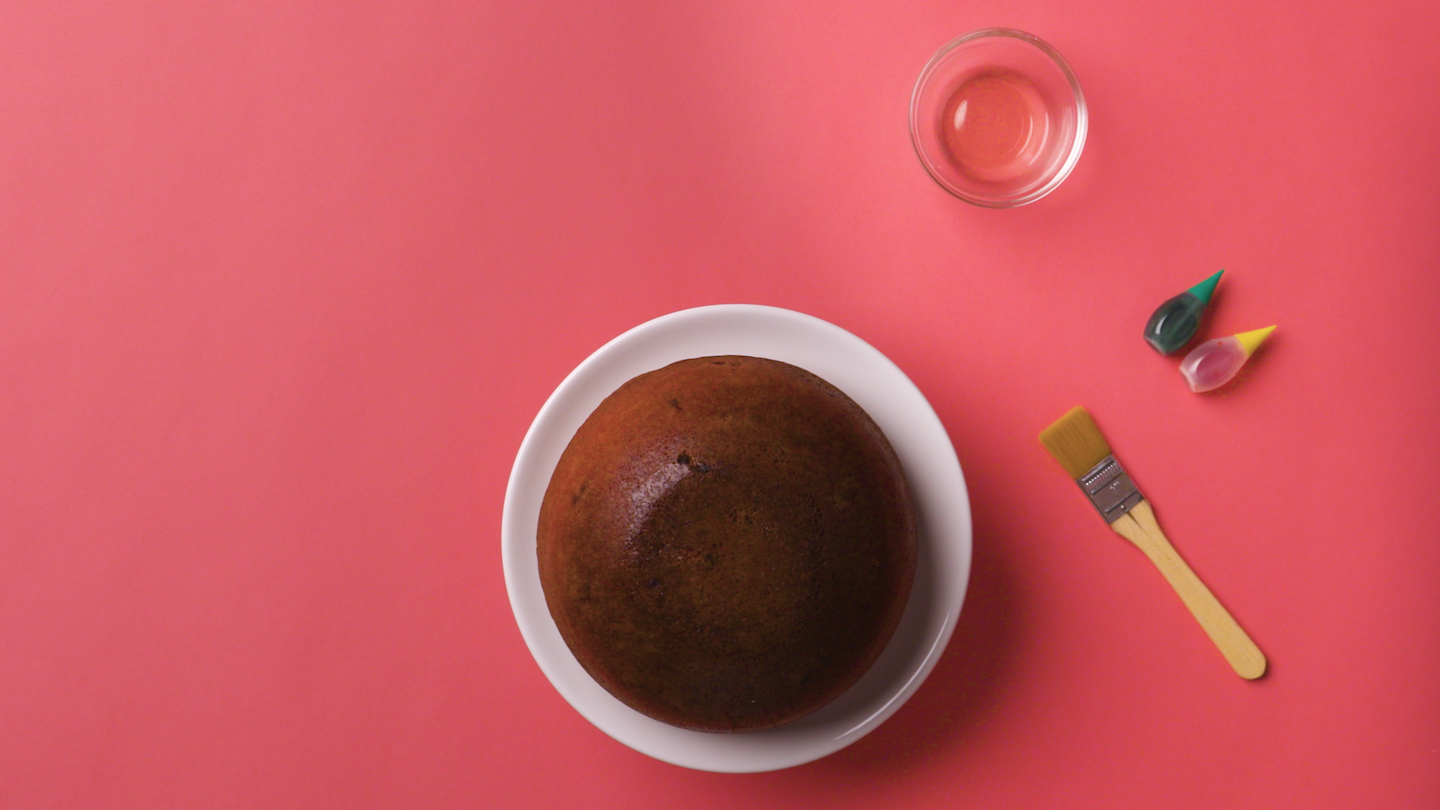
4. Frost the Cake
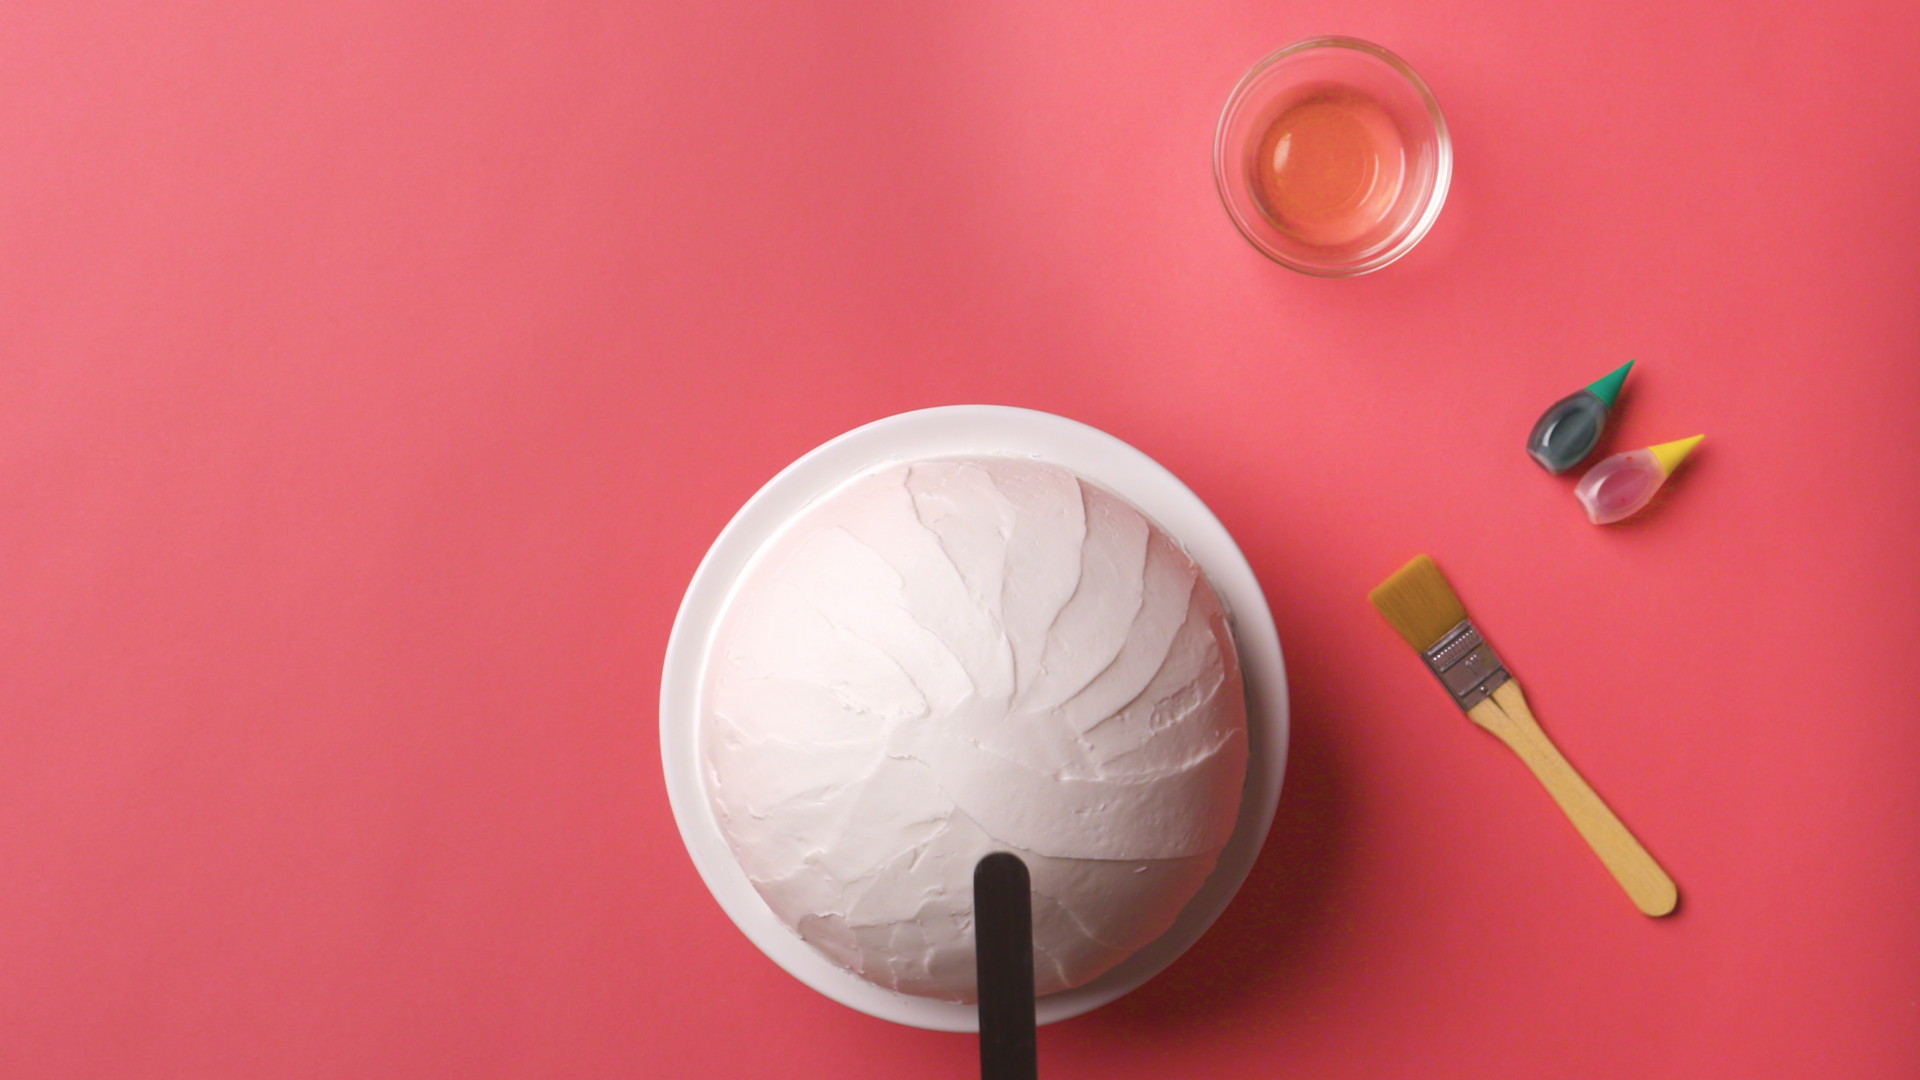
Remove the cake from the bowl and place it flat side down onto a stand for decorating. Mix together a batch of white frosting and use an offset spatula to frost the rounded cake.
5. Paint
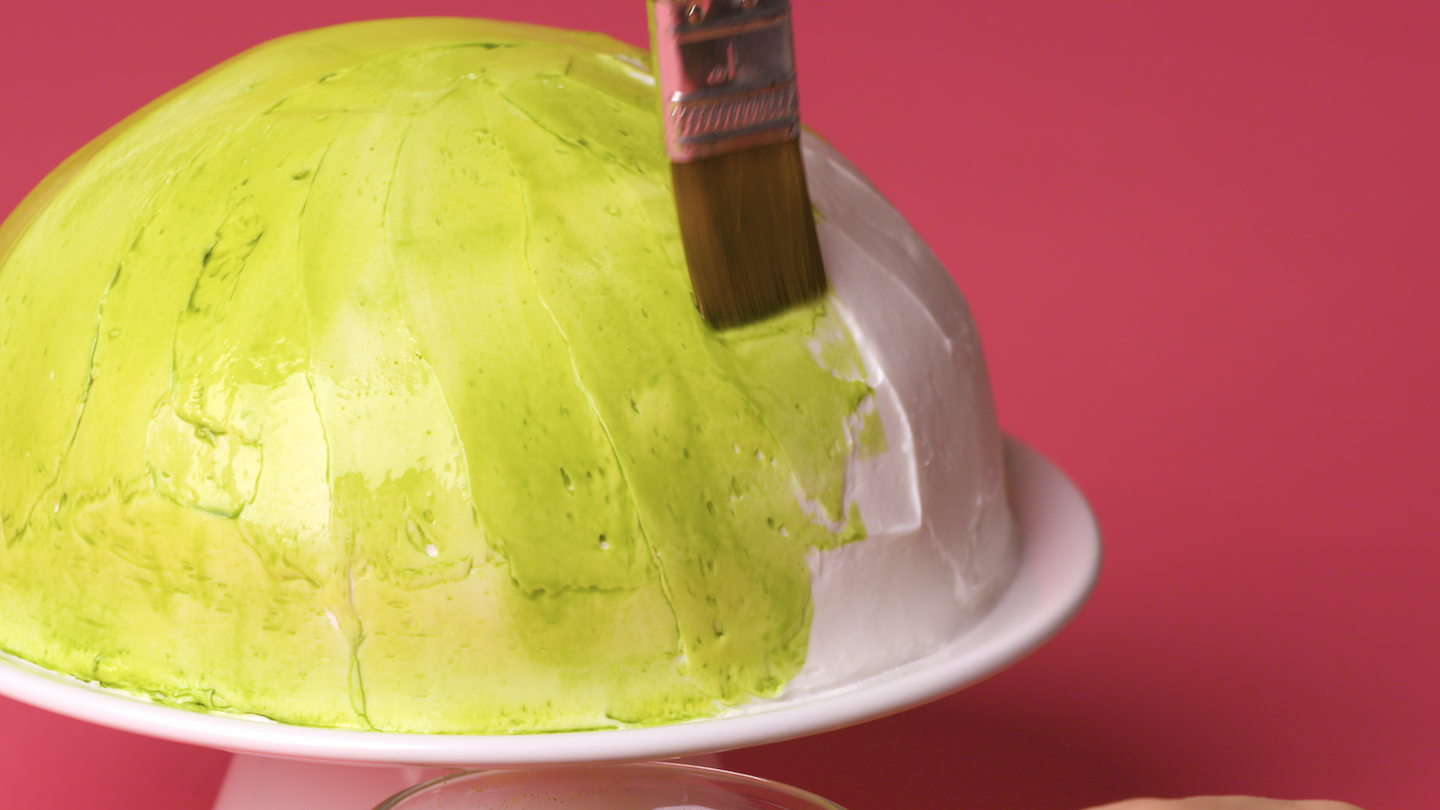
To make the base color, add yellow and green food dye to a small bowl of vodka. You want this color to be lighter than the rest we’ll apply, so use plenty of yellow and only a few drops of green.
Use a pastry brush or a food-safe paint brush and paint the yellow-green vodka mixture onto the cake. Make sure the whole surface is covered, with no white frosting shining through.
6. Add the Details
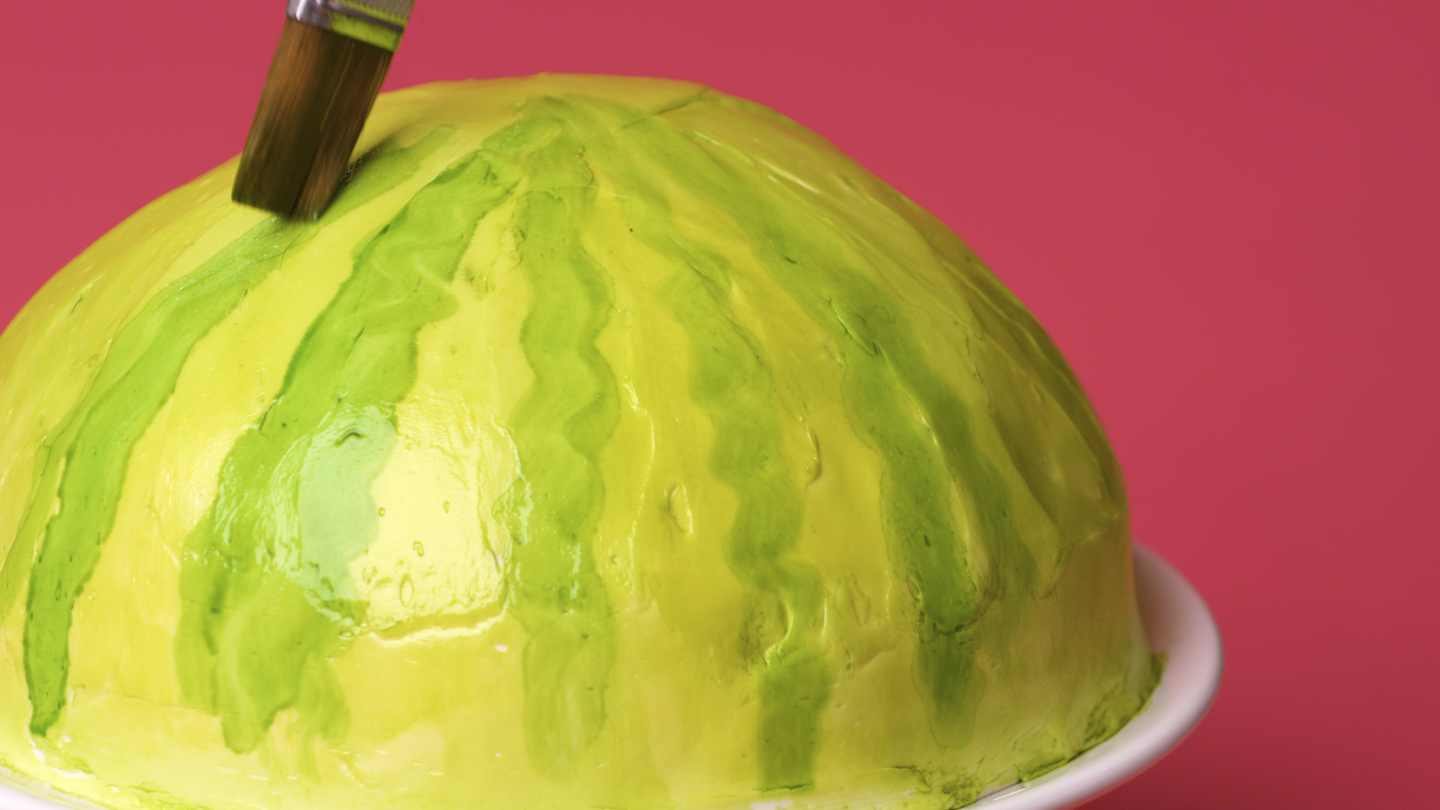
Add more drops of green food coloring to the same vodka mixture to darken the color. Paint squiggly lines up the cake on all sides, mimicking the lines on a watermelon.
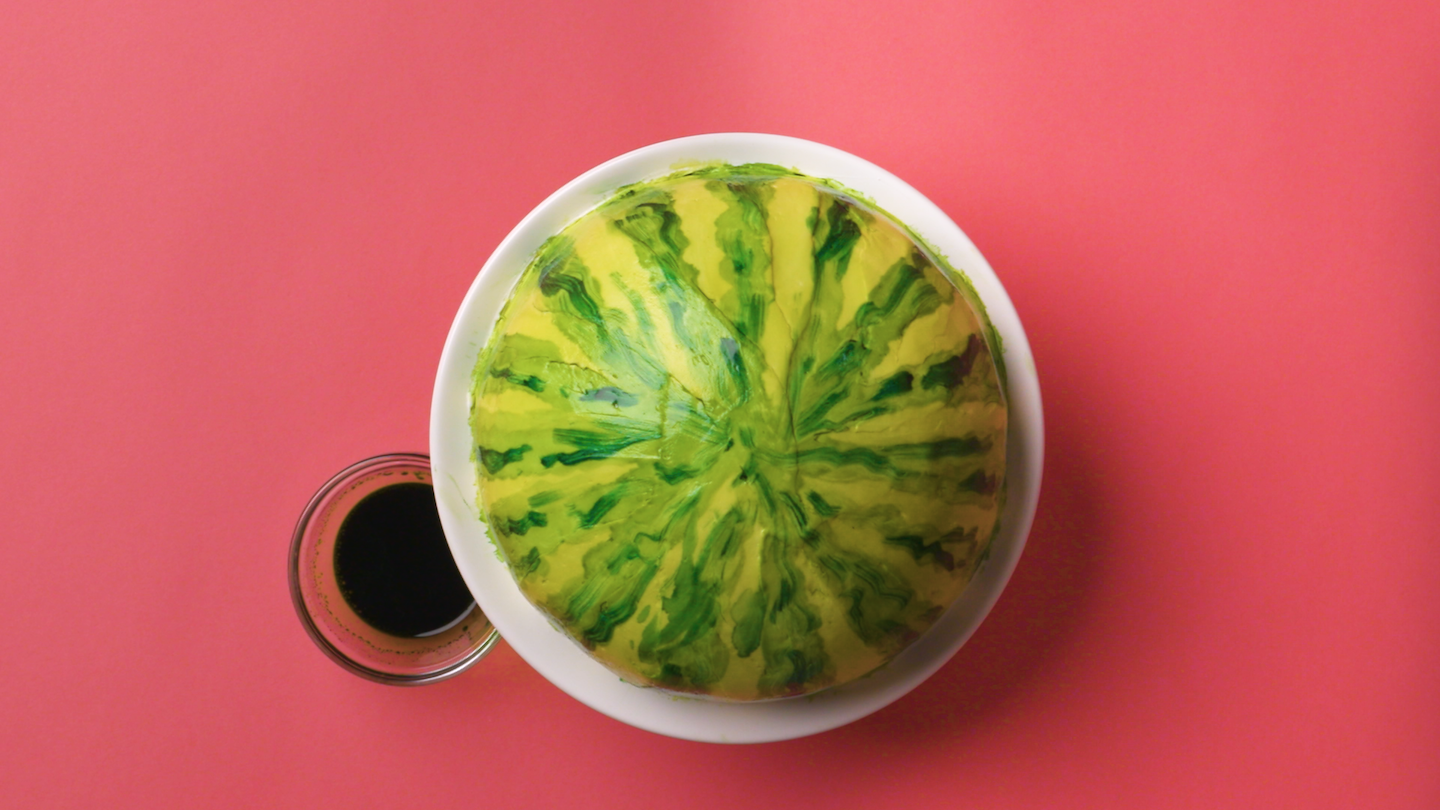
Then drip green food coloring directly onto your brush and add darker, smaller stripes to the cake. There’s no right or wrong way to paint it — when you’re happy with how it looks, put your brush down!
7. Top It Off

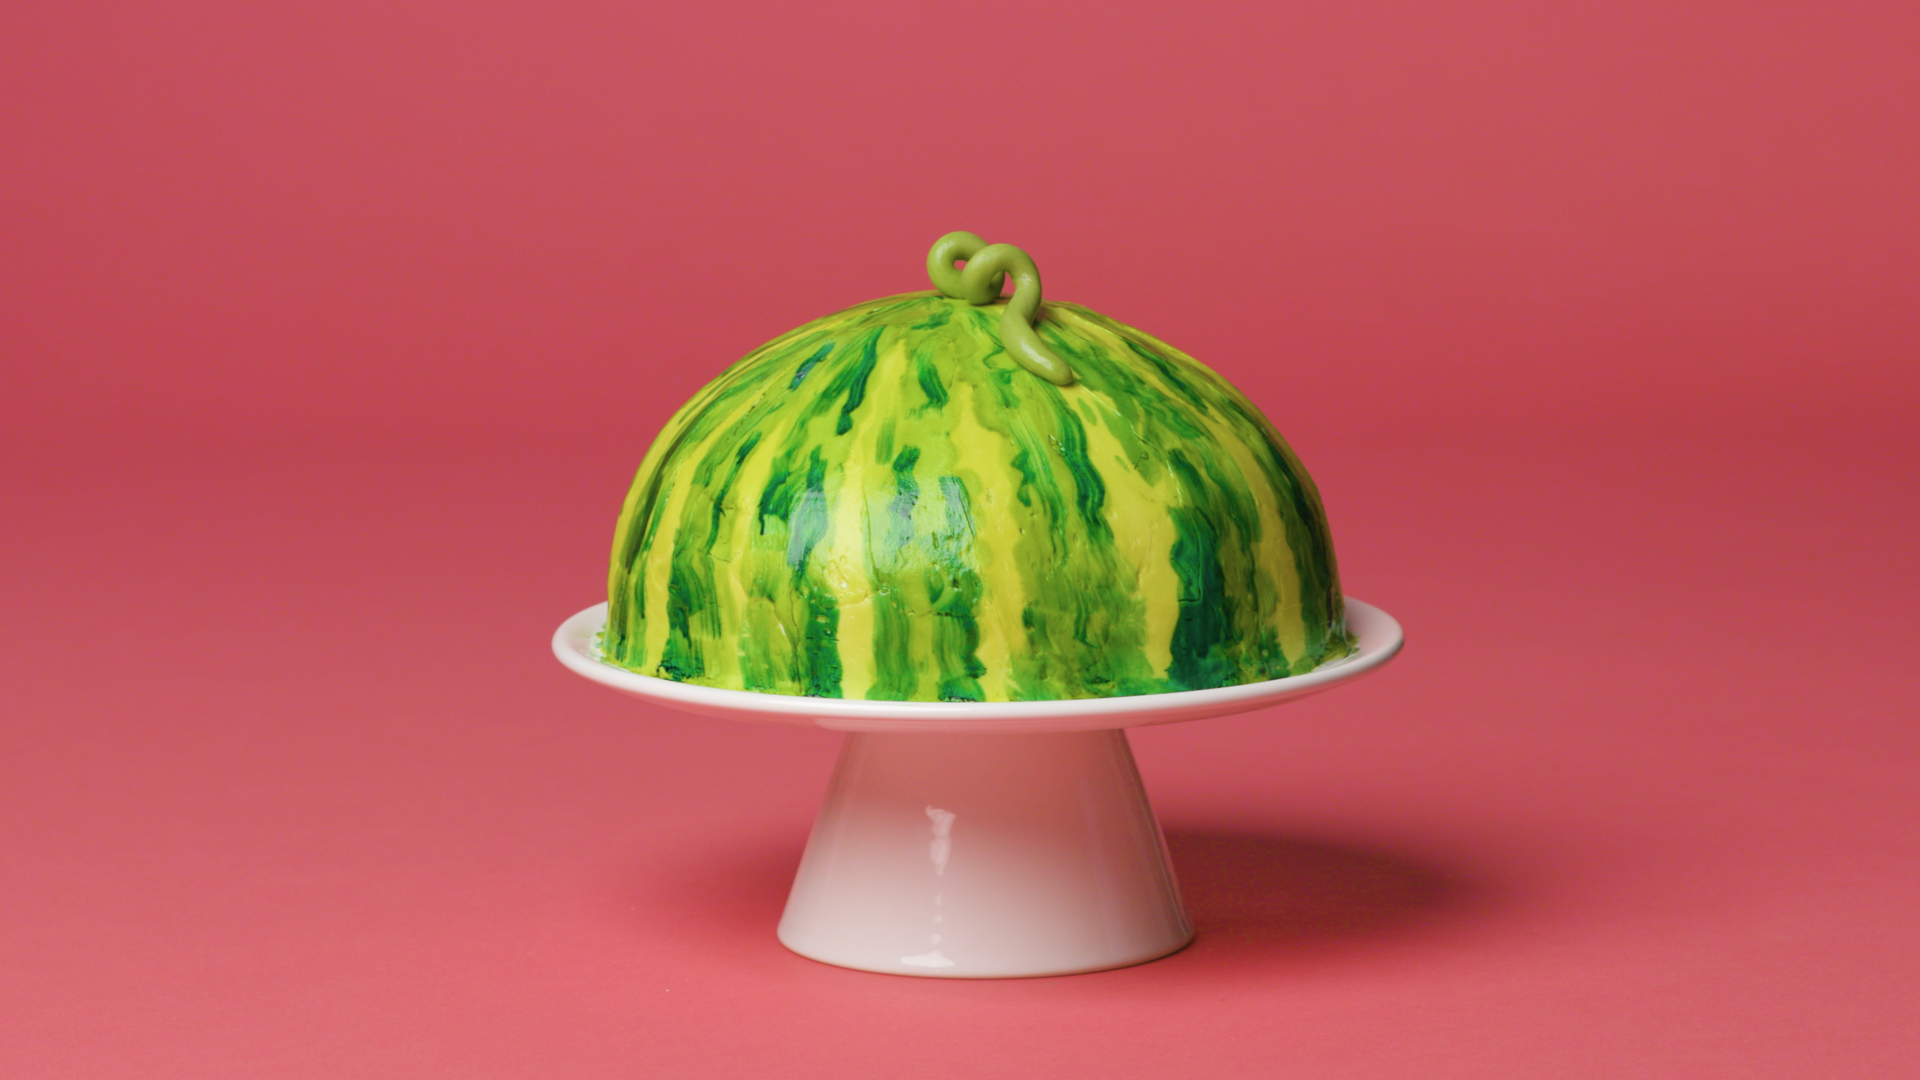
Twist, roll and coil a piece of green taffy candy until it’s curly like a watermelon vine. Place it on top of the cake. What a cute little stem!
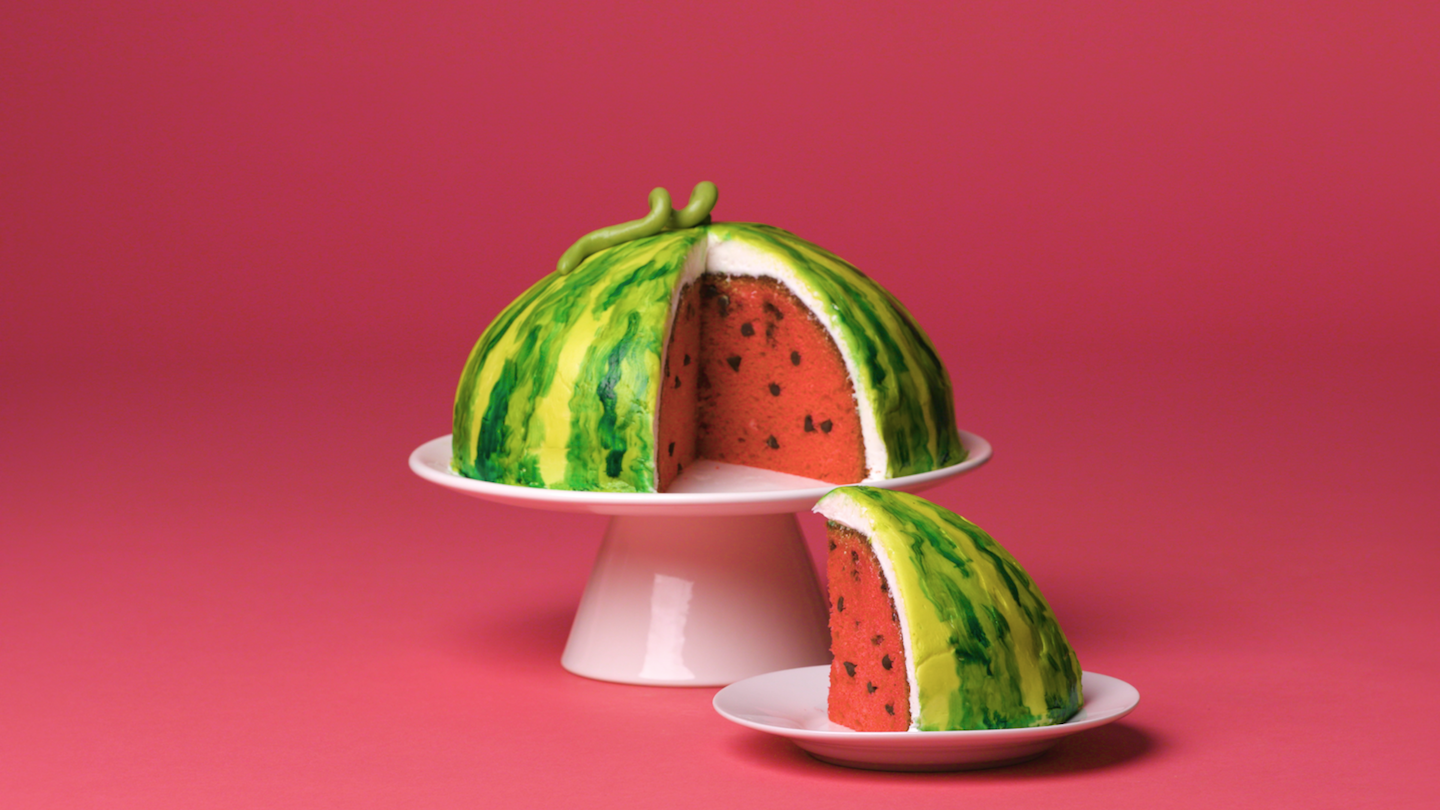
It’s the perfect summer cake!
Orange Cake
Level: Easy
What You Need
Instructions
1. Prep the Batter
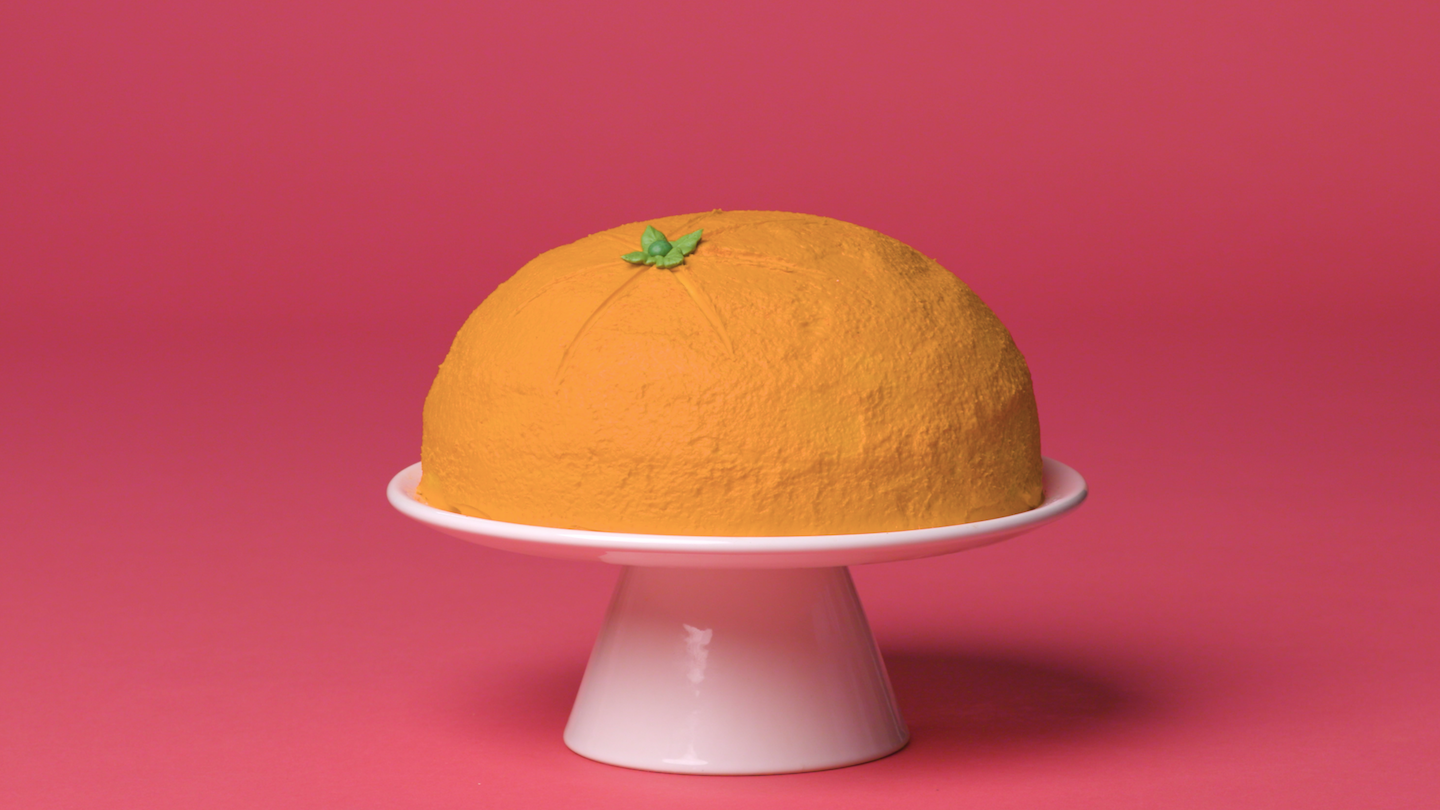
Mix together the vanilla cake recipe of your choice. Just like with the watermelon cake, add yellow and red food dye until your cake has a lovely orange color.
Pro Tip: Yellow and red make orange, of course, but since we want this to be a softer color, like the inside of the fruit, go easy on the red dye. Only add in one or two drops at a time and mix completely before you decide whether or not to add more.
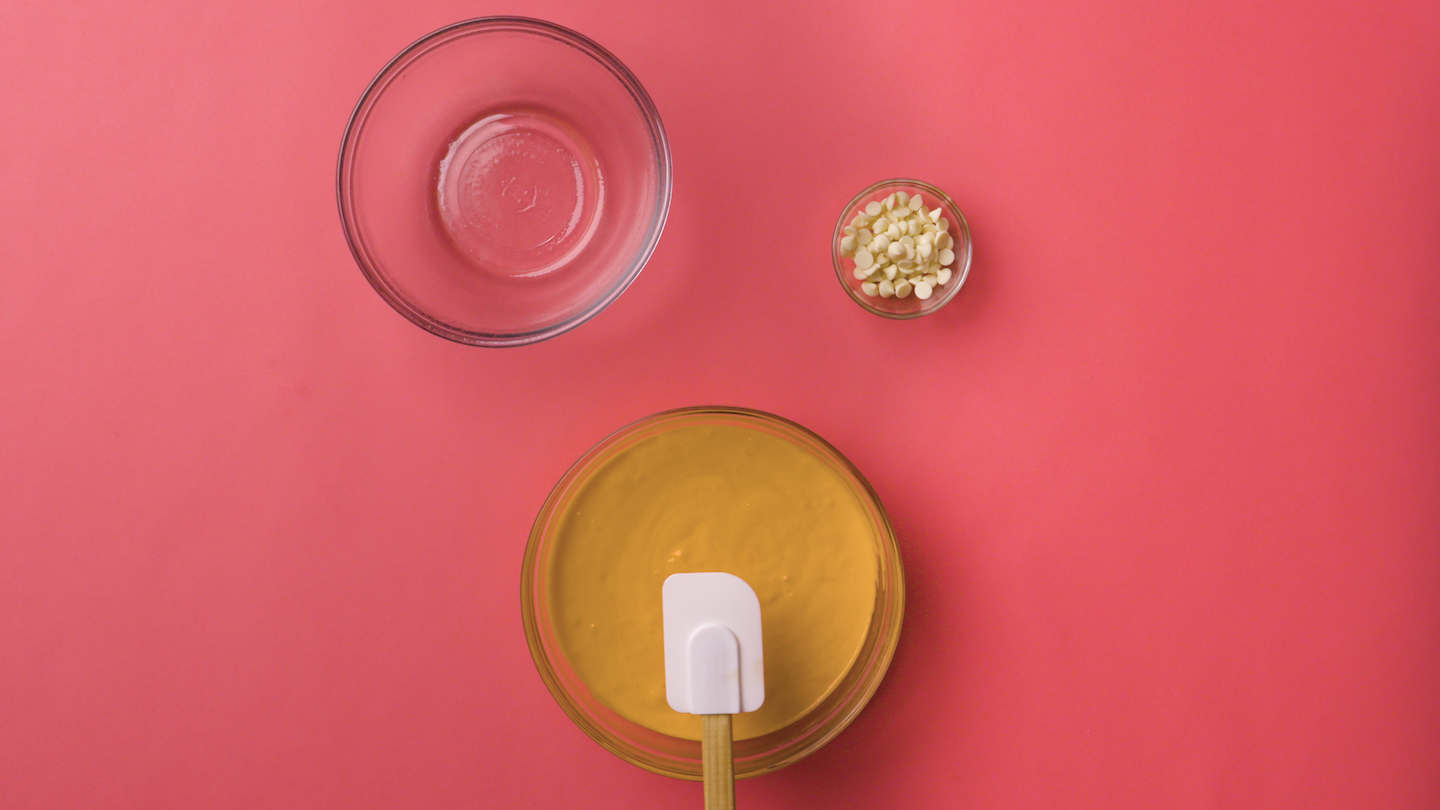
2. Add White Chocolate Chips
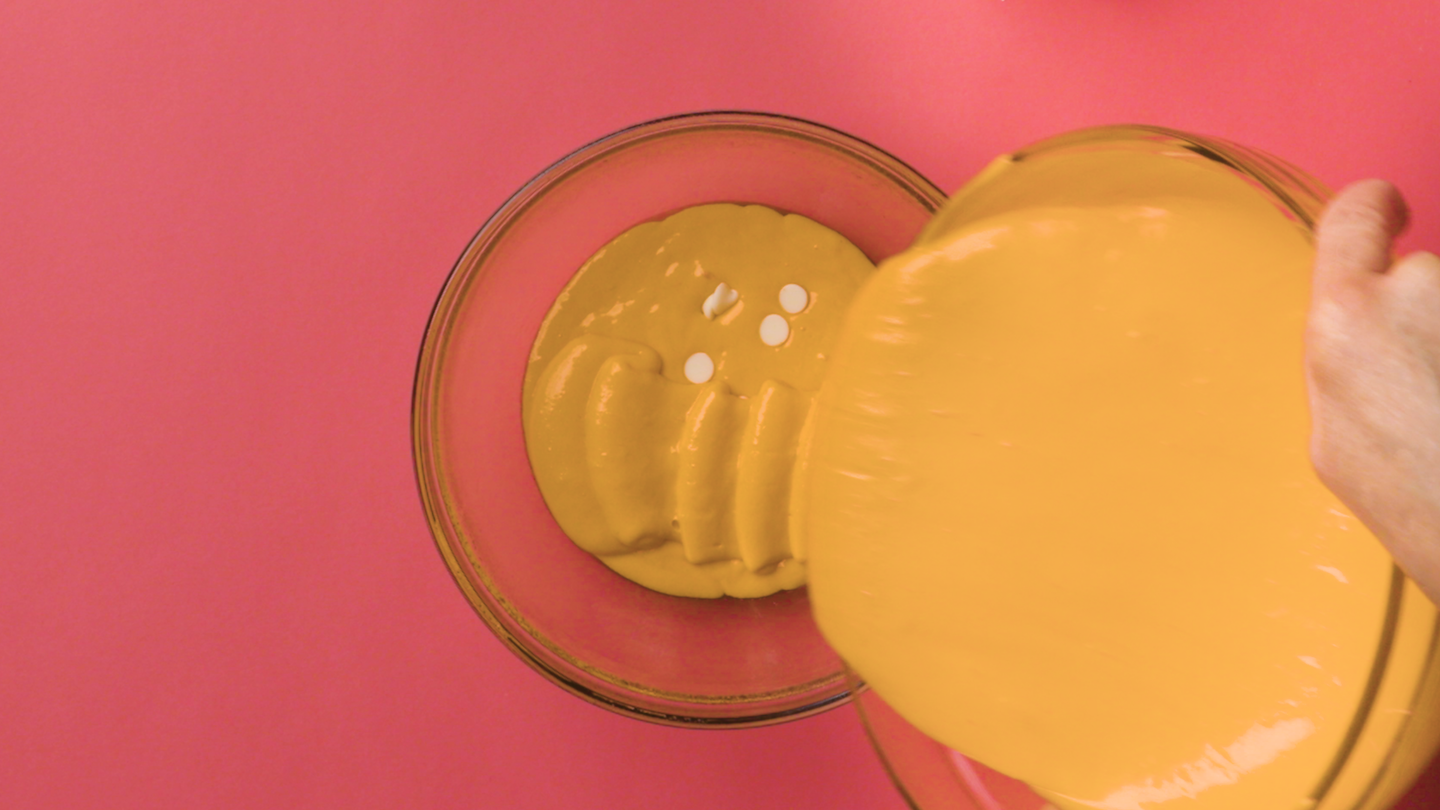
Alternate pouring the batter and sprinkling white chocolate chips into an oven-safe bowl.
3. Bake
Bake at 350 F for 40-50 minutes. When the cake is done, let it cool completely before moving on.
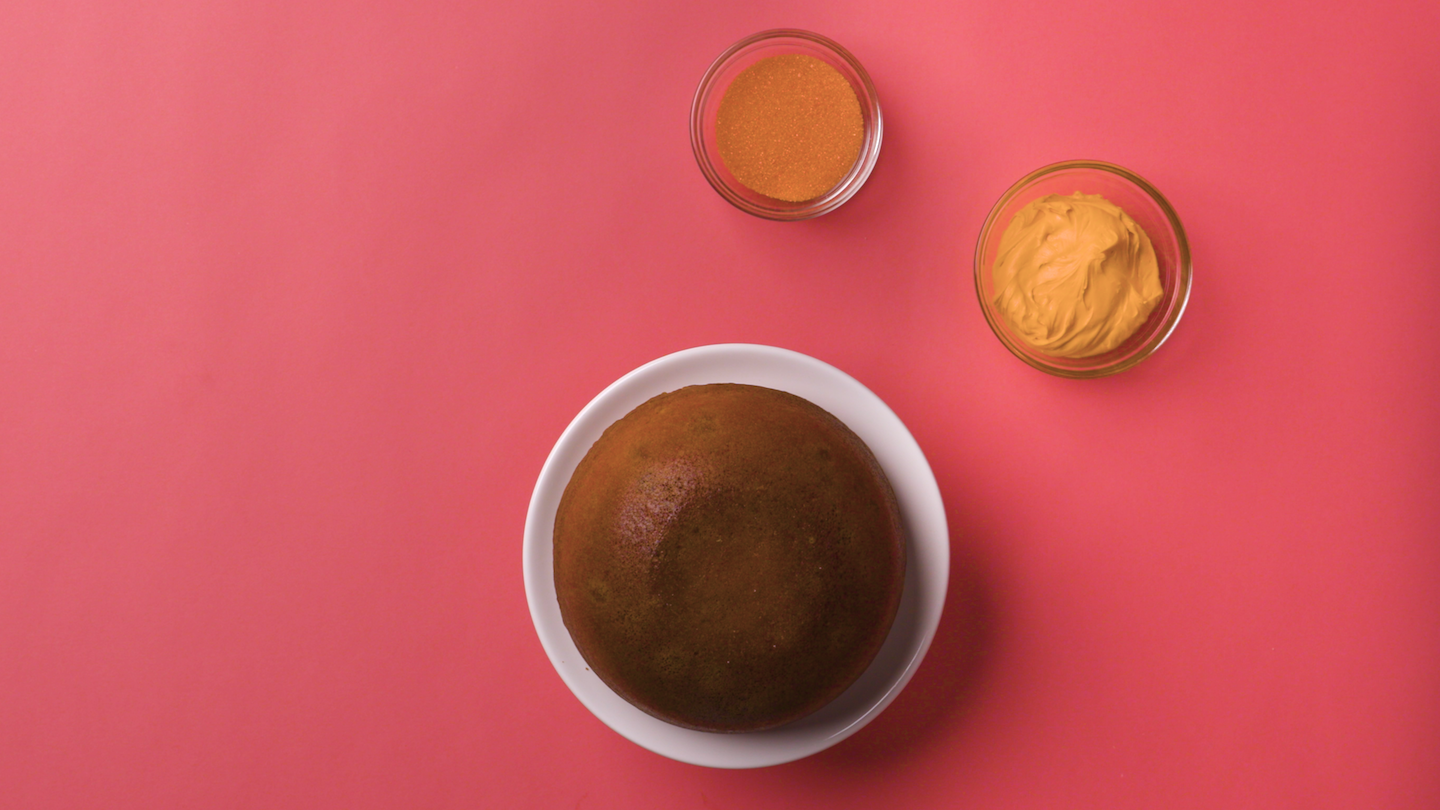
4. Frost the Cake
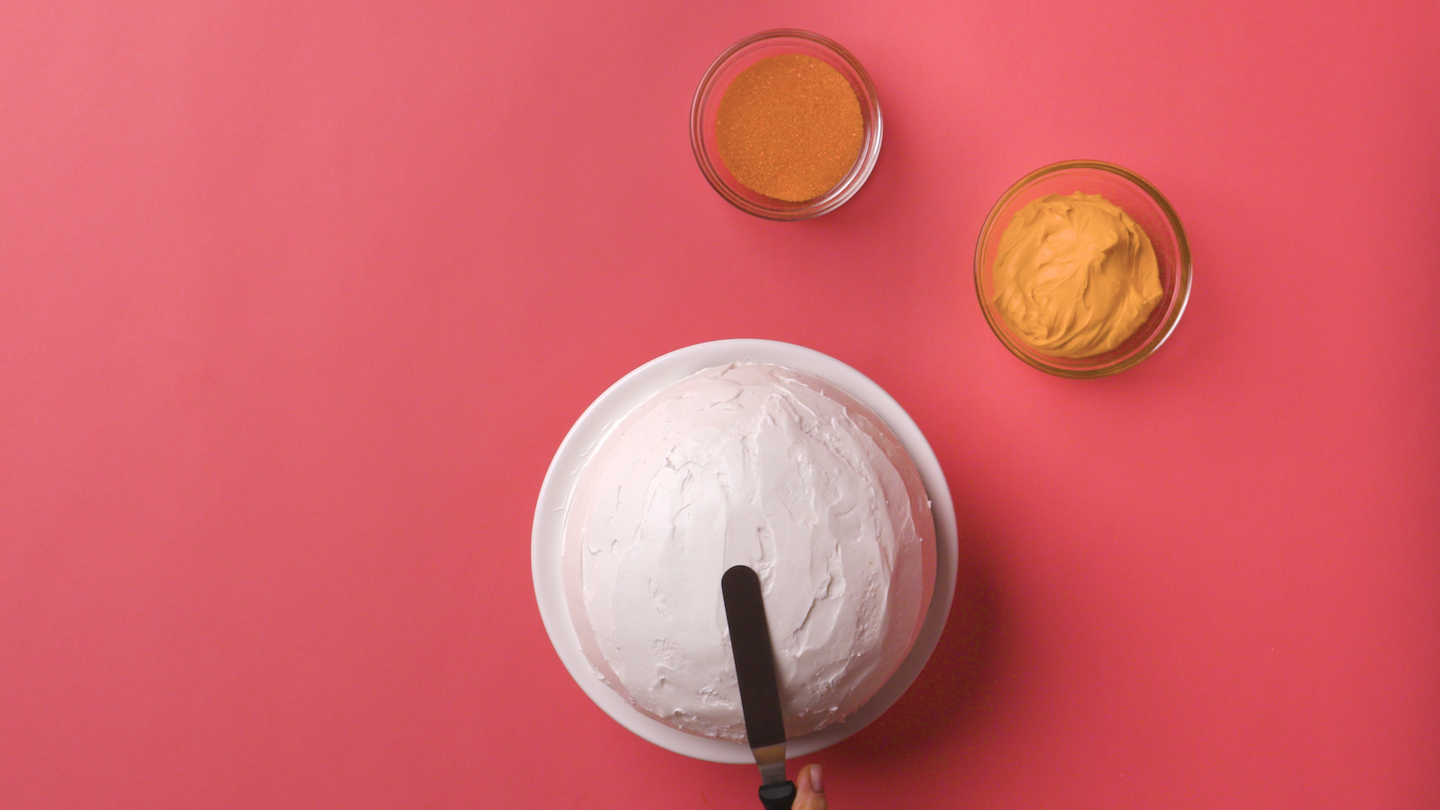
As the cake cools, mix together white buttercream (again, either Swiss Meringue or American). Place the cake flat side down onto a cake stand and use an offset spatula to frost the rounded side.
5. Add the Orange
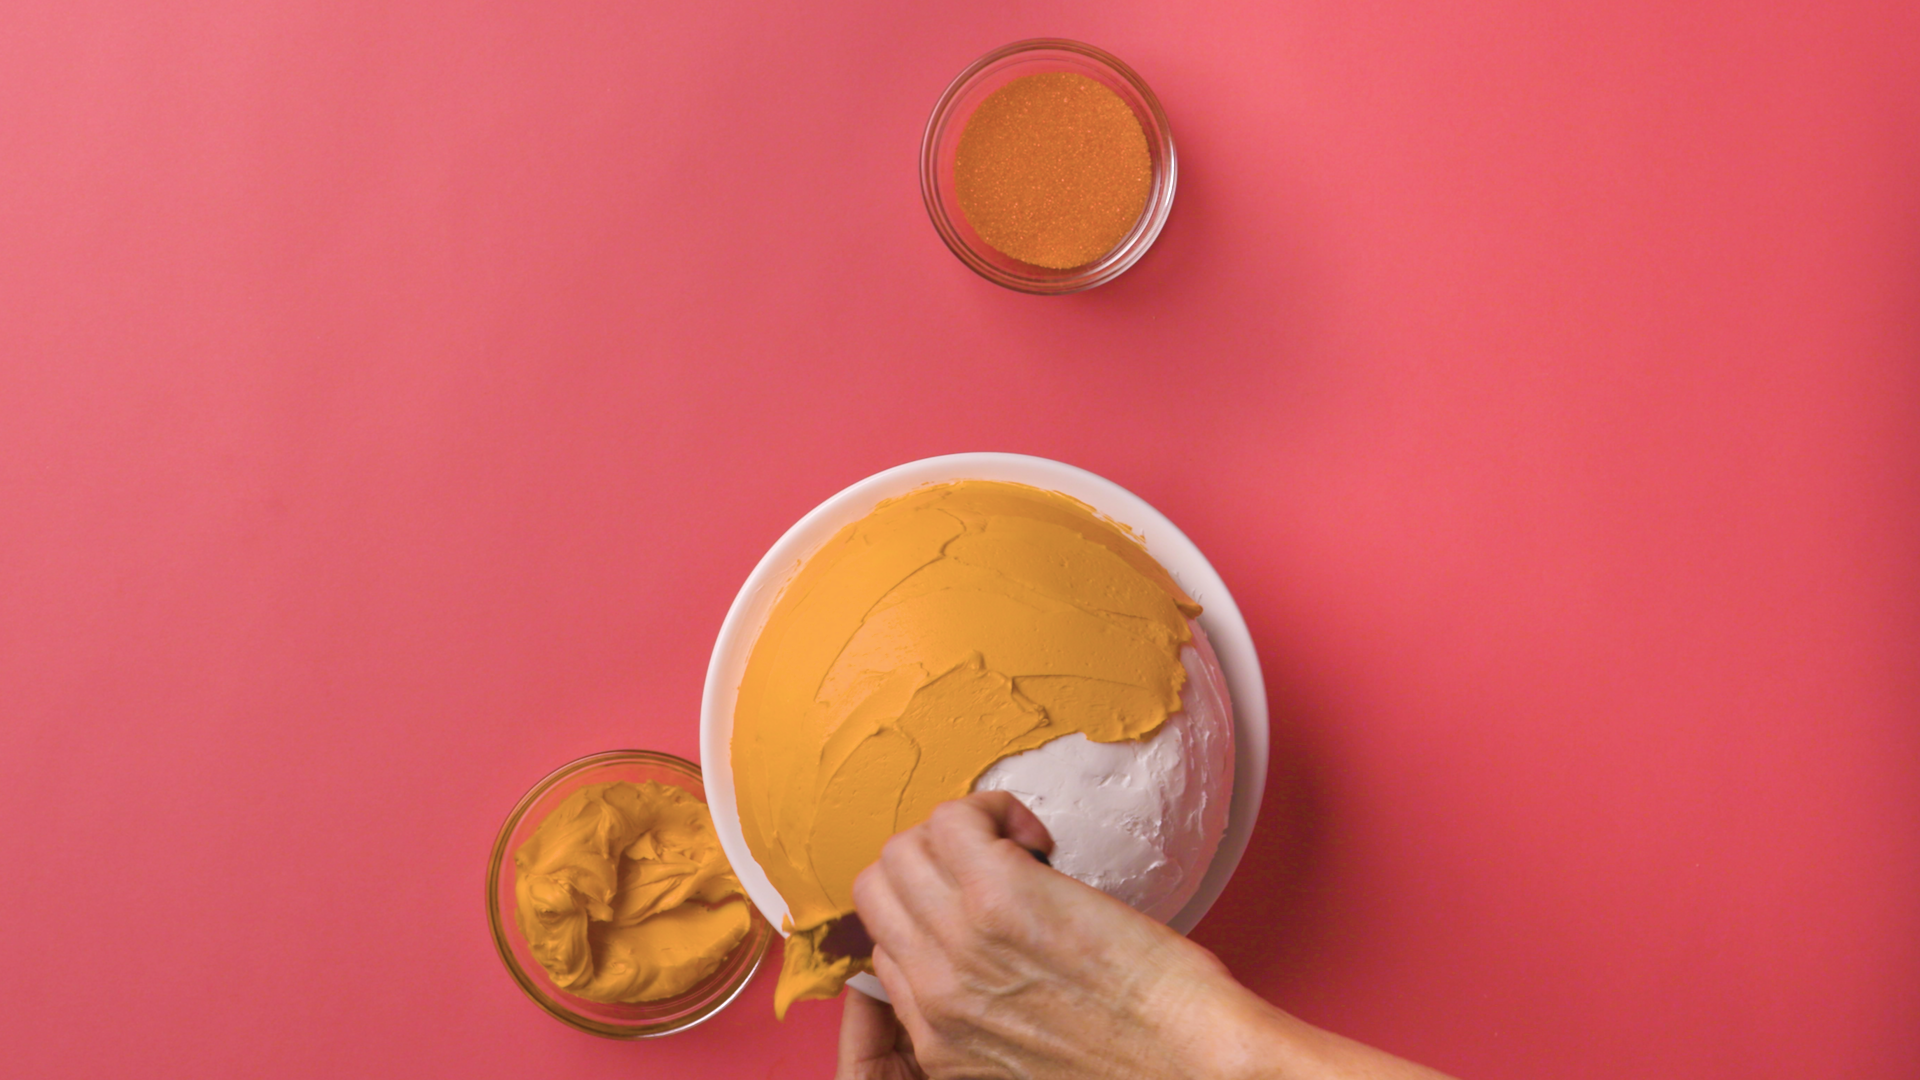
Now cover the white frosting in a layer of orange frosting. You can either add orange food coloring to your white buttercream, or try a new orange buttercream recipe to make the cake taste just how it looks.
6. Bring the Texture

Once the cake is frosted, sprinkle orange sanding sugar over the top. Then take a clean dish towel and gently press a corner into the buttercream. Work all the way around the cake until the frosting has a pocked texture, just like a real orange peel.
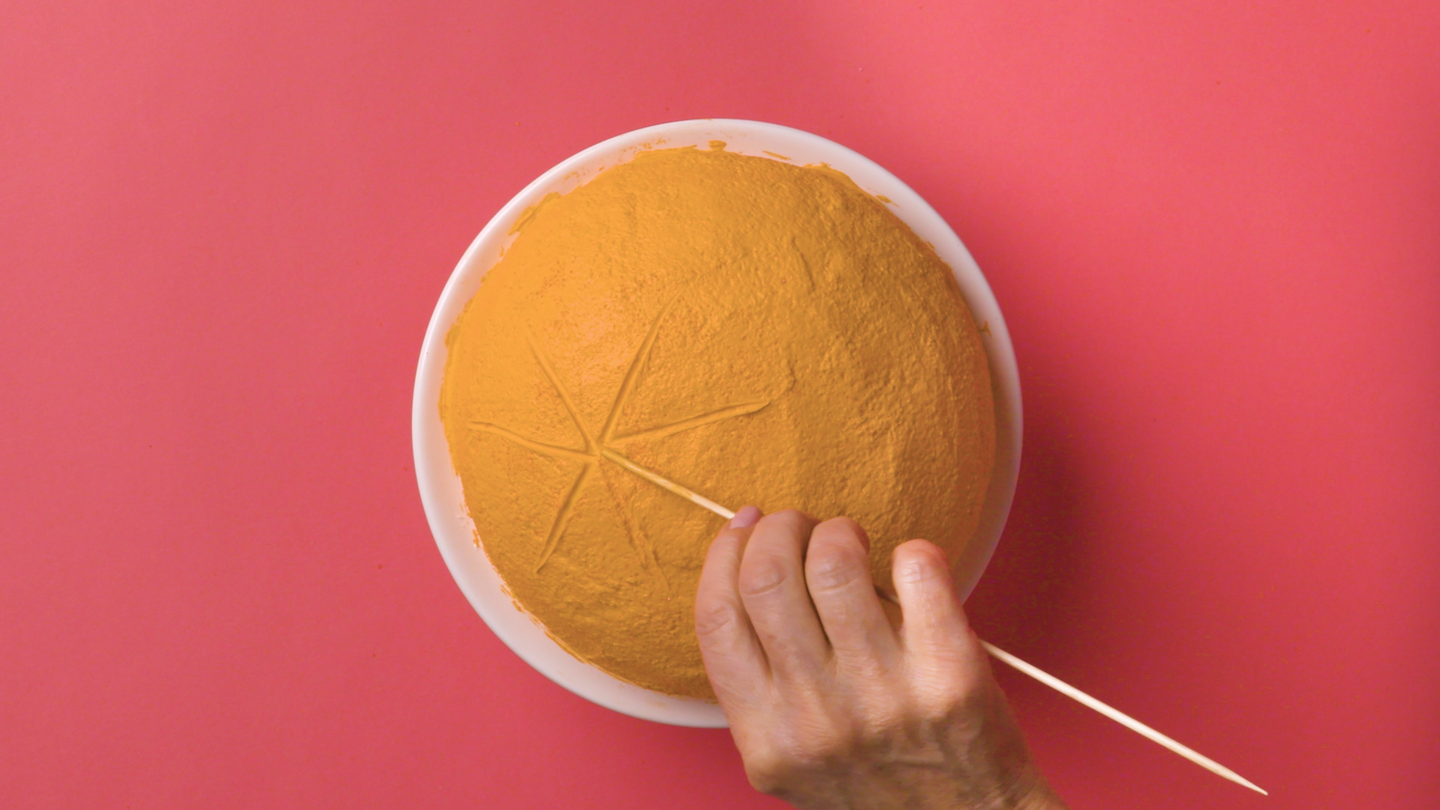
Use a dowel to trace a circle of lines in the buttercream. You can center this or put it a bit askew — whatever you think looks best.
7. Top It Off
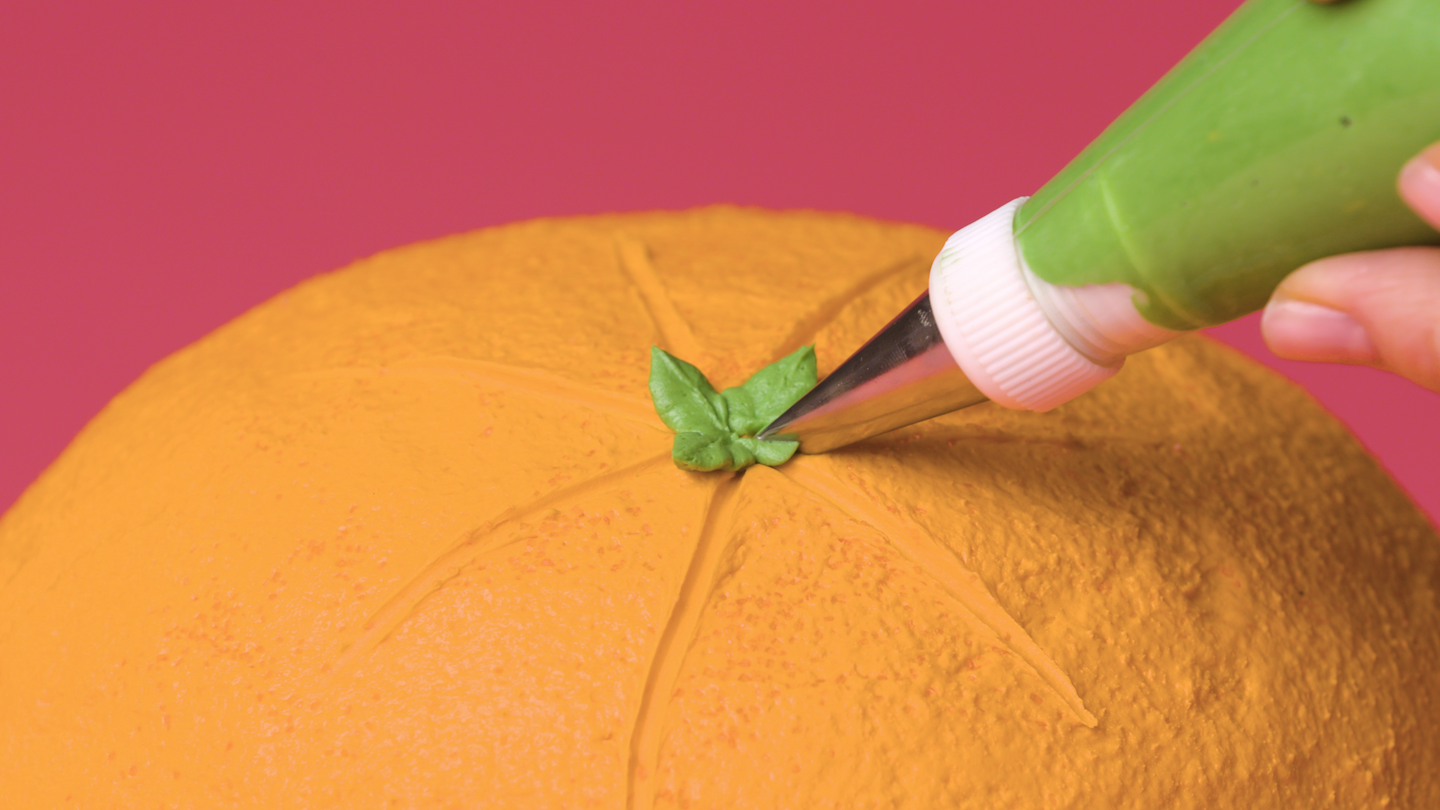
Color your remaining white buttercream with green food dye and fill a piping bag fitted with a leaf tip. Pipe small leaves in the center of your intersecting lines. For the final touch, place a green round candy in the leafy center.
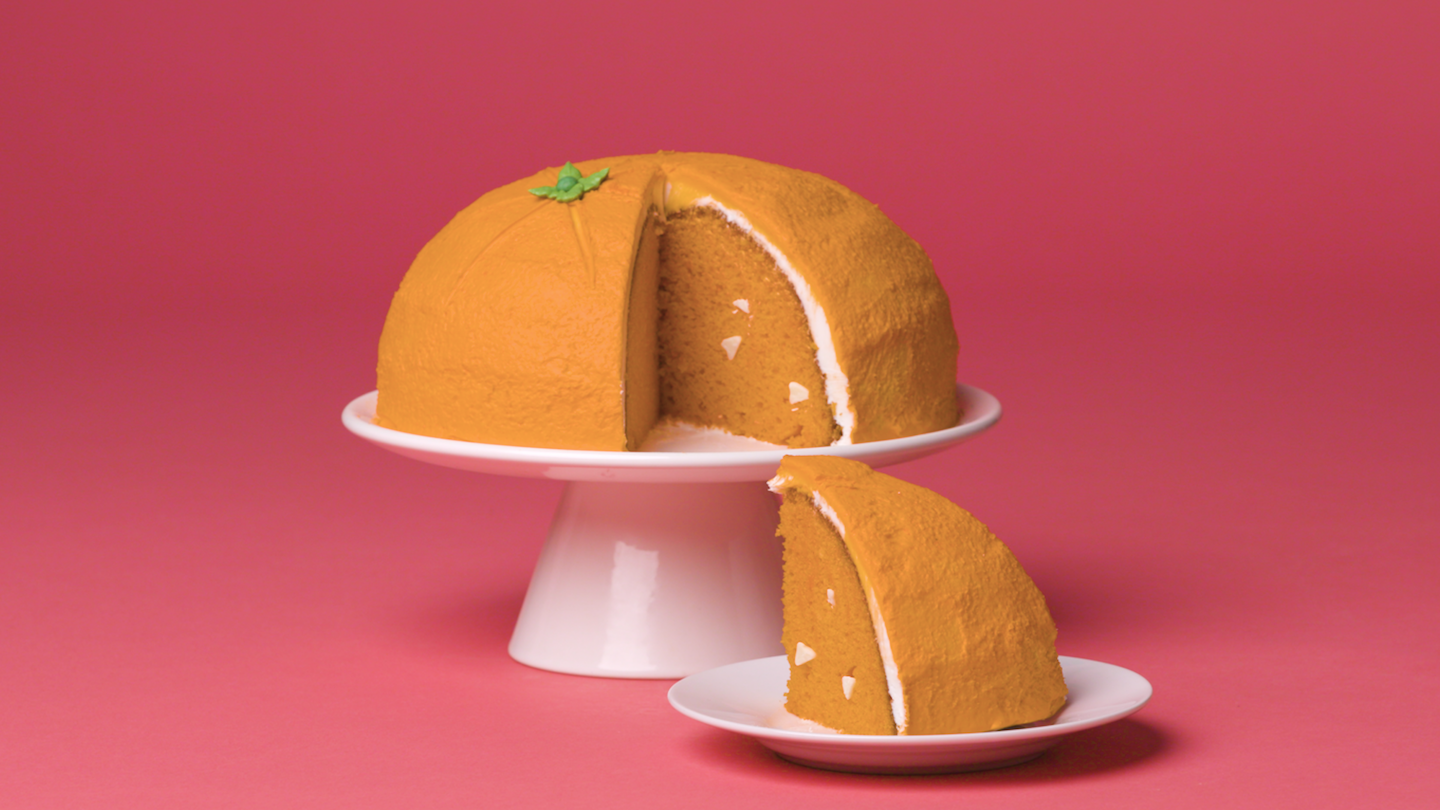
Cut. That. Citrus.
Pineapple Cake
Level: Easy
What You Need
Instructions
1. Prep the Batter
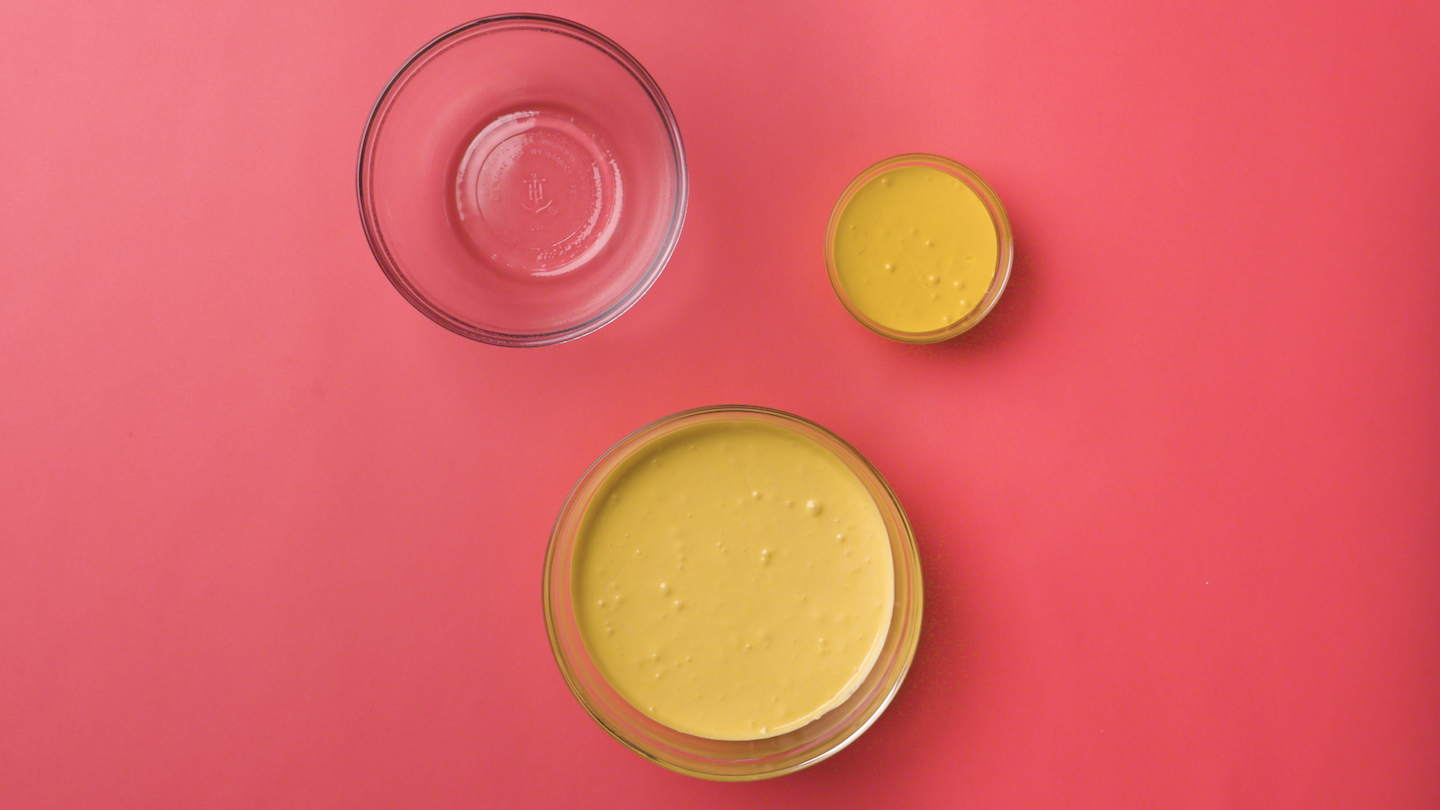
Mix together two bowls of vanilla cake batter — one large, one much smaller. Just like with the other cakes, add yellow food coloring to the batter and mix until the color is smoothly combined. The larger bowl should be a lighter yellow, while the small bowl needs to be a bit darker.
2. Pour and Pipe

Pour a bit of the lighter batter into an oven-safe food bowl. Spoon the small bowl of batter into a plastic bag, cut off a corner and squeeze to pipe squiggles on top of the batter. Pour more batter into the bowl, then pipe more squiggle designs. Keep doing this until all the lighter batter is added to the bowl.
3. Bake
Bake at 350 F for 40-50 minutes. When the cake is done, let it cool completely before moving on.
4. Prep for the Top
Place the cake flat side down on a cake stand. As it cools, we’re going to create the leafy top.
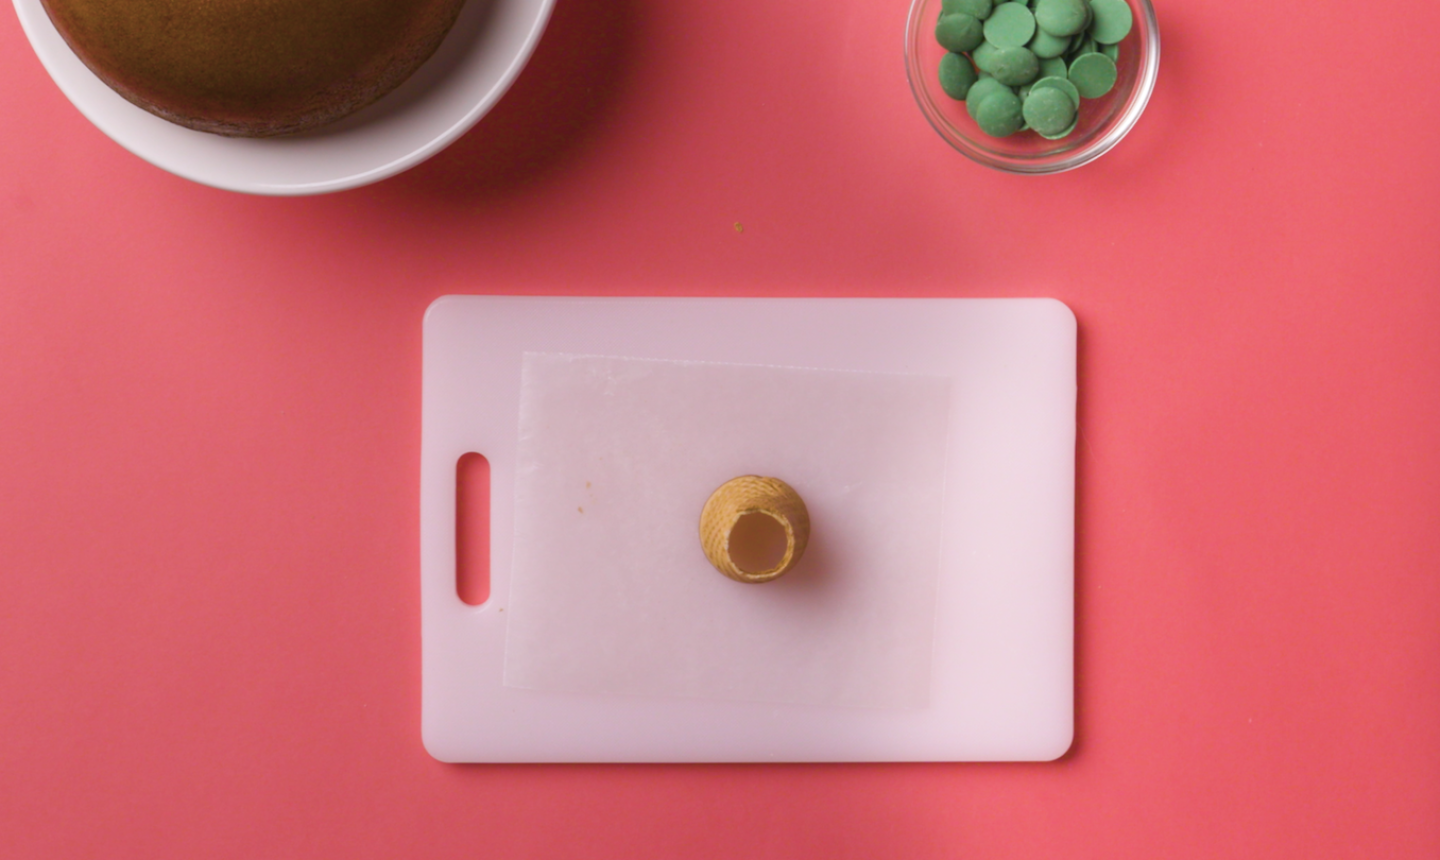
Use a knife to cut an ice cream sugar cone in half and remove the pointy end. Place the cone so the wider end is on the bottom.
Melt a bowl of green candy melts. Then, before building, make a ring out of tin foil and place the ice cream cone in the center. The foil ring will help hold the topper in place as it dries.
5. Build the Topper
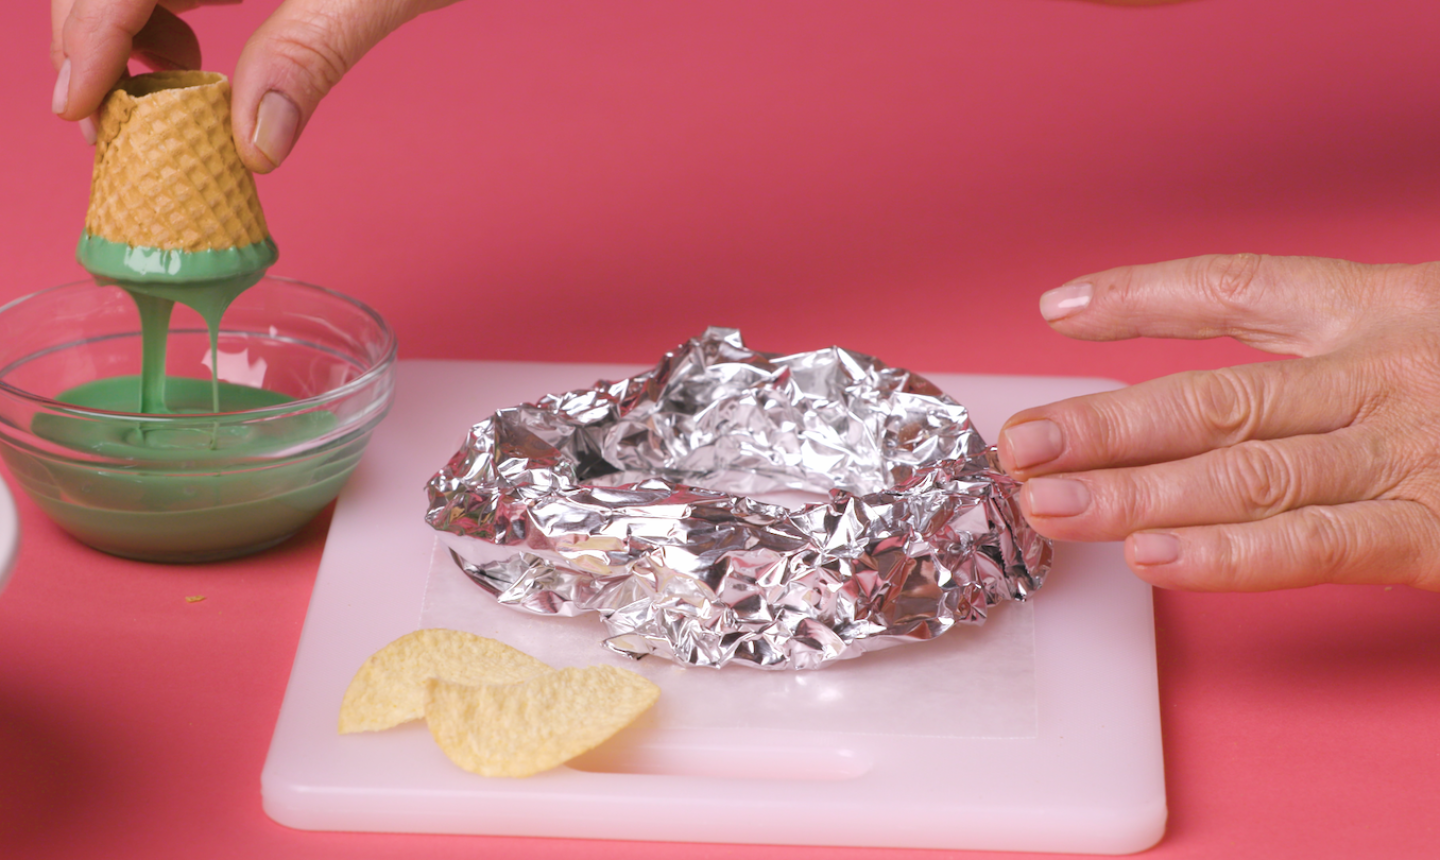
Dip the wide base of the ice cream cone into the candy melts and place it onto wax paper.
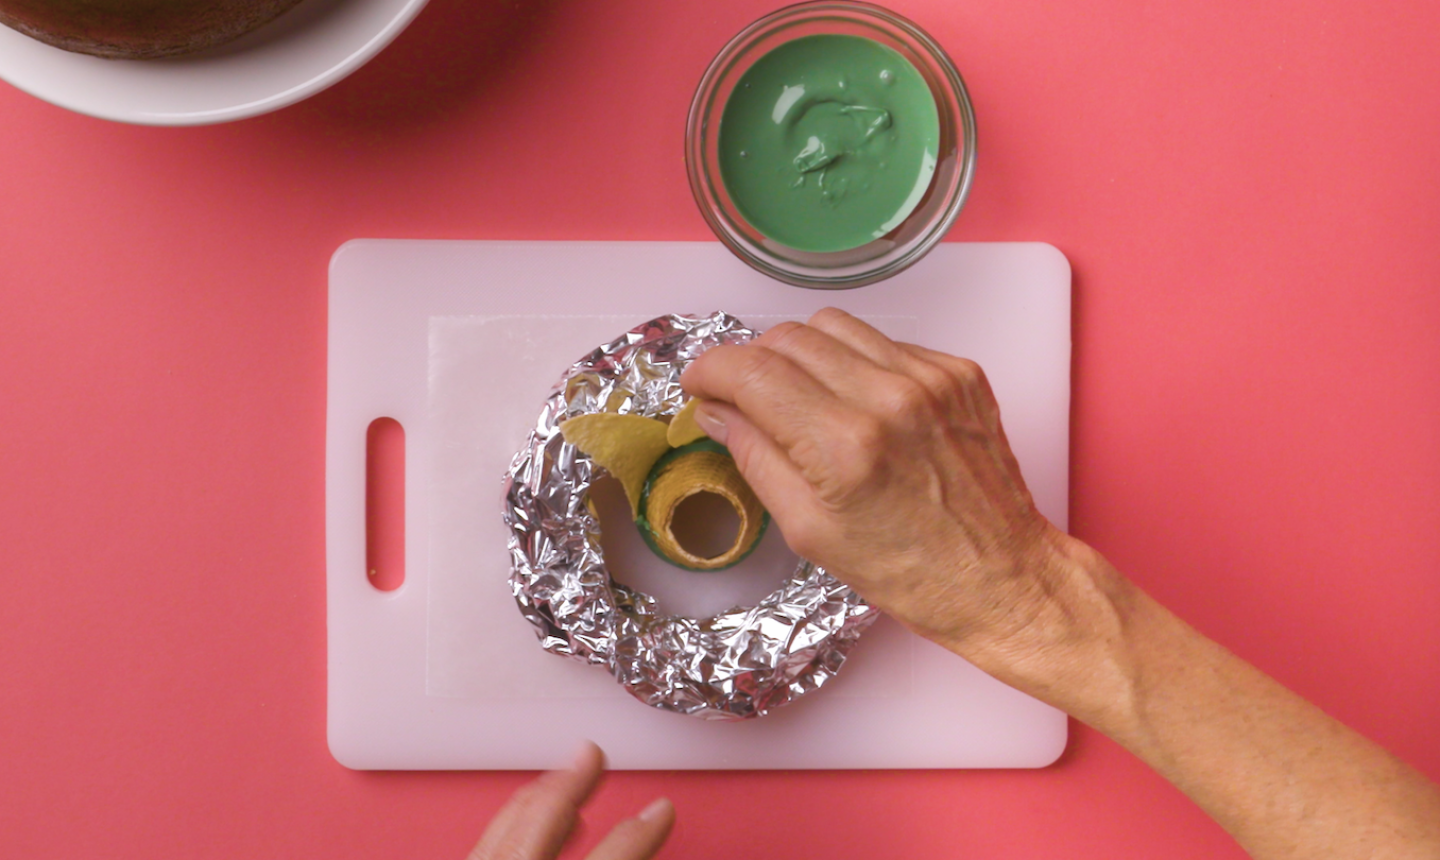
Break a potato chip in half and dip the bottom of each piece into the melts, then stick them to the cone base. The melts will hold the chips in place as it dries.
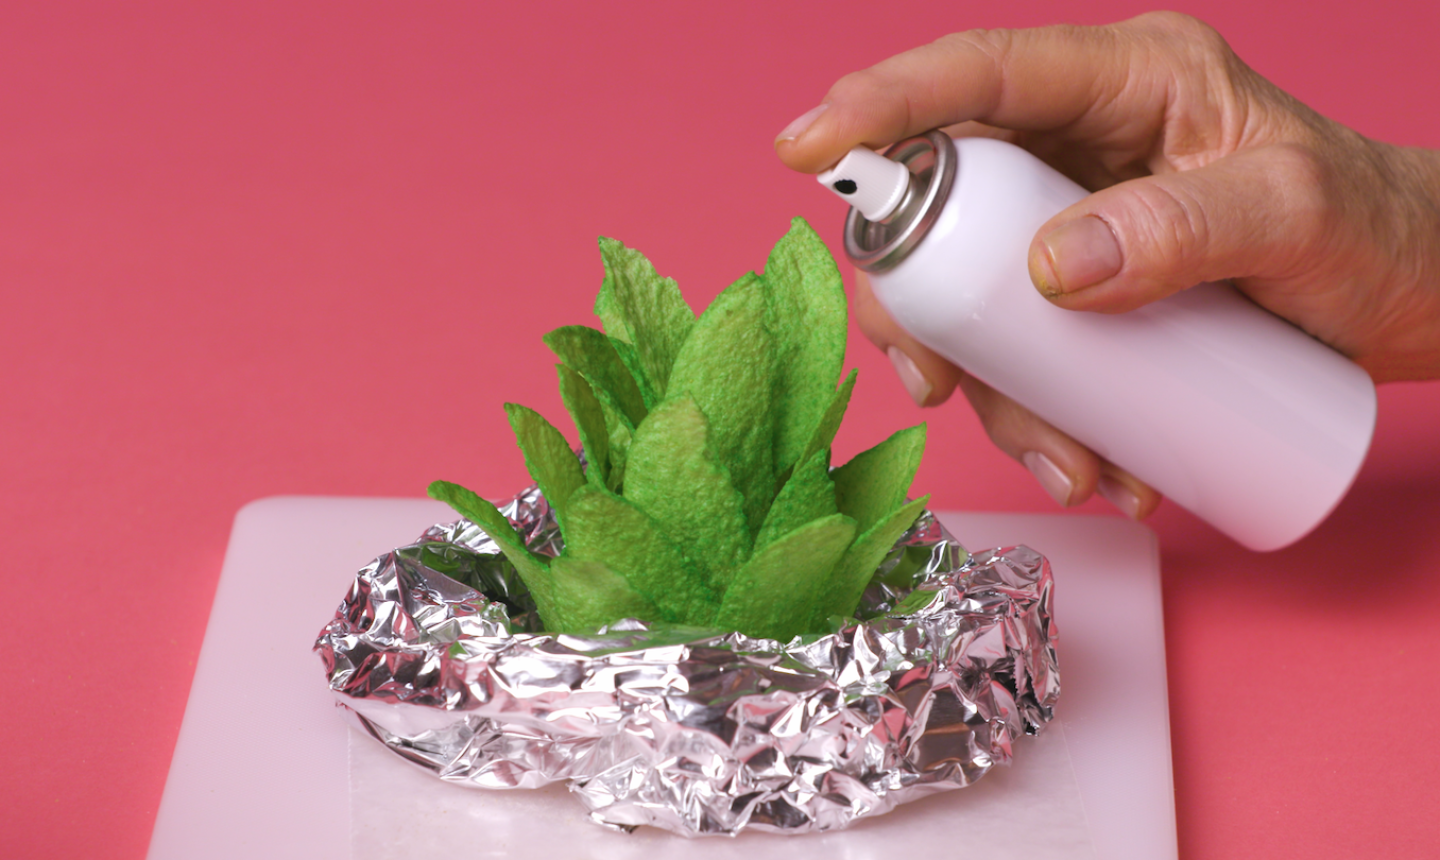
Keep building the top with chip halves, working around and up the cone. When it’s constructed, spray it with green food dye and set it aside to dry.
6. Prep the Buttercream
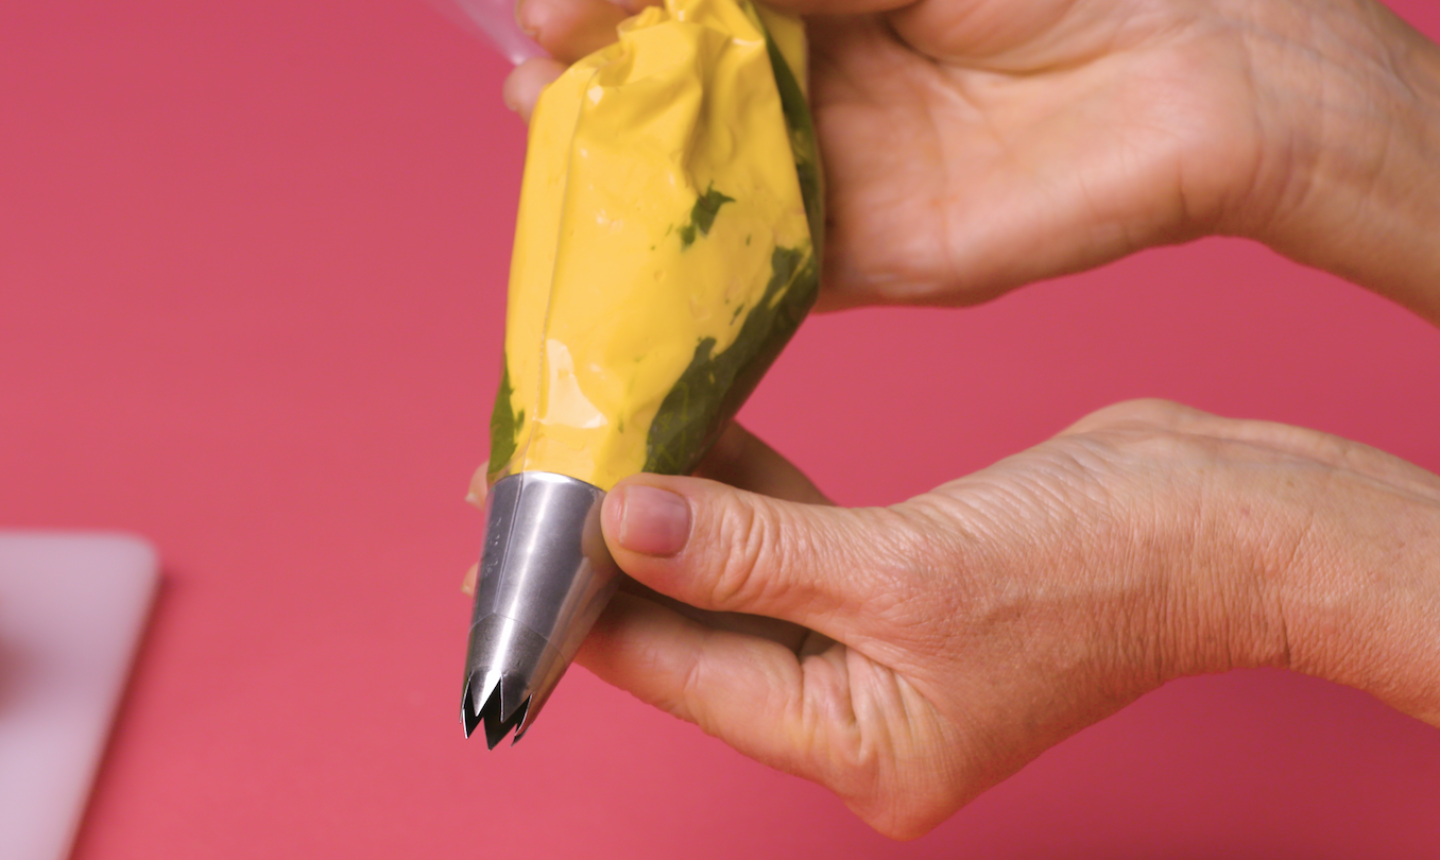
Add yellow food coloring to Swiss meringue or American buttercream. Set a small amount of yellow buttercream aside and mix it with chocolate frosting.
Fill a piping bag fitted with a large star tip with the yellow buttercream and the chocolate-yellow mixture. This will make your piping two-toned.
Level: To properly stripe your piping bag, use an offset spatula to spread the chocolate-yellow mix on opposite sides of the bag. Then spoon in the rest of your pure yellow buttercream. You don’t want to overdo it on the chocolate mixture, or your cake will be dominated by the brownish-green color.
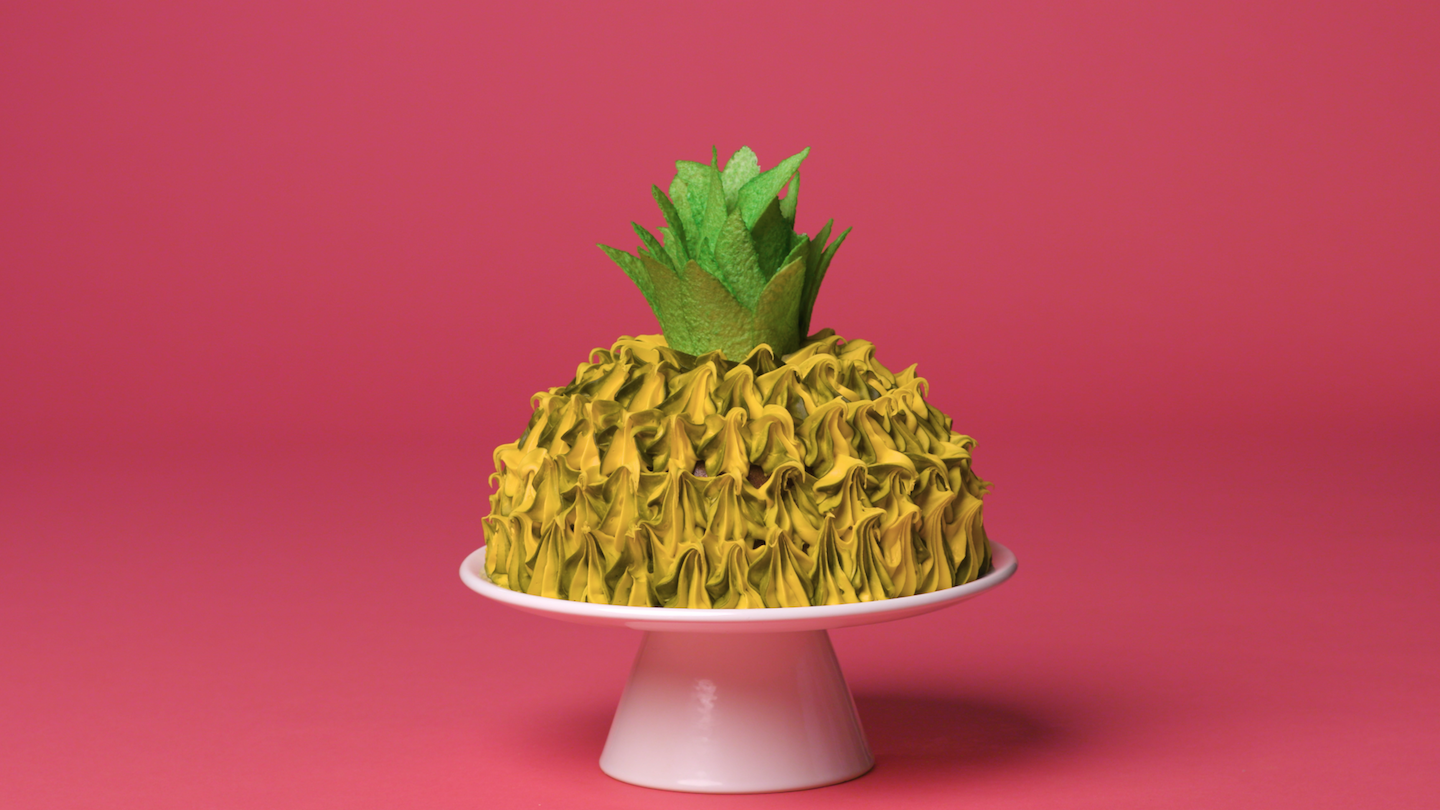
7. Get Pipin’

First, pipe a rosette right on top of the cake. Use this buttercream to stick on the green topper.
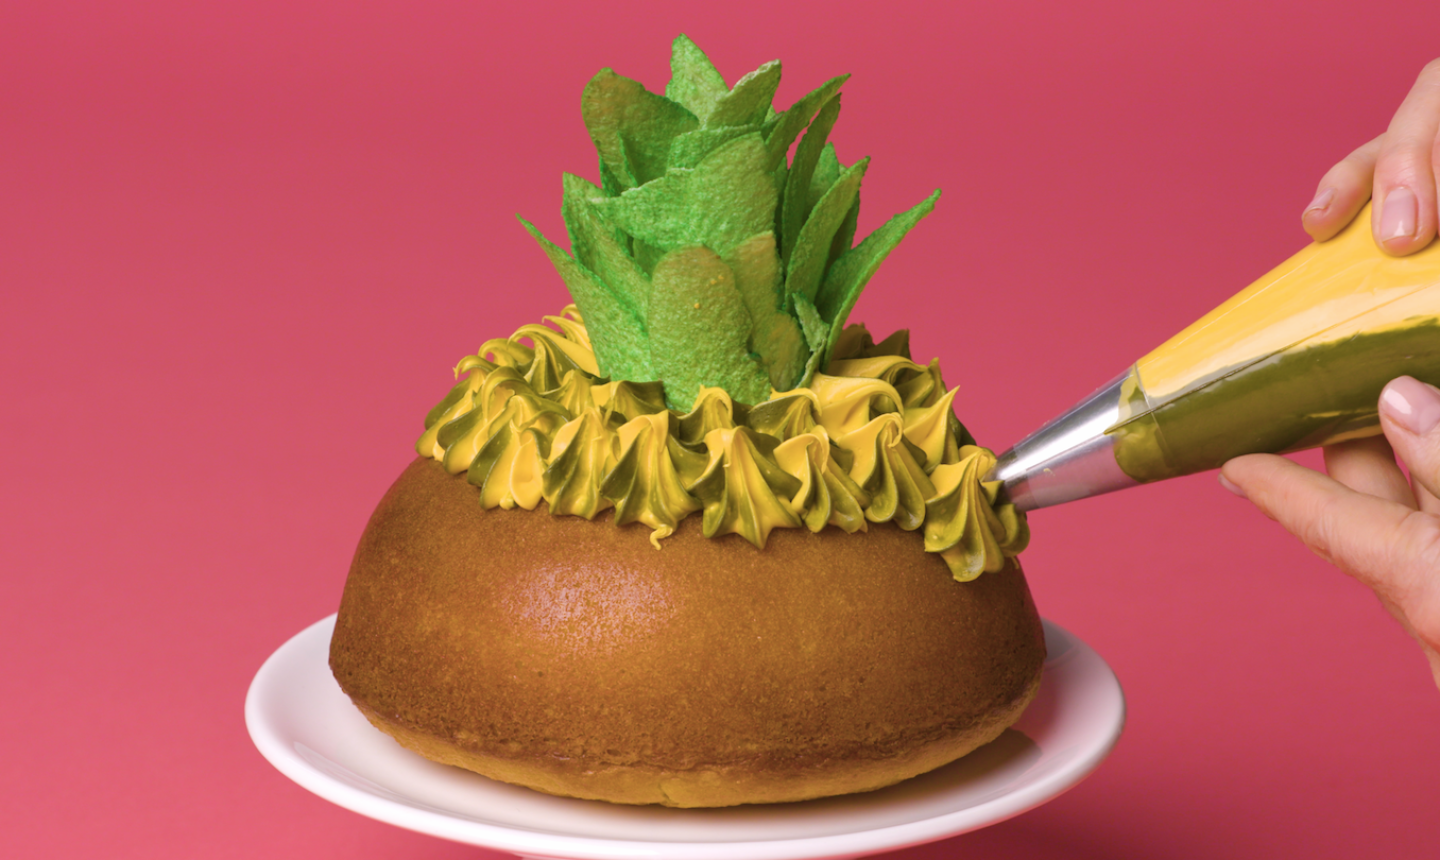
Then pipe stars all the way around your cake until the entire surface is covered.
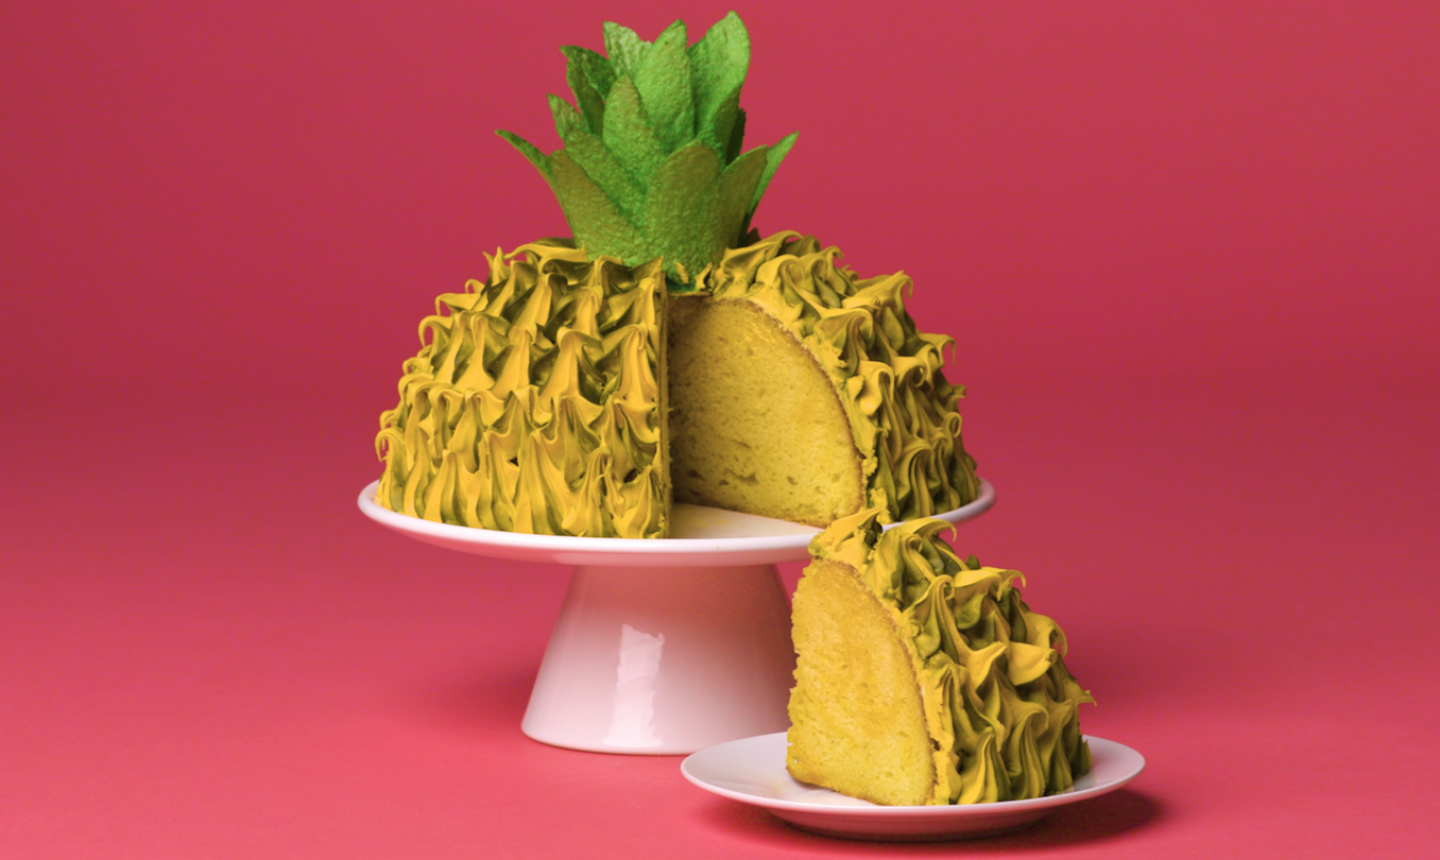
It’s just like being in the tropics!
Looking to learn cake decorating? Check out our Startup Library: Cake Decorating now!

Share tips, start a discussion or ask other students a question. If you have a question for an expert, please click here.
Already a member? Sign in
No Responses to “These "Fruit" Cakes Are the Perfect Summer Party Treat”