You already know that knitting in the round is a total game-changer when you’re stitching up all those fall sweaters. But when you’re making something smaller (socks, sleeves, mittens, etc), you’re gonna need to work some magic. You can learn the knitting method that’s totally magic. For real, though! Consider the magic loop method your new best friend.
What’s Magic Loop Knitting?
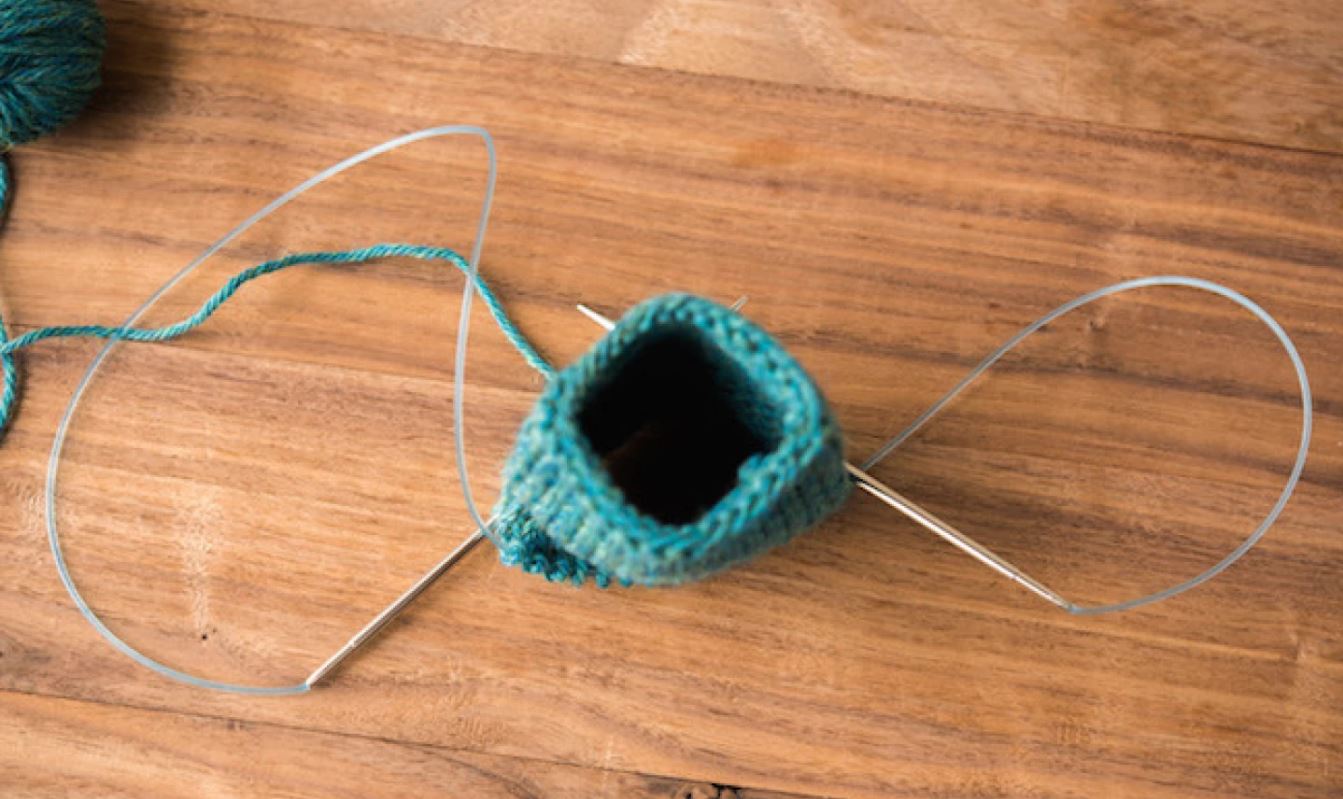
The magic loop method is way of creating pieces with small circumferences (think sweater sleeves or socks) by using just one long, circular needle. It can be done on any needle size with a cable length of at least 32″ or more, so try out a few lengths to find the one that works the best for you.
How to Knit the Magic Loop Method
Level: Easy
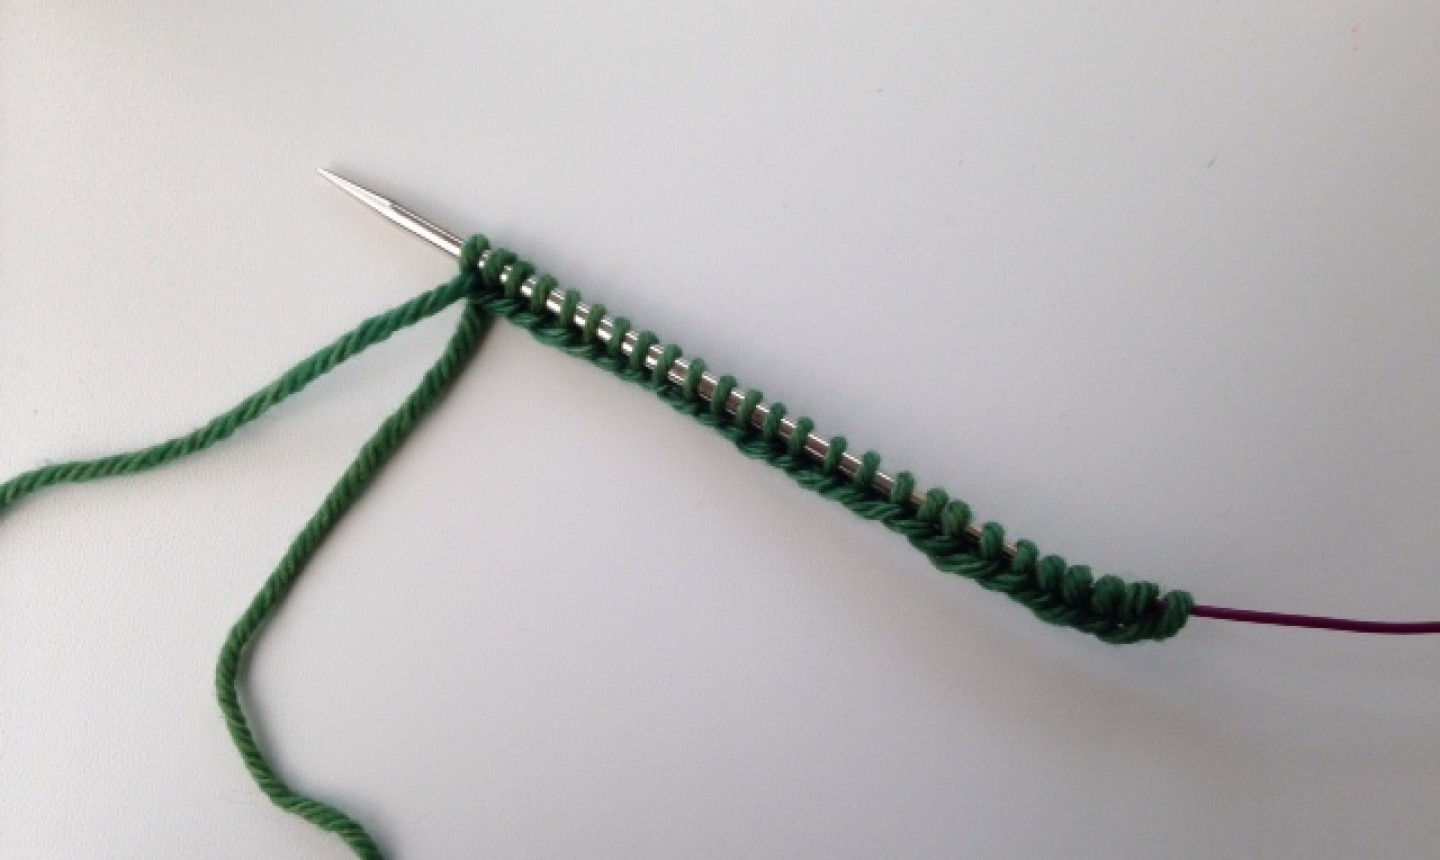
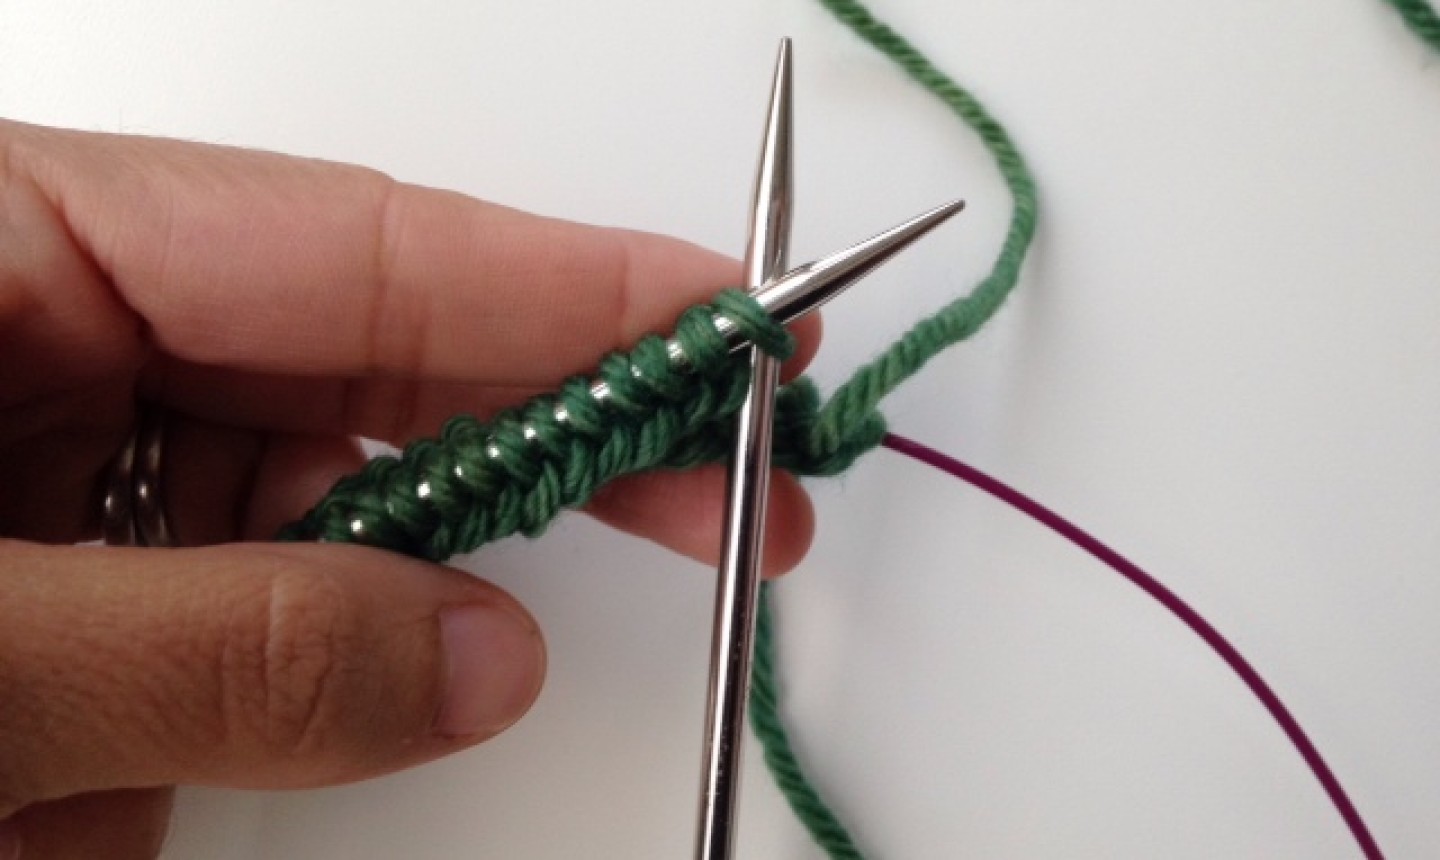
1. Begin by casting on the required number of stitches.
2. Move the stitches to the center of the cable and find the middle point (to find the middle, just count!). Gently bend your cable to bring it up between the two center stitches.
3. Pull the cable gently to the point where the cast on stitches are now resting on the needles, not the cable.

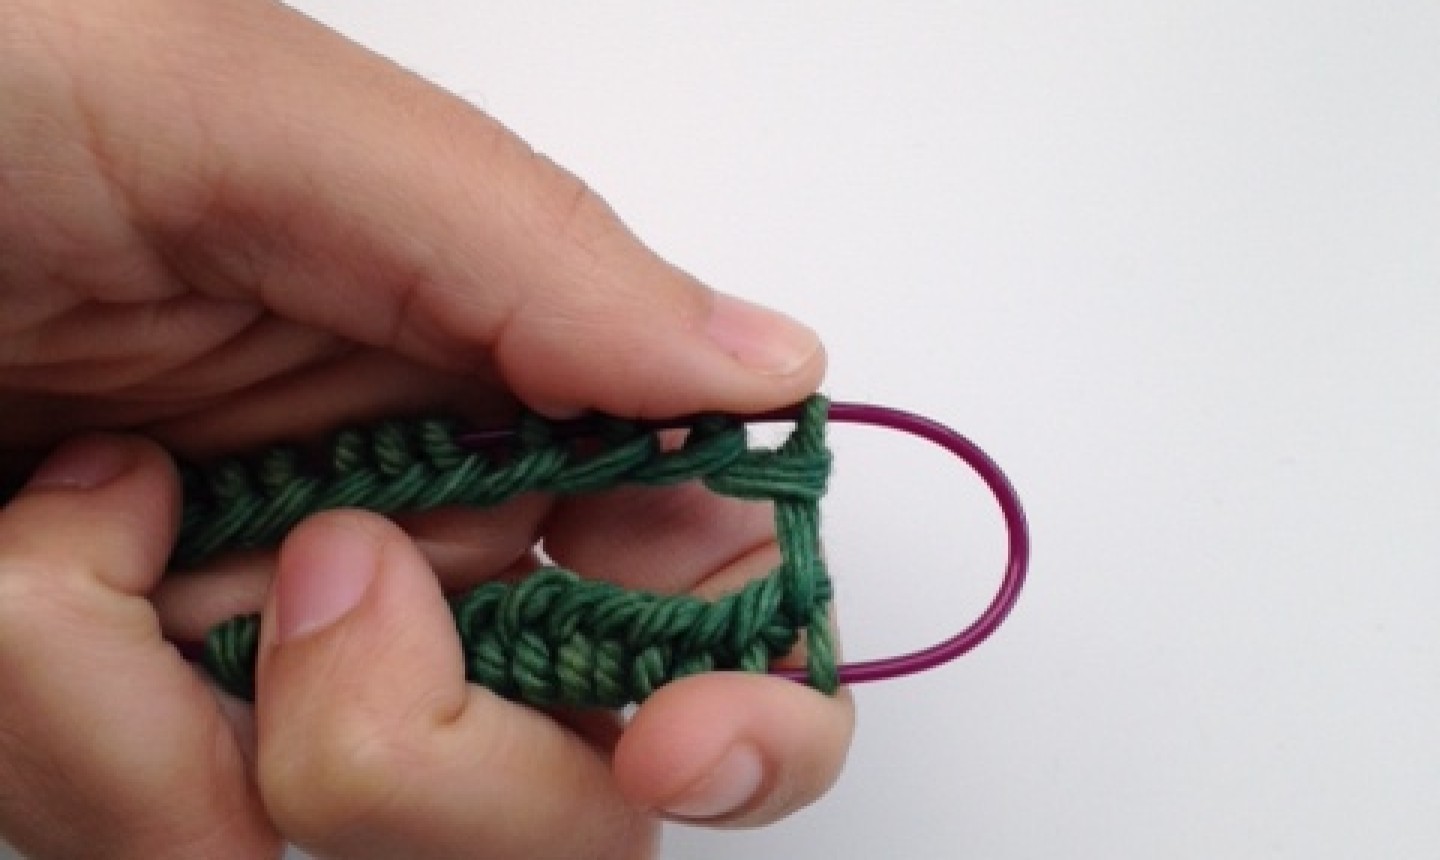
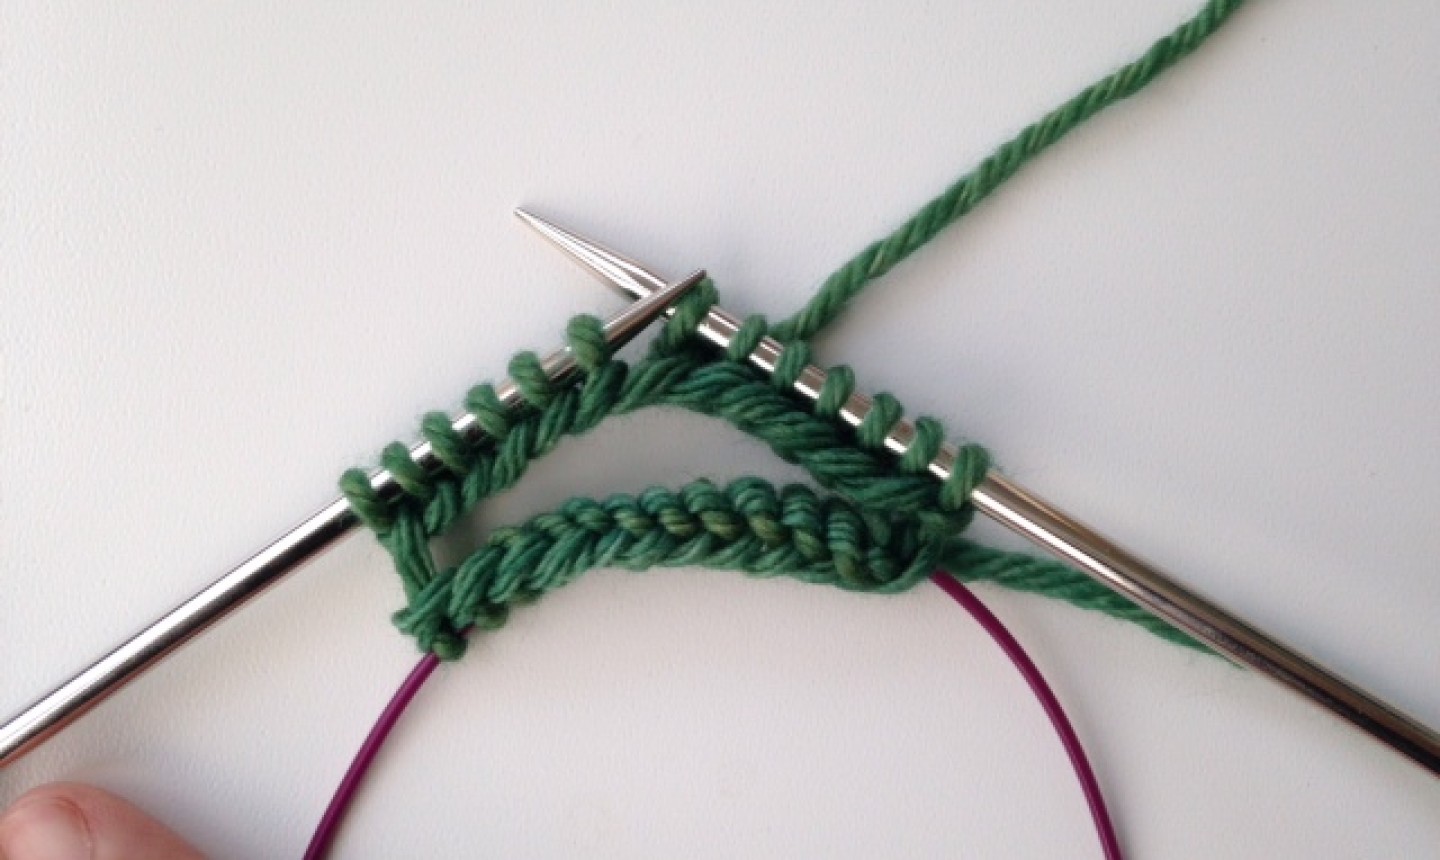
4. Turn the needles so they’re horizontal to the ground. The first stitch cast on should be on the needle closest to you. Hang the tail of the yarn down, and lay the working yarn over the back needle.
Pro Tip: This will set you up to knit your first stitch. If you’re purling your first stitch, let your working yarn hang down between the needles).
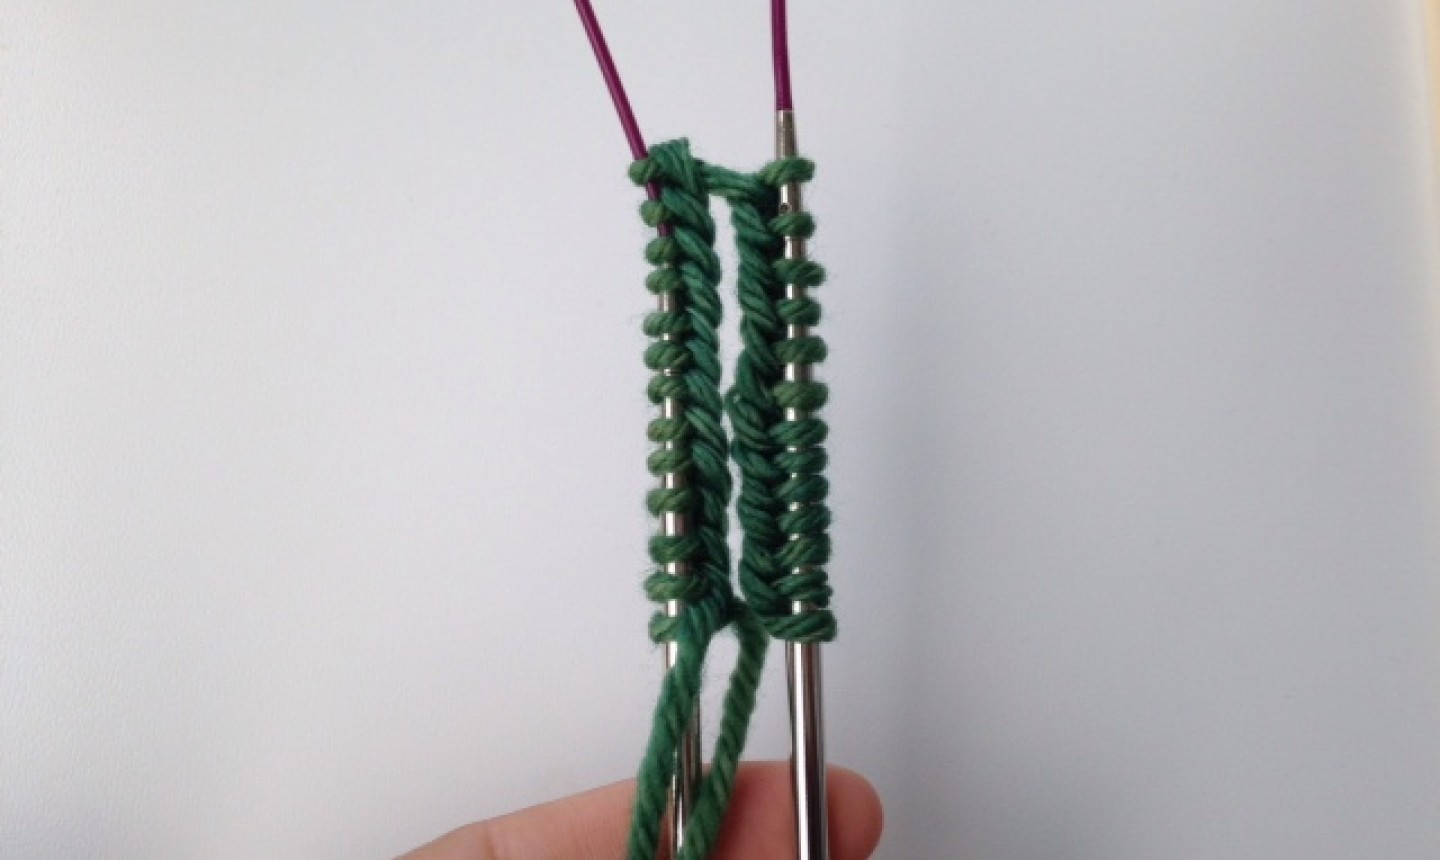
5. Pull the back needle out so the back stitches are on the cable now. Be careful to keep the working yarn toward the back. Bring the needle into the first stitch to knit.
6. Knit across all the stitches on the front needle.
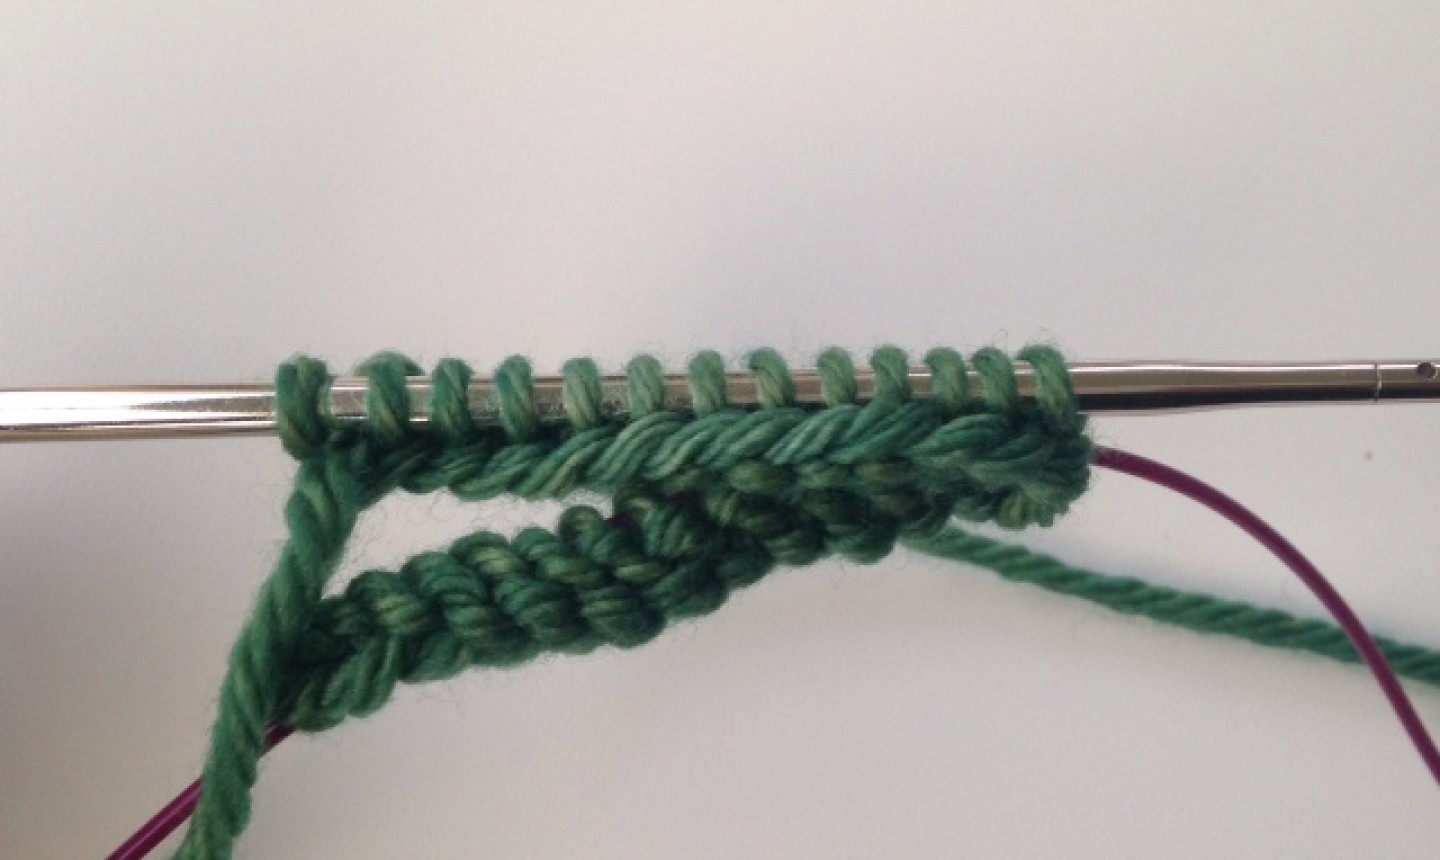
7. Once you have knit the first set, turn your needles so the unworked stitches are now closest to you.Pull the back needle (the one you just worked) so the just-worked stitches are resting on the cable. Then slide the unworked stitches onto the front needle. Keep the working yarn toward the back.
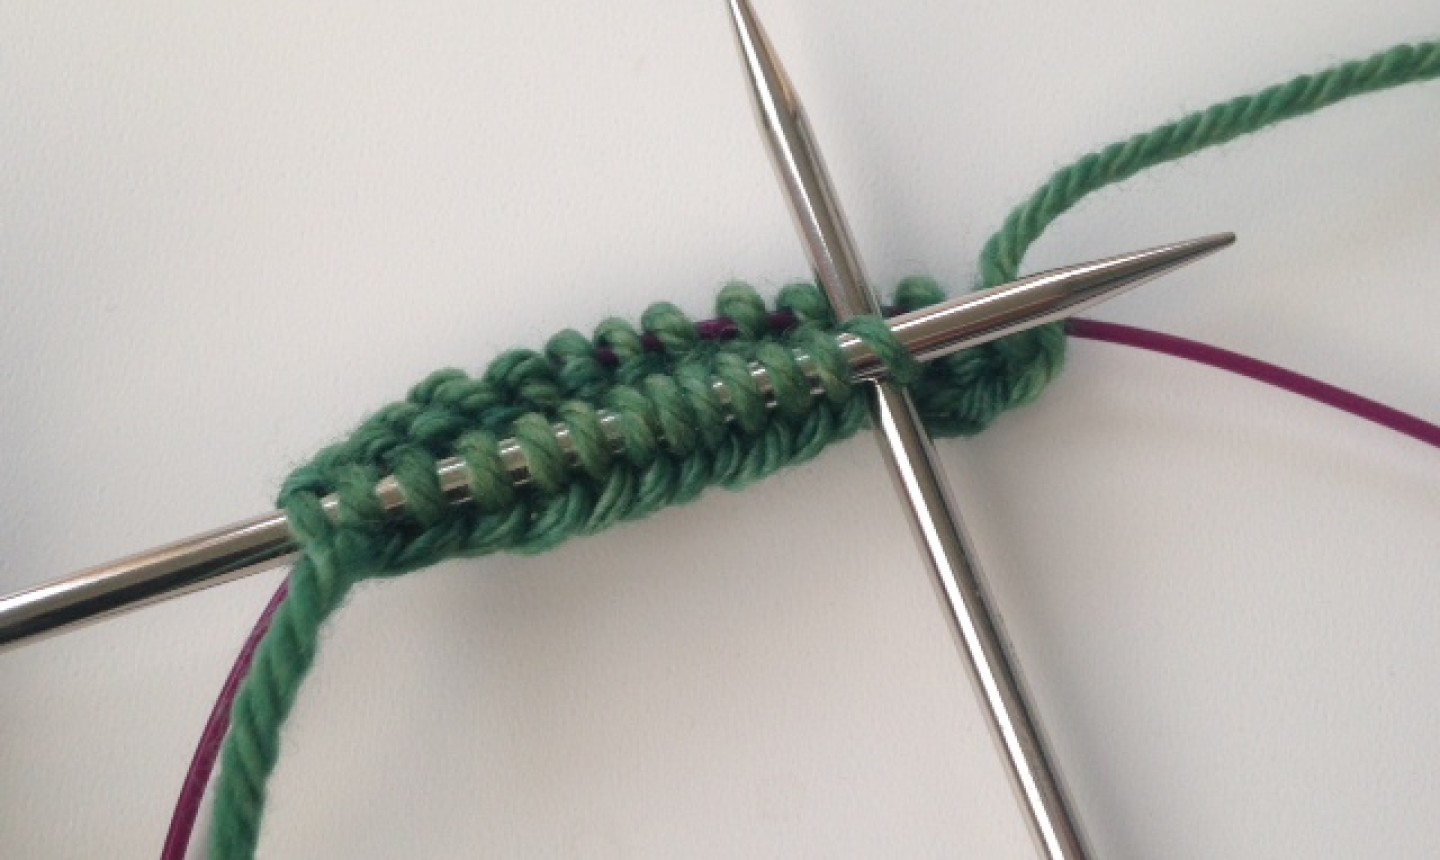
8. Bring the back needle around and prepare to knit the first stitch on the front needle.
Continue knitting in pattern all the way down the front needle. When you complete this set of stitches you have just worked one round.

Continue this way for as many rounds as your pattern calls for. And just like that… you’re magic looping!

I would love to see a video for this. It would help a great deal.
A video would be really helpful. I'm having a hard time deciphering from the pictures.
Would you consider creating a video of this technique and sharing it? That would be extremely helpful for us visual learners.
It's great! I'll try it
I have a cast on one hand now but the minute it comes off, I'm grabbing a long needle & giving this a try! Rather have days without AIR than days without KNITTING ;)
I had a class with patti Lyon, sumner meters, Marley bird, Amy ross
I am 70 a looking for a helpful method to knit
ok
I love the knitting method that’s “Totally Magic”! What a much easier way to do sleeves or stockings!! Thank you 😊!!
Done loads of circular knitting but never used this, always used 4 double pointed needles, but will give this a try