If you spend any time online (or with a 6-year-old) you’ve probably seen one, two or twenty slime-making videos. The inedible stuff is made by combining different ratios of glue, water and boric acid (Borax or contact lens solution). It’s sticky, gross and plenty of fun to play with! But — until now — it definitely wasn’t something you’d want to eat. Allow us to introduce the next generation in slime.
Good to Know: You can make this with plain old water, but using tonic water instead significantly ups the fun-factor! The quinine in tonic water actually GLOWS when it’s under black light. This means your kids (and, frankly, most adults) will immediately become obsessed. We used our slime to create a monstrous drip effect here, but you can also use it to glaze ghoulish cookies or creepy cupcakes.
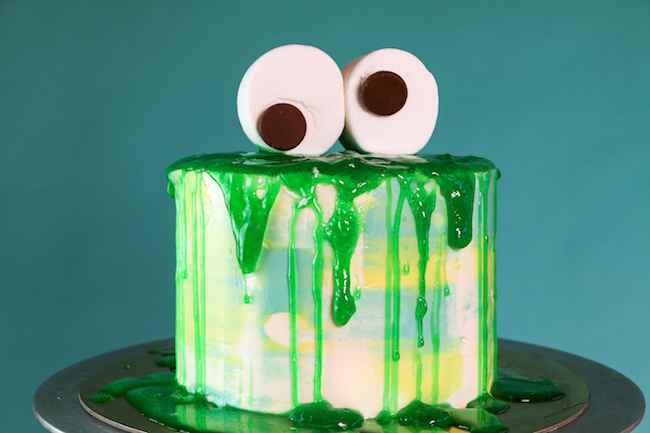
Glow-In-the-Dark Edible Slime Cake
Level: Easy
What You Need
Instructions
1. Make the Slime
Add the powdered gelatin and tonic water to a microwave-safe bowl, whisking to combine. Then microwave the mixture for 30 seconds to dissolve the gelatin. Set the bowl aside to cool while you work on the cake.
2. Make the Monster Eyeballs
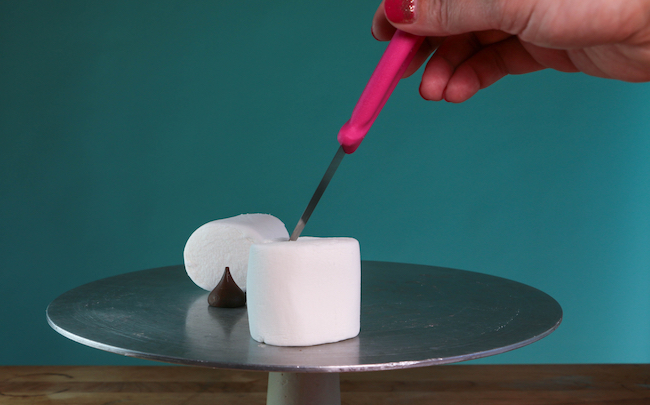
Insert the tip of a small knife into the flat side of one of the marshmallows. Twist it around to make a little hole.
Press the pointed end of a chocolate kiss into the hole. The stickiness of the marshmallow should hold the kiss in place, but if you have any trouble, just dip the end of the kiss in the slime first to help it adhere. Repeat with the other marshmallow.
3. Finish the Cake
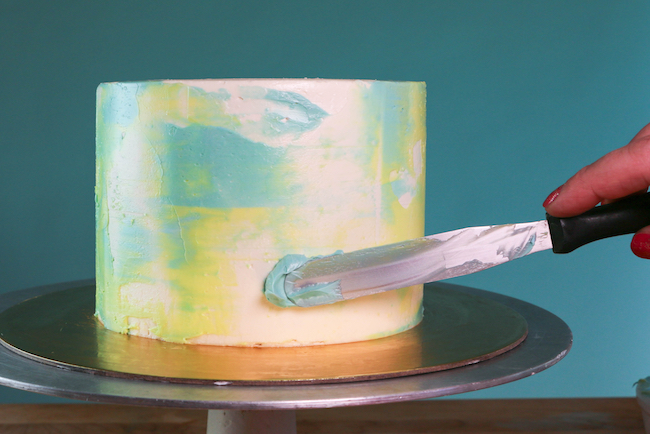
Use an icing spatula to smear dots of green and blue buttercream randomly around the sides of the cake.
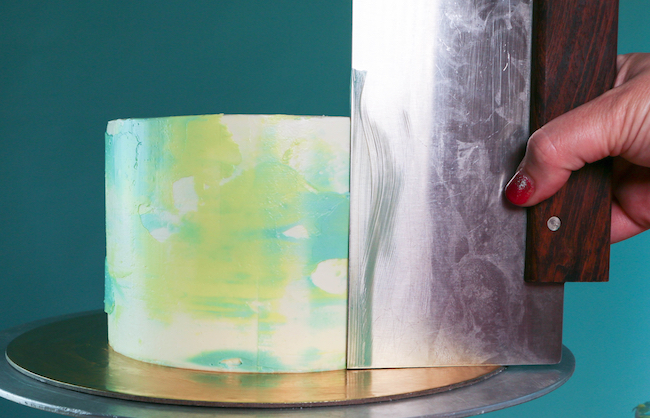
Hold the blade of a bench scraper vertically along the side of the cake and keep it still while you spin the turntable to smooth the buttercream. Repeat until you’re satisfied with the finish.
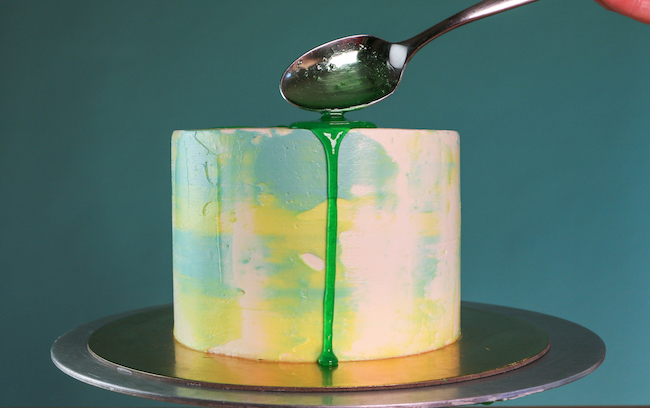
Your slime is ready to use when it’s cooled and thickened. Warmer slime will run down the side of the cake in thin drips. Cooler slime will be thicker and glop down the sides of the cake in bigger chunks. Completely cooled slime will be thick, rubbery and won’t drip at all. So if your slime gets too thick, just pop it back in the microwave for a few seconds to heat it back up.
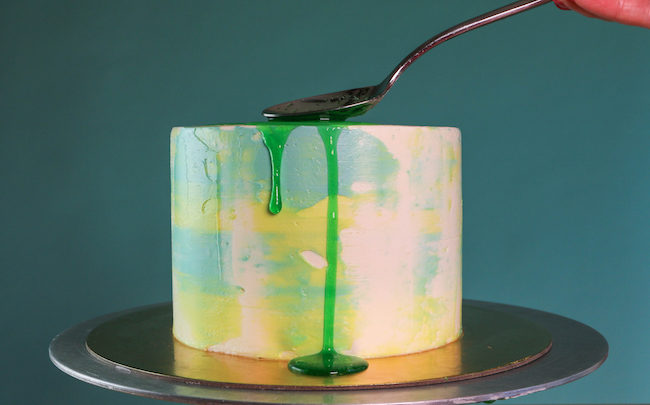
Spoon the slime over the edges of the cake and let it drip down the sides. Add more slime to fill in the top of the cake once you’ve finished adding your drips.
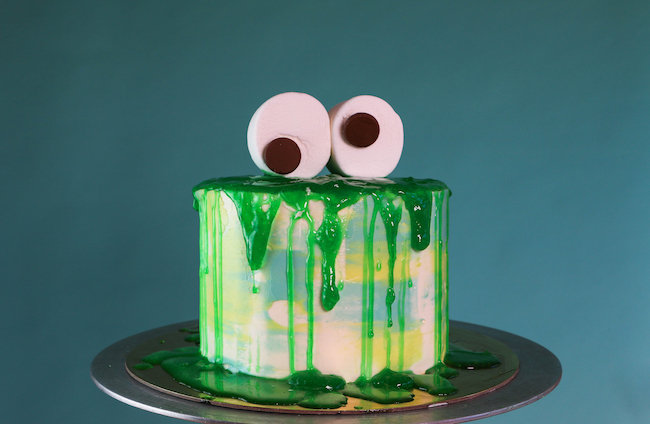
Set the marshmallows next to each other on top of the cake. They’ll have no problem sticking to the slime.
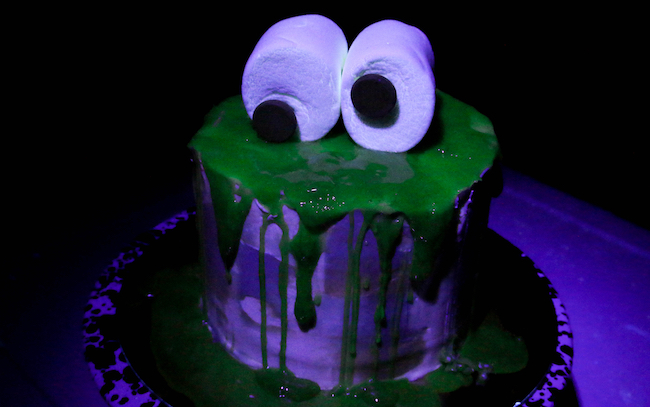
Close the shades, break out the black light and watch your slimey monster cake glow in the dark!
Serve the cake immediately or store it in a container in the fridge for up to 2 days. Just don’t place plastic wrap directly onto the slime — it’ll stick and pull it off the cake.
Do I need to leave the cake in the fridge after adding the jelly mixture until it's been cut?