There are so many cool ways to add names, messages or ages to all kinds of creations. One easy way is by pre-piping royal icing and later placing them on your cake. Learn how to pipe royal icing letters with this tutorial that’s as easy as ABC!
How to make royal icing letters for cakes, cupcakes and cookies!
Materials needed:
- 15-second-consistency royal icing
- Small round piping tip (we used a PME Supatube 1.5)
- Disposable piping bag
- Silicone baking mat (semi-transparent so you can trace onto it)
- Baking tray
- Print-out of your chosen message or font
Step 1: Get set up
Print out the text or message you’d like for your cake. We’d recommend a thicker, more substantial fonts — thin fonts would easily crack and break when you lift it. Lay the print-out on your baking tray.
Layer the silicone baking mat over the print-out. You should be able to see the printed text underneath the silicone mat, at least enough to trace over as your pipe.
Step 2: Prepare your royal icing
15-second-consistency royal icing is the perfect consistency for both piping and filling, so it cuts out a step and makes this even easier.
Fill a piping bag fitted with a small round piping tip with your royal icing. Then fill up a second piping bag with a slightly larger tip with the same royal icing.
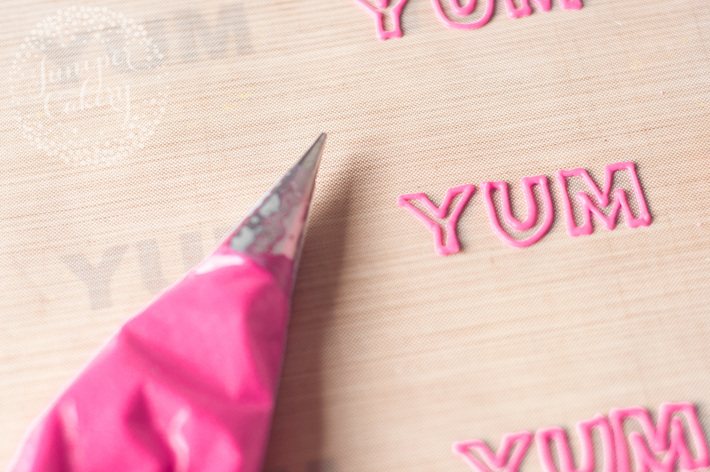
Step 3: Pipe the outline
Carefully pipe over the text on the print-out underneath the silicone mat.
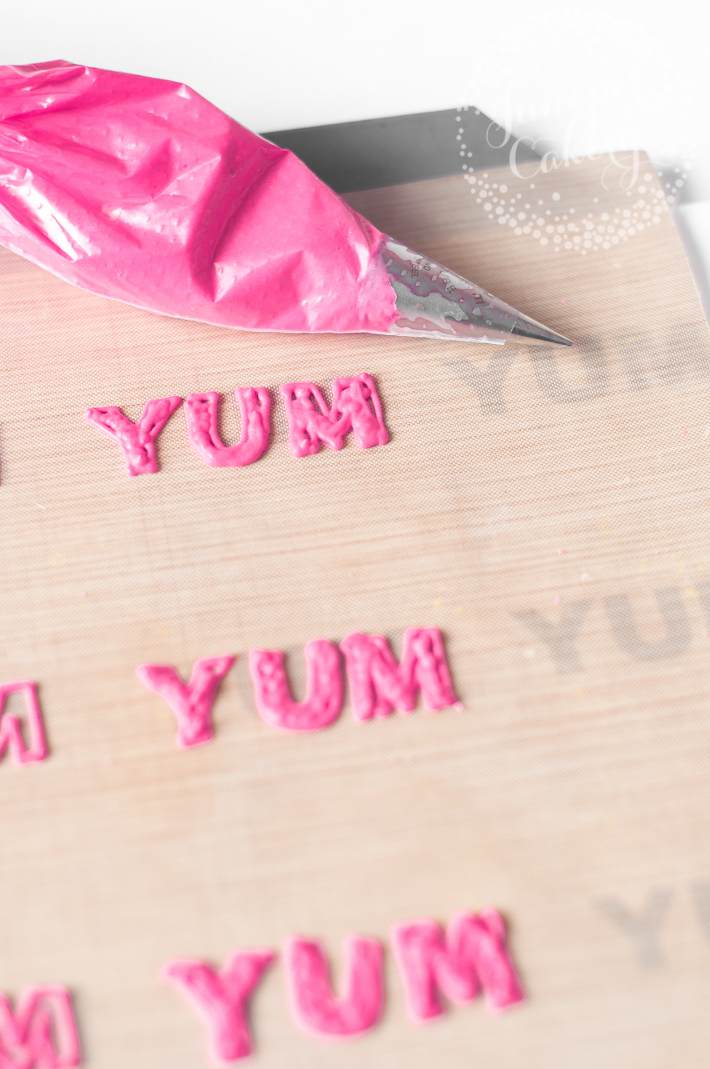
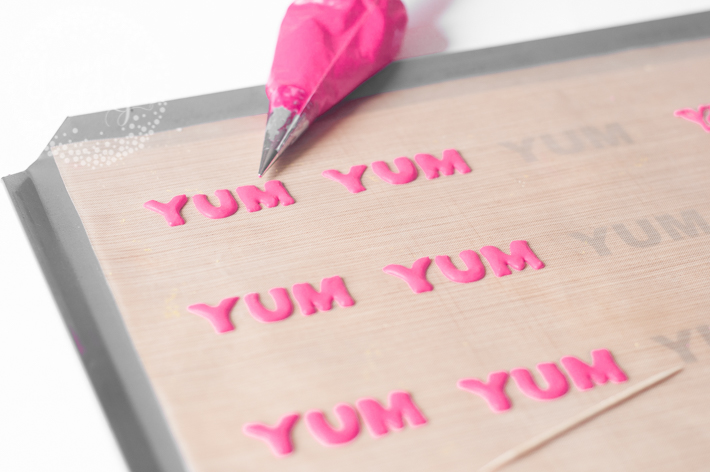
Step 4: Fill in the shapes
Now fill in your outlined letters with the same royal icing. Use a cocktail stick to move any icing out to the edges or fill in gaps. Swirl the icing around in a clockwise, circular motion.
If you see any pesky air bubbles, you can pop these with the end of the cocktail stick too.
Step 5: Place the letters on your cake
To remove these from your silicone baking mat, the key is to be gentle. A good technique is to slide the sheet towards the edge of a flat surface (like the table) and bend the mat or paper downward off the table. This should make the hardened royal icing letters slowly peel off the sheet as it bends down.
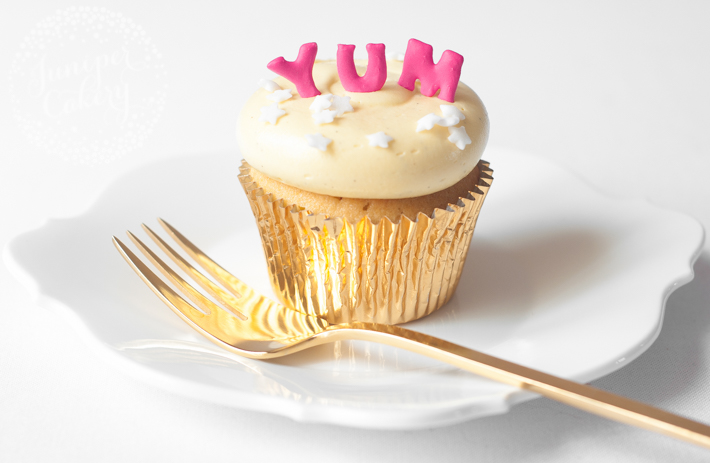
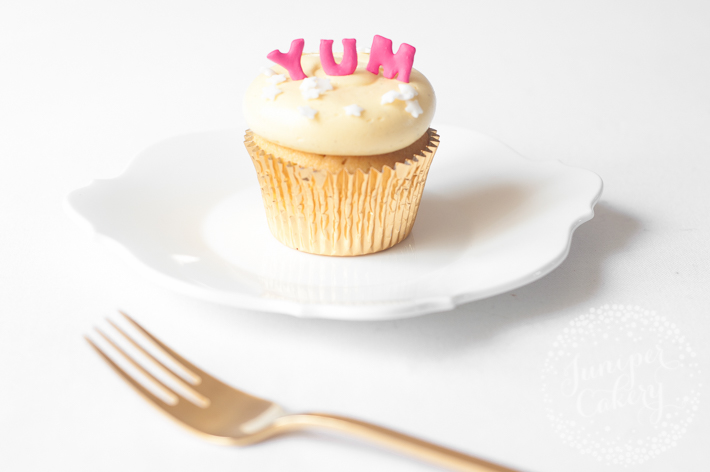
To attach to the letters cakes, cupcakes and cookies you can either use edible glue to stick them down onto any non-curved surface or nestle them into buttercream!
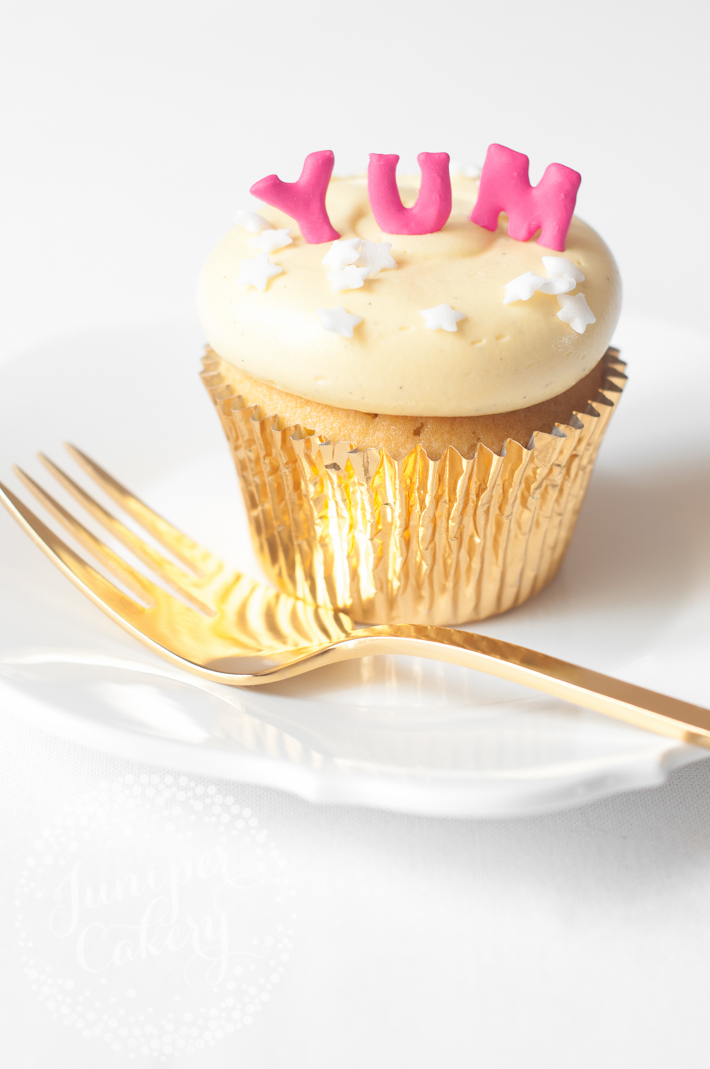
One cool idea is to printing out a short message in a stylish cursive font. Then, pipe it out continuously to create one continuous word. Once dry gently nestle the word onto a frosted cupcake. This would be such a sweet idea for cute wedding cupcakes that need a simple yet effective decoration!
Share tips, start a discussion or ask other students a question. If you have a question for an expert, please click here.
Already a member? Sign in
No Responses to “Easy as ABC: How to Make Royal Icing Letters”