Red velvet is such a classic flavor, and not just for cakes! It's easily one of our favorites for cookie, too, especially during the fall and winter (think: Halloween, Thanksgiving, Christmas and Valentine's Day are all around the corner).

Red velvet sugar cookies recipe
Makes approximate 25-32 cookies.
Ingredients and tools needed:
- 2/3 cup (200 g) softened butter
- 1 cup (200 g) caster or superfine sugar
- 1 large egg, lightly beaten
- 3 cups (400 g) all-purpose flour + ¼ cup for dusting
- 1½ tablespoons (10 g) baking cocoa
- Red gel or paste food coloring <li itemprop="ingredients" Cookie cutters
- Baking tray
- Silicone baking mat
Step 1:
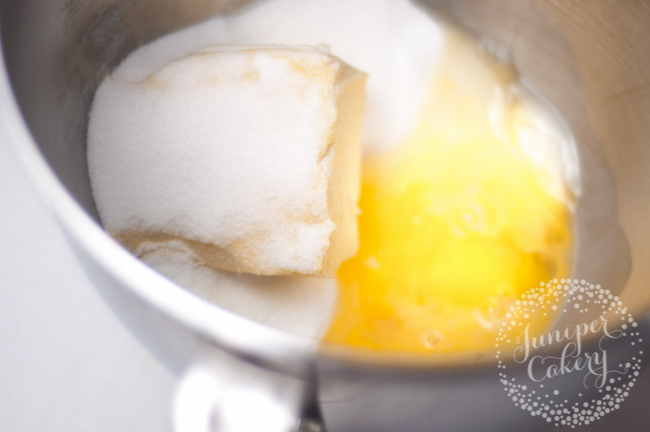
Add the softened butter, sugar and eggs into the bowl of a stand-up mixer. Mix until roughly incorporated.
One of the pitfalls of making sugar cookies is over mixing, which adds too much air into your dough. Too much air can lead to bubbles or lumps on the surface of your cookie and can make your cookies spread out as they bake. That's why we add the bulk of our ingredients in at once.
Step 2:
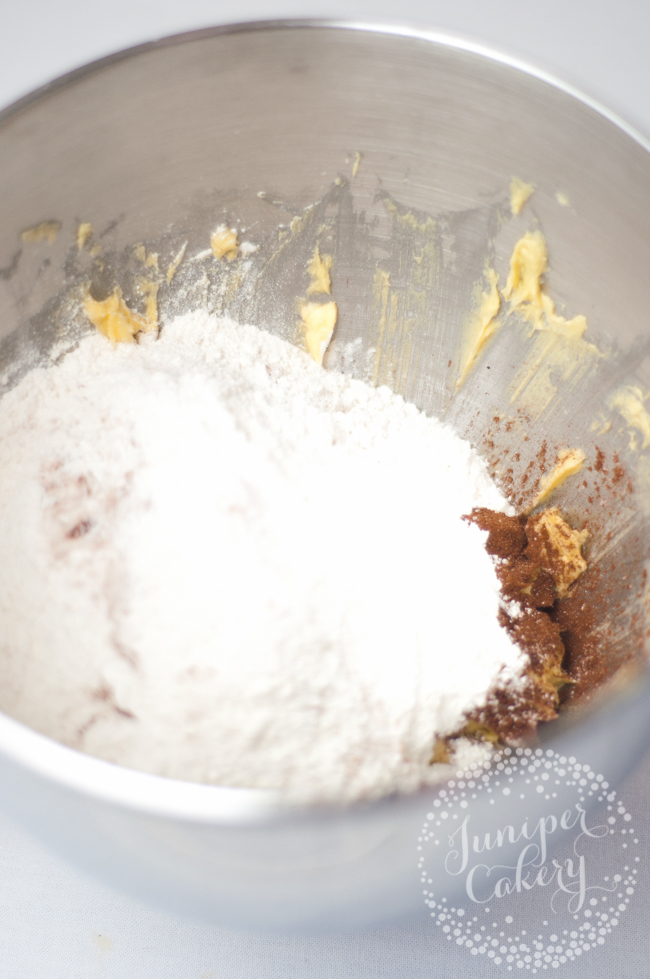
Sift in the cocoa powder, and add in (but don't sift) the flour. We've found that sifting flour to use for cookies creates more unwanted air bubbles.
Step 3:
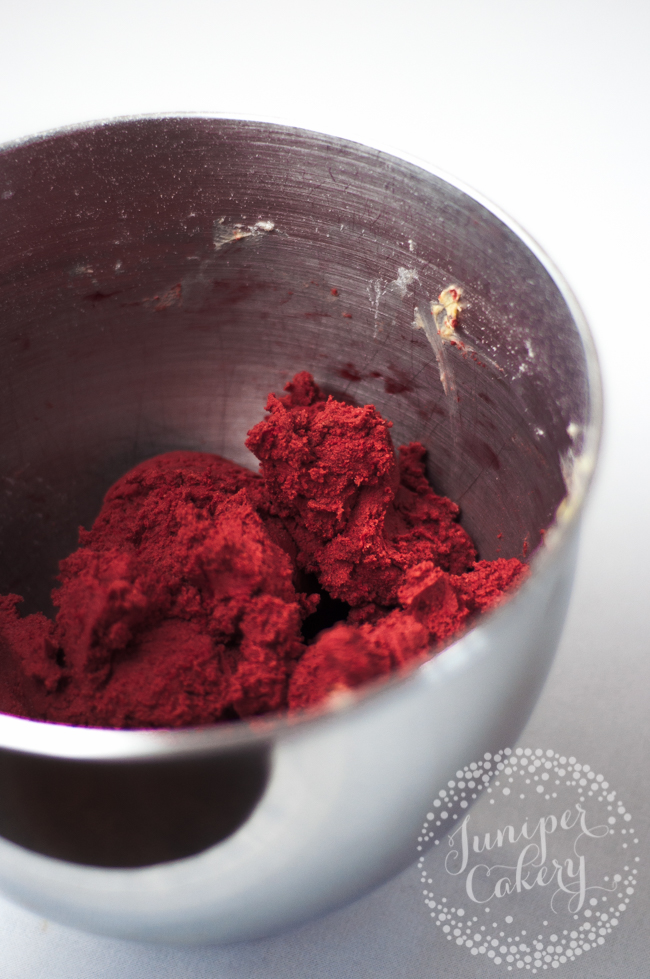
Add in the red gel or paste food coloring. The amount you add really depend on the brand and quality of ingredients you're using. Start by adding a small amount, mix and then assess if you need more.
Step 4:
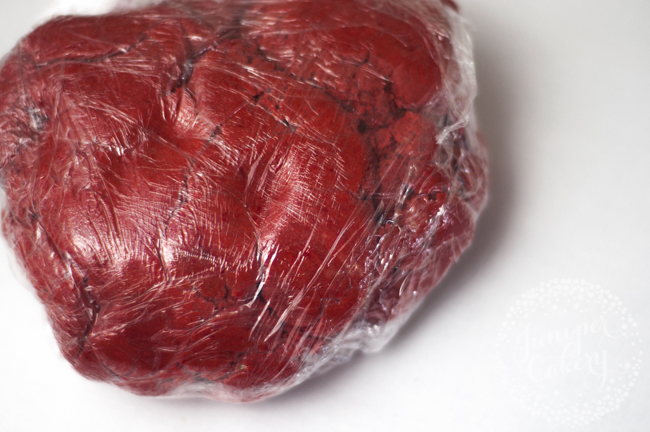
Mix until the dry ingredients (including the color) are mixed together with the wet ingredients into a soft dough. Then form the dough into a rough ball, wrap it in plastic wrap and place it in the fridge to chill for 1-2 hours.
Step 5:
Remove the dough and roll it out onto a floured surface. We roll out our dough to a thickness of around 5 mm.
Tip! Try not to roll out your dough too thick. Thicker cookies lose that nice "snap" or crunch and instead feel soft.
Step 6:
Once rolled out, cut out the cookies with whatever cutter you like. Be sure to leave enough space so they don't bake into each other, as these cookies will spread a bit. Place your tray of cookie cut-outs in the fridge for 30 minutes. This helps them keep their shape when baking later on.
Step 7:
Place the cookies in a pre-heated oven at 350 F (175 C) or 10-12 minutes.
Tip! You can test when the cookies are done baking by poking one with the end of a clean, food-safe paintbrush. If the dough rises back up, then it's ready. If the dough stays sunken, continue baking for another 2 minutes and test again.

Leave the cookies to cool, then decorate as desired.
One of THE best things about this red velvet cookie recipe is that red is a really great color for making royal icing cookies really outstanding. Or, if you don't want to decorate them, you can easily get away with fun shapes instead and let the color do the talking!

Hi. The dough is to dry when made per the ingredient list. I added another egg ( for 2 eggs total) and still a little drier than the photo shown. Is there something missing?
Can’t wait to try this recipe!!