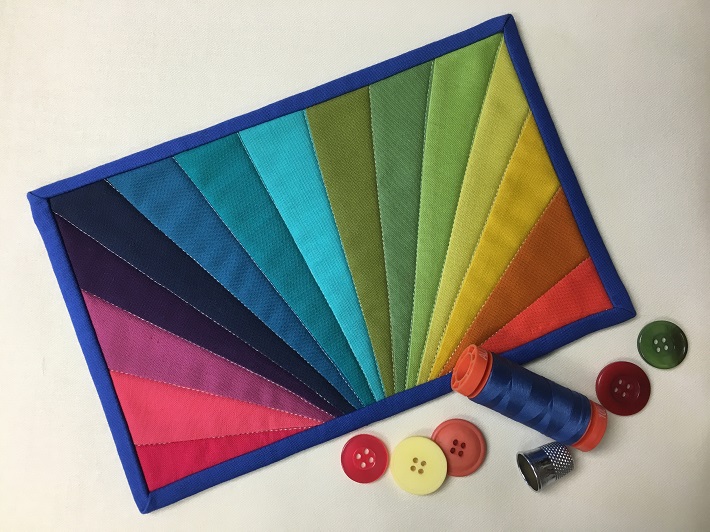
Make your morning cup of coffee way more colorful with a rainbow ray mug rug. This project is pure fun — and a great introduction to the sew-and-flip technique on a paper foundation.
Rainbow Burst Mug Rug
Level: Easy
What You Need
Instructions
1. Prep the Pattern
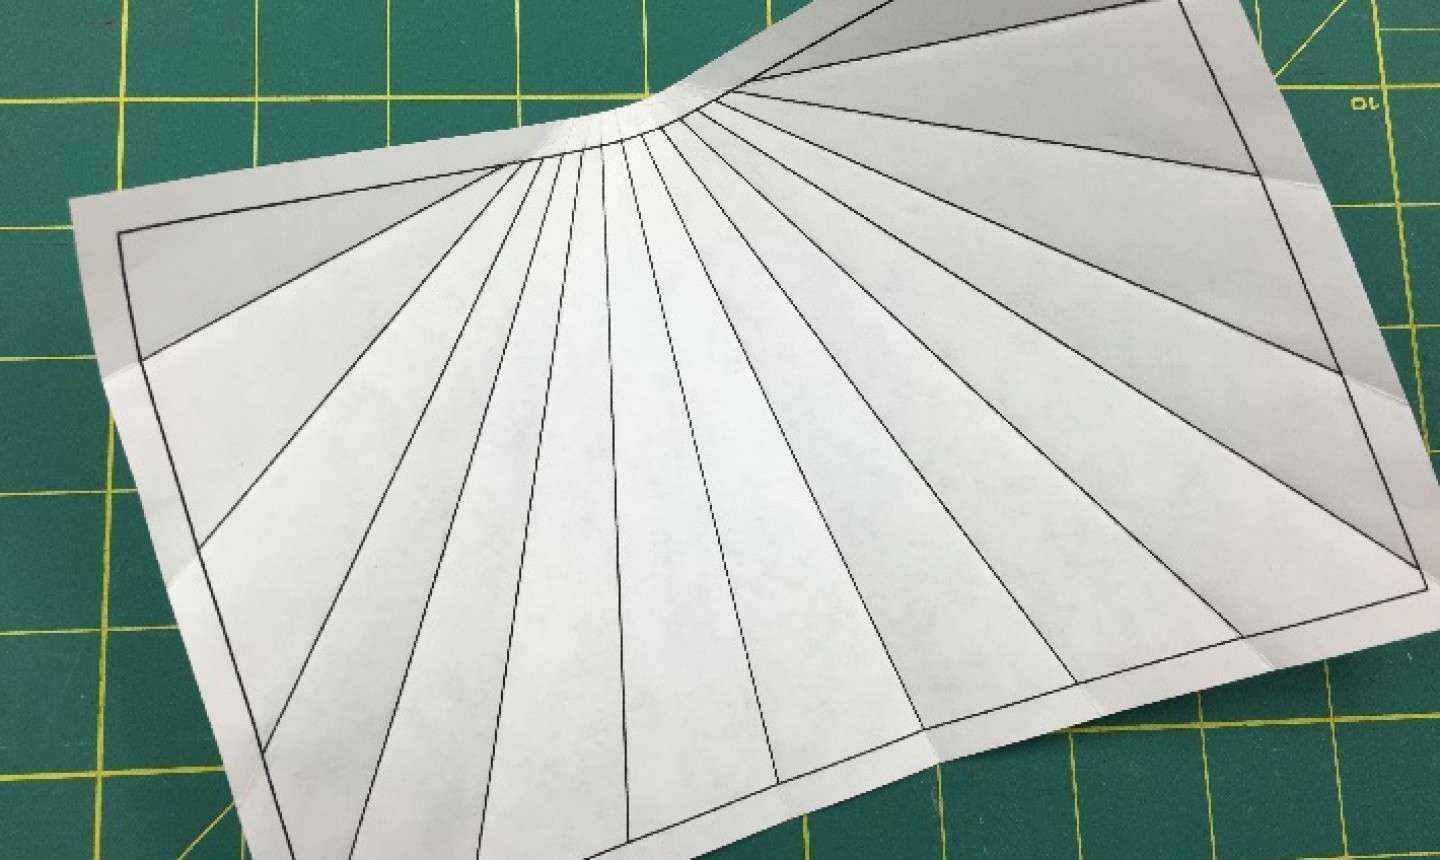
If you don’t have paper designed for paper piecing, print the pattern on lightweight (20 lb) copy paper.
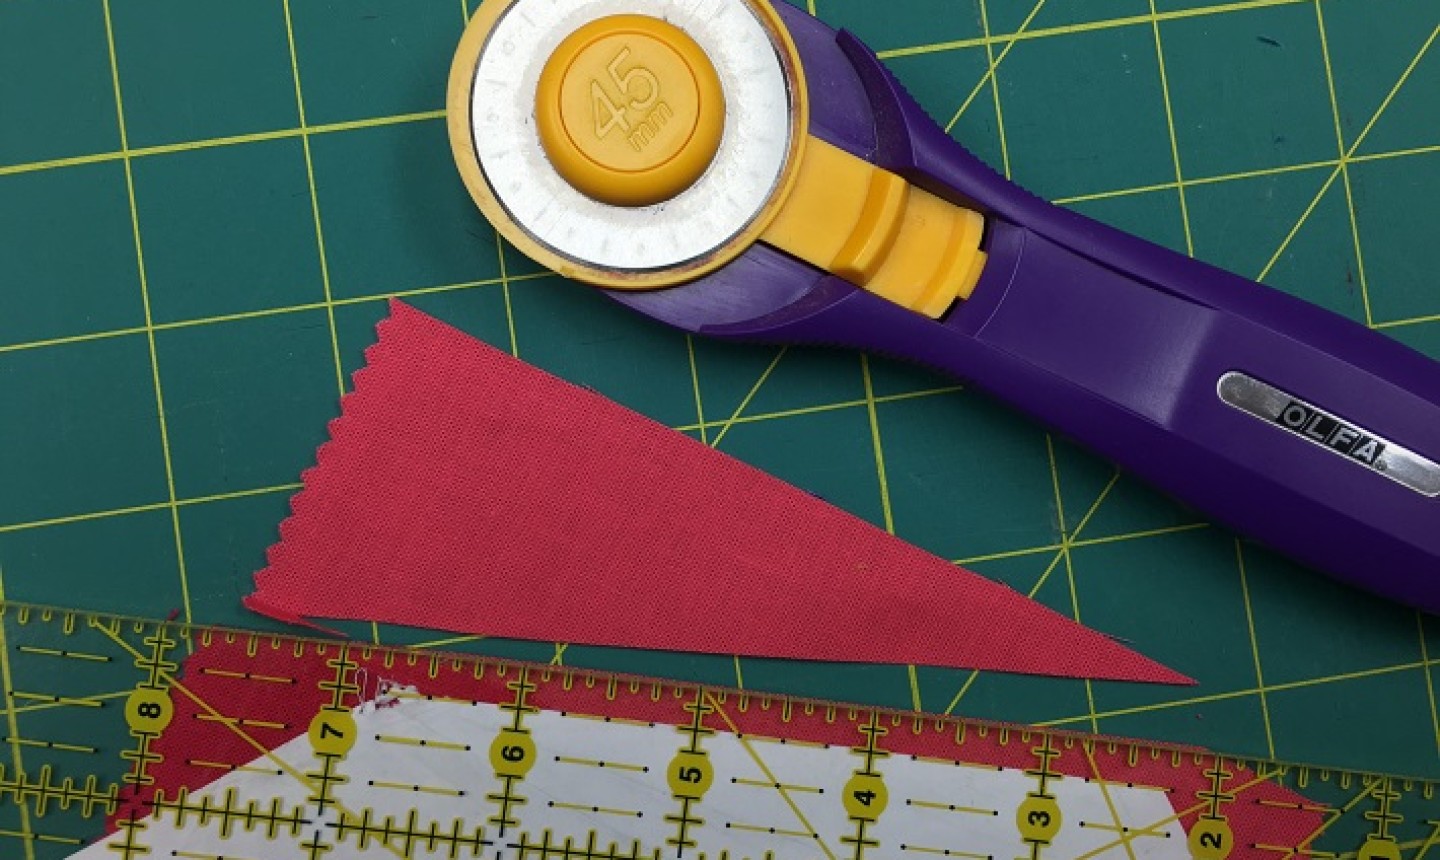
Using a ruler and rotary cutter, trim the paper ¼” away from the outside line. Fold the pattern on each of the lines — this will score the paper so it’s easier to work with.
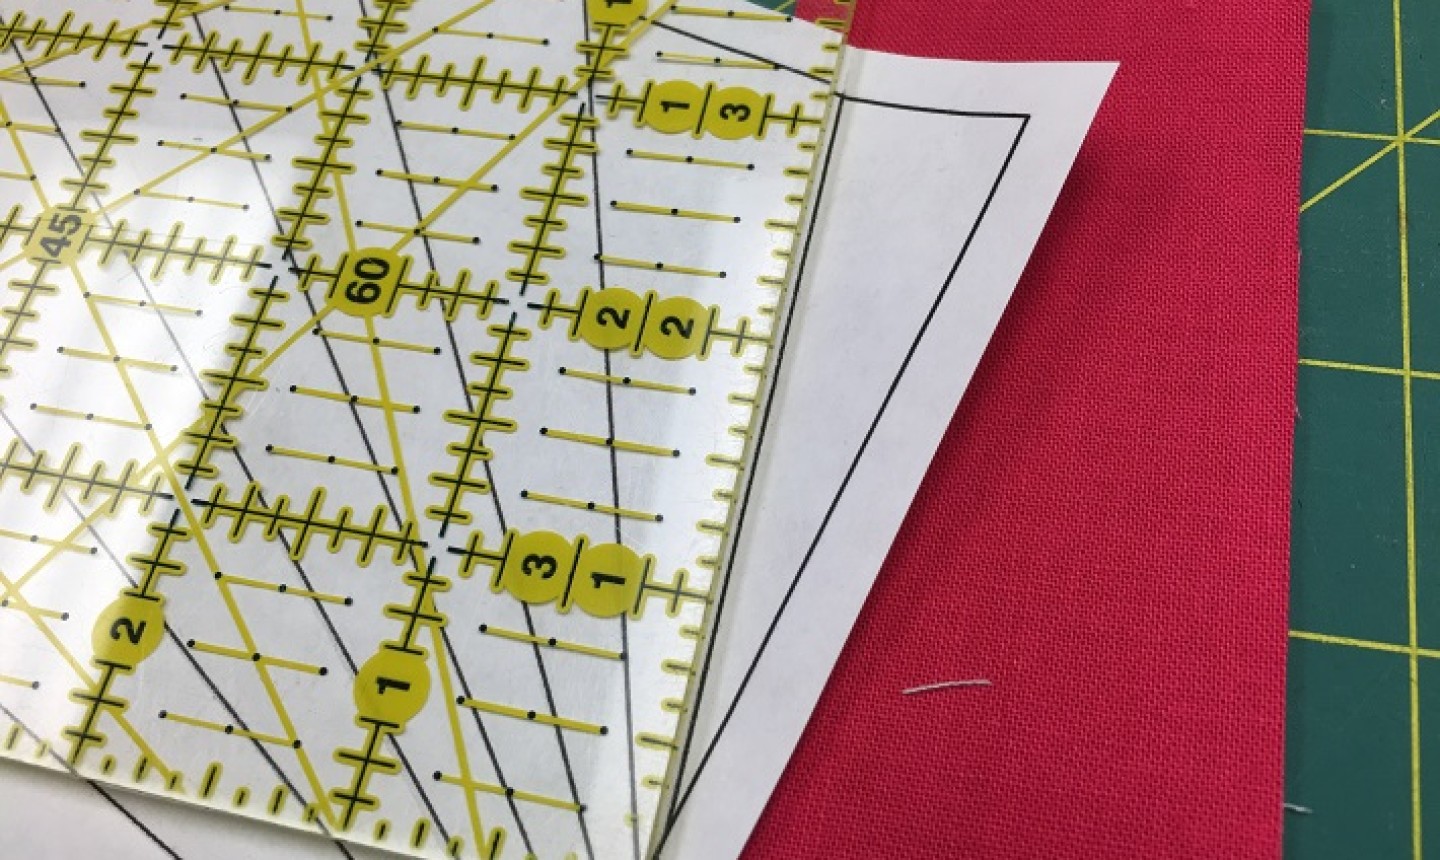
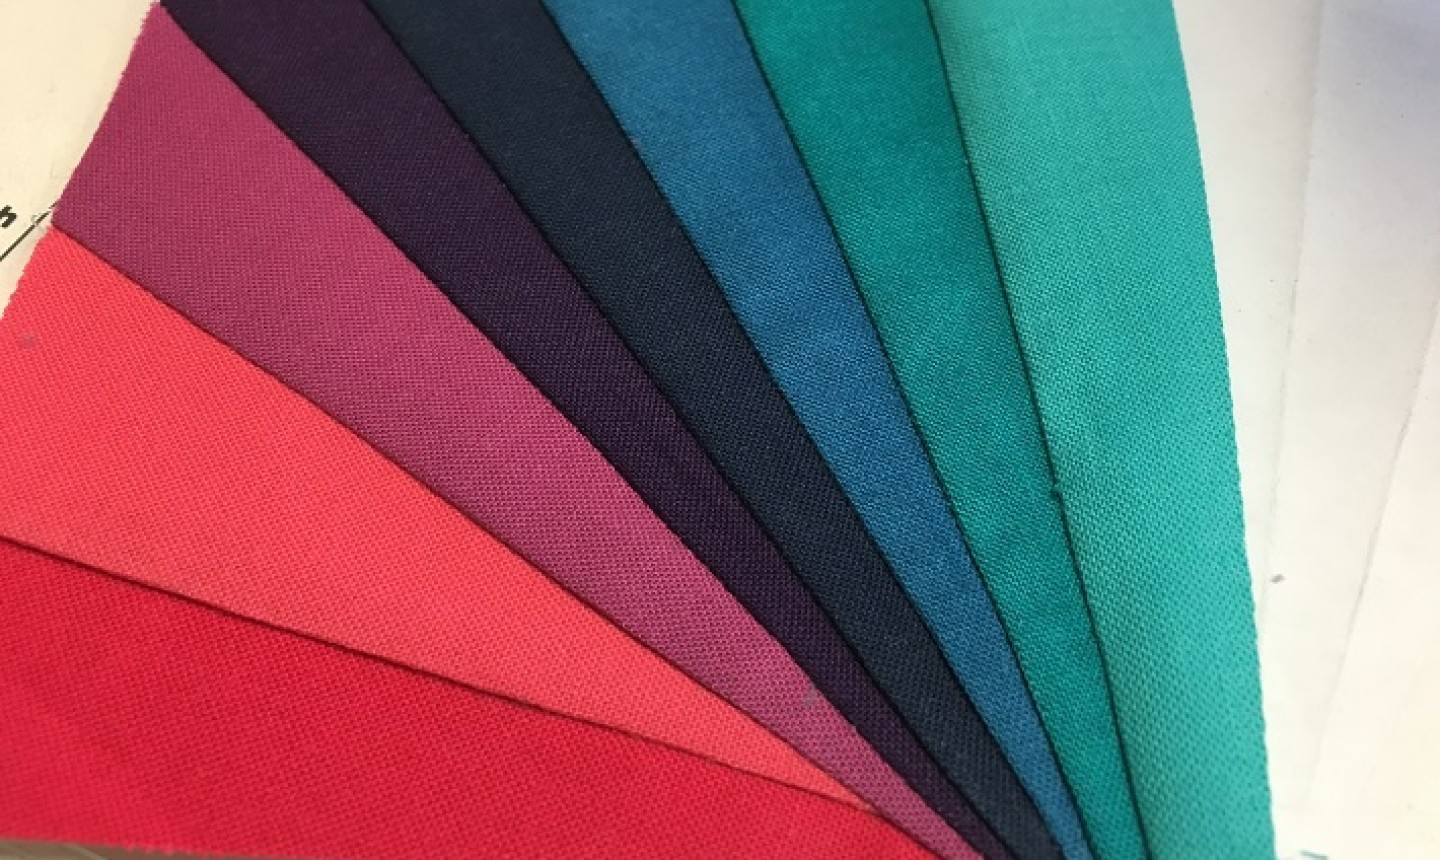
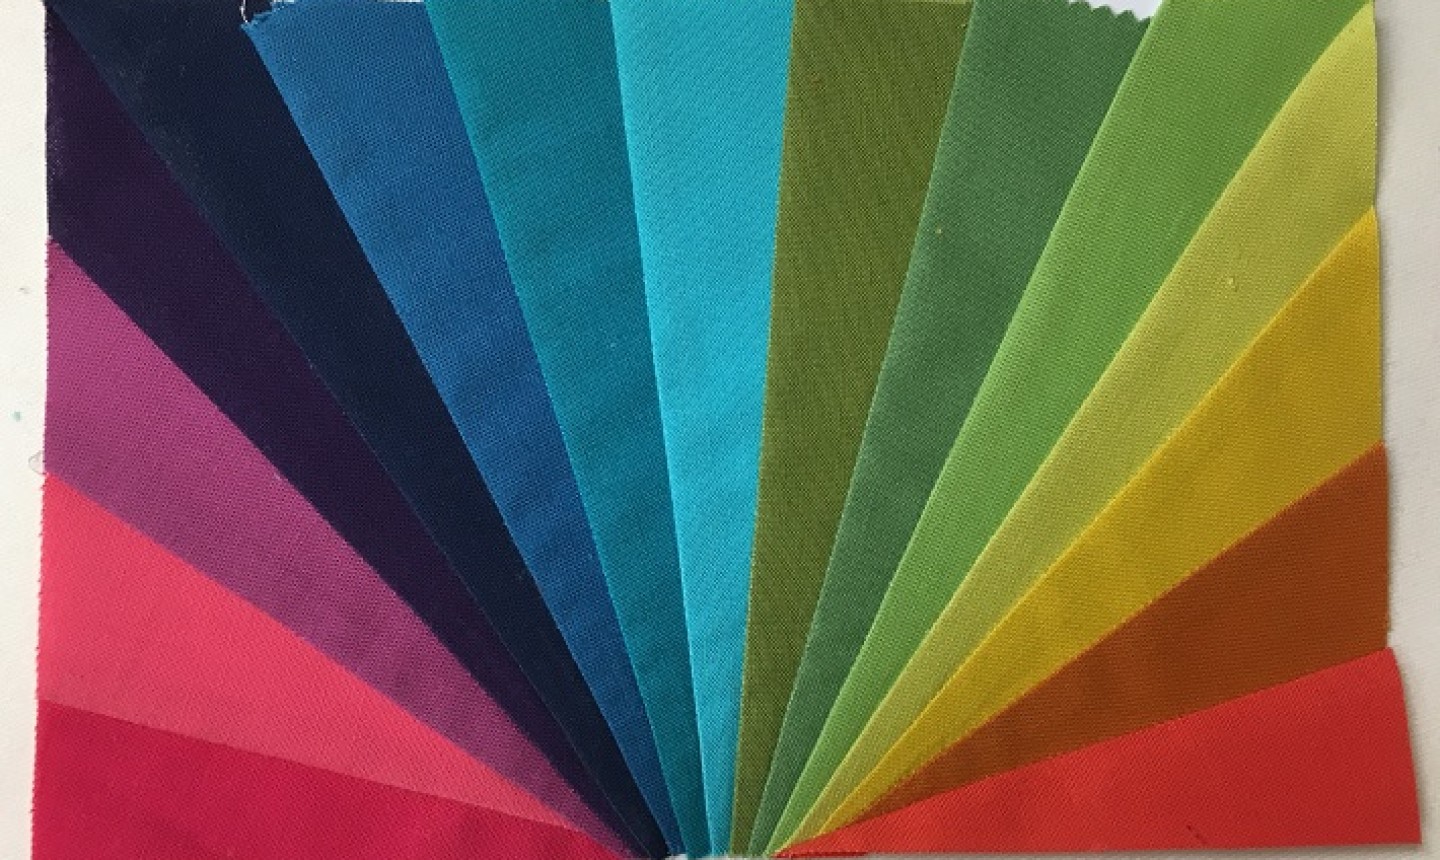
2. Cut Your Fabric
Cut all 15 strips so they’re 2″ wide. Cut the strips on the corners 8″ long; the rest can be cut to 6″. If needed, place the strips on top of your pattern to double check their length.
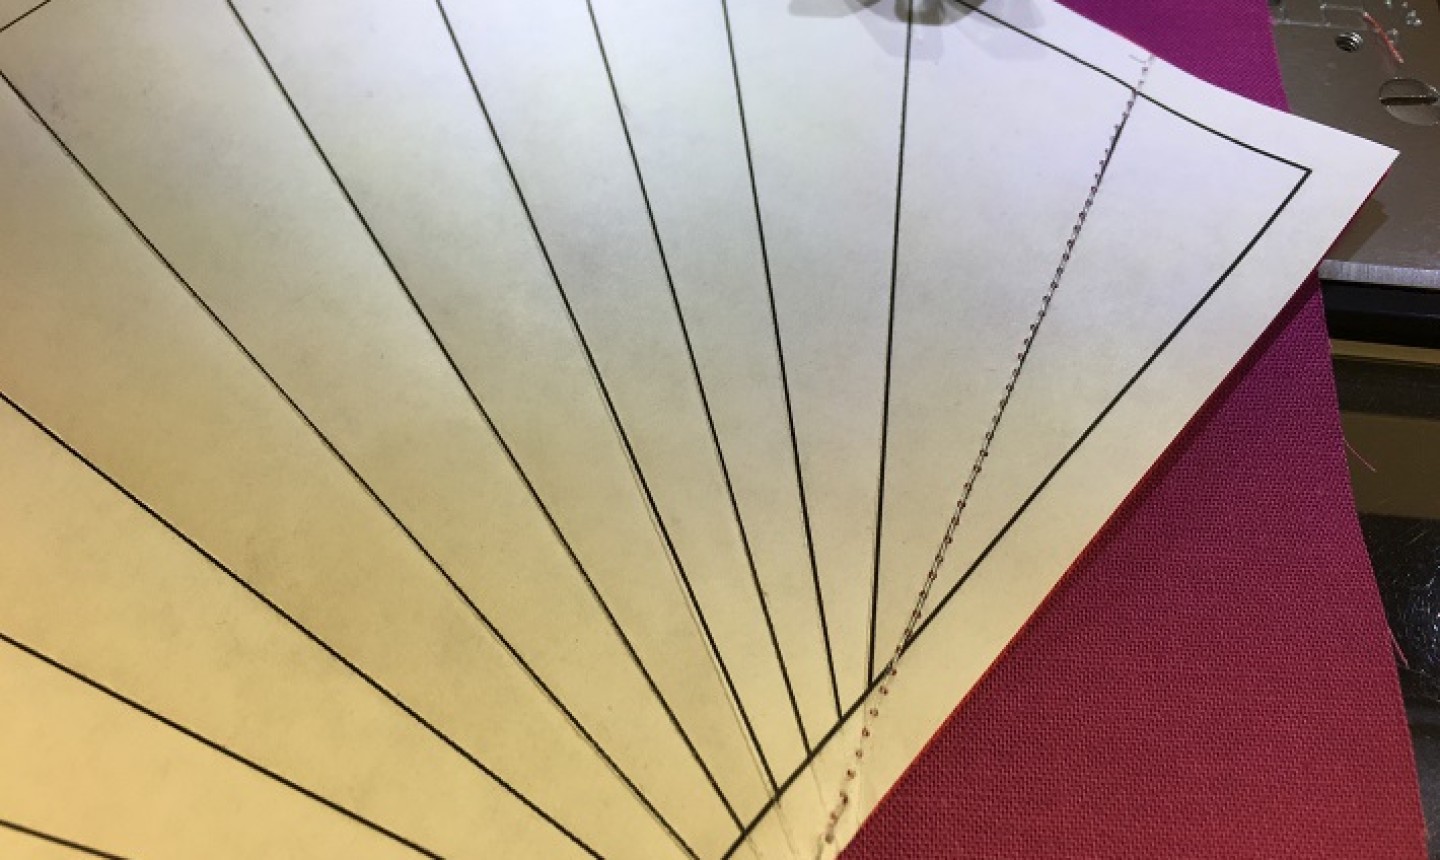
3. Sew the First Two Strips
Begin on one side and place the first two strips together, right sides facing, with the first strip touching the paper (as shown above). Using a ruler, lay the strips so they overlap the first sewing line by ¼” to create a seam allowance.
Set your stitch length to 1.8 – 2.0 for shorter stitches: this makes it easier to remove the paper at the end. Sew across the first line in the paper.
Pro Tip: Don’t stop sewing when you get to the end of your line, or it will be more difficult to remove your paper. Stitch from edge to edge, allowing the stitching to run off the paper and fabric.
Press the seam open with your fingers. Take care to completely open the seam and make sure the fabrics are lying flat and smooth.
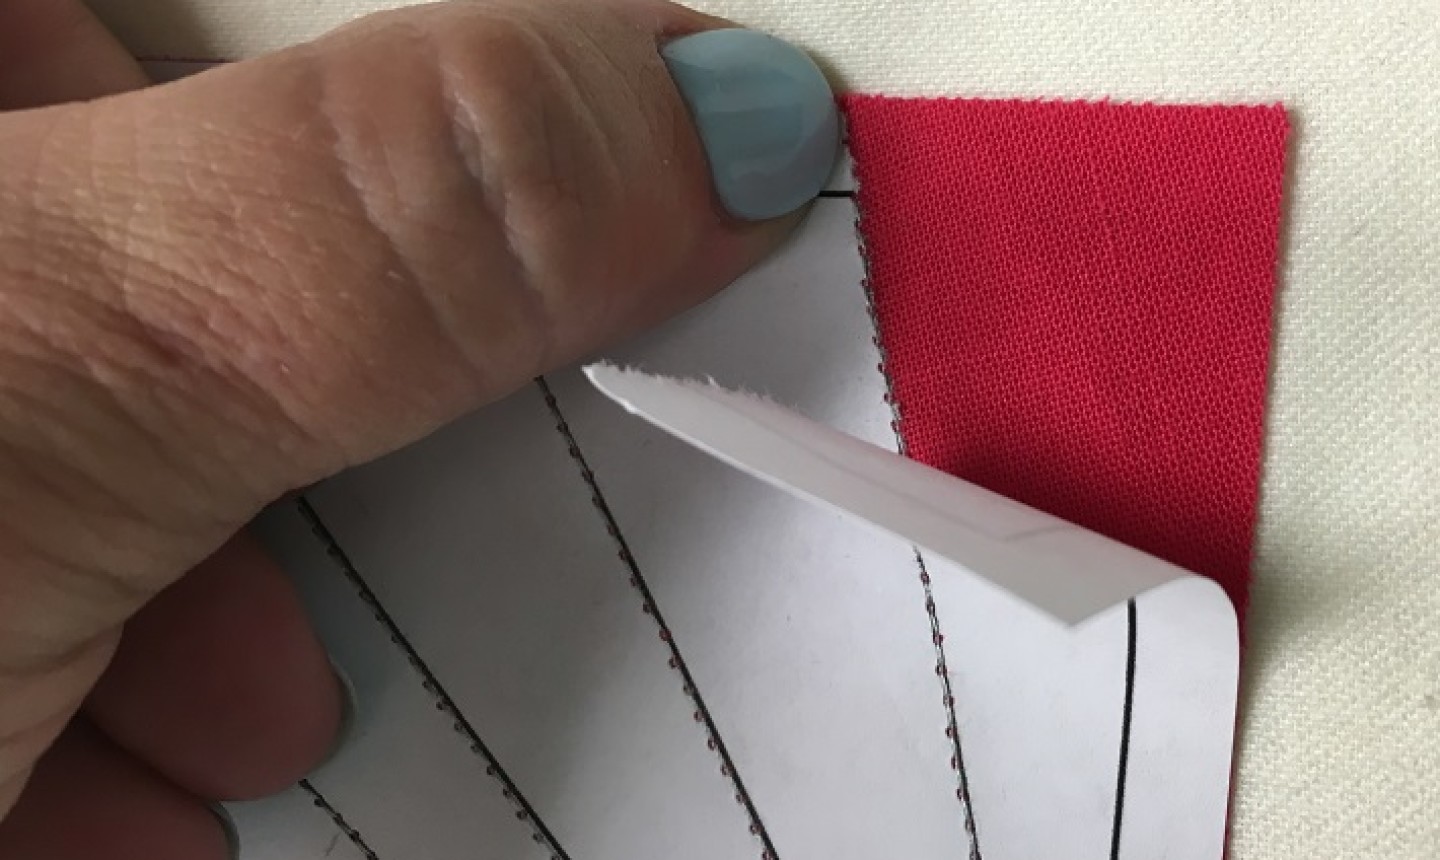
4. Trim
Fold the paper on the next sewing line and trim away the excess fabric, leaving a ¼” seam allowance.
Pro Tip: If you have an Add A Quarter ruler, it’ll work perfectly here.
Layer the next strip, right sides together, on the newly cut edge. Sew along the second line, finger press and trim the excess.
5. Repeat
Continue to sew, finger press, fold the paper and trim. Keep building your rainbow one strip at a time.
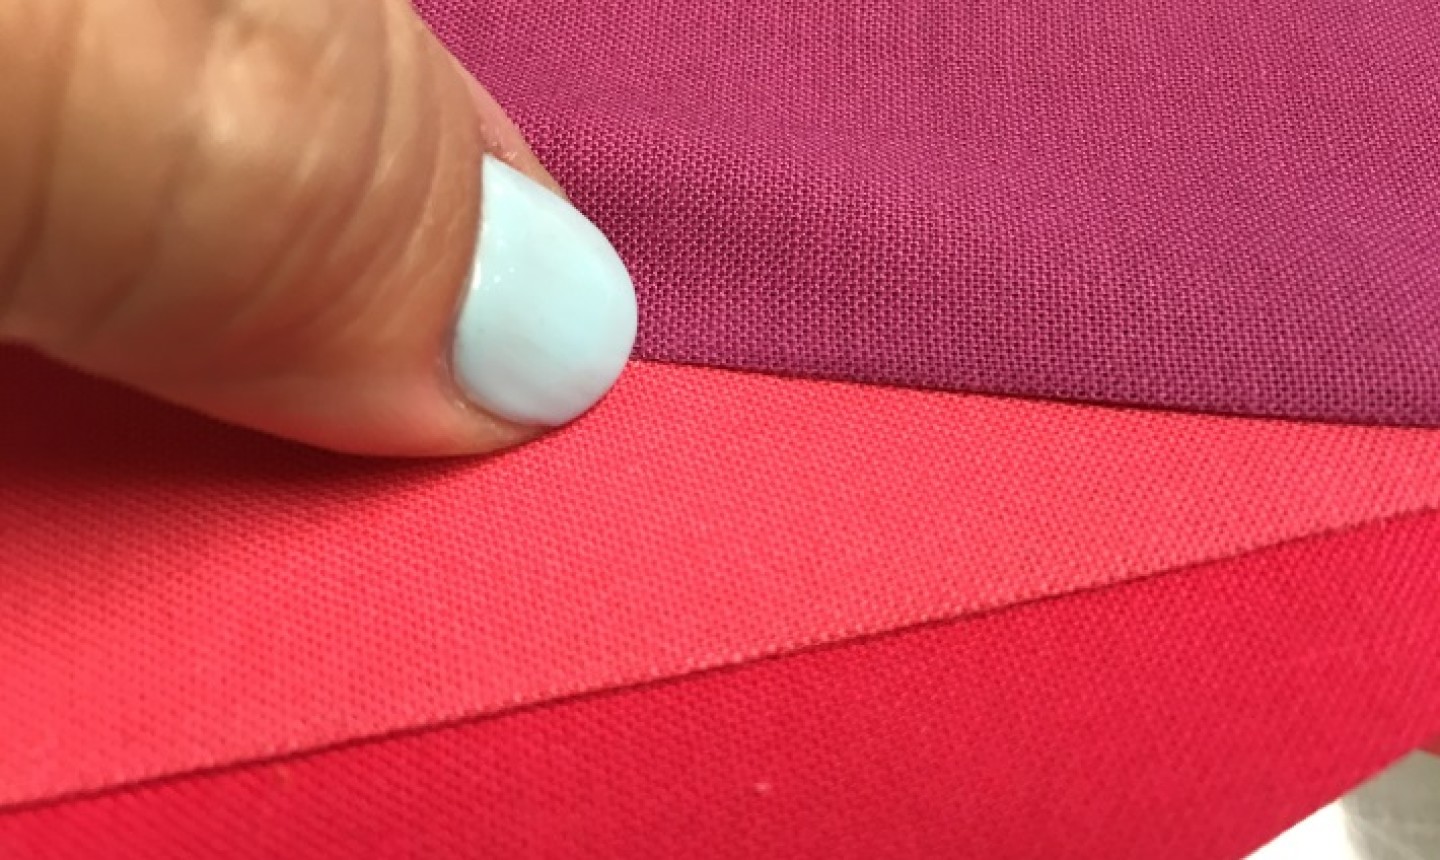
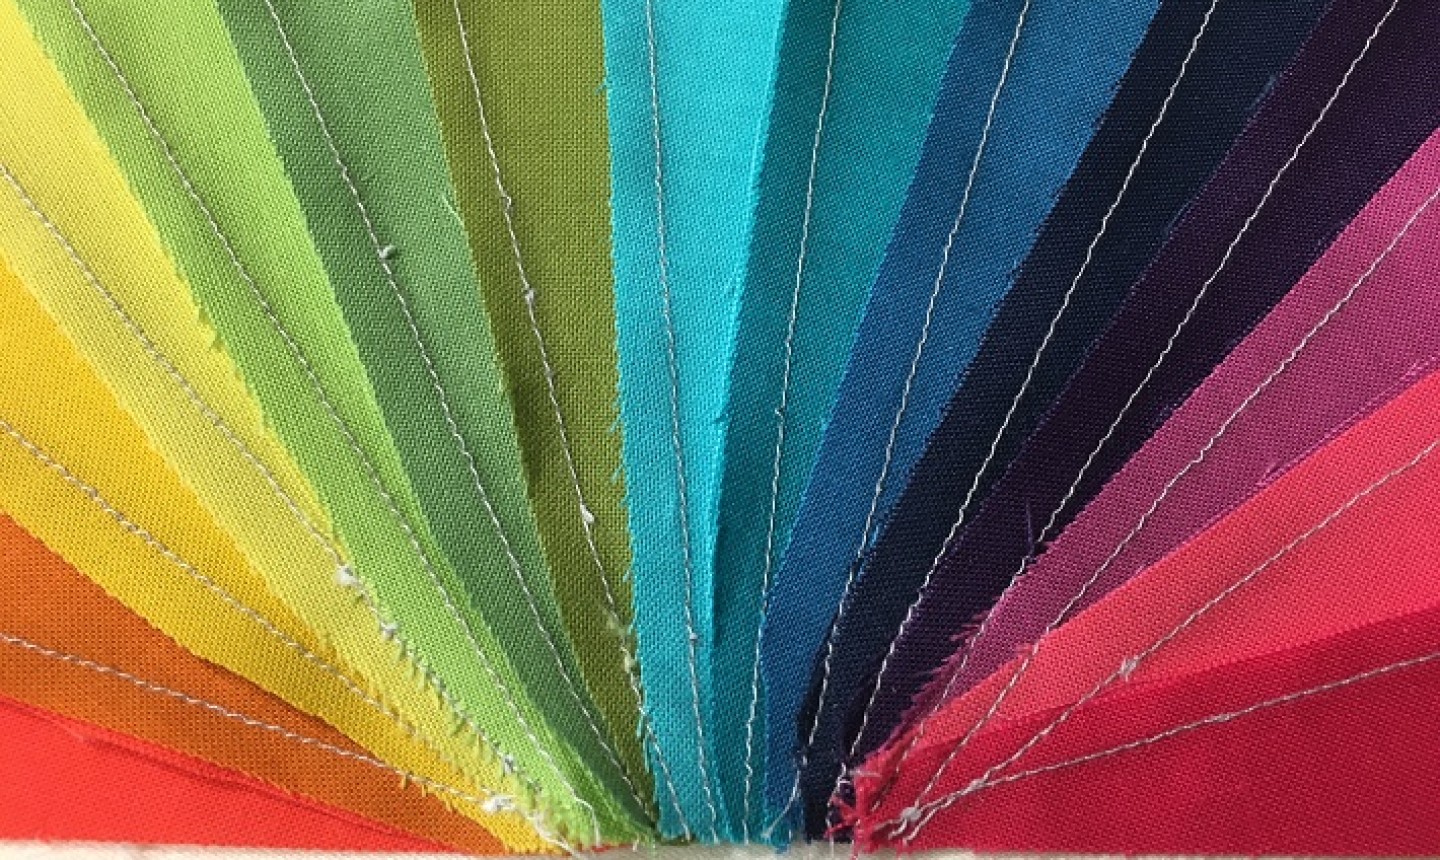
The seams will come together very closely on the bottom edge. To prevent extra bulk, trim the seams at an angle with scissors, leaving about ⅛” at the very edge (as shown above).
Keep working until your rainbow is completely sewn and press the top with an iron. At this point, your paper will still be attached to the back.
6. Remove the Paper
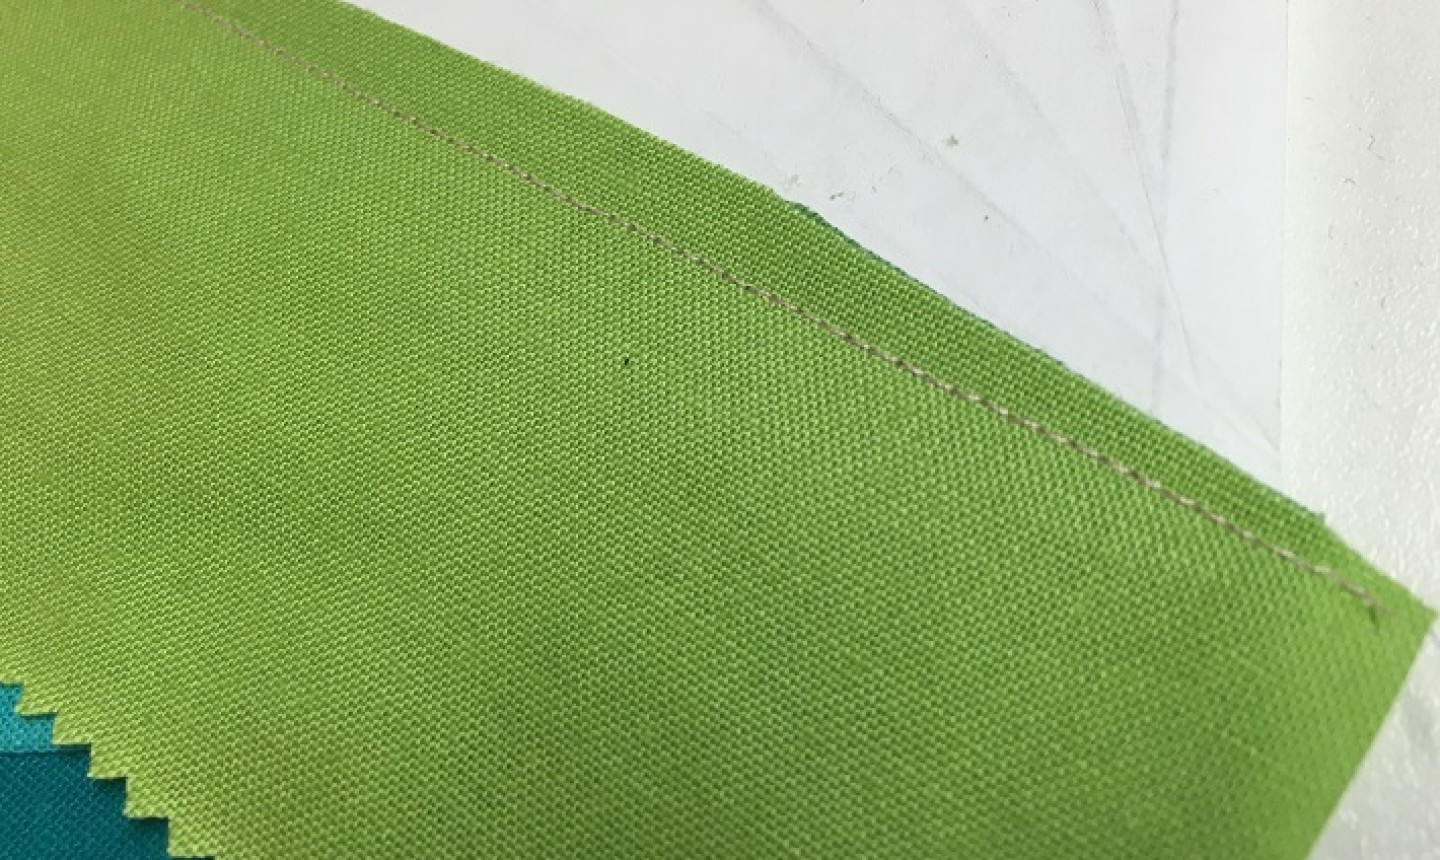
Gently pull your paper away while securing the end (to prevent the first few stitches from coming undone). The paper should tear away easily, thanks to the shorter stitch length.
Once the paper is removed, the back of your mug rug will look like the photo above. Handle it carefully because there will be bias edges. If desired, stay-stitch around the perimeter, less than ¼” away from the edge, to stabilize the unit.
7. Assemble the Mug Rug
Layer the rainbow on top of the batting and backing to make a small quilt sandwich. Quilt the mug rug together by stitching in the ditch along each seam line. Trim the batting and backing even with the edges of the rainbow.
8. Add the Binding
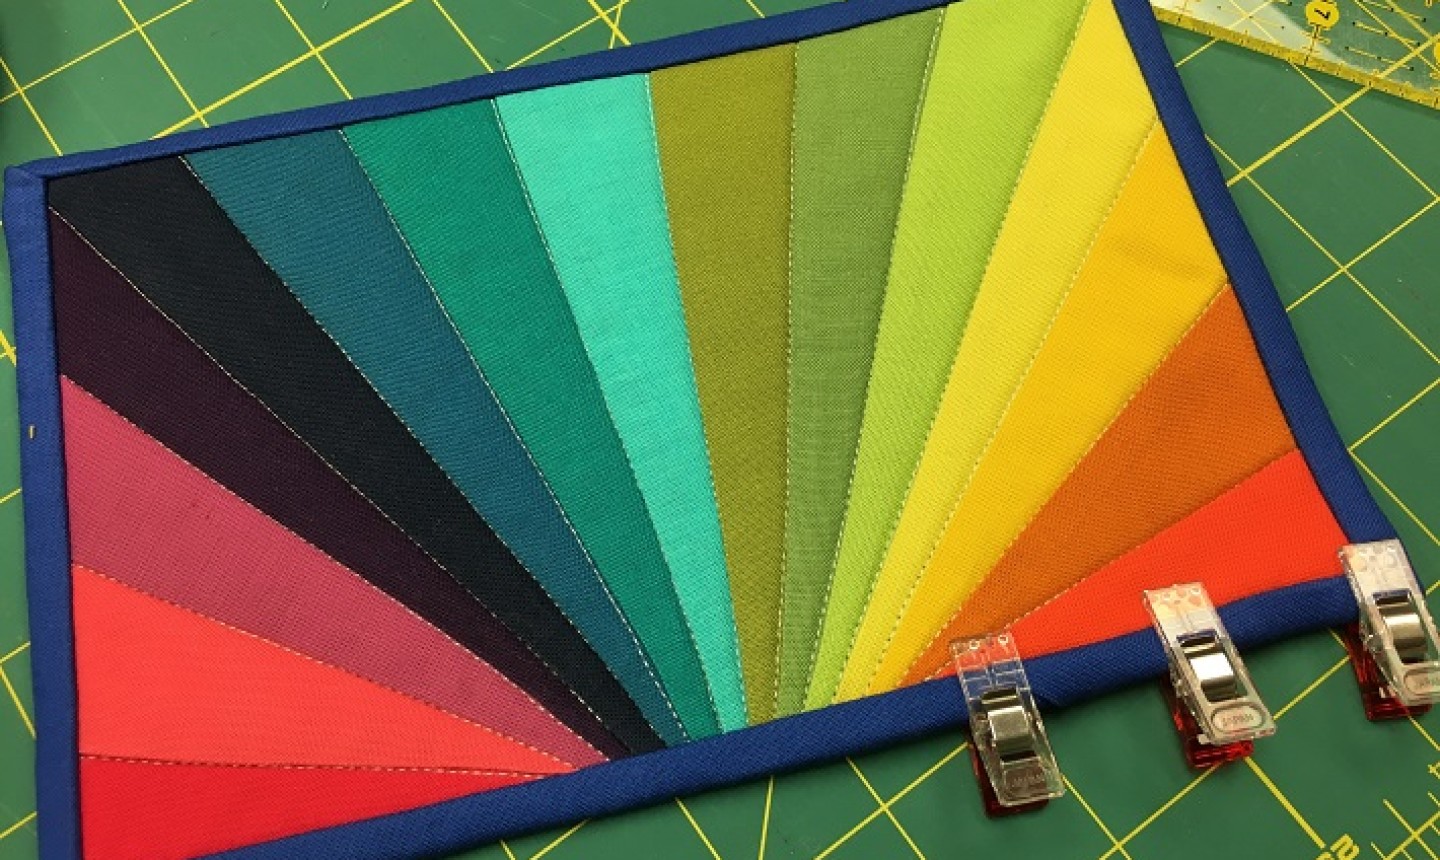
Add the binding as you would to any quilt and stitch it down on the back, either by hand or with your machine.

And you’re done! Enjoy your mug rug and take these newfound paper piecing skills with you on new quilting adventures.

Still not working. Very disappointing, Craftsy.
I am not able to download the mug rug template. Getting URL cannot be found. Please advise if there is another way to get the template for the paper pieced mug rug. Thanks
STILL waiting for link to be fixed. It's been days.
pdf is unavailable. Can you fix the problem please? Thanks
Pdf is unavailable. Please fix.
Cannot download the pattern. <strong> Thank you for taking the time to reach out regarding the technical issues you are experiencing with your Craftsy membership. We are aware of the issue and are working on a resolution. I apologize for the inconvenience.
PDF link says url cannot be found. Would save a lot of time if I didn't have to try to make the pattern myself. Frustrating!! </strong> Thank you for taking the time to reach out regarding the technical issues you are experiencing with your Craftsy membership. We are aware of the issue and are working on a resolution. I apologize for the inconvenience, please reach out if you are still unable to access the content within 24 hours.
Link doesn't work for template! Would love to make this. Disappointed that you would send this out with a broken link!! Thank you for taking the time to reach out regarding the technical issues you are experiencing with your Craftsy membership. We are aware of the issue and are working on a resolution. I apologize for the inconvenience.
Cannot get the pattern. <strong>Thank you for taking the time to reach out regarding the technical issues you are experiencing with your Craftsy membership. We are aware of the issue and are working on a resolution. I apologize for the inconvenience.
Very Pretty and so easy!