Believe me, you are not alone if you are afraid of piping! Piping takes planning, practice and patience. This tutorial will give a step-by-step overview of techniques that will make piping for cake decorating that much easier.
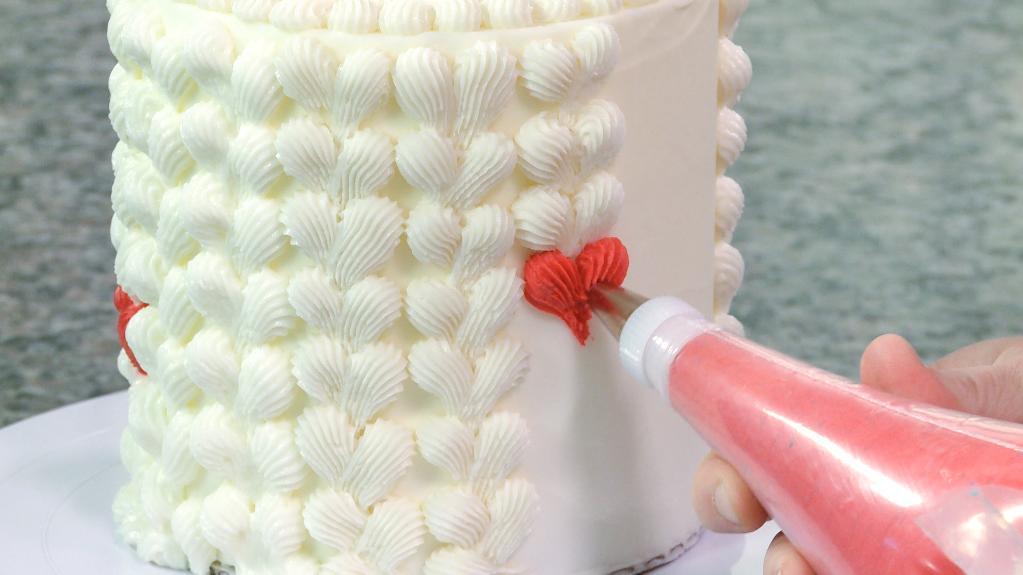
Piped All-Over Shells Cake via Amanda Rettke
Use Basic Piping Techniques to Create Gorgeous Cakes!

Learn how to pipe gorgeous petals, Chantilly lace, rosettes, fan patterns, ruffles and more in these online video lessons you can watch anytime, anywhere.
Before we get started with piping techniques, let’s talk about icing.
There are many different kinds of icing and buttercream, so which are best for piping? Piping can be done with most any icing, but I prefer to use royal icing if I am piping on fondant and Swiss meringue buttercream if I am piping on buttercream. Royal icing goes hard and tends not to bleed into fondant, making for a nice clean look that cannot be wiped away easily. Buttercream, however, is a different story.
I like to keep my buttercream cakes in the refrigerator as long as possible. When using Swiss meringue buttercream or any type of buttercream that includes only butter and no shortening, the buttercream will harden on the cake when chilled, making it easier to work with when piping and more smudge resistant. Royal icing should not go into the fridge once it’s on a cake because the humidity will break down the royal icing, causing it to melt.
Now, let’s get back to piping techniques
Planning
Knowing the plan can make all the difference! Before you start piping willy-nilly on a cake, it is best to come up with a plan. Sketch ideas, map out what you want it to look like, measure your cake and practice a few times. John Russell demonstrates this perfectly in his online cake decorating class Modern Piping.
Practicing
Let’s talk about practice. If you want to achieve beautiful lines, swoops, filigree, pearls, shells, leaves, stringwork, or any other type of piping technique, it’s going to take a lot of practice to get everything even and consistent. So here are a few tips that can get you started on your way to lovely piping!
Consistency
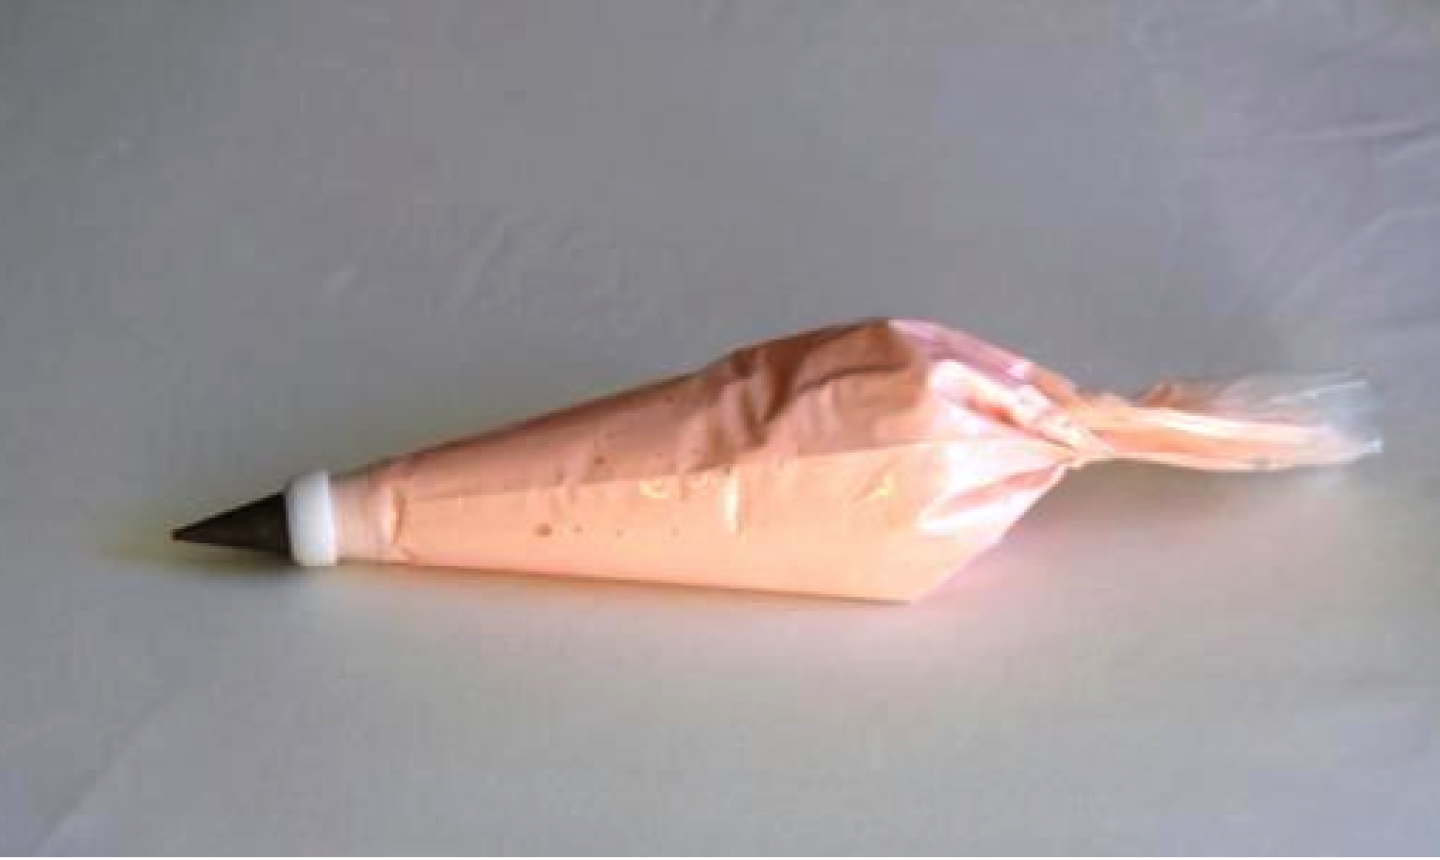
First and arguably the most important part is getting a good consistency to your icing. If you look closely at the above bag of icing, you will see air bubbles — not good! Air bubbles are bad for piping! Take a few extra minutes and gently squeeze your bag to remove the air bubbles before tying off the end.
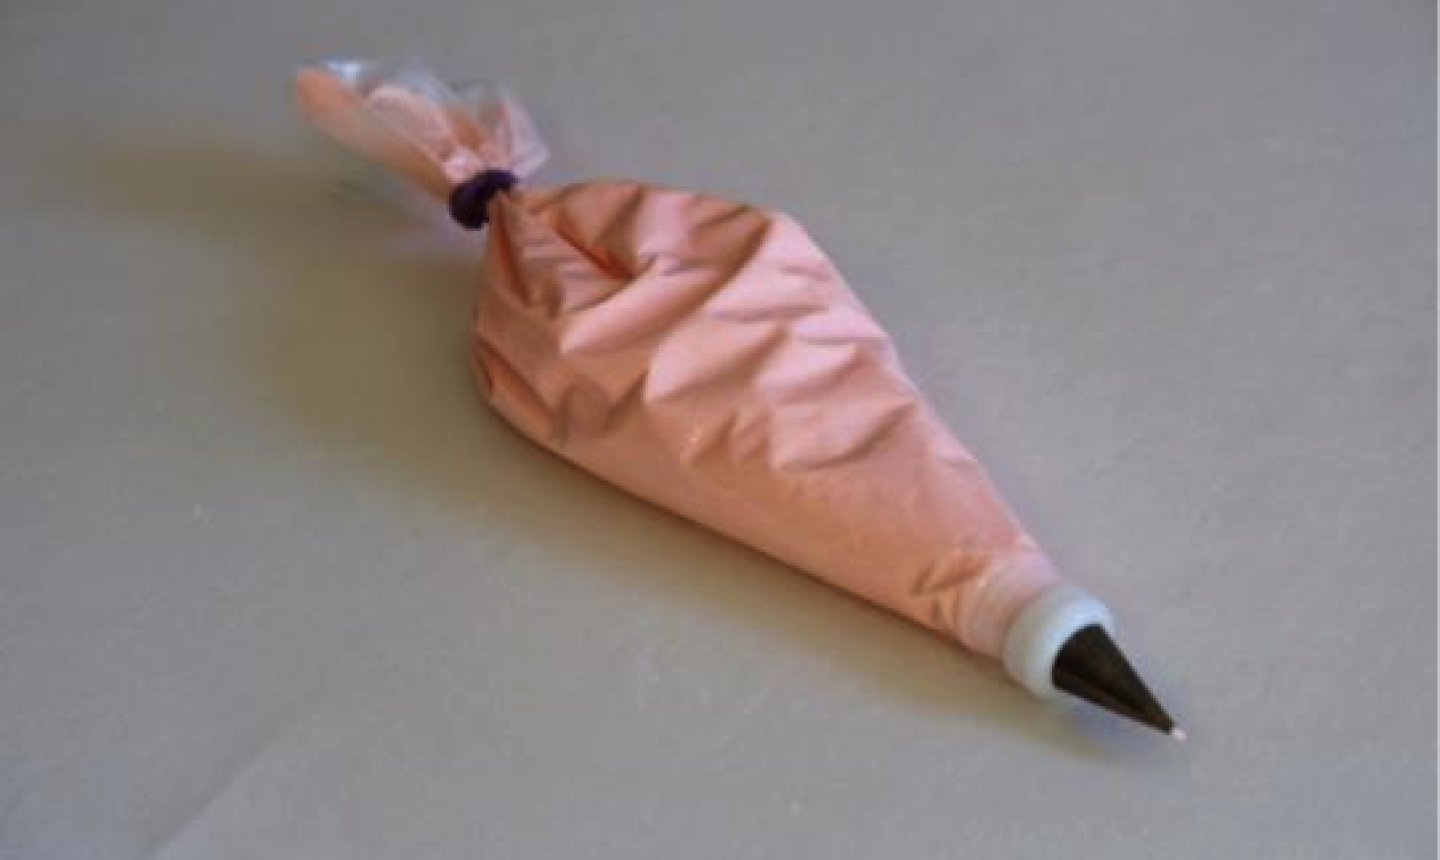
Now, our icing is ready!
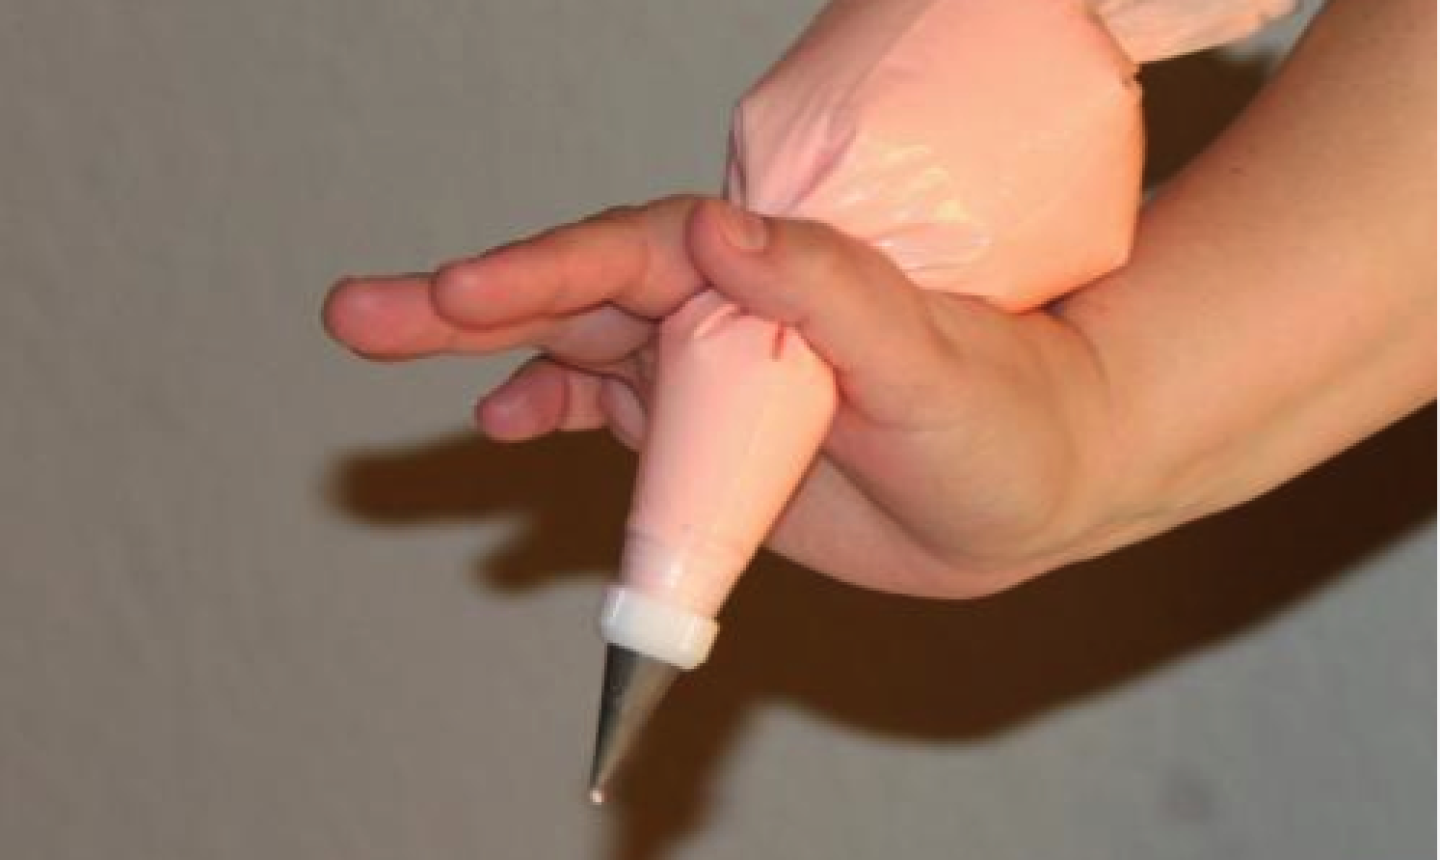
Holding the piping bag
There are many different ways to hold a piping bag, but it pretty much comes down to what is comfortable in your hand and what gives you the best results. I prefer to have a somewhat full bag, and then I twist the bag about ¾ of the way up and hold only enough in my palm so I can control the pressure and movement of the bag. I let the back end of the bag rest on my wrist.
One more thought about piping: There may be some of you out there who are lefties like me! As a left-handed person, I have found it easier to hold the piping bag in my right hand and then guide the bag with my left hand. If this doesn’t work for you, try piping from right to left so you can see where you are going.
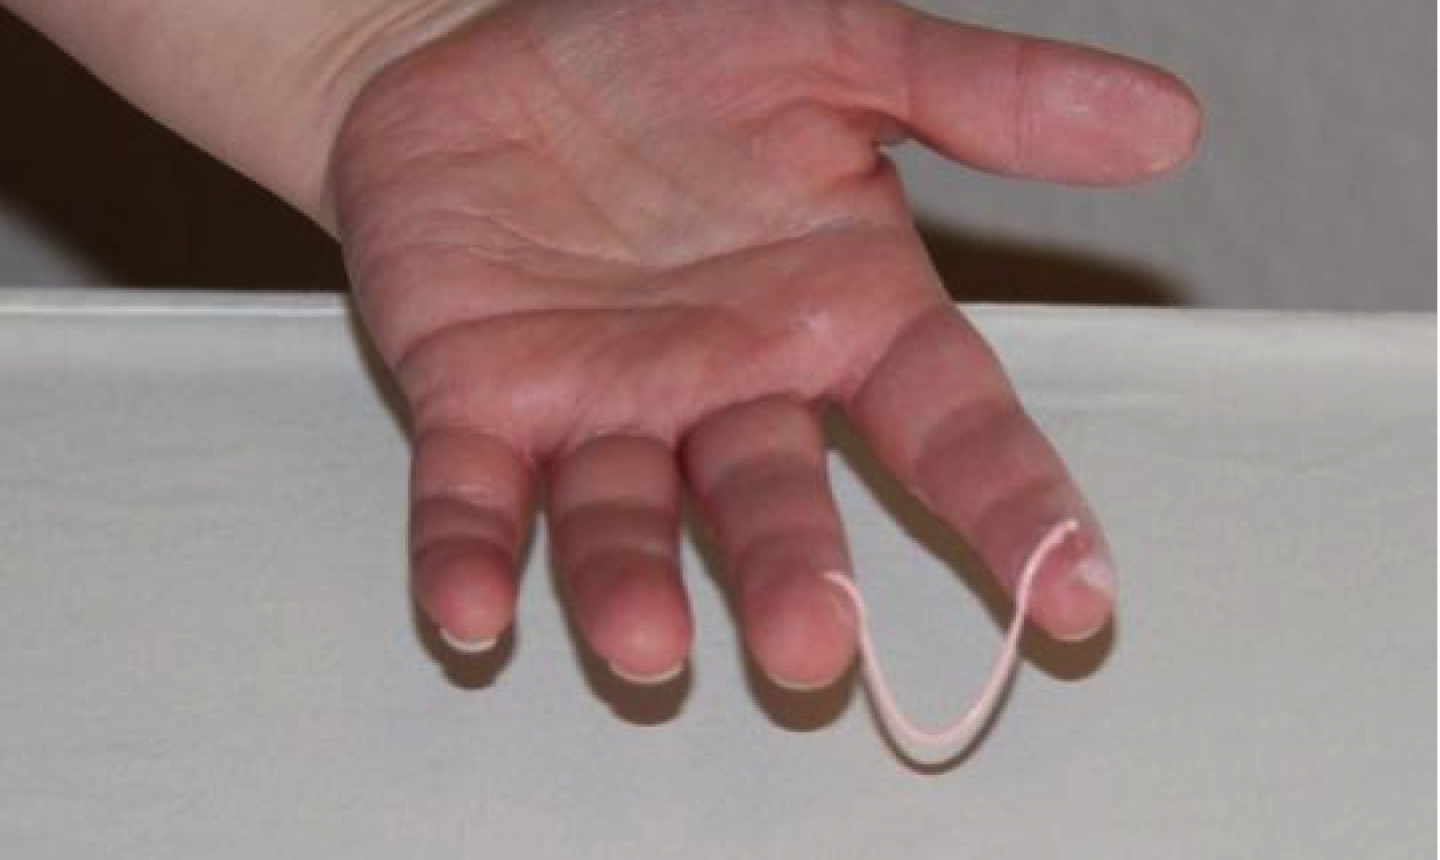
You will know your icing consistency is correct when you can pipe a string between your fingers and give it a little shake and it doesn’t break immediately. If it breaks quickly, your icing is too wet (add a little powdered sugar). If it is really hard to get out of the bag, your icing is too dry (add a little water).
Now we are ready to pipe!
Let’s begin with straight lines. It is best to practice guiding the icing rather than forcing the icing to go where you want it to go. When doing most piping work, try to keep the tip off of the cake or the practice mat. Let gravity do its job, while guiding the string of icing in the direction you want it to go.
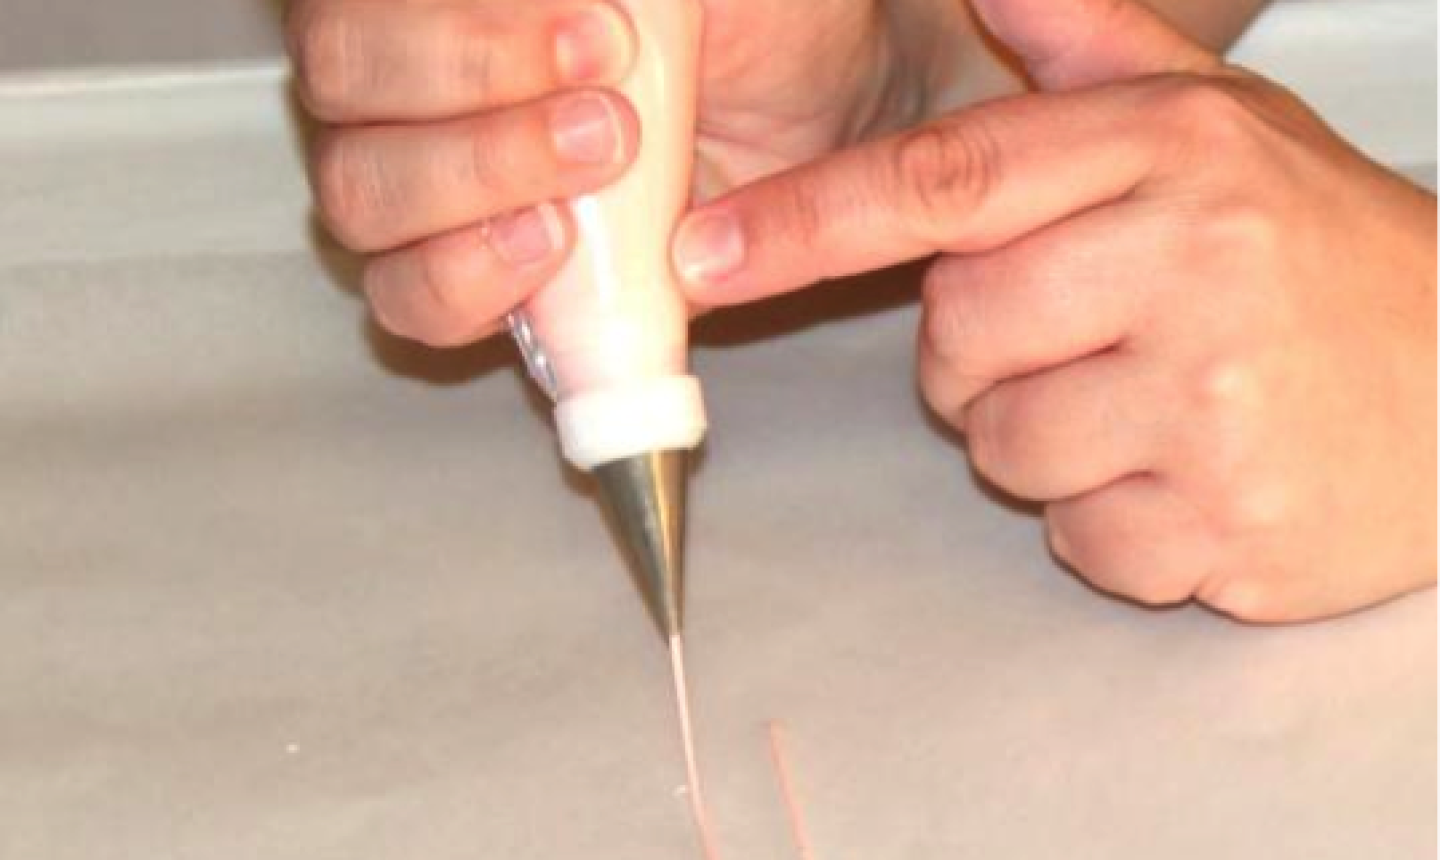
Make sure while you work that you anchor yourself with your elbows or whichever way you are most comfortable. This is definitely a time to keep your elbows on the table!
Practicing techniques: glassware
Another way I like to practice is on a goblet or a flat bottle. It is great to practice on a mat, but most cake decorating is on the side of a cake that is usually upright and round, and that can make a big difference in your piping skills. Just because you are a whiz at swoops on the table does not mean you will be great at them on a real cake. So, practicing on a glass can give you a sense of decorating on a cake without the commitment and time involved in making and prepping a real cake.
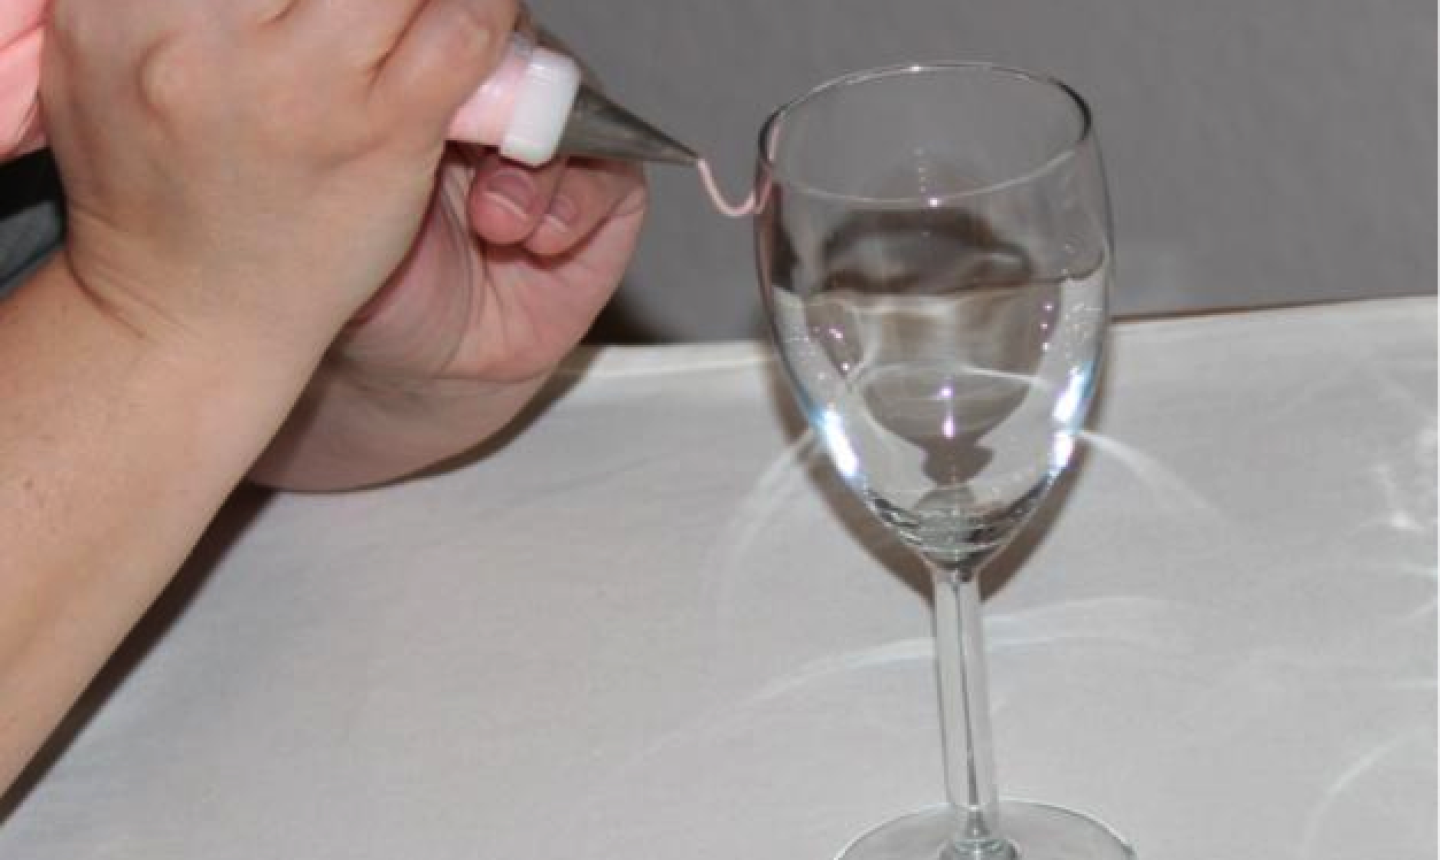
As with the lines earlier, it is best to keep the tip away from the glass and to gently guide your string to where you want it to go.
Once you have your string where you want it, just touch the string to the cup and attach it.
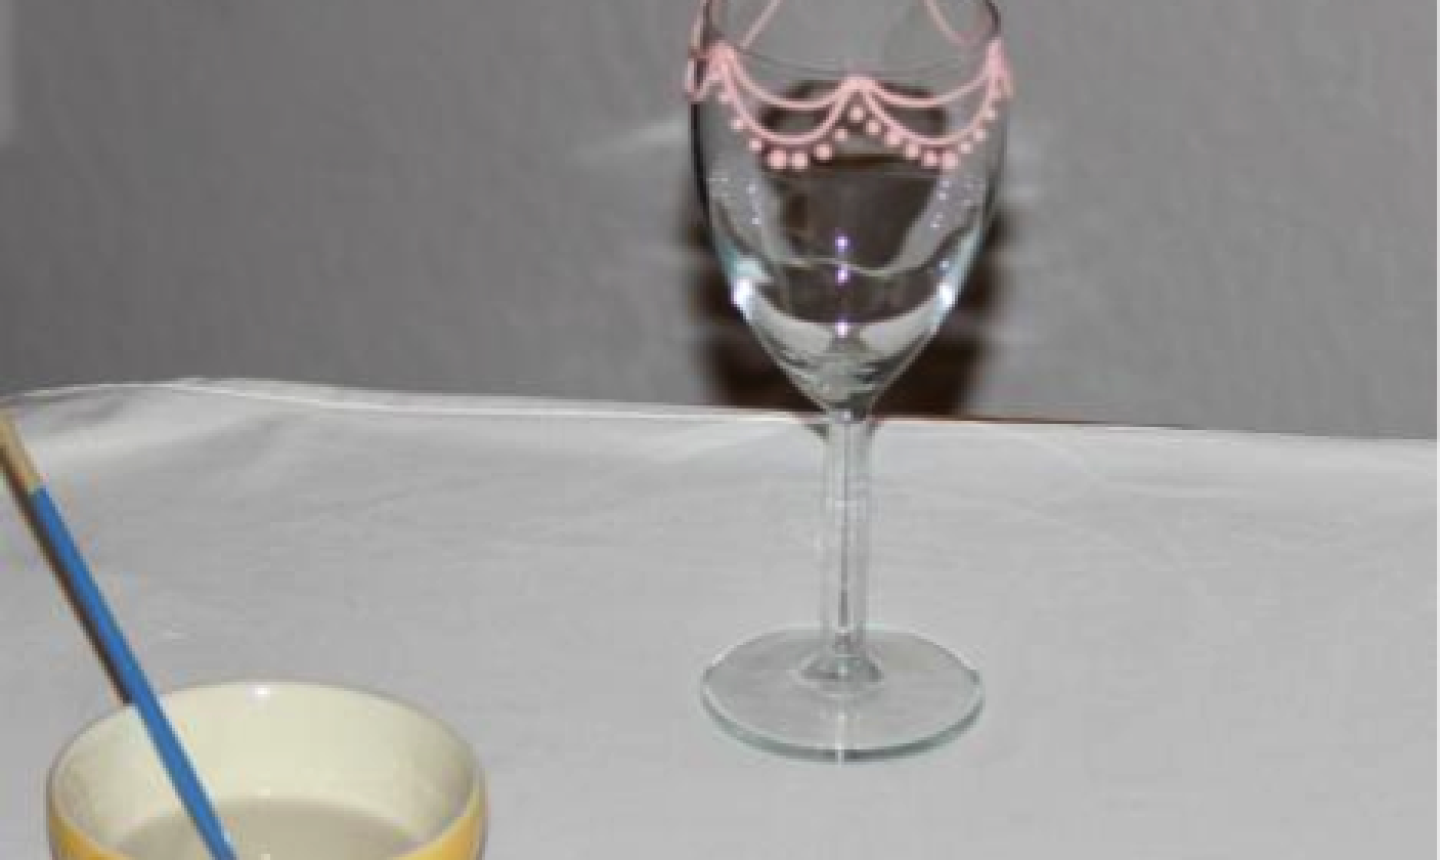
If you make a mistake, or you end up with peaks of icing rather than nice dots, use a damp paintbrush and touch it gently to the royal icing to help it form into a small ball.
Royal icing filigree technique
The royal icing filigree piping technique has become increasingly popular with brides who love the look of swirls and lace. You can practice this by free-handing a design or by creating your own. When doing filigree always think of “S” and “C”. Our eyes like the look of those two letters together.
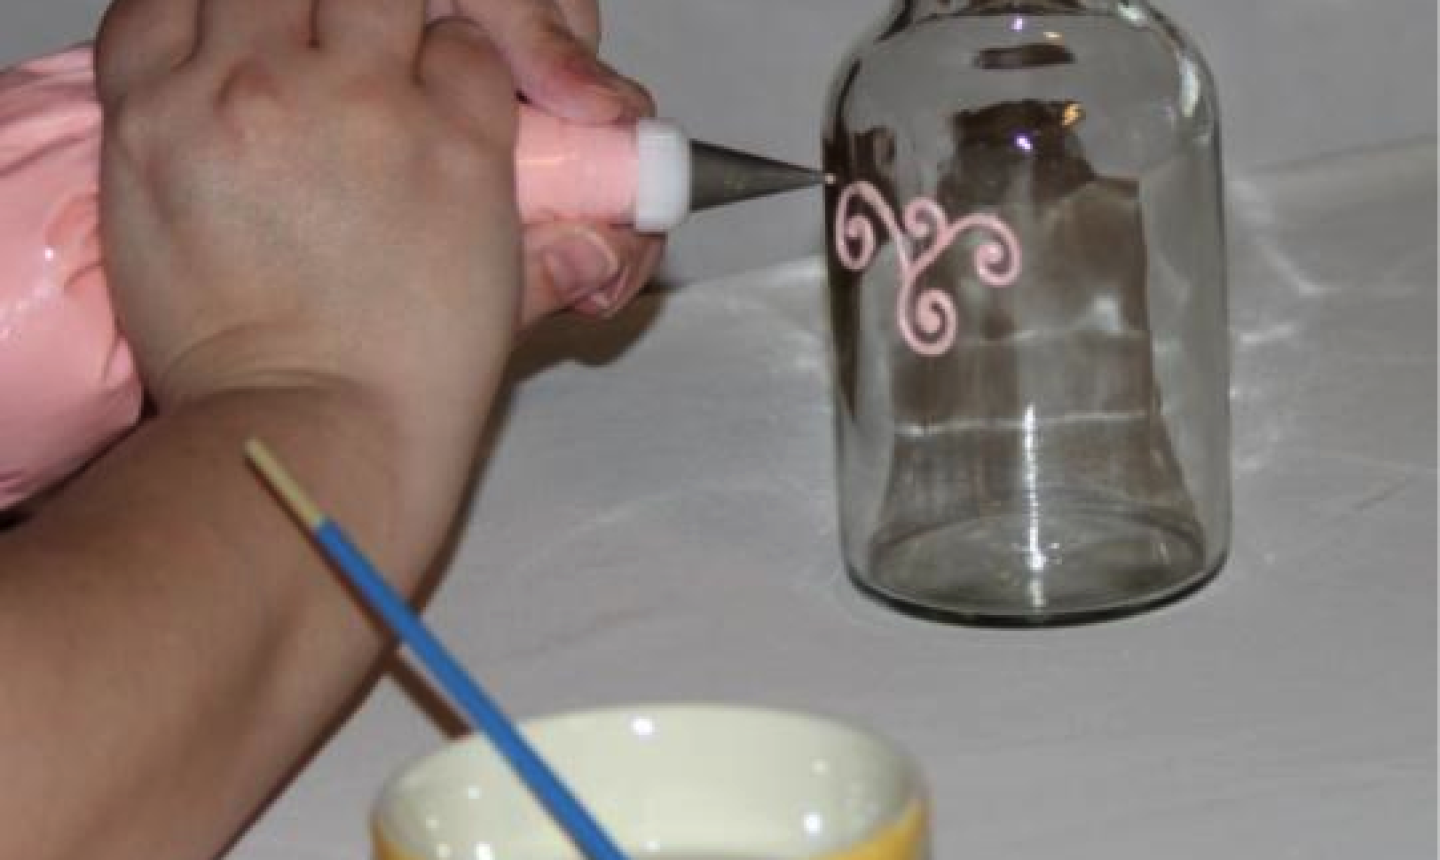
Clean up any mistakes or tidy up lines with a damp paintbrush.
Using the glass bottle, you can let yourself enjoy piping. Try new techniques and practice, practice, practice until you feel confident to try your newfound skills on a beautiful cake!

Share tips, start a discussion or ask other students a question. If you have a question for an expert, please click here.
Already a member? Sign in
No Responses to “Everything You Need to Know About Piping Techniques”