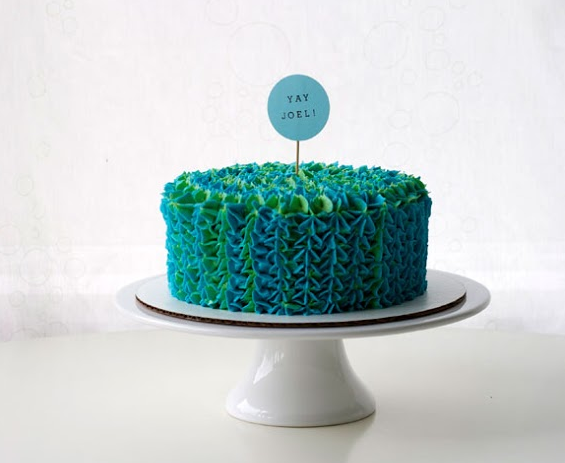
This cake has all the right moves for a modern bash. The winner is the two-toned buttercream, which makes the piping pop and feel extra vibrant. Best part: you only need one piping bag and tip to pull off this simple-yet-stunning design — easy cleanup, for the win!
Peacock Cake
Level: Easy
What You Need
Instructions
1. Bake
Bake your cake according to your recipe's instructions, then let it cool completely before decorating. As your cake cools, make your buttercream according to the recipe's instructions.
2. Color the Buttercream
Divide your buttercream into two mixing bowls. Add small drops of gel color into the buttercream and mix until your desired color (one bowl green, the other blue) is reached.
3. Build Your Cake
Place one round cake onto your board and cover the top with buttercream. It doesn't matter which color you use for this — you won't see this later. Place your second cake on top.
Frost the entire cake in a crumb coat , then smooth the top and edges with a bench scraper.
4. Get Ready to Pipe
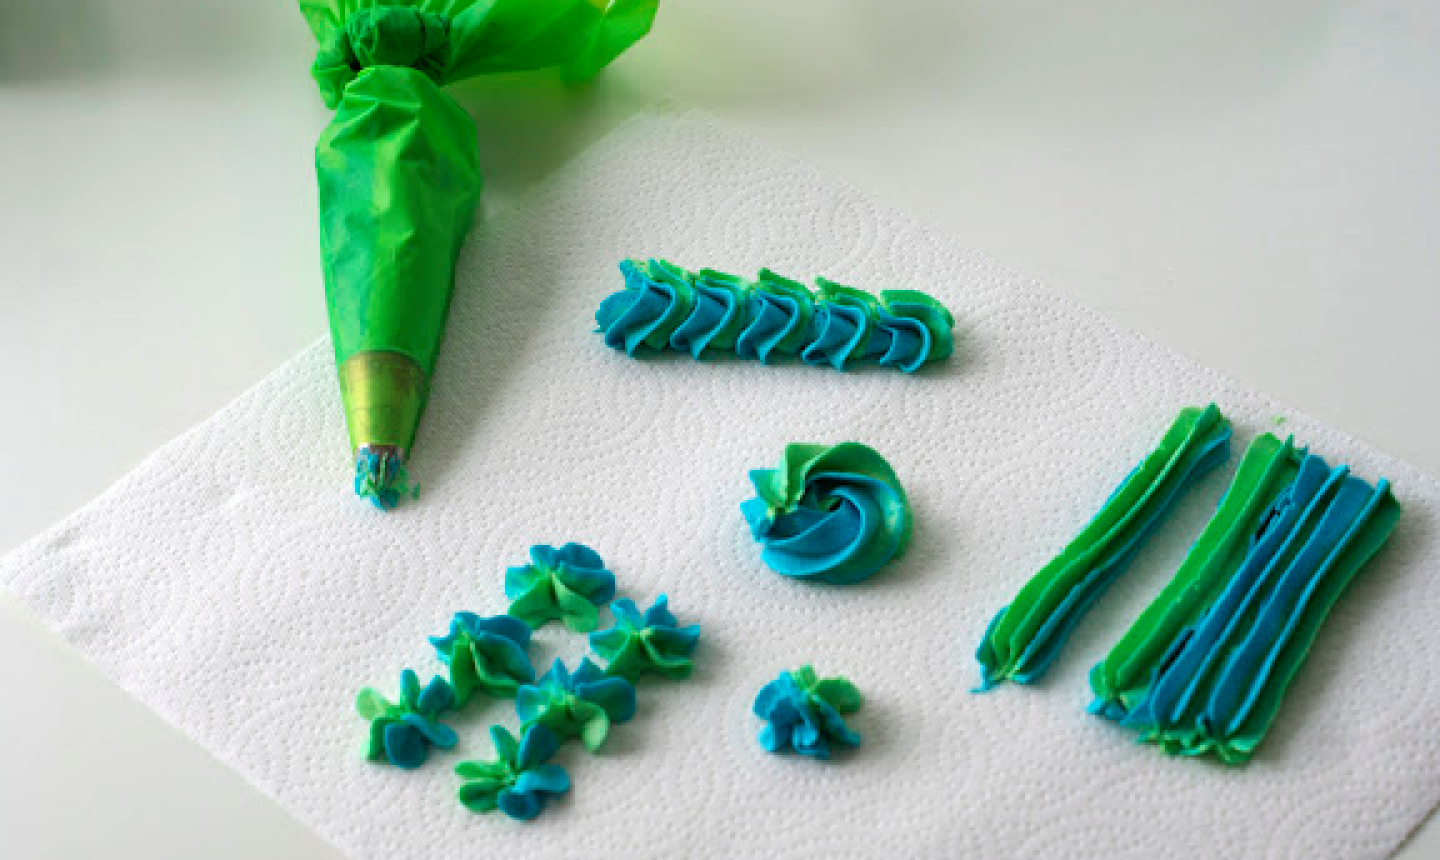
Spoon buttercream into your piping bag with a rubber spatula. Fill one side of the bag with green buttercream; the other with blue.
Pro Tip: It may be easier to fill your piping bag if you place it tip down into a glass or cup. Make sure the bag is open and folded over the edges of the container before you begin.
5. Practice

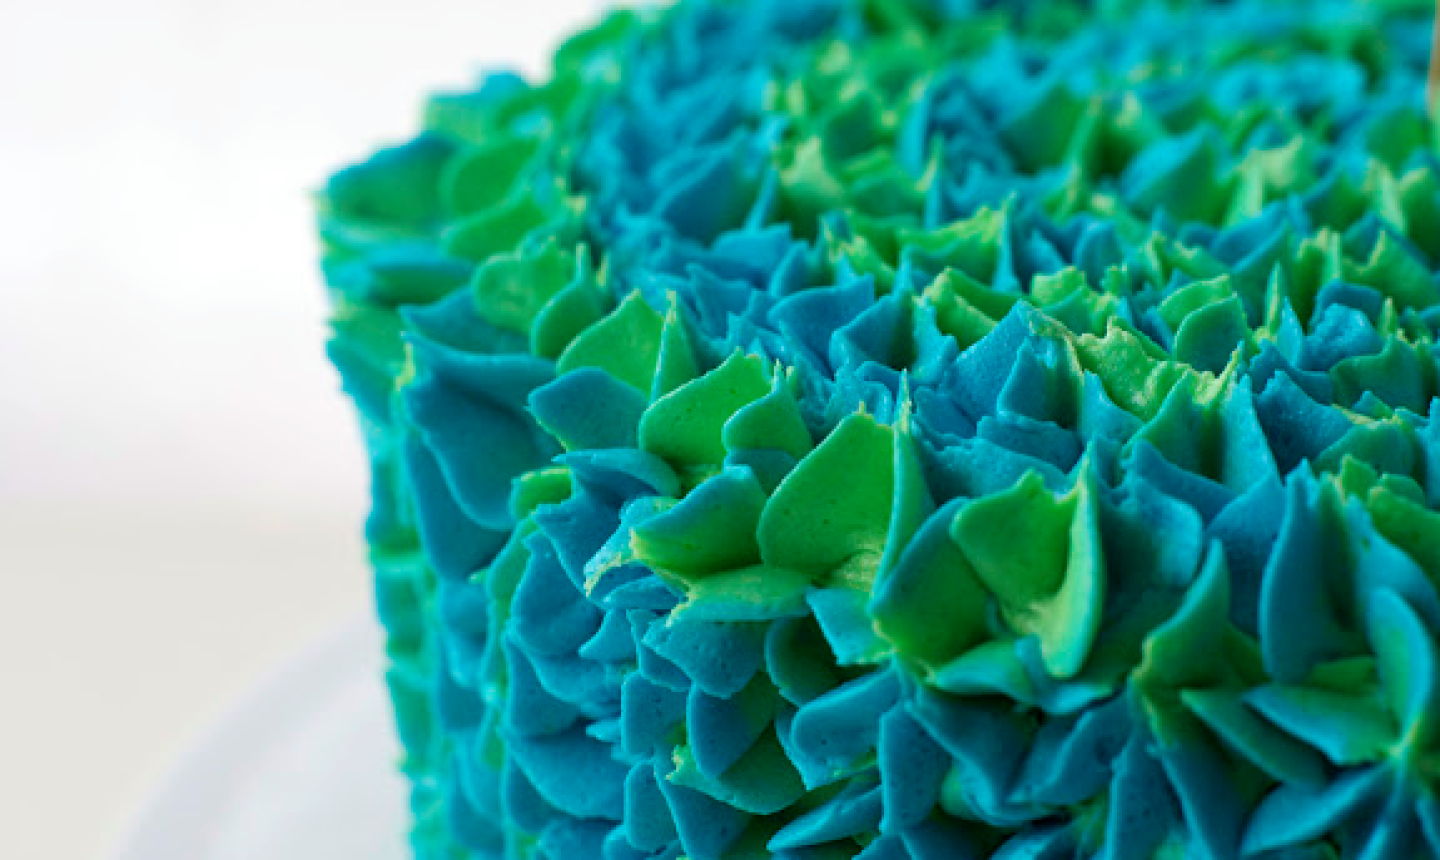
Practice your piping on a paper towel or parchment paper to get an idea of how the colors work together. Decide which design you want to pipe on your cake — rosettes, dots, shells and stars are all good choices; we went with stars because they look like ruffly feathers.
6. Pipe

Starting at the bottom of your cake, start piping your stars. Squeeze the piping bag gently and work in upward lines until the sides of the cake are well covered. Then pipe stars on top of your cake as well.
Pro Tip: Periodically turn your piping bag to reposition it in your hand, so there's a pretty variance in how the colors lie.
7. Add a Topper

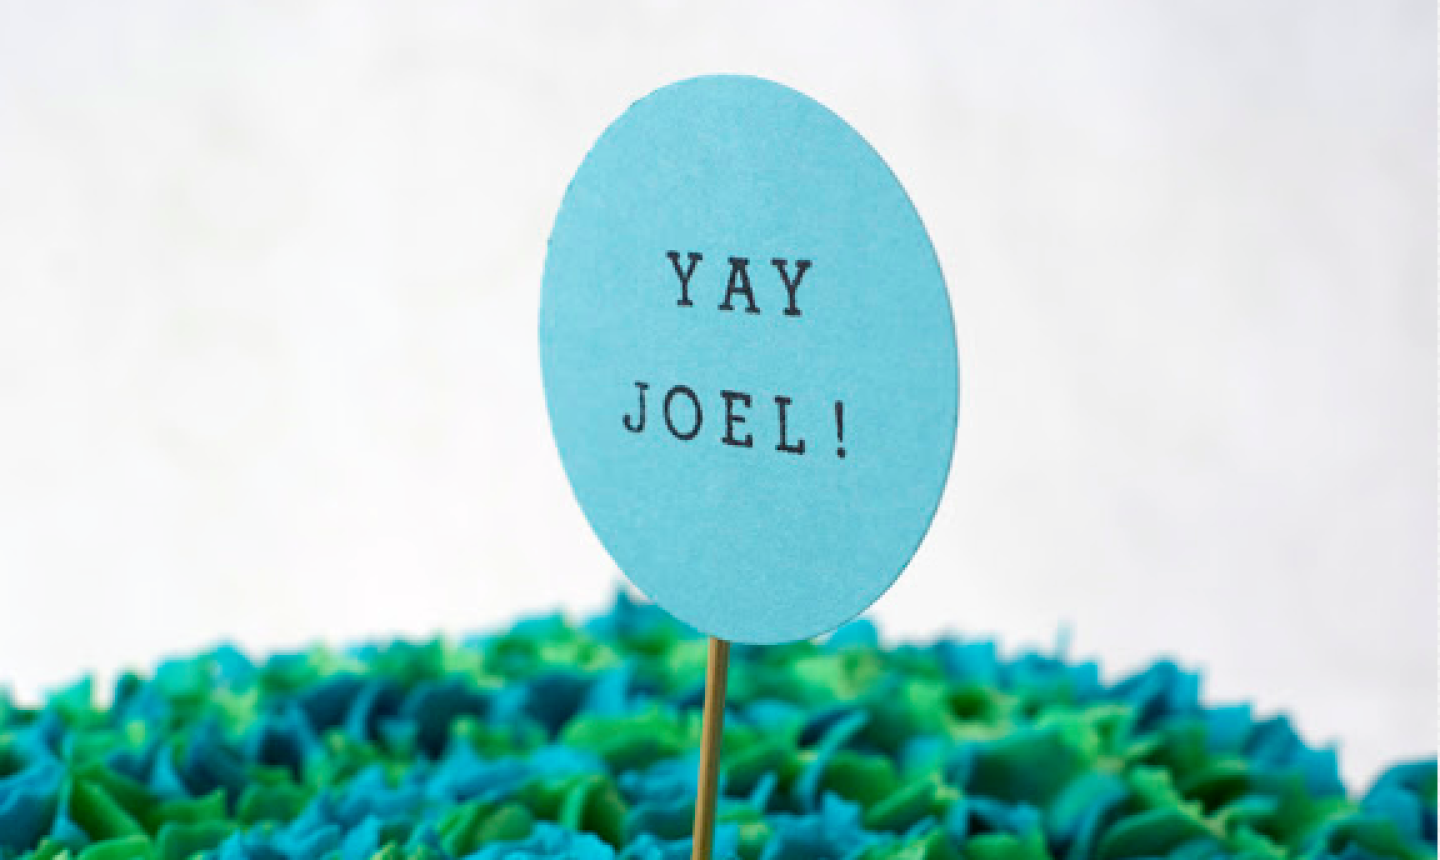
You can be done once your cake is covered in buttercream, but if you want to add an extra celebratory touch, DIY a cake topper out of paper and a toothpick. We made this one with simple stamps and a large circle punch.

And there you have it! The perfect peacock cake.

Share tips, start a discussion or ask other students a question. If you have a question for an expert, please click here.
Already a member?
No Responses to “Strut Your Stuff With a Peacock-Inspired Cake”