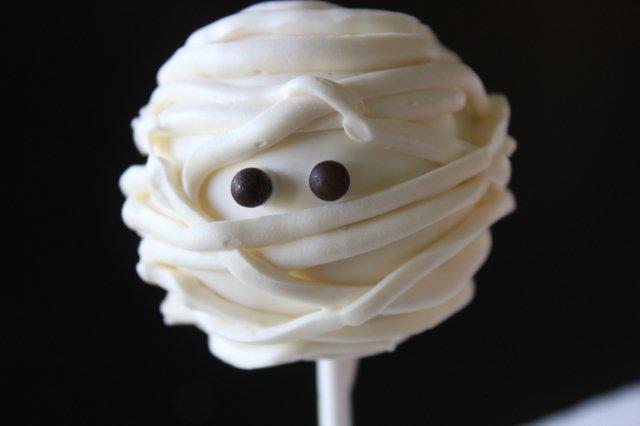
This Halloween treat is sure to make your mummy proud! These fun little guys are easy to whip up and a guaranteed hit for this year’s party.
Mummy Cake Pops
Level: Easy
What You Need
Instructions
1. Prep the Pop
First thing’s first: you’ve gotta make the cake pops. To create the base, mash a baked cake with buttercream until it’s mixed well and you can roll it into a solid ball.
Pro Tip: For every 2 cups of cake, start by using 1 tablespoon buttercream. Make adjustments to this ratio until you get the right consistency.
Once your pops are rolled, chill them for about two hours in the fridge. Insert a lollipop stick into each pop and chill again for about 30 minutes.
2. Dip the Ball

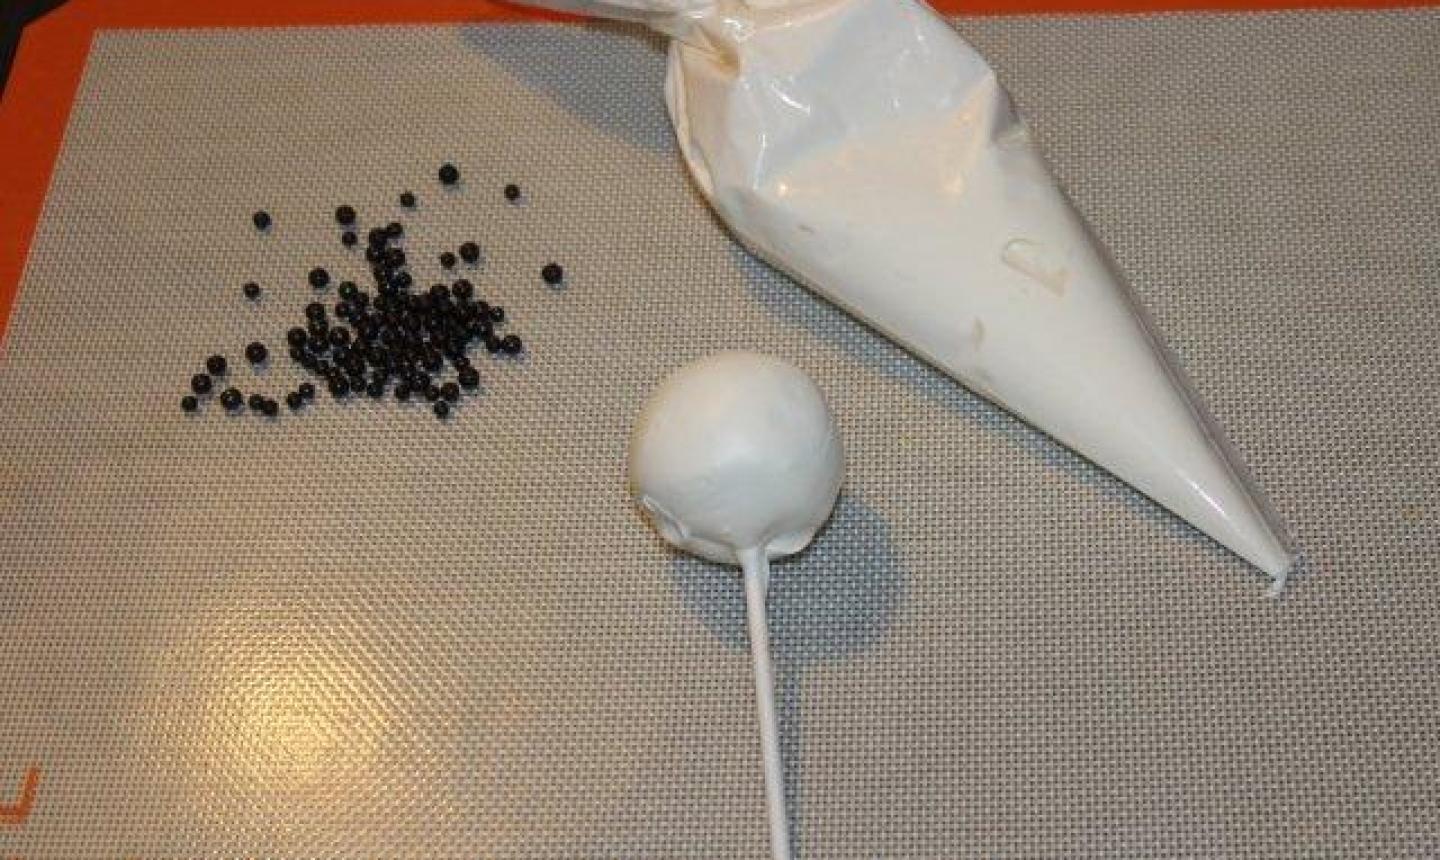
As your cake pops chill, melt the candy melts or white chocolate (whichever you decide to use). Remove the cake pops from the fridge and dip each one into the icing. When all of the cake pops are coated, place the remaining icing into a piping bag.
3. Add the Eyes

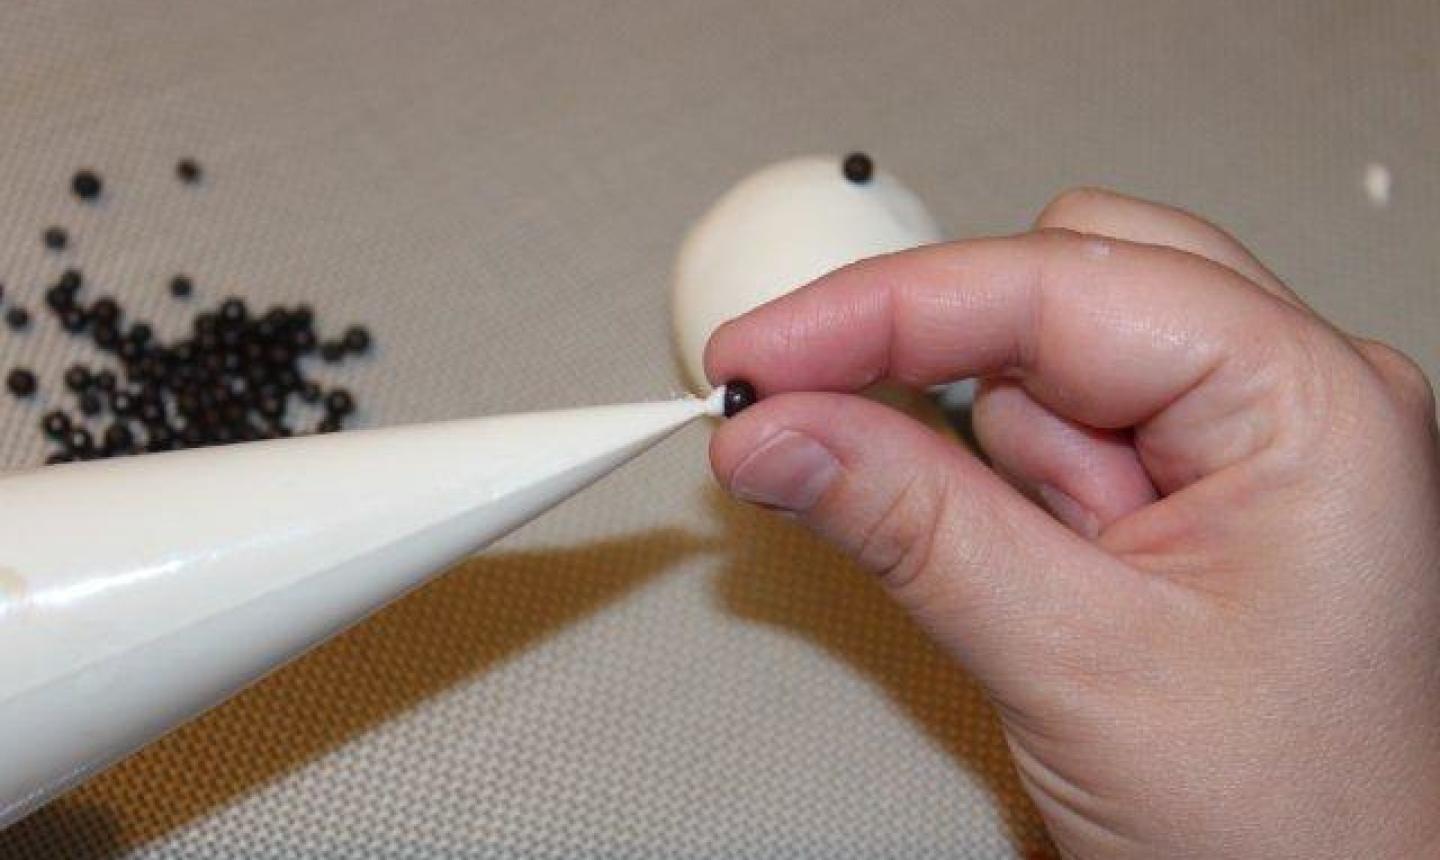
It’s time to add the eyes! We used dragées, but any round black sprinkles, fondant or modeling chocolate will work.
Cut a tiny hole in the tip of your piping bag (or use a small writing tip), squeeze a small amount of icing onto the eyes and stick them onto the cake pop.
4. Pipe the Mummy Wrappings

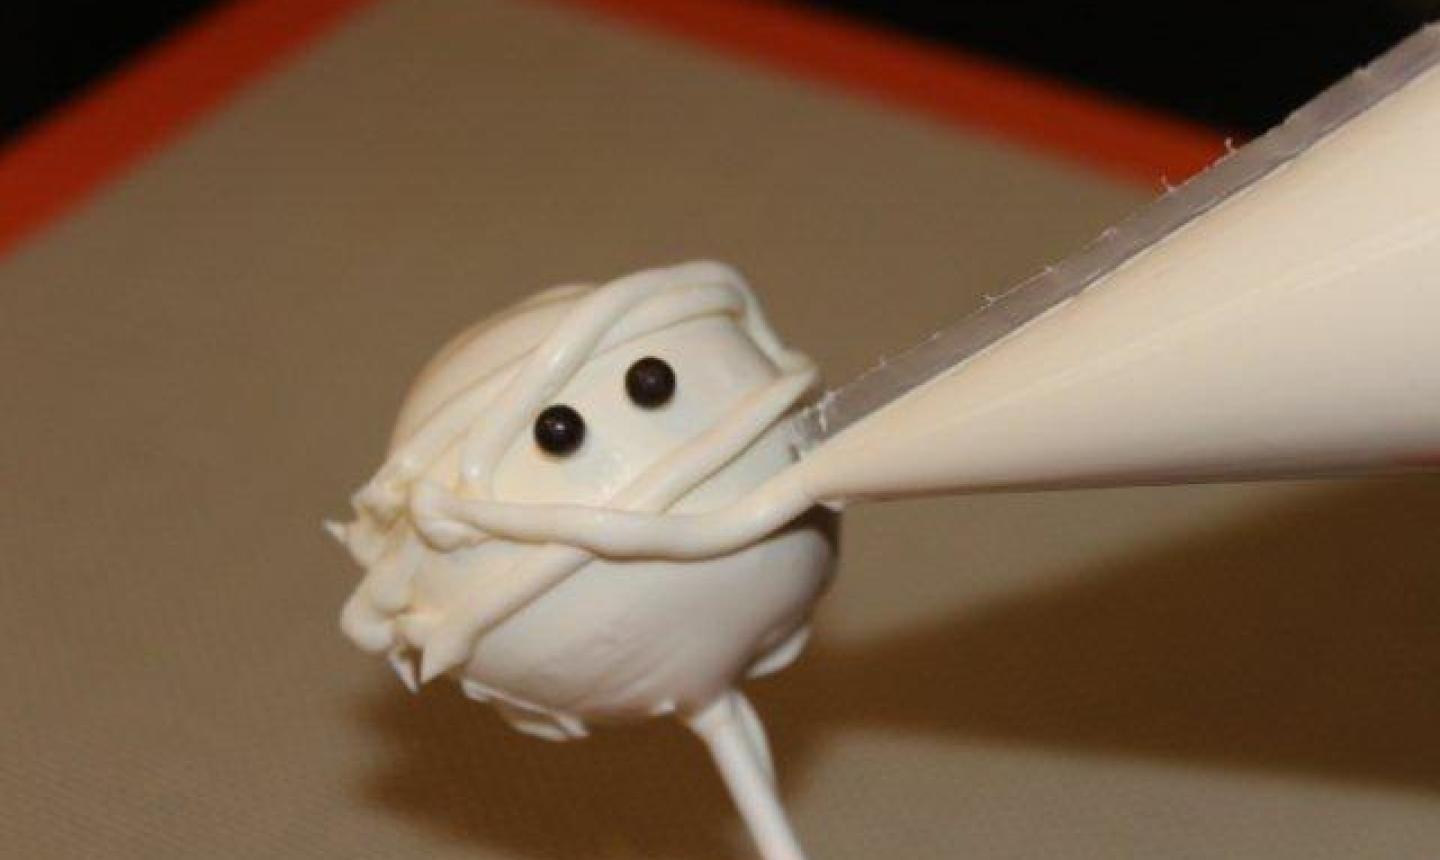
Add the mummy wrappings by piping the icing around the pop. Pipe above and below the eyes in all different directions, so the wrappings criss-cross and create a messy, mummified look.
Once you’re satisfied with the look of your wraps, let the cake pops dry. You’re done!
How do you get the melted candy melts a thinner consistency? Mine was too Thich and broke up the cake pop. I used the Wilton candy melts. Thanks for any feedback.