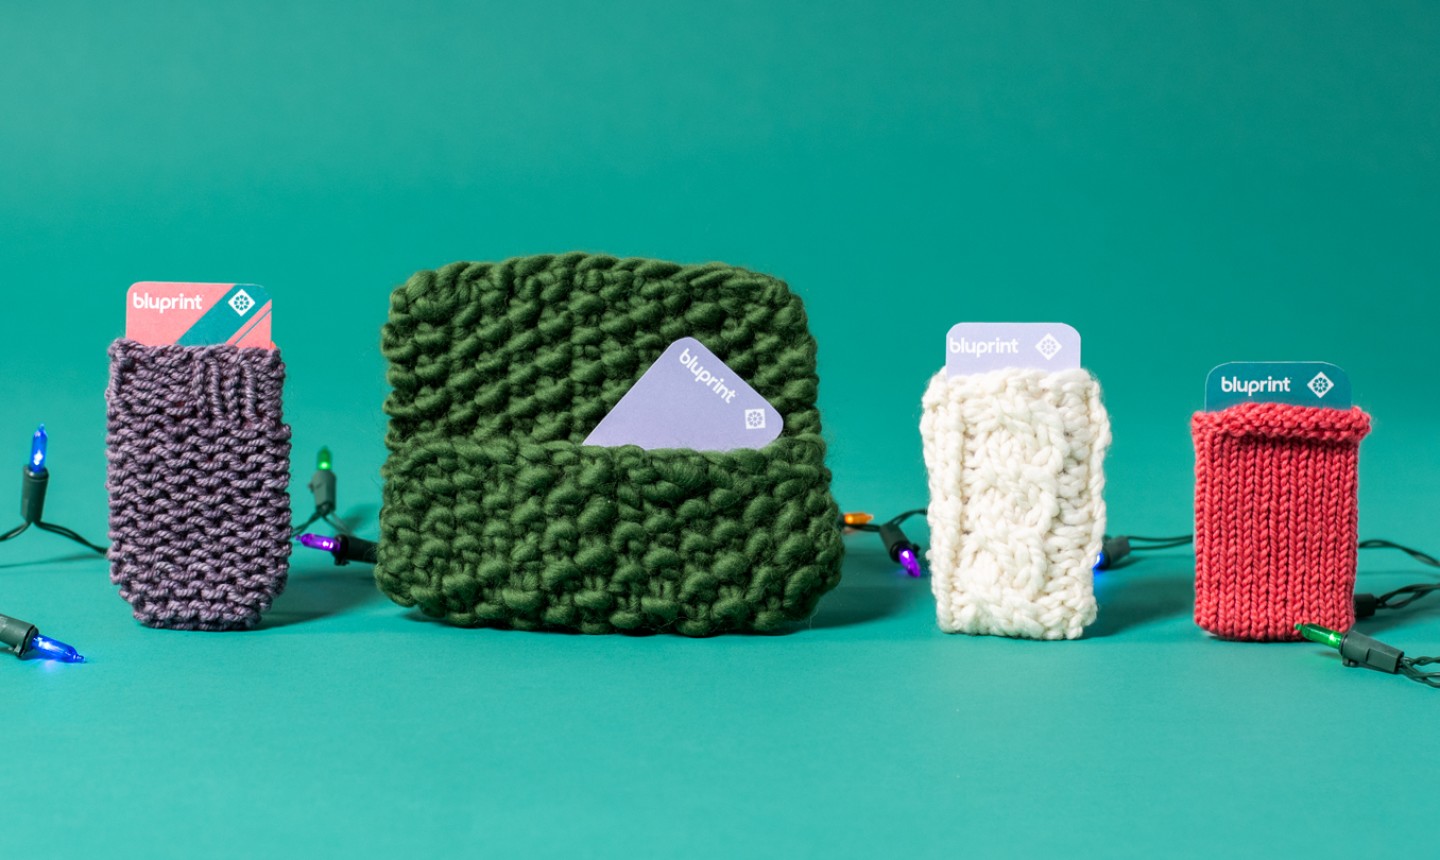
While handmade gifts are a total blast to make, sometimes the person you’re gifting to really could use a gift card. After you grab the one they’d like best, give it your personal made-with-love touch by knitting a gift card holder. There are four different patterns to choose from, and each one comes together in about the same amount of time it takes to buy the gift card itself.
Pro Tip: The gift card we used for this tutorial measures 3 ⅜” wide and 2⅛” tall. All of the holders have a bit of stretch, but if your card is bigger or smaller, you may have to make a few adjustments.
Garter Stitch Gift Card Holder
This pattern is perfect for beginners: knit some ribbing (that’s just knits and purls), then kick back with everyone’s favorite garter stitch. Seam it up and you’re good to go.
What You Need
Gauge
3 stitches per inch
Instructions
Cast on 12 stitches.
Rows 1-5: *Knit 2, purl 2; repeat from * across the row.
Row 6: Knit across the row.
Repeat Row 6 until the work measures 4½” long. Bind off, leaving a long tail for seaming.
Fold the work over, bringing the long sides to meet.
Using the yarn needle, seam the side and bottom of the gift card holder together. Weave in any loose ends.
Seed Stitch Gift Card Holder
Ready to take your knits and purls to the next level? Say hello to the seed stitch. This gift card holder features a buttoned flap, but since the yarn is so bulky, no special buttonhole is needed. Just slip the button between two of the stitches in the flap and you’re in business.
What You Need
Gauge
2 stitches per inch
Instructions
Cast on 14 stitches.
Row 1: *Knit 1, purl 1; repeat from * across row.
Row 2: *Purl 1, knit 1; repeat from * across row.
Repeat, working in seed stitch until work measures 7½” long. Bind off in pattern, leaving a long tail for seaming.
Fold the work for seaming, leaving about 2½” at the top for the flap.
Seam the two sides together. Weave in all the loose ends.
Using sewing needle and thread, attach a button to the front of the gift card holder. (Reminder: there’s no need to make a special buttonhole. Just work the button through the stitches on the flap to close it.)
Cabled Gift Card Holder
Experienced cable knitters will breeze through this pretty little project, and if you’re a newbie it’s a great one to help you learn.
Good to Know: If you already have a favorite cable stitch, you can substitute it here instead.
What You Need
Gauge
3 stitches per inch
Abbreviations
Instructions
Cast on 8 stitches.
Row 1: Purl 2, knit 4, purl 2.
Row 2: Knit 2, purl 4, knit 2.
Row 3: Purl 2, CF4, purl 2.
Row 4: Knit 2, purl 4, knit 2.
Repeat Rows 1-4 until work measures about 8″ long. Bind off in pattern, leaving a long tail for seaming.
Fold the work in half, then seam the sides together using the yarn needle. Weave in all the loose ends.
Stockinette Stitch Gift Card Holder
If you already know your way around socks, this will look familiar. It’s knit in the round, then grafted on the ends just like a cuff-down sock. If you want to dress up your gift card holder even more, you can embroider or add a duplicate stitch design.
What You Need
Worsted yarn (we used Cloudborn Highland Worsted in Coral)
Size US 8; set of double-pointed needles or long circular for Magic Loop
Yarn needle
Gauge
4 stitches per inch
Instructions
Cast on 20 stitches. Join to work in the round.
Rows 1 & 2: Purl around.
Row 3: Knit around.
Repeat Row 3 until work measures 3½” long.
Arrange the stitches evenly on two needles. Using the yarn needle, graft the ends together. Weave in all the loose ends.
i don't have a comment