Stencil detailing can completely elevate a cake design, and there are so many creative possibilities. But messy stenciling looks anything but impressive. Learn five tips for sharp, professional-quality stenciling and get a tutorial for making stenciled cake step by step.
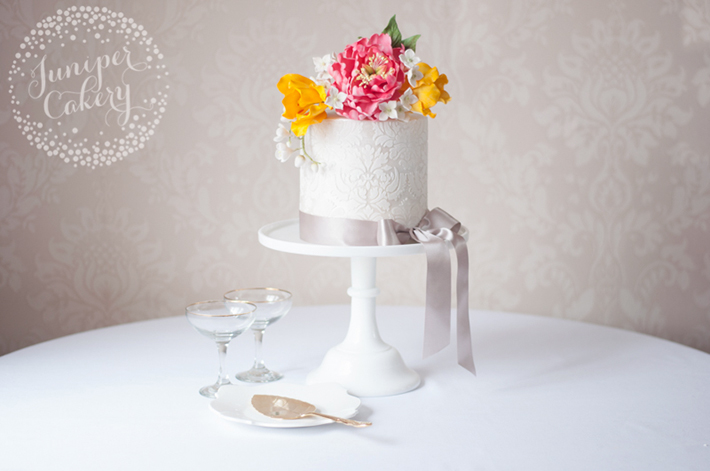
Tips & tricks for how to use cake stencils
1. Plan ahead
Planning ahead and knowing your end design is essential. Sketch your ideas out a few times and figure out where you'd like certain design elements to go. Always remember, though, that what works in a sketch may need to be adjusted on the actual cake — a 2-D drawing is completely different from an actual cake!
2. Start small
If you're a complete novice when it comes to using cake stencils, then don't get too ambitious right away. You'll set yourself up to fail if you choose stencils with indicate patterns, plan to stencil a five-tier cake or attempt to stencil a design in an ombré royal icing pattern.
Start small. Opt to stencil flat fondant disks and lay them on top of buttercream cupcakes, or try a simple pearl pattern to edge around a single tier.
3. Get attached
Holding or attaching the stencil to the cake can be the toughest part of stencil. There are different ways to do this, but it all depends on how you like to work. Here are a few options:
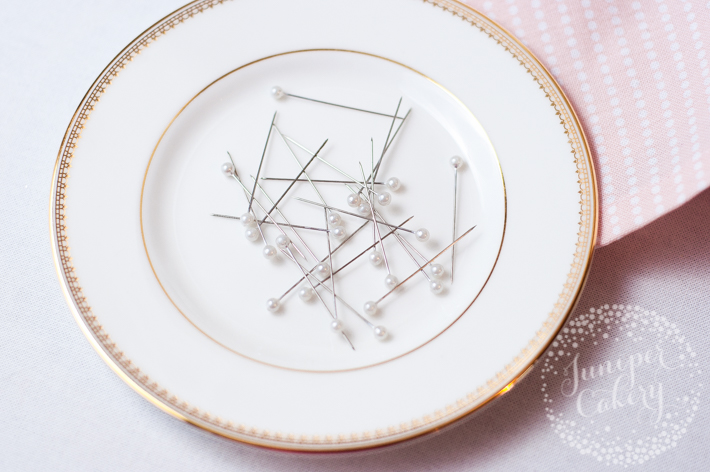
Dressmaker pins
When we stencil dummy cakes for shows or shoots, we simply hold our stencils in place with dressmaker pins. Beware that these will leave large holes in your cake so you'll need to be clever in covering them up. In addition, However, inserting metal or wire into food is illegal for us in the U.K. — check your local laws, too.
Sticky fondant
Since we can't use pins for real cakes, we rely on the fondant surface being a little tacky, which generally holds the stencil in place.
Toothpicks or cocktail sticks
If your fondant has lost its tackiness, you can replace dressmaker pins with thin toothpicks or cocktail sticks. Remember that you'll be left with holes that you'll need to hide.
Shortening
Some decorators use Crisco or another form of shortening to stick the stencil onto fondant. Just dab a little shortening on each corner of the stencil and press it to the cake, like this:
Ribbon or bandages
If your fondant has already set, you can use a ribbon, bandage or medical tape with a clothespin. Cut 1-inch slits on each end of the stencil and slide the ribbon through. Use a clothespin to hold the ribbon together at the back of the cake. Check it out:

Watch more cake stenciling techniques »
4. Icing consistency is everything
Using cake stencils involves using royal icing. A lot of people find royal icing scary, but once you know what consistency to use for different techniques, that fear factor will fade away.
When it comes to stenciling , aim for your royal icing to be thick yet pliable consistency — something a little thicker or stiffer than toothpaste. If your icing is too runny, it will seep under the stencil and create a messy, gloopy-looking print. If it's too stiff, it will be hard to work with and may crack or lift off the stencil and cake surface.
5. Be fearless!
You need to work quickly yet carefully. Don't panic if you think small sections of the stencil haven't been filled with any or enough royal icing. Simply add a little more onto the area and scrape with a steady hand and an icing scraper. Taking too much time to deal with a problem area can be worse than just adding a little more icing and dealing with it quickly. If you need to practice a little on a dummy cake or even on a cake board, that's absolutely fine.
Ready to start stenciling? Follow along with this tutorial!
Materials needed:
- Fondant-covered cake
- Cake stencil
- Thick, toothpaste-like consistency royal icing
- Icing scraper
- Small angled spatula
- Small heavy glass bowl
- Food-safe paintbrush
- Shortening (optional)
- Dressmaker pins (optional)
- Tape (optional)
- Unused stretchy bandages (optional)
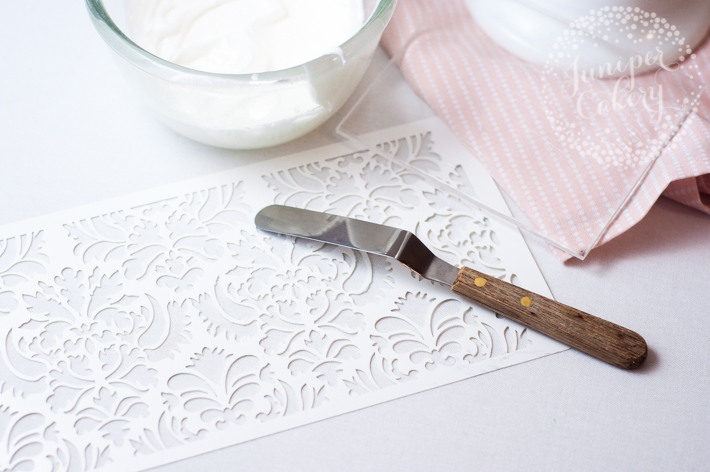
Love this stencil? Get a similar print here.
Step 1: Prepare
Before you begin, plan or sketch what you want the finished cake to look like. You'll need to know where to apply your stencil. Consider the size of your stencil, too, when designing the cake. Stencils with repeated prints, like damask patterns, are often 6" tall, so try to make sure your cake is at least 5-6" in height as well.
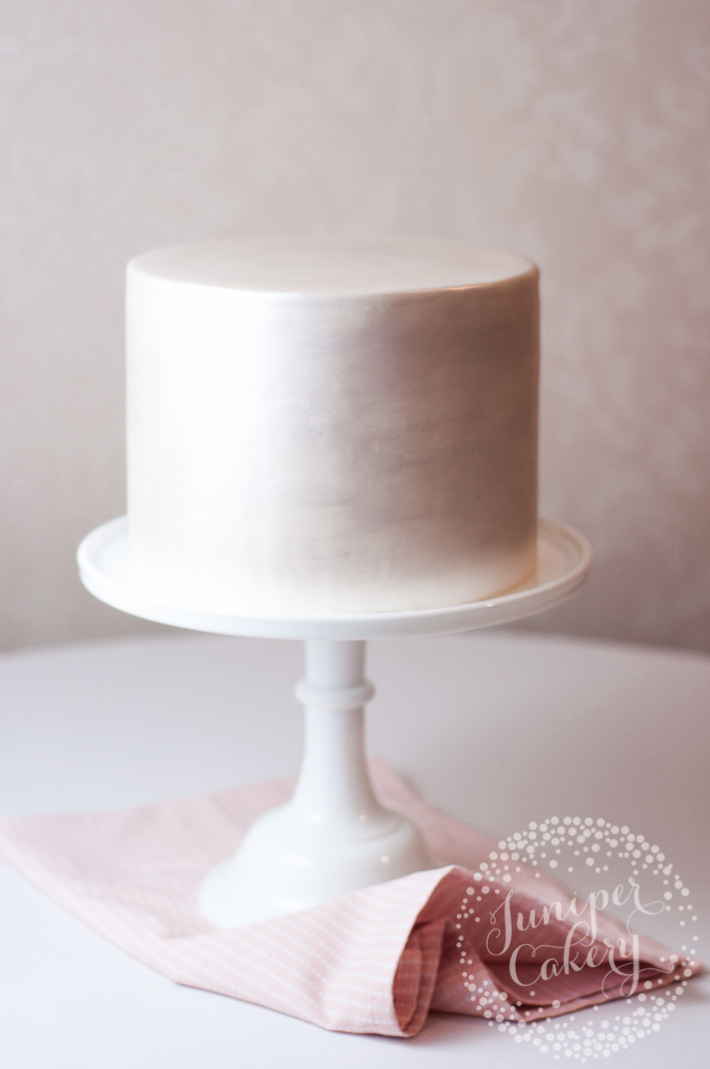
Use a food-safe paintbrush to brush off any excess cornstarch or powdered sugar on your fondant-covered cake. We gave our iced cake a subtle, pretty lustered look, so we also brushed off the loose luster dust before stenciling.
Step 2: Attach the stencil
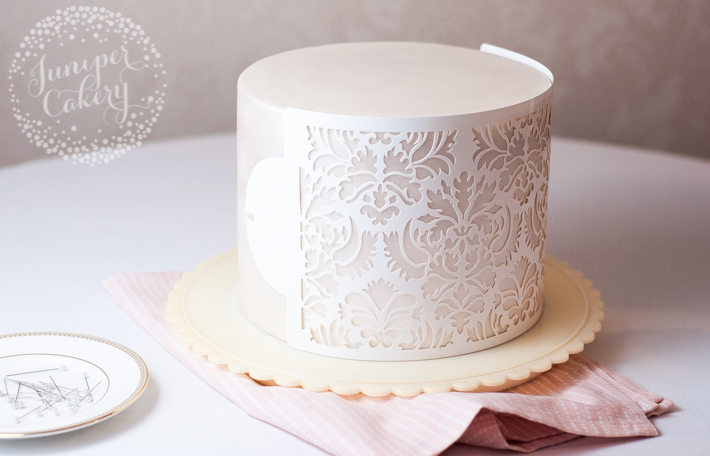
There are a few options for you to try, as discussed above in the tips section — any of them will work for this tutorial.
Step 4: Start spreading the icing
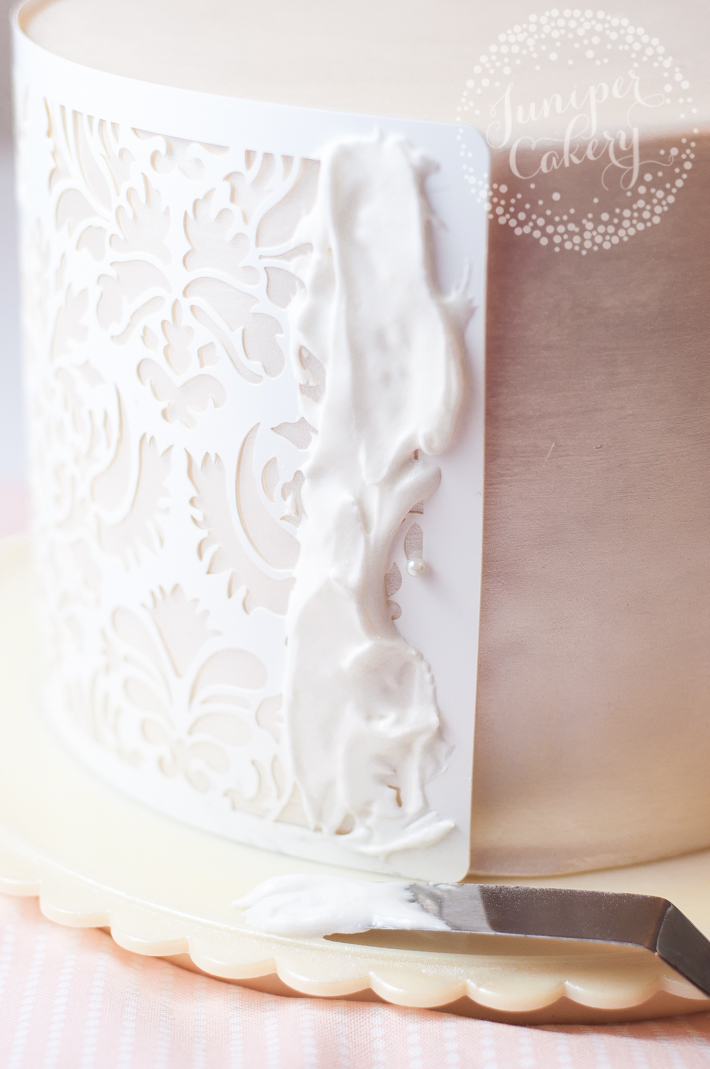
Using a palette knife or angled spatula, apply royal icing in a line of small dollops at one end of the stencil. Consider which way you'd like to drag the icing. We tend to work from right to left, so we add the icing to the right-hand side and use an icing scraper to drag the icing toward the left.
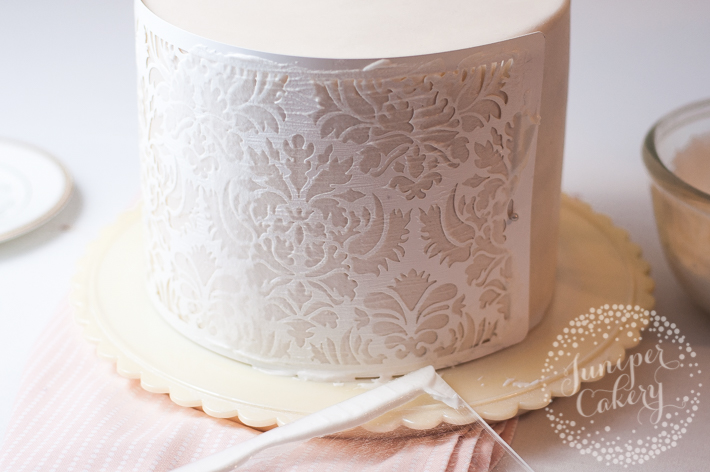
As you go, you'll run out of royal icing or not enough will cover an intricate part of the stencil design. That's normal and perfectly OK. If you've got your consistency right, then you should have no problem adding another few dollops of icing to finish off the pattern.
Step 5: Remove the stencil
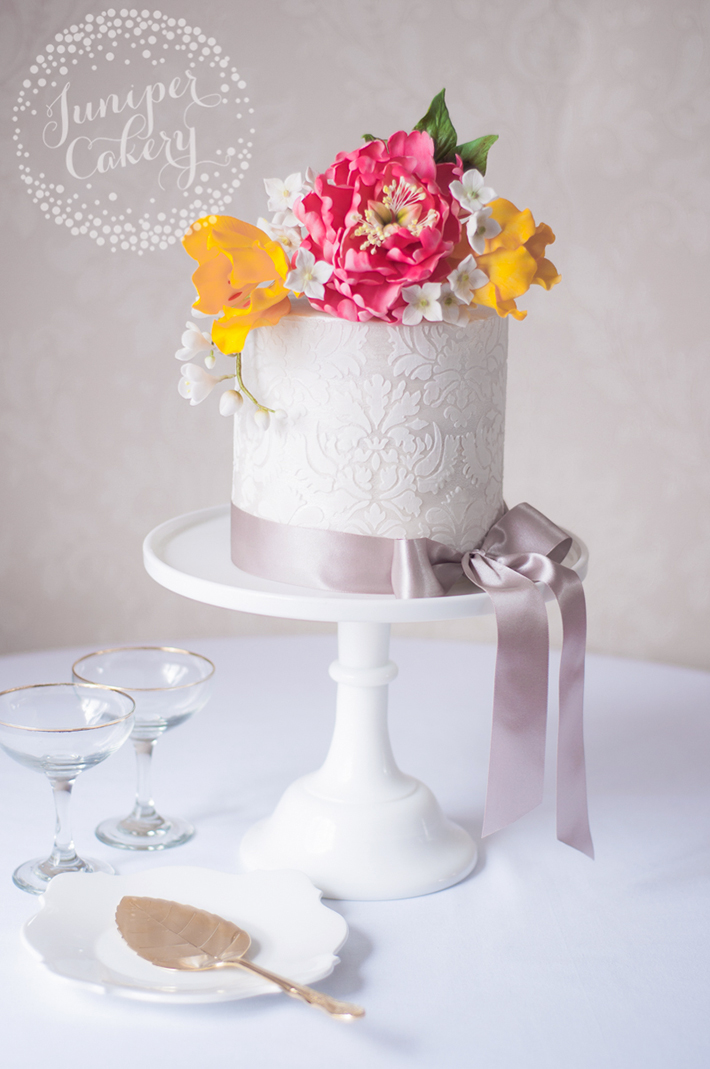
Lift a little of the stencil up to check if it comes off cleanly. If all seems OK,gently remove the entire thing to reveal one prettily patterned cake!

Can you use buttercream for the stencil please
Nice and impressive
I enjoyed the explainion
How would you do this with a buttercream or whipped frosted cake?
good instruction i love it i am going to try it