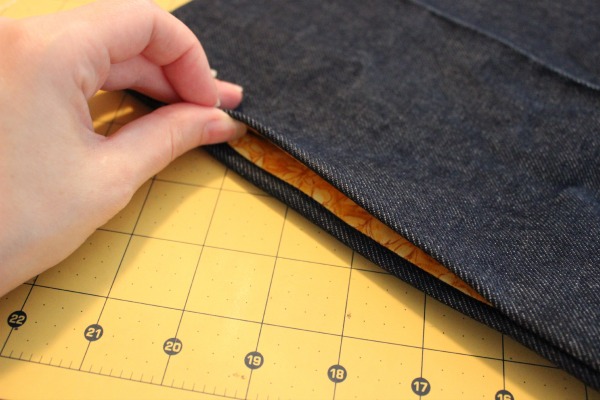
Pockets make life easier — it’s just a fact. After all, haven’t you ever thought about how much better your favorite party dress would be if it had pockets you could stick your hands (or lip gloss) into?
While it’s easy to incorporate a pocket when making a garment from scratch, it’s also super simple to sew a pocket into the side seam of something you bought off the rack. Bust out your seam ripper and get started!
How to Sew a Pocket
Level: Easy
What You Need
Pro Tip: If you’re not using a pattern, it’s easy to draft your own. The shape you’re going for is similar to a teardrop, but with one straight side (the bottom left side pictured below). Just make sure the pocket is big enough to fit your hand, and add a ½” seam allowance on all sides. Once you have your template on paper, cut it out.
Instructions
1. Cut Out Two Pocket Pieces
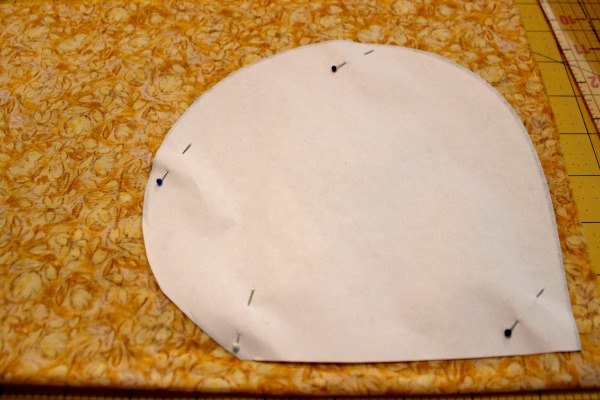
Fold your pocket fabric in half and cut to make two pocket pieces, using your template as a guide.
Good to Know Although you can make your pocket out of the same fabric as your garment (unless that fabric is extra bulky), this is a great time to use up scraps of fabric or play around with color. If you sew your pocket correctly, no one’s going see what it looks like. It’ll be your fun little secret.
2. Mark Your Pocket Placement
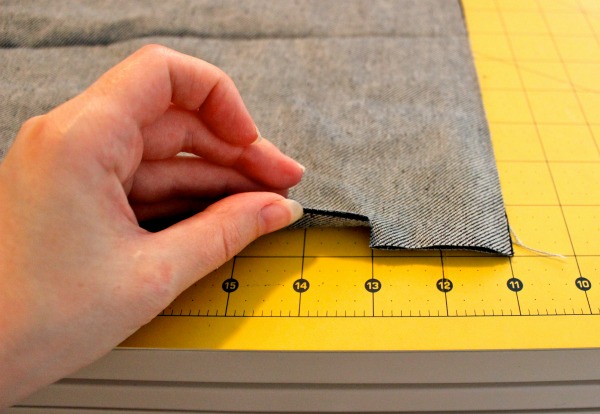
Using notches, a fabric pen or chalk, mark the placement of each pocket on the front and back pieces of your garment. This is where the top of the pocket will sit. If you’re adding the pocket to an existing garment, try the item on and use a mirror to determine where the pockets should go.
3. Pin Your Pockets
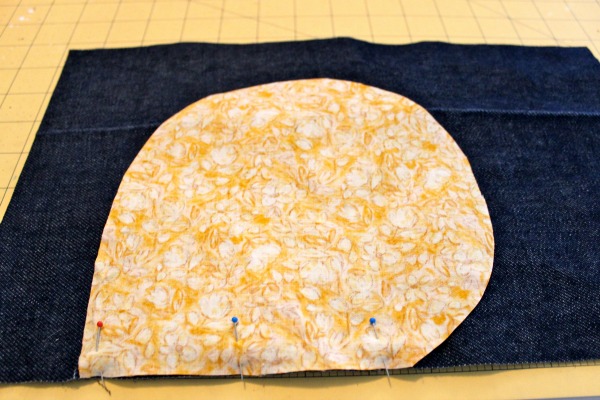
Take one of the pocket pieces and place it, right sides together, on your garment. Match the straight side of the pocket to the edge of the garment and the top of the pocket to the notch; pin in place. Repeat with the other pocket piece.
4. Start Stitching
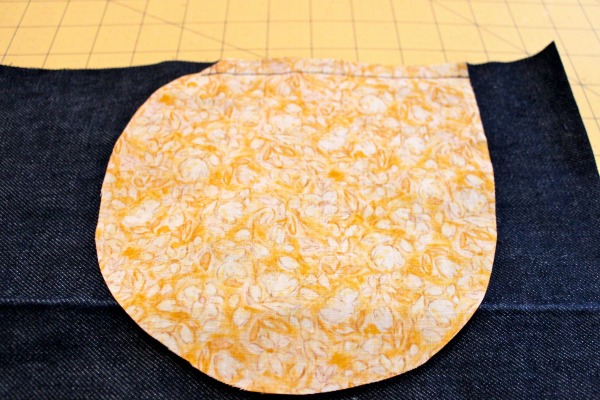
Stitch the pocket in place with a ⅜” seam allowance. Using a slightly smaller seam allowance guarantees the pocket won’t show.
5. Turn Out Your Pockets
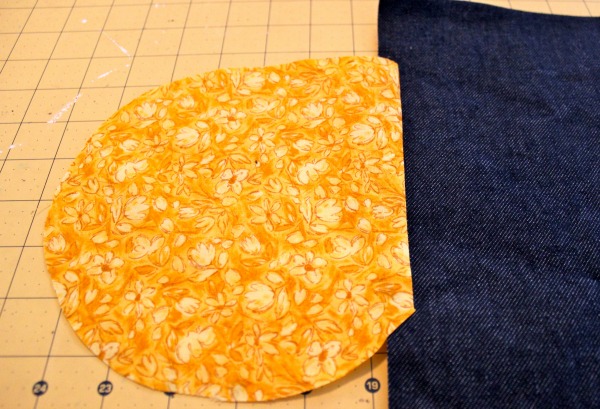
Turn the pocket pieces out and press.
6. Pin and Sew the Side Seams
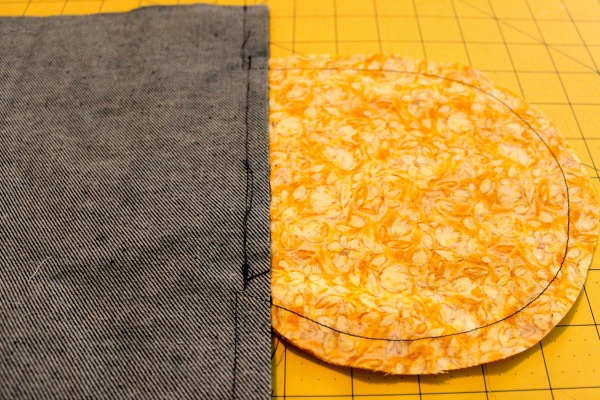
Place the right sides of your garment together, with the pocket pieces turned away from the garment. Pin the side seams together and around the pocket pieces.
Sew the side seams as usual, following along the curve of the pocket.
7. Press and Flip

Press the side seams of your garment toward the front and turn the garment right side out. Your pocket should lay neatly inside. Finish the seams of the garment and pocket. You’re done!
Would love to see a Video presentation.
How to put side pock
I'm having to re-learn my needlecraft skills. I had a brain haemorrage which wiped out my 50+ years. I'll definitely be using this explanation this afternoon. Thanks for such clear instructions.
i think this instruction is great, but in the intro, it says you can do this with an item you already own. Do I need to rip the side seam of the item and then follow the instruction? I'm worried about how much to rip out (the whole side or just slightly larger than the pocket?) and if not the whole side, what about reinforcing the edges? Does that made sense?
This is so easy to follow. I was so anxious about adding these pockets to a dress I'm making for my granddaughter and it turned out to be easy peasy. Thanks so much for this!
I don't understand how to sew the pocket to the seam without closing the opening. Is one side of the pocket sewn to the front and the other side to the back?
Best instructions I’ve ever seen. Thank you.
Thank you alot