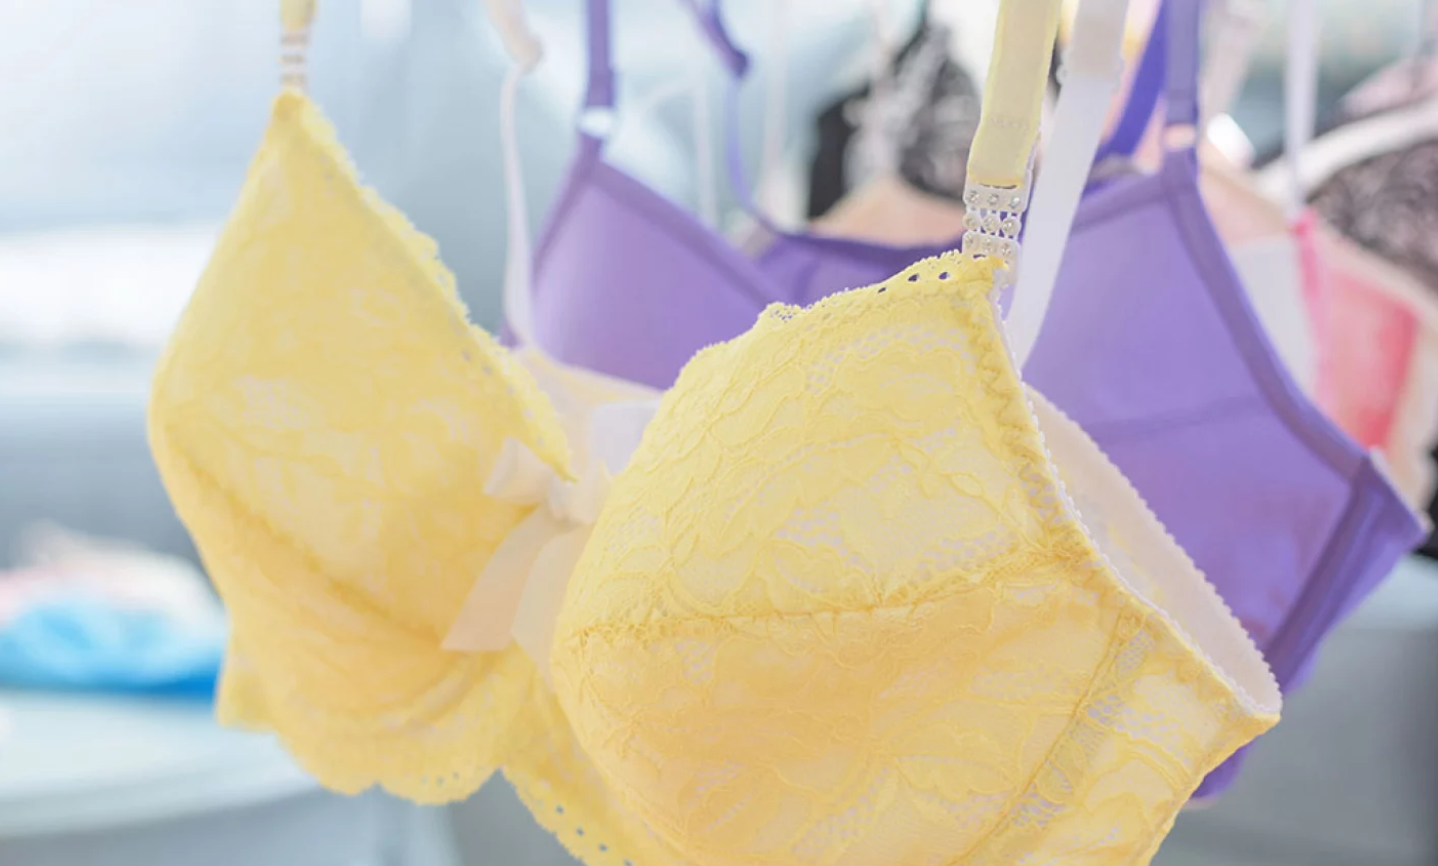
In less time than it takes to go to the store, try on a gazillion bras and find one or two you don’t hate, you can DIY your own comfy, supportive and custom-fit bra.
OK, the first go-round may take a wee bit more time, but once you get the technique and fit down, you’ll be in great shape (both literally and figuratively). You’ll also be keeping extra money in the bank. Bras don’t require much fabric, so they’re pretty inexpensive to make.
Tempted to take the leap into lingerie? Follow these five tricks so you can sew a bra that fits and flatters every time.
1. Get an Accurate Measurement
Whether you go for a professional fitting at a lingerie store or bust out a tape measure and do it yourself, it’s important to have an up-to-date band and cup size. If you opt to measure yourself, be sure to wrap the tape measure around your bare rib cage, just beneath your breasts, to get your band size. Then measure your bust at its widest point (wearing a nonpadded bra), keeping the tape level and going across the middle of your back. With these two numbers, you’ll be able to calculate your cup size.
Don’t be surprised if you come up with a different size than what’s currently in your drawer — bra size can change over time due to weight gain or loss, pregnancy, or a new fitness regimen. It’s also quite possible that you haven’t been buying the correct size. We’ve all been guilty of that one!
2. Find the Perfect Pattern
You can find bra patterns from many of the major pattern companies, as well as indie designers. (You may even stumble across some freebies online!) When perusing, consider what style and coverage you want —full or demi? Underwire or wireless? If you wear a variety, you could pick up a few patterns in different styles. Once you make your first bra, you’ll be able to cruise through the process in a couple of hours. Might as well have some variety!
3. Make a “Muslin”
Nailing the fit of a bra is a process, so you definitely don’t want to skip the muslin stage. Rather than use actual muslin (which has no stretch), make up a simple test bra using the same materials you plan to use for the real deal. Yes, you’ll be wasting some of your good fabric, but since bras are relatively small garments, it won’t add up to much. Any time and money you invest in the muslin stage will be well worth it in the end.
4. Double-Check Your Cup Construction
If you’ve made the right size, the cups should cover your entire breast — plus a little more for seam allowances — with no spillover at the top and no extra fabric. If you can pinch extra fabric, make note of how much so you can adjust the cups accordingly .
Be sure to check the cups for both breasts too, as few women are perfectly symmetrical. If there’s a substantial size differential, you may want to make separate pattern pieces for each side. Also, check how the band fits. You’re less likely to need major adjustments here, but lengthening or shortening the band is an easy fix. If the band really rides up in the back, however, it could be a sign that you need a larger cup size.
5. Add the Straps Last
Don’t worry about the straps until you’ve sewn your actual bra and made any and all final fit adjustments. When you’re ready, pin the straps on and check the length — they shouldn’t be falling over or digging into to your shoulder. And since you’re making your straps to fit, there’s no need to make them adjustable (as they are in a ready-to-wear bra).
Great tips on how to make good fitting my bras
I don't currently have any bra's that fit good enough to measure my full bust measurement - they are all old and my bust emerges in various places. My girls go east and west AND north is there another way to measure the fullest part of the bust without using a bra - if I use one of my other "bralet" type tops - my fullest part changes, depending on where I put them! - any suggestions?
<a href="test.com" rel="nofollow ugc">test</a>