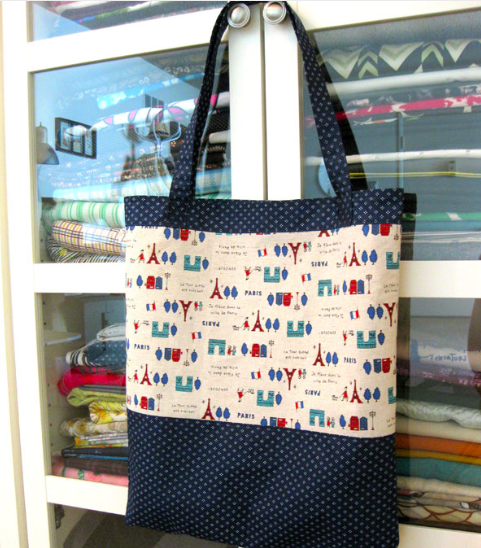
There are a ton of ways to sew a tote bag — with a lining, without a lining, with pockets on the inside, with pockets on the outside, with a quilted design — the list goes on and on. This tutorial breaks it down to the basics, teaching you how to make a simple tote with three panels. Once you’ve got that down, you can customize your bag however you want!
Basic Tote Bag
Level: Easy
What You Need
Cutting instructions
Instructions
1. Cut the Fabric
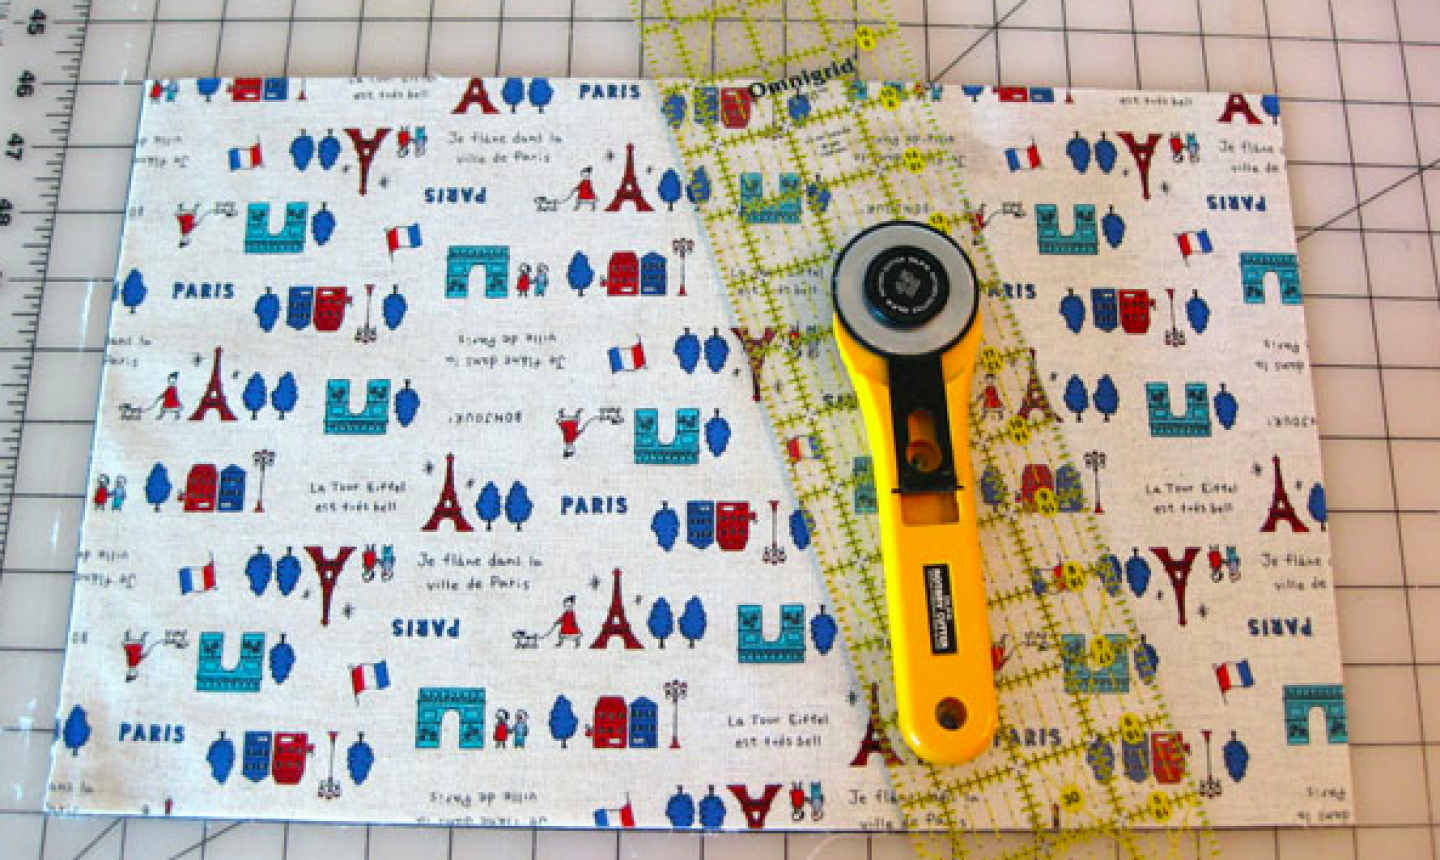
Cut your fabric pieces according to the cutting instructions above. You want the straps, top panel and bottom panel to be made from the same fabric.
2. Shape the Straps
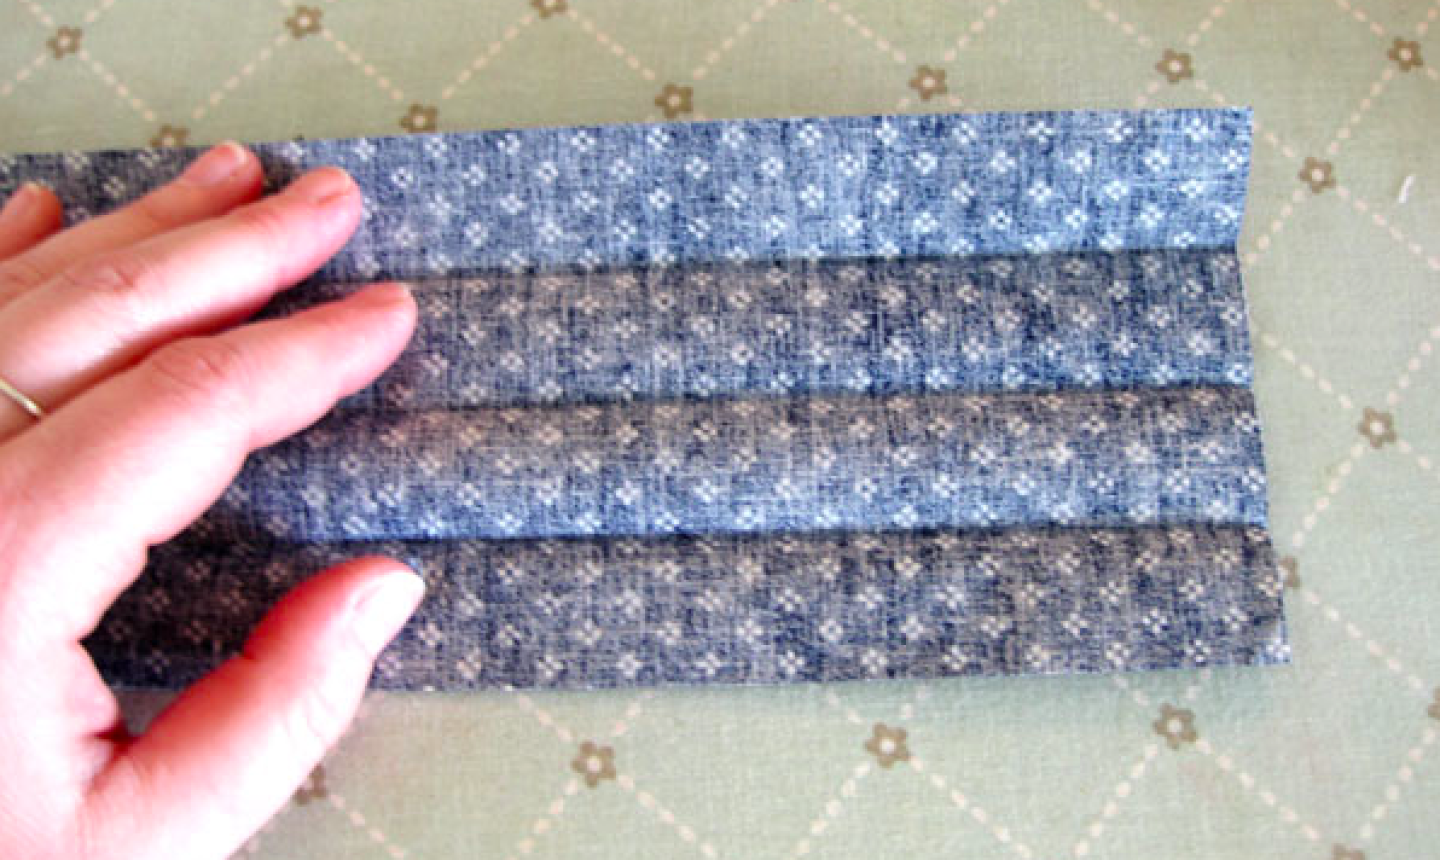
Fold the shoulder strap fabrics in half and press the entire length. Open and press each side into the center. You’ll have four equal sections, as pictured above.
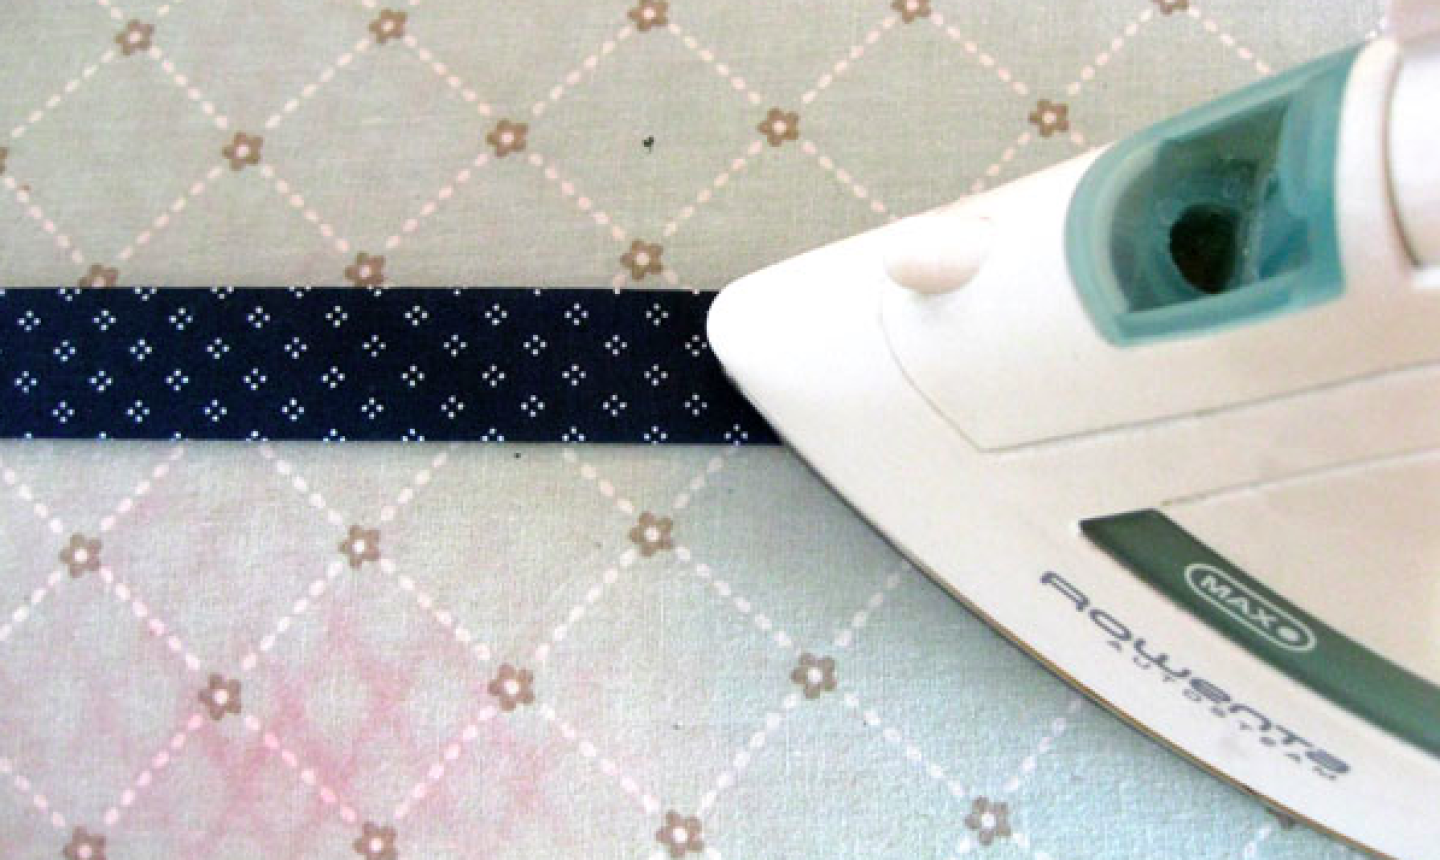
Once all the folds are formed, fold them closed and give each strap a final press.
3. Sew the Straps
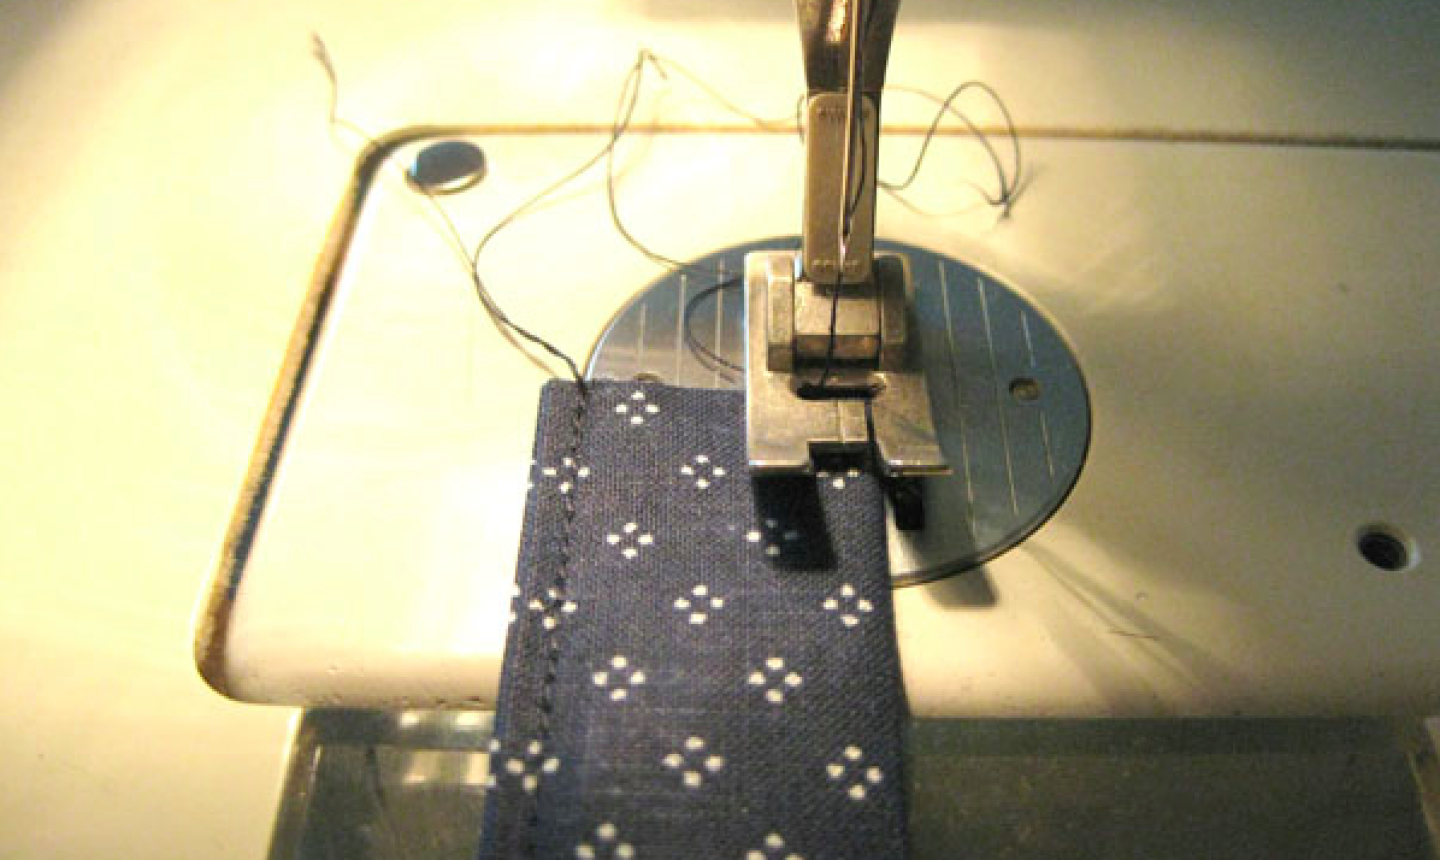
Close the straps’ opening by topstitching with a ⅛” seam allowance. Topstitch on the other side as well, then press the strap flat. Repeat this step for the second strap.
4. Sew the Bottom and Middle Panels
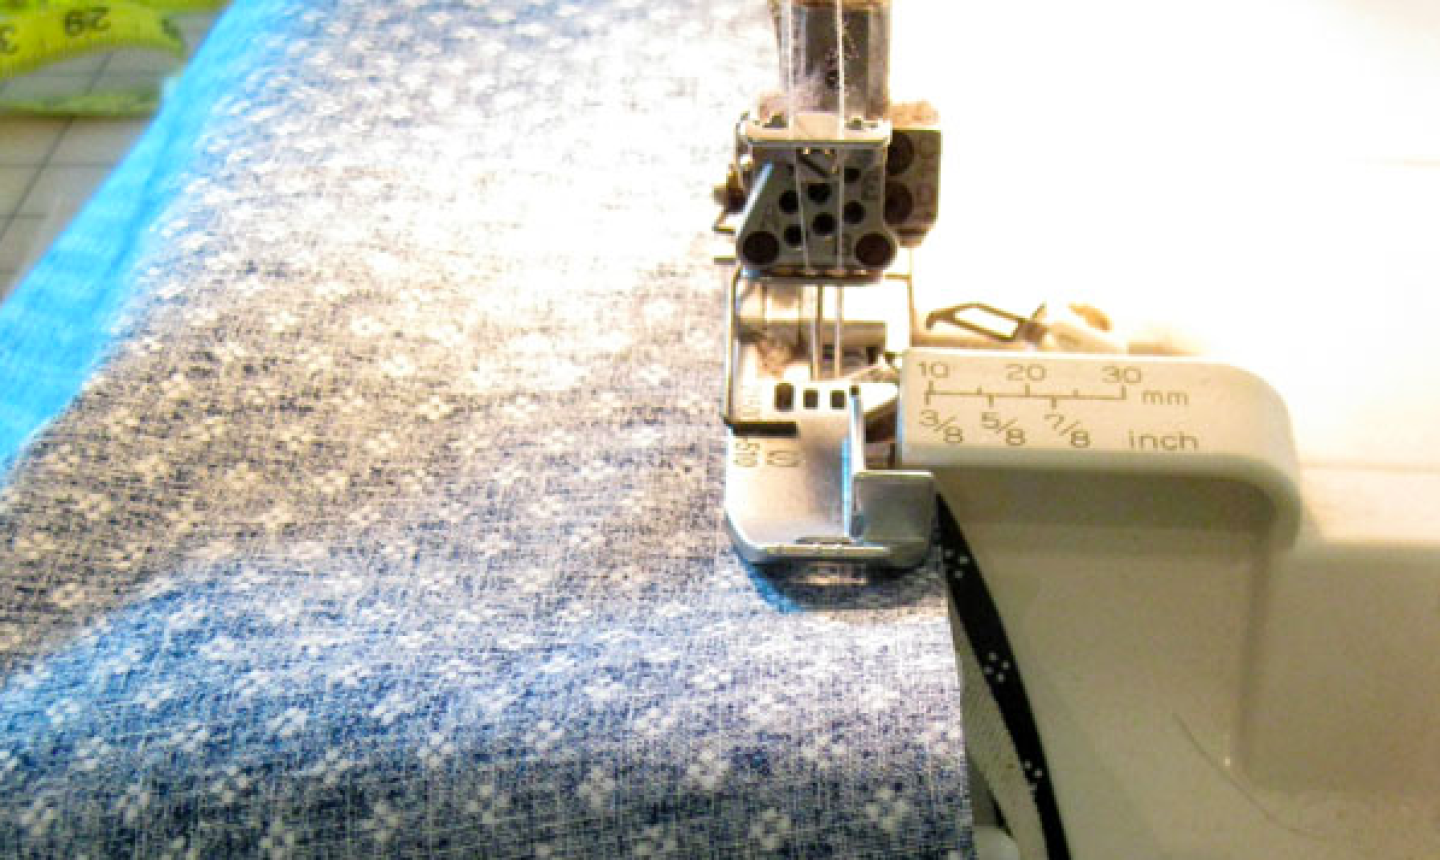
Sew the bottom panel to the middle panel with a ⅜” seam allowance. We used an overlock serger for this step, so it finished the edges and sewed the seams at once.
If you use a straight stitch machine, finish the seam allowances with a zigzag stitch to keep the fabric from fraying. You can also sew the bag with French seams to hide the raw edges completely.
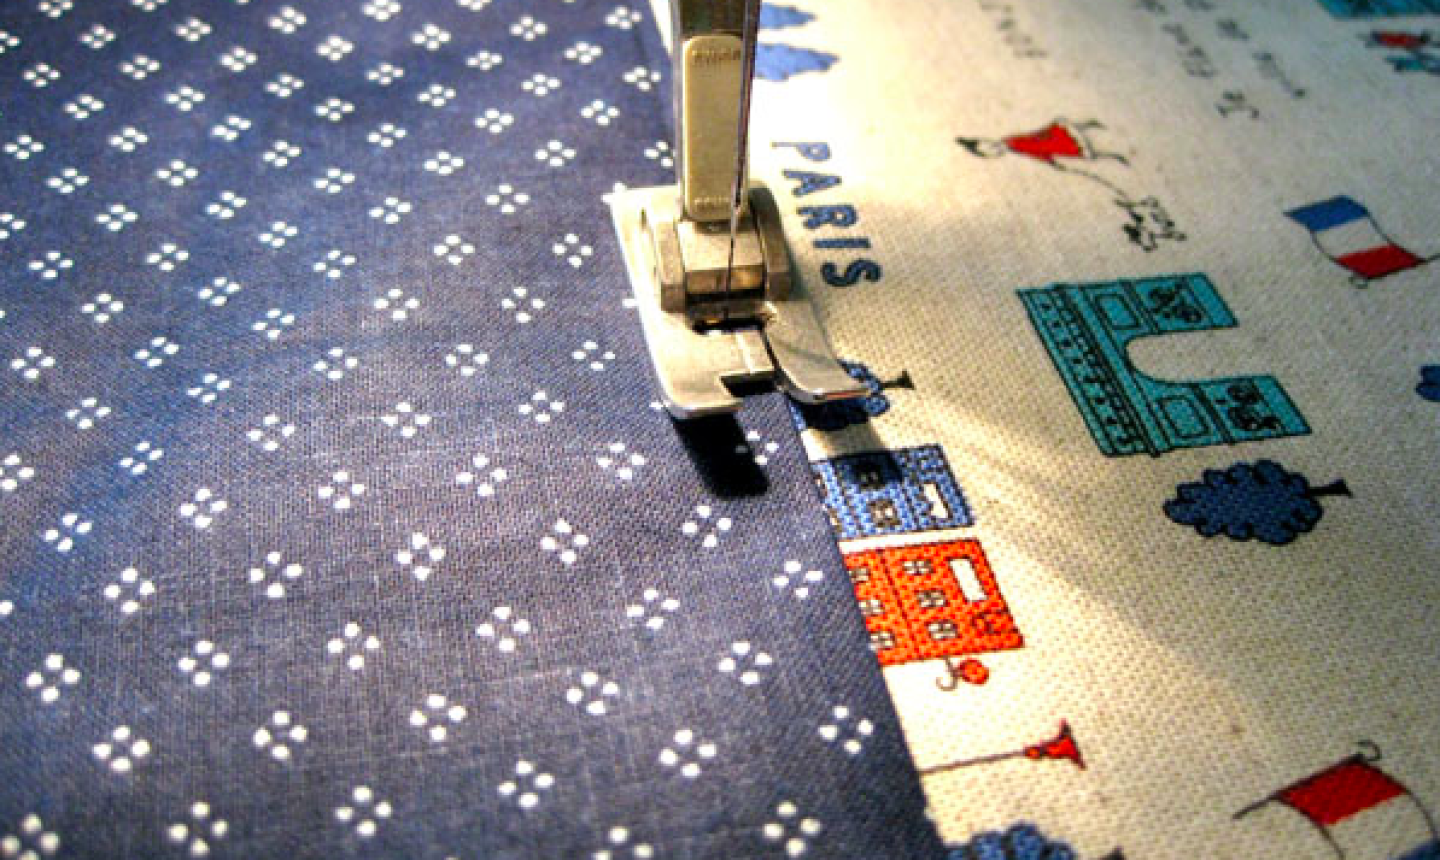
Press the seam allowance toward the lower panel. Topstitch the seam allowance in place by stitching ⅛” from the seam on the right side of the bag. Repeat to join the panels on the other side of your tote.
5. Pin the Top
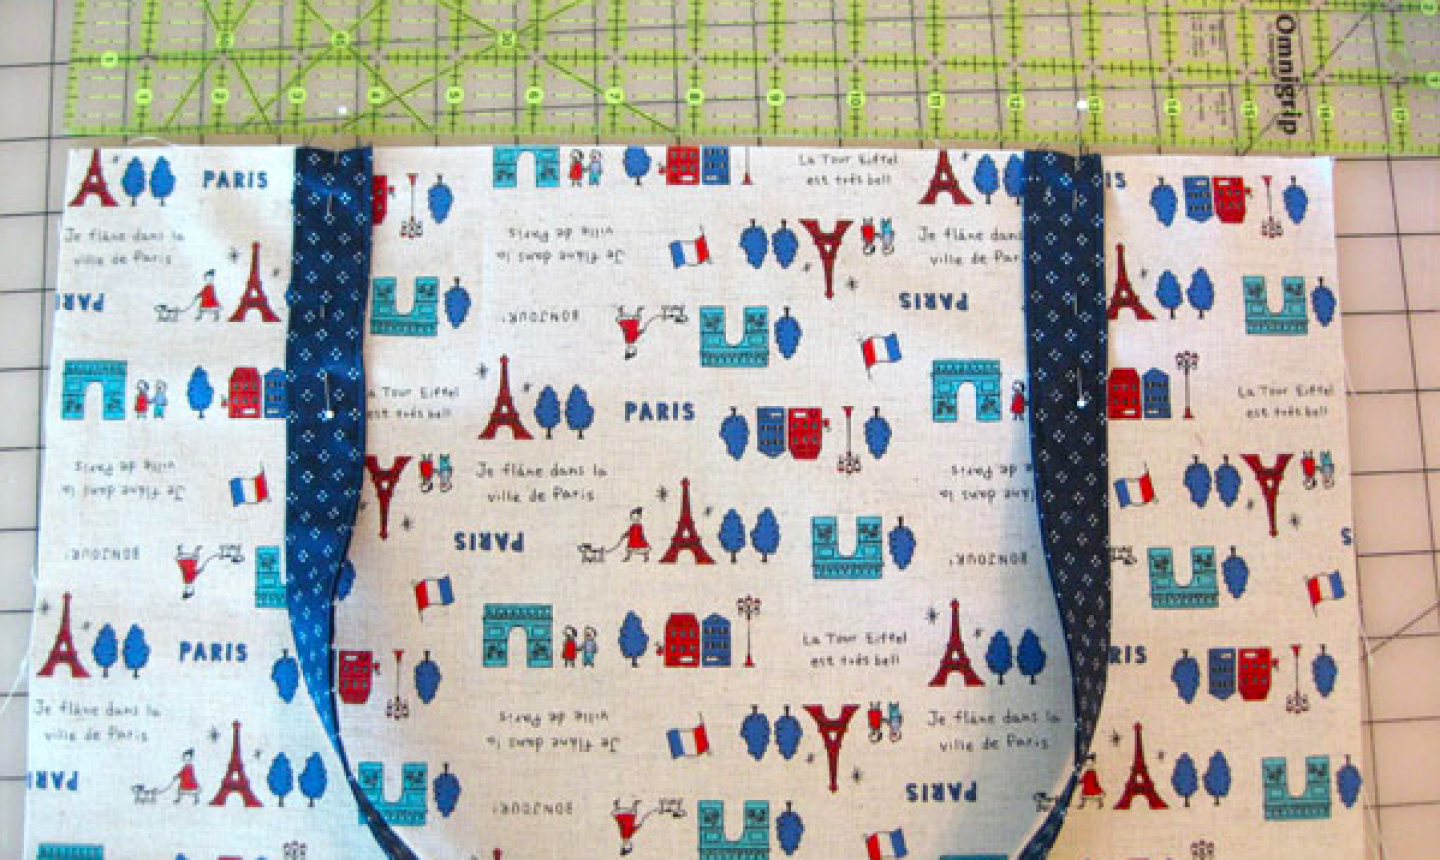
Pin the handle straps to the top of the middle panel 3” from each side, being careful not to twist the handles.
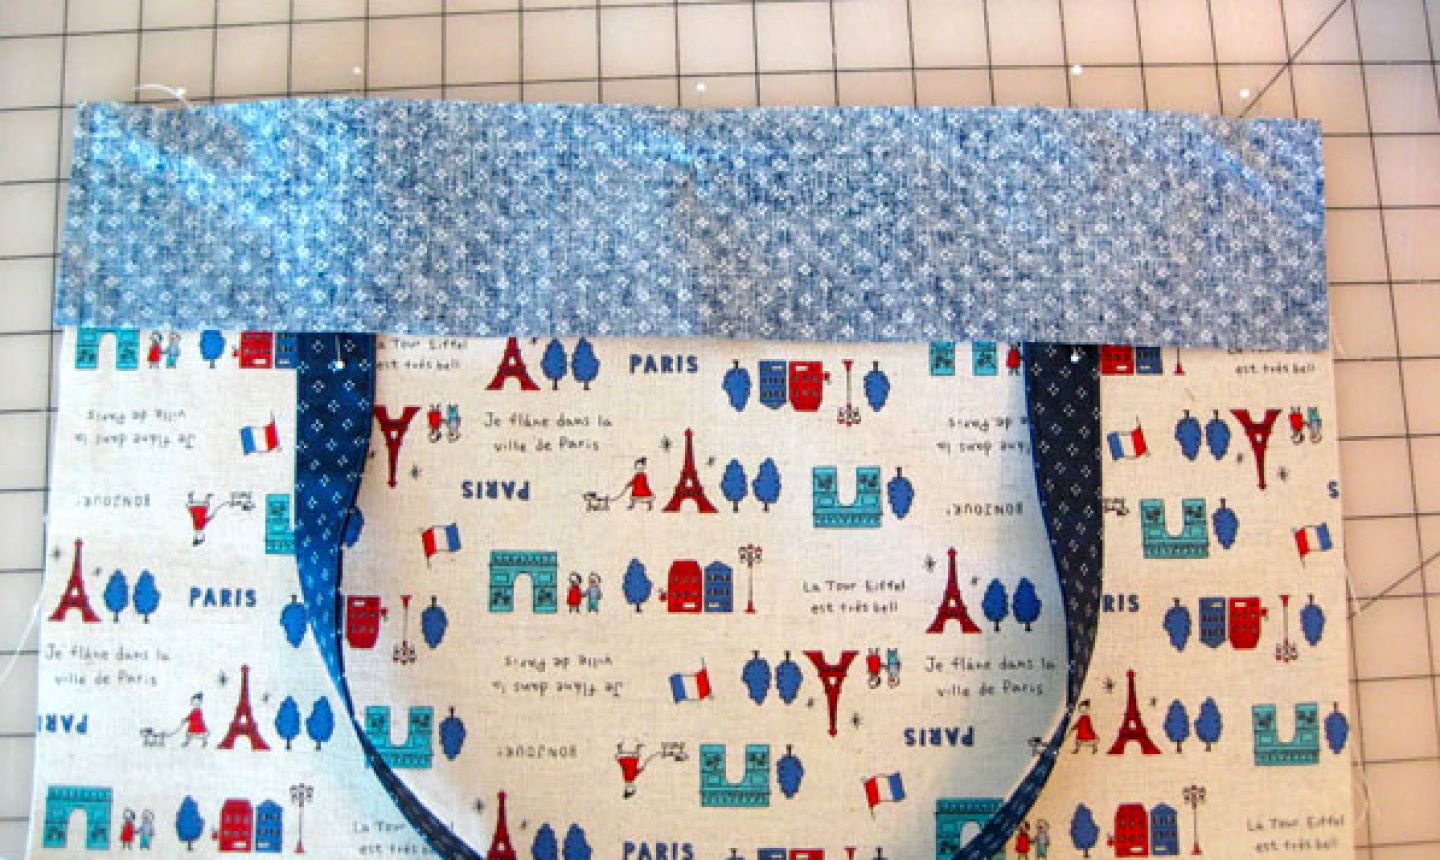
Pin the upper panel to the bag on top of the straps, right sides together. The straps will be sewn into the seam while you attach the panel to the bag.
6. Stitch
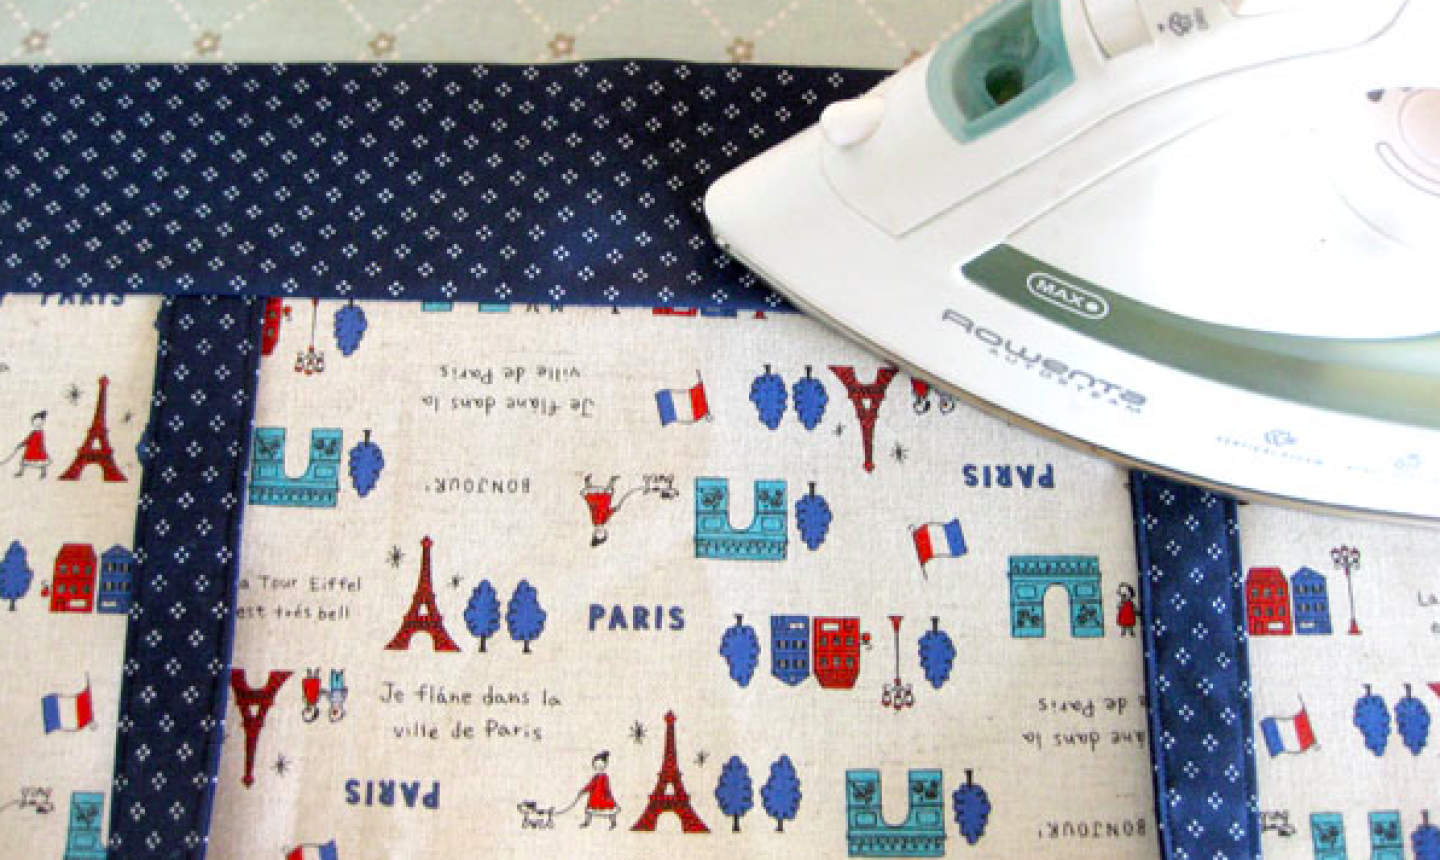
Sew the upper panel to the bag using the same method you used in step 4. Press the seam allowance toward the upper panel and the straps toward the bottom of the bag. Repeat for the other side of the bag.
7. Topstitch
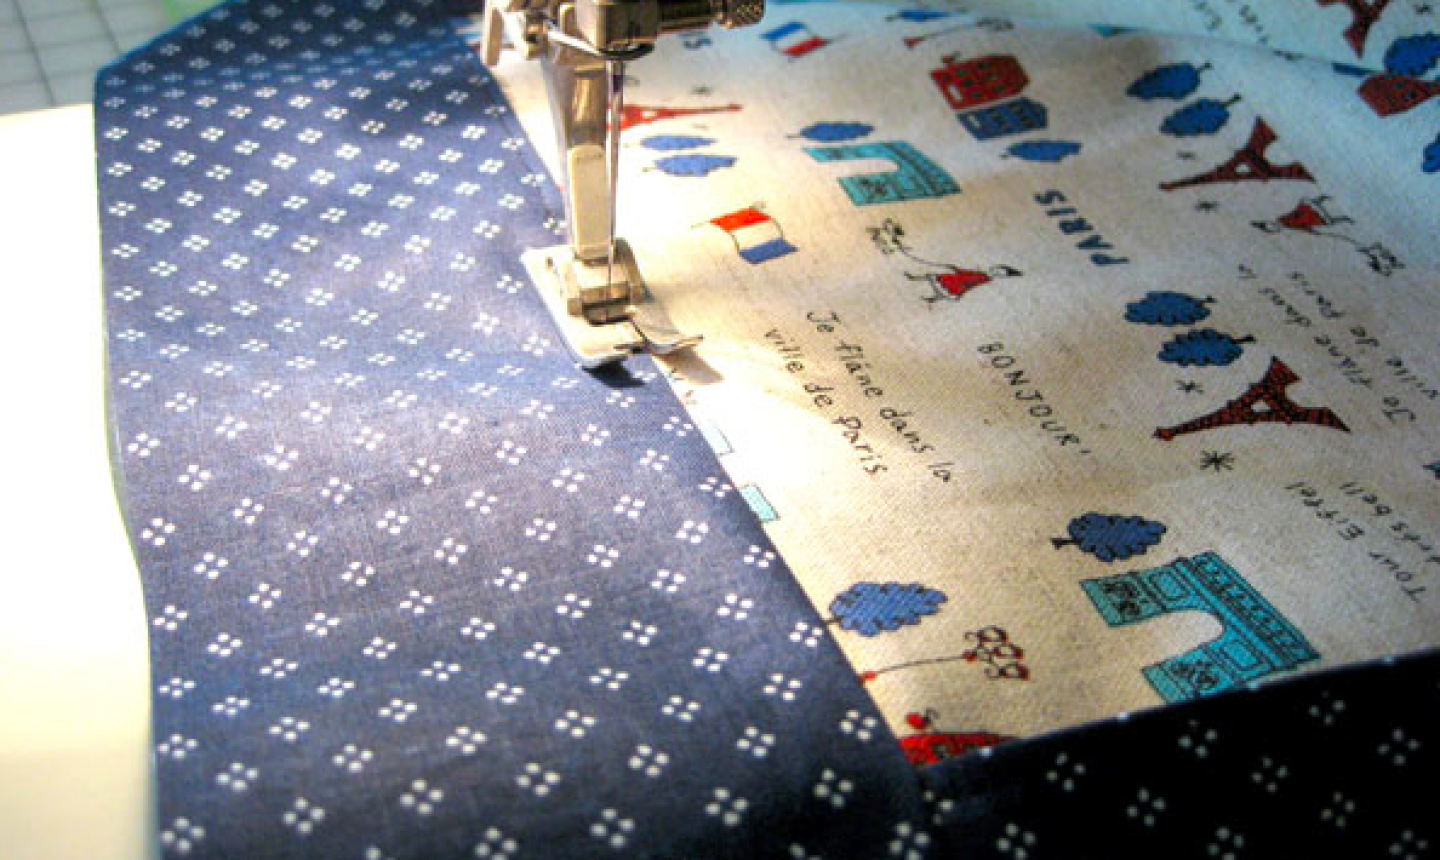
Topstitch the seam allowance to the upper panel of the bag using a ⅛” seam allowance on both sides.
Pro Tip: Don’t stitch the handles into the top stitching — keep them down and out of the way.
8. Sew the Sides
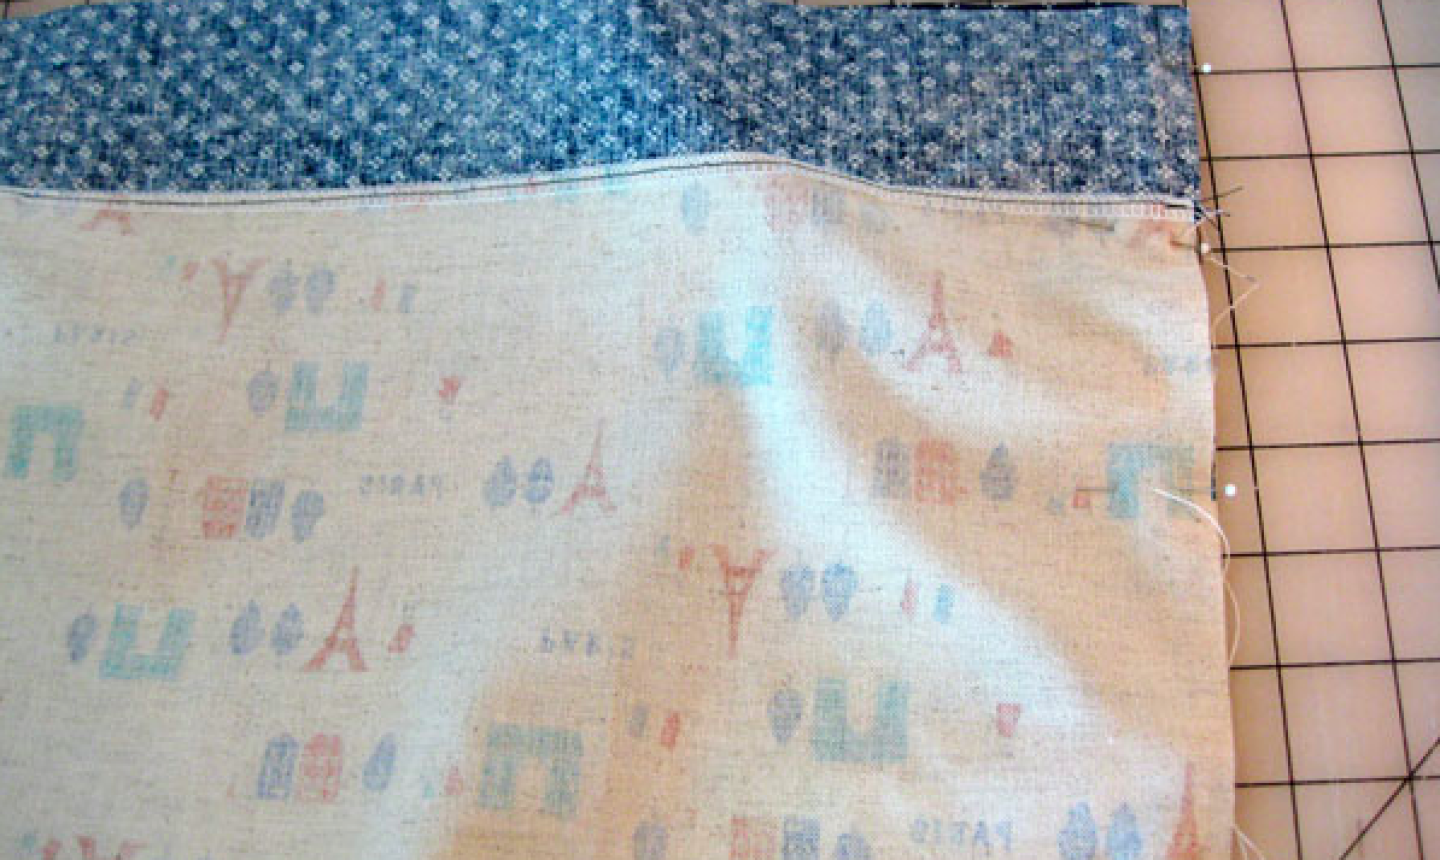
Place the two sides of your tote together, right sides facing. Pin the side and bottom seams together, keeping the handle straps out of the way of all stitching. Stitch all three seams with a ⅜” seam allowance.
9. Mark the Corners
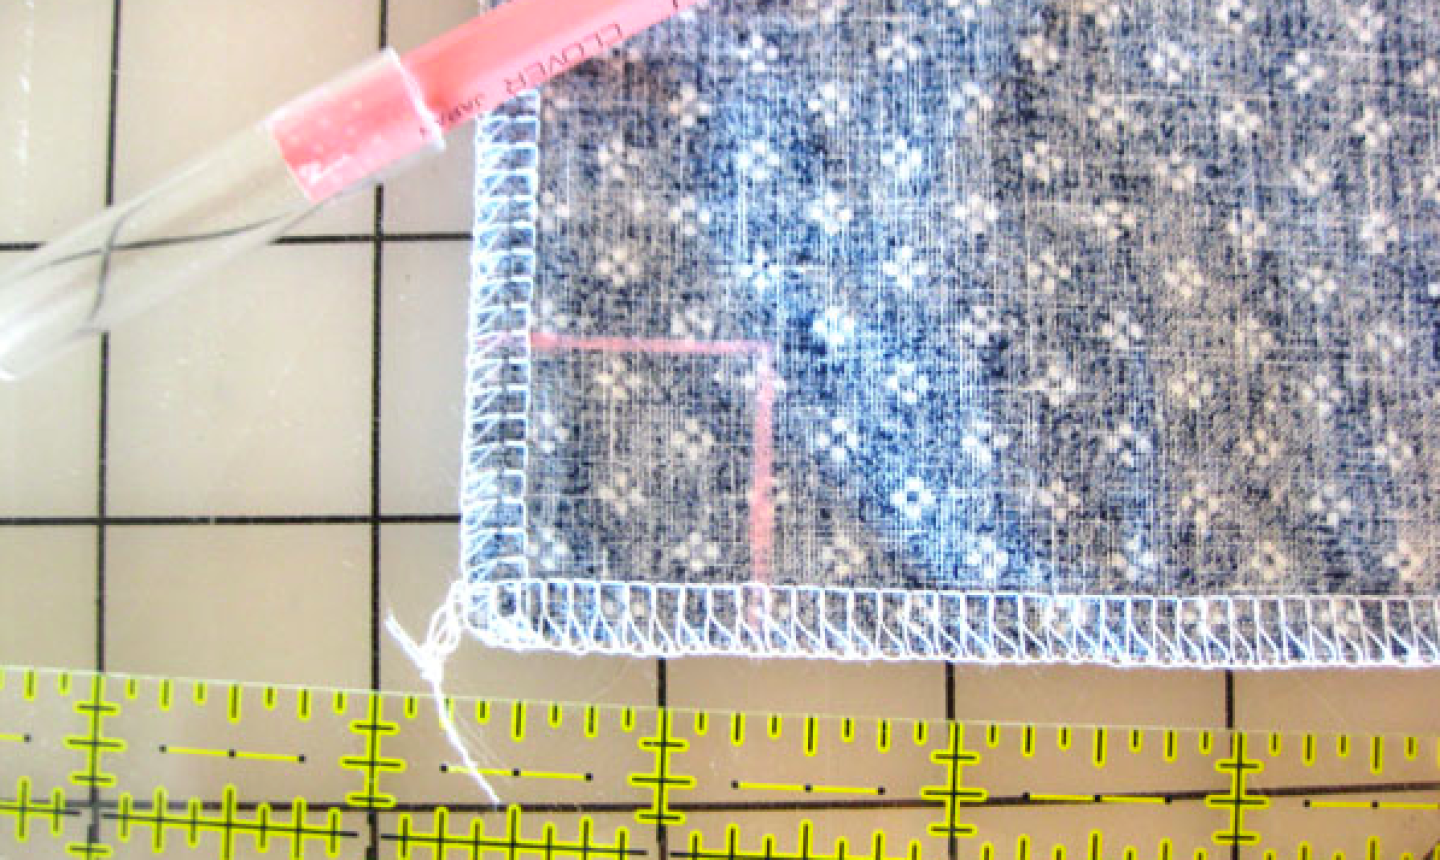
Measure and mark a 1” square on the bottom corner of each side of the tote bag.
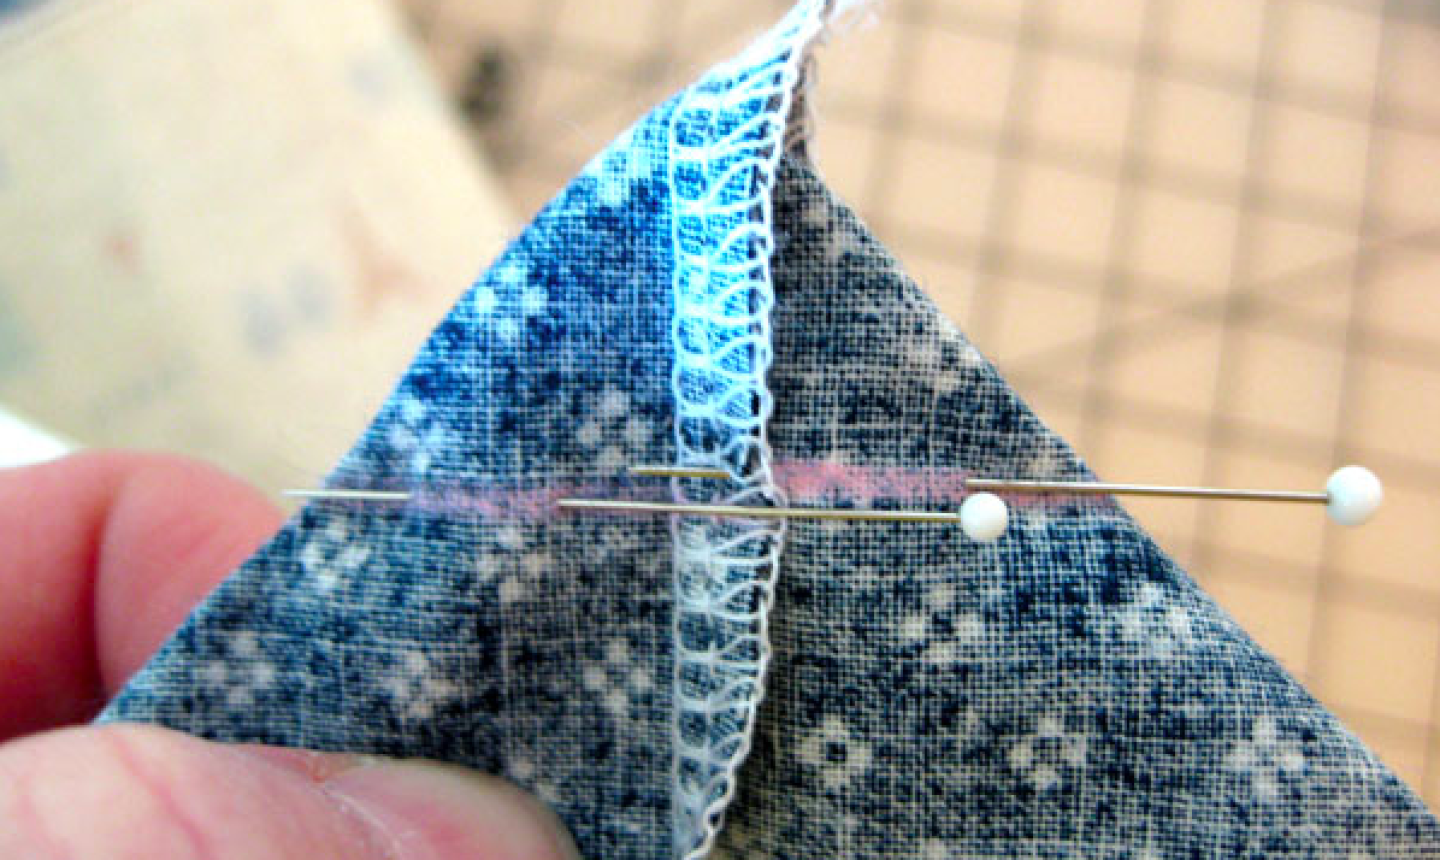
Open the bottom seam and fold the corner into a triangle of fabric. The bottom seam and the side seams will align and the 1” corner marks will line up as well. Pin through the mark on the bottom of the tote, making sure the pins are lined up with the marks on the opposite side.
10. Stitch the Corners
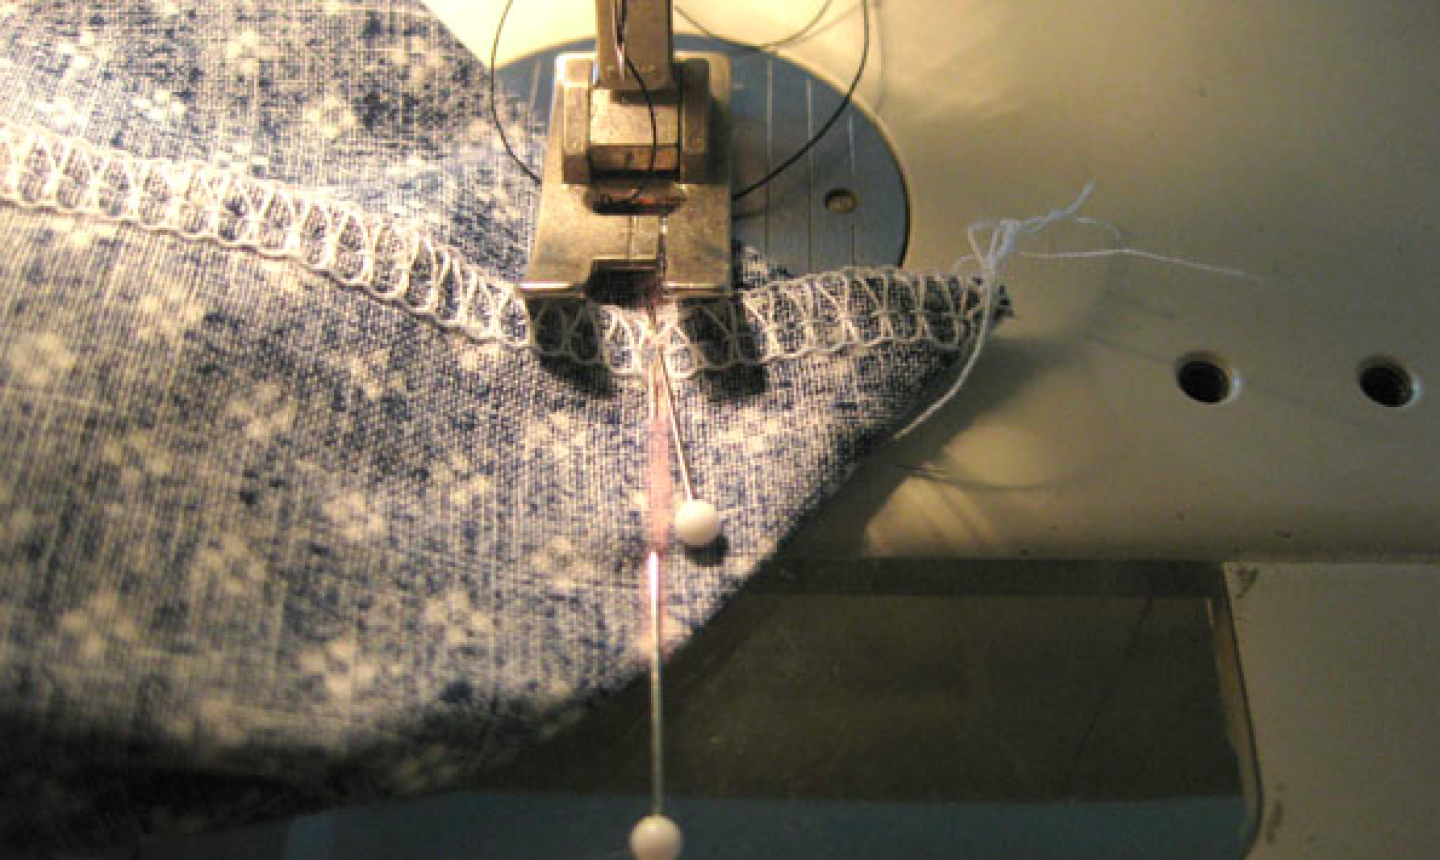
Sew through the layers of both corners, stitching along the marks to create a boxed bottom.
11. Finish the Top Panel
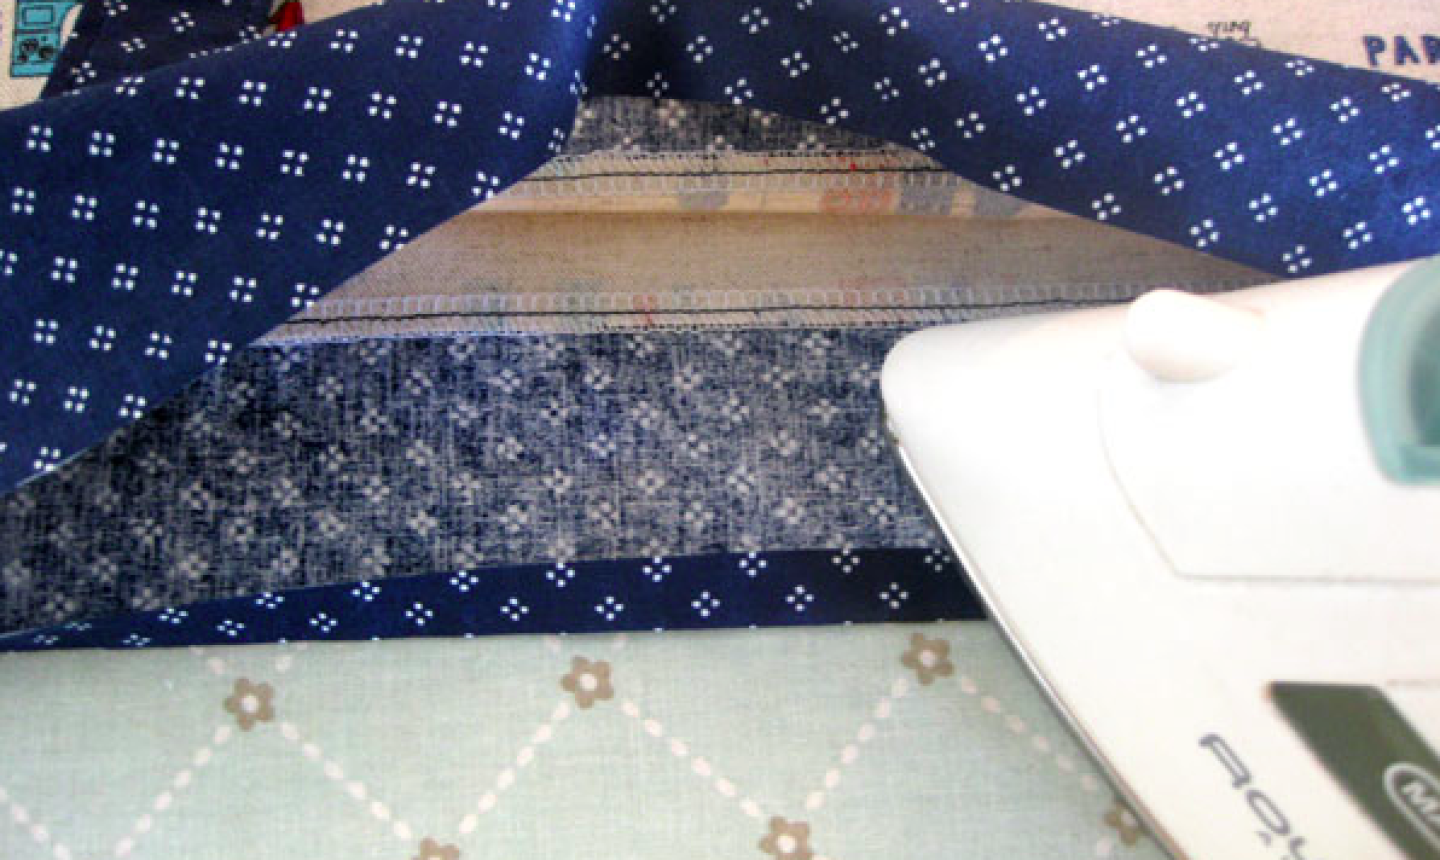
Fold the top panel into the bag ⅜”, wrong sides together, and press. Repeat with a second ⅜” fold and pin in place.
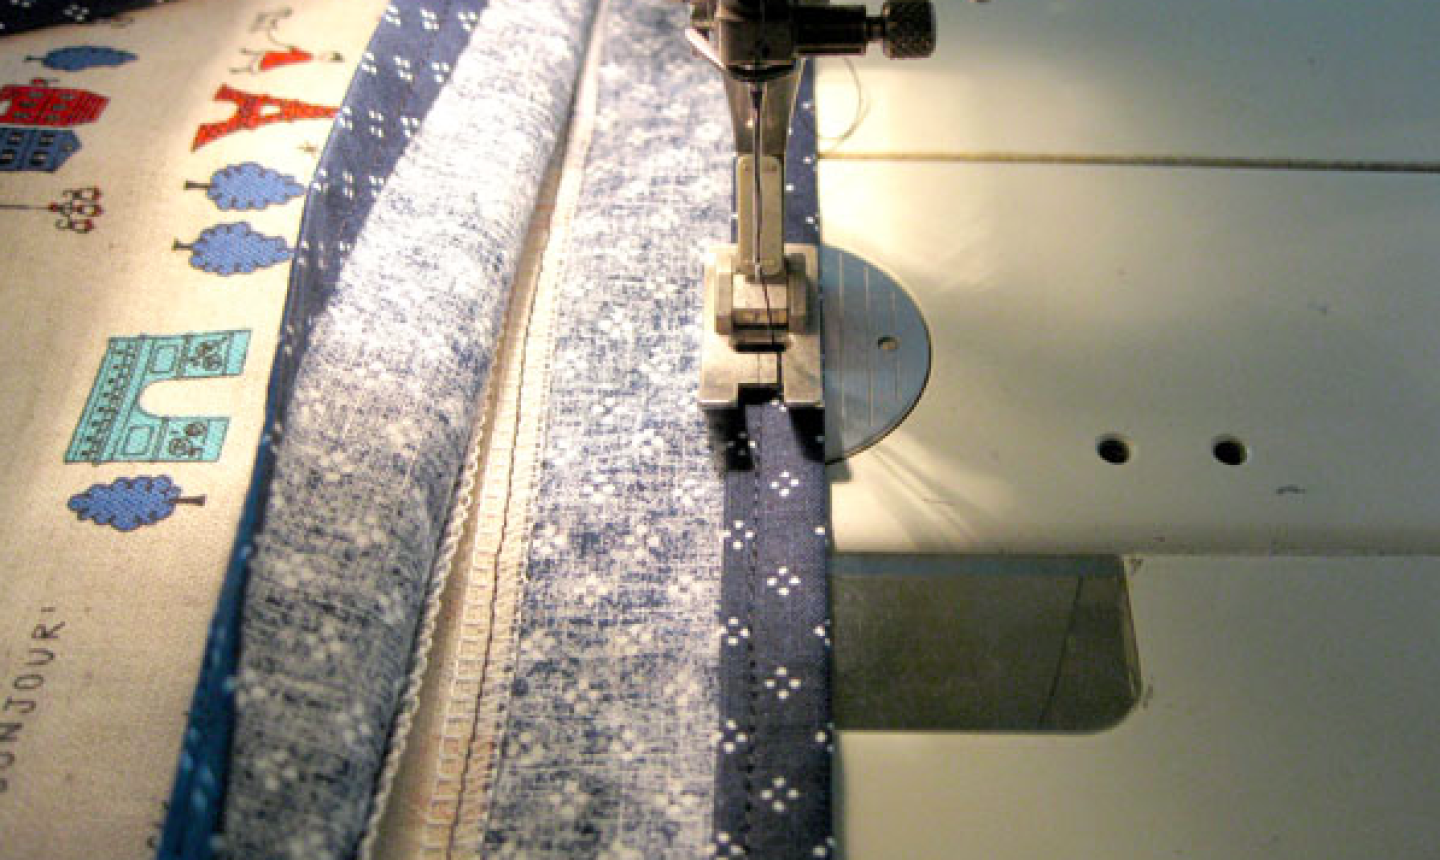
Stitch the top of the bag in place by sewing as close to the inside fold as you can. Press the entire seam flat after stitching. Make sure the shoulder straps are out of the way while you sew.
12. Finish the Straps
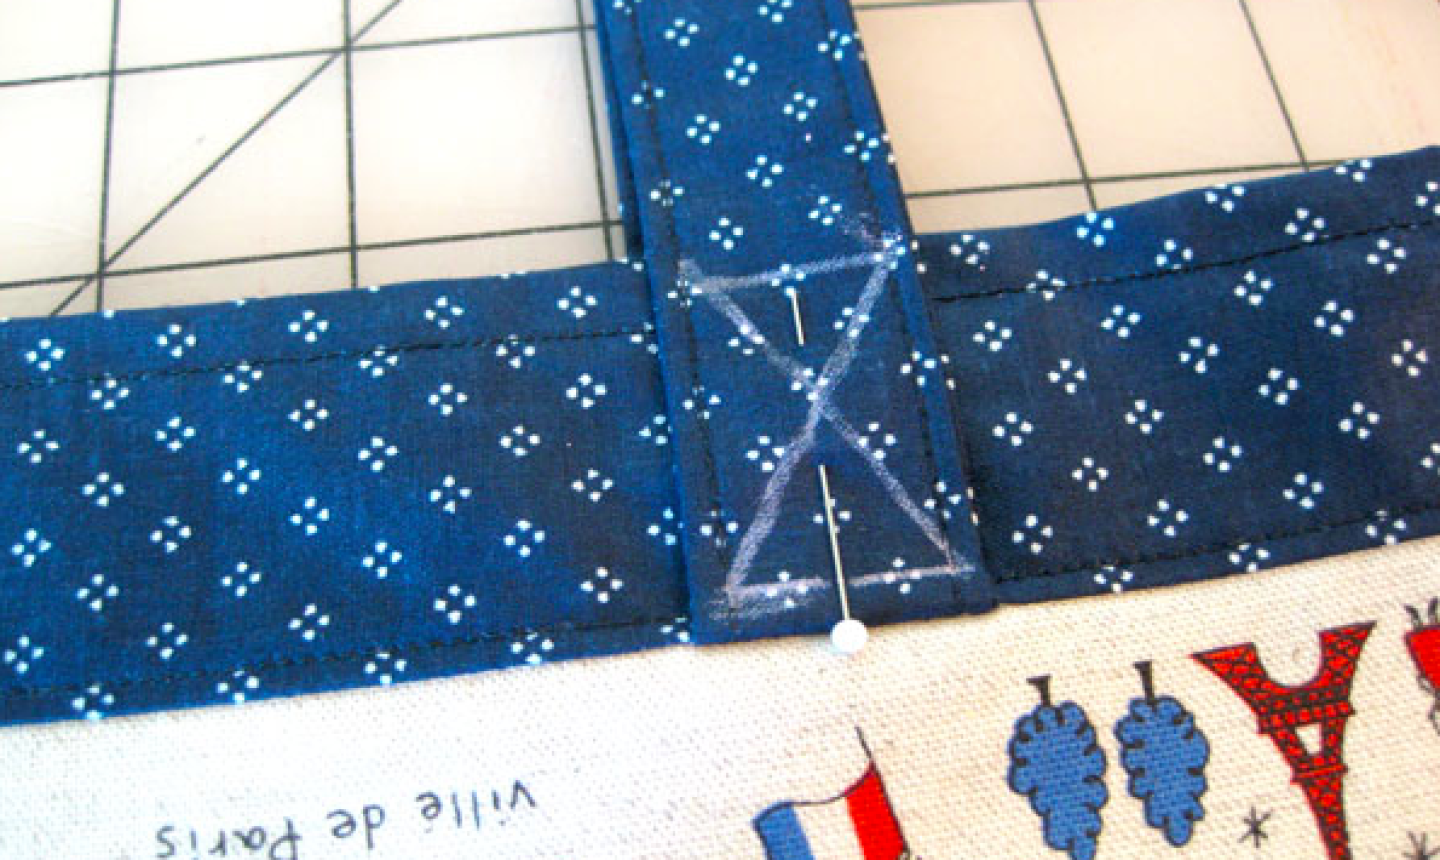
Fold the straps toward the top of the bag and press. Pin them in place through the top layer of the bag. To sew each strap to the bag, mark a lower line, an upper line and an X connecting these lines, as shown above.
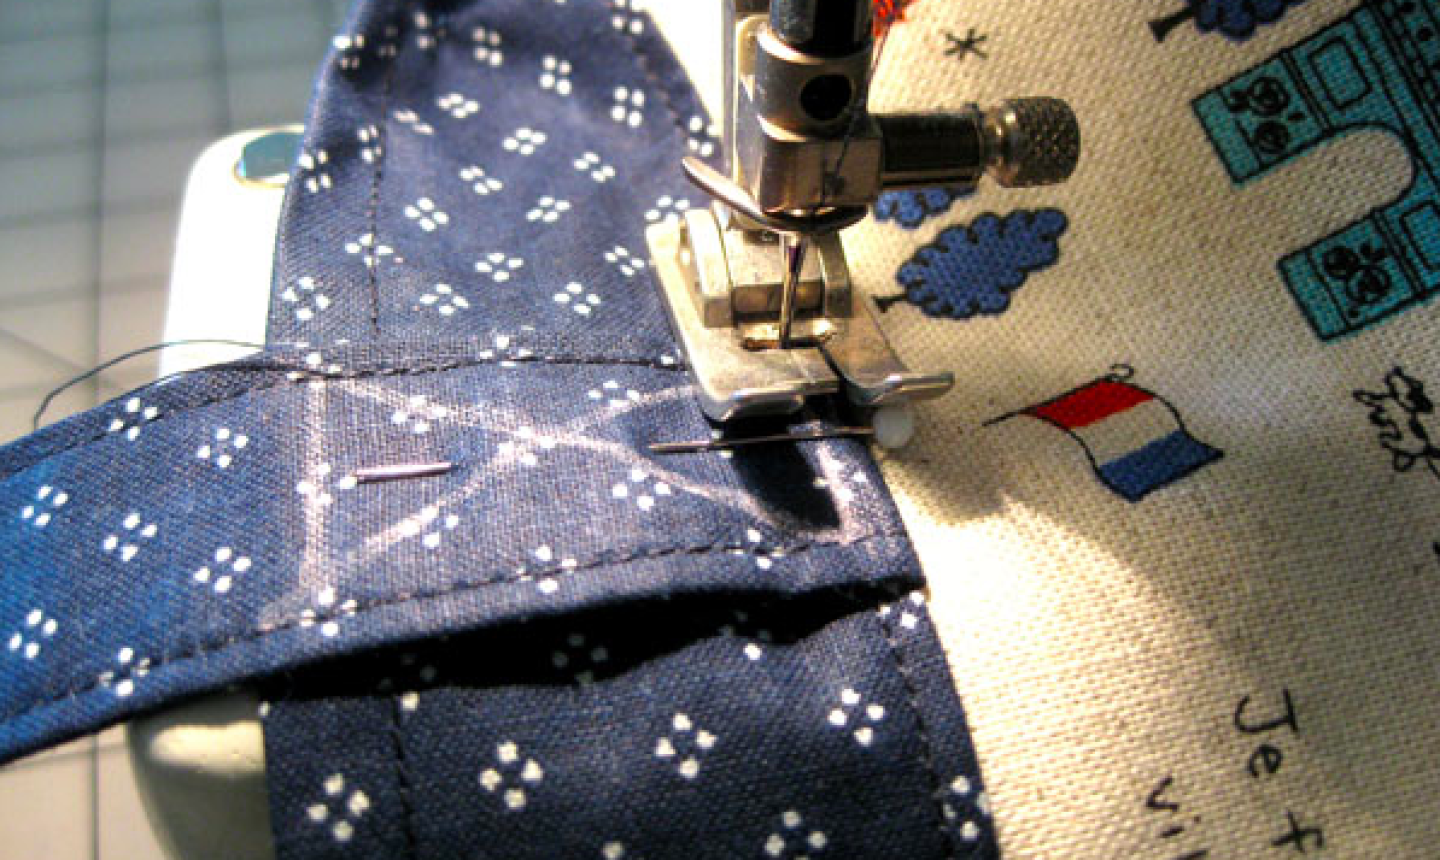
Stitch along the upper line, lower line and X. Then sew along the sides, stitching on top of the previous stitch line. Repeat on all four strap connections.
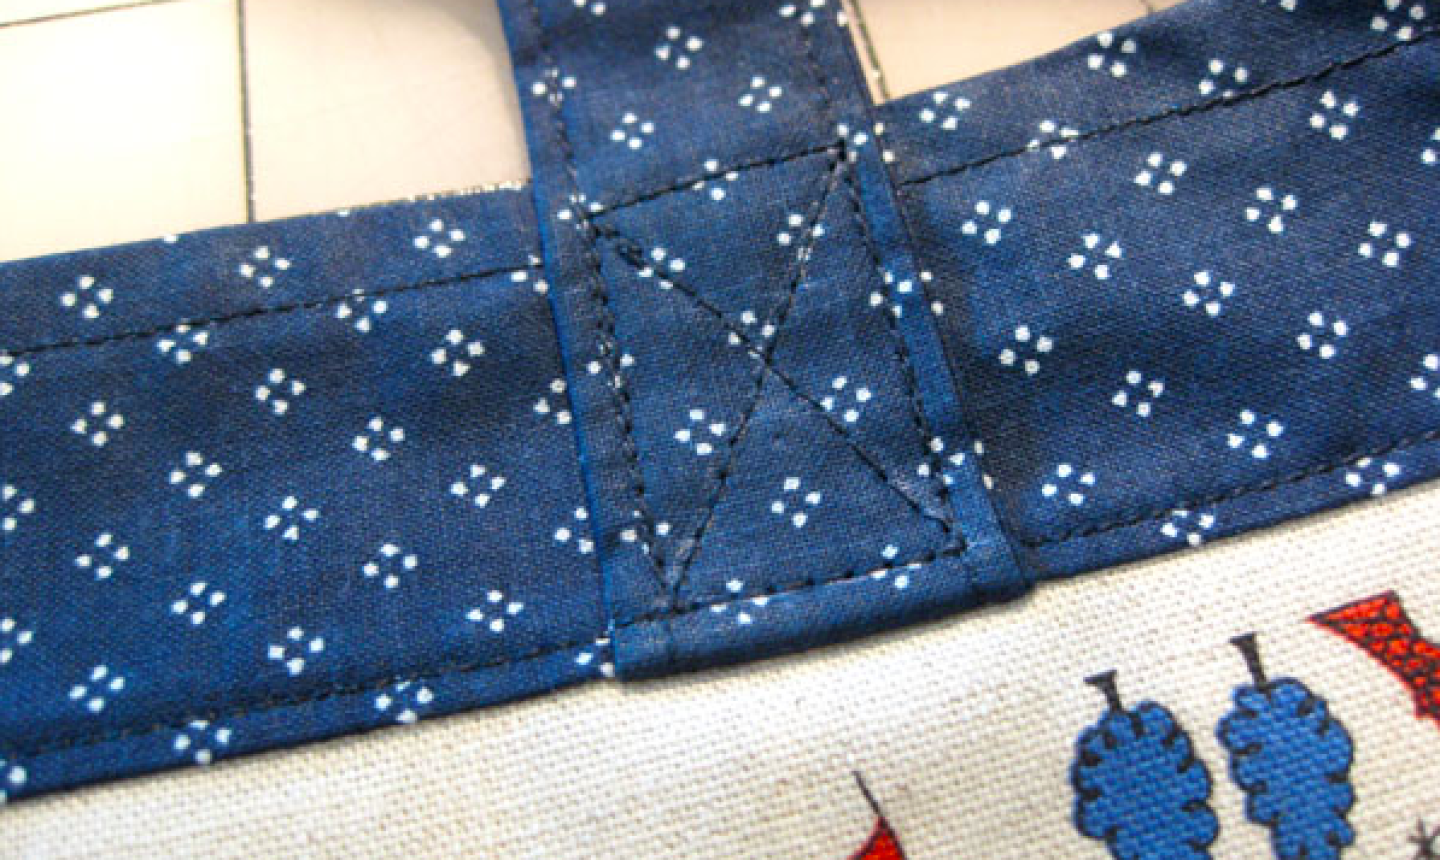
Remove the marks and give the strap a final press. Your bag is complete!
You might also be interested in this project: Free Sewing Pattern: KitchenAid Mixer Cover

Are two different fabrics necessary? I would like to make a tote bag with only one fabric, but didn't know if that would change the steps