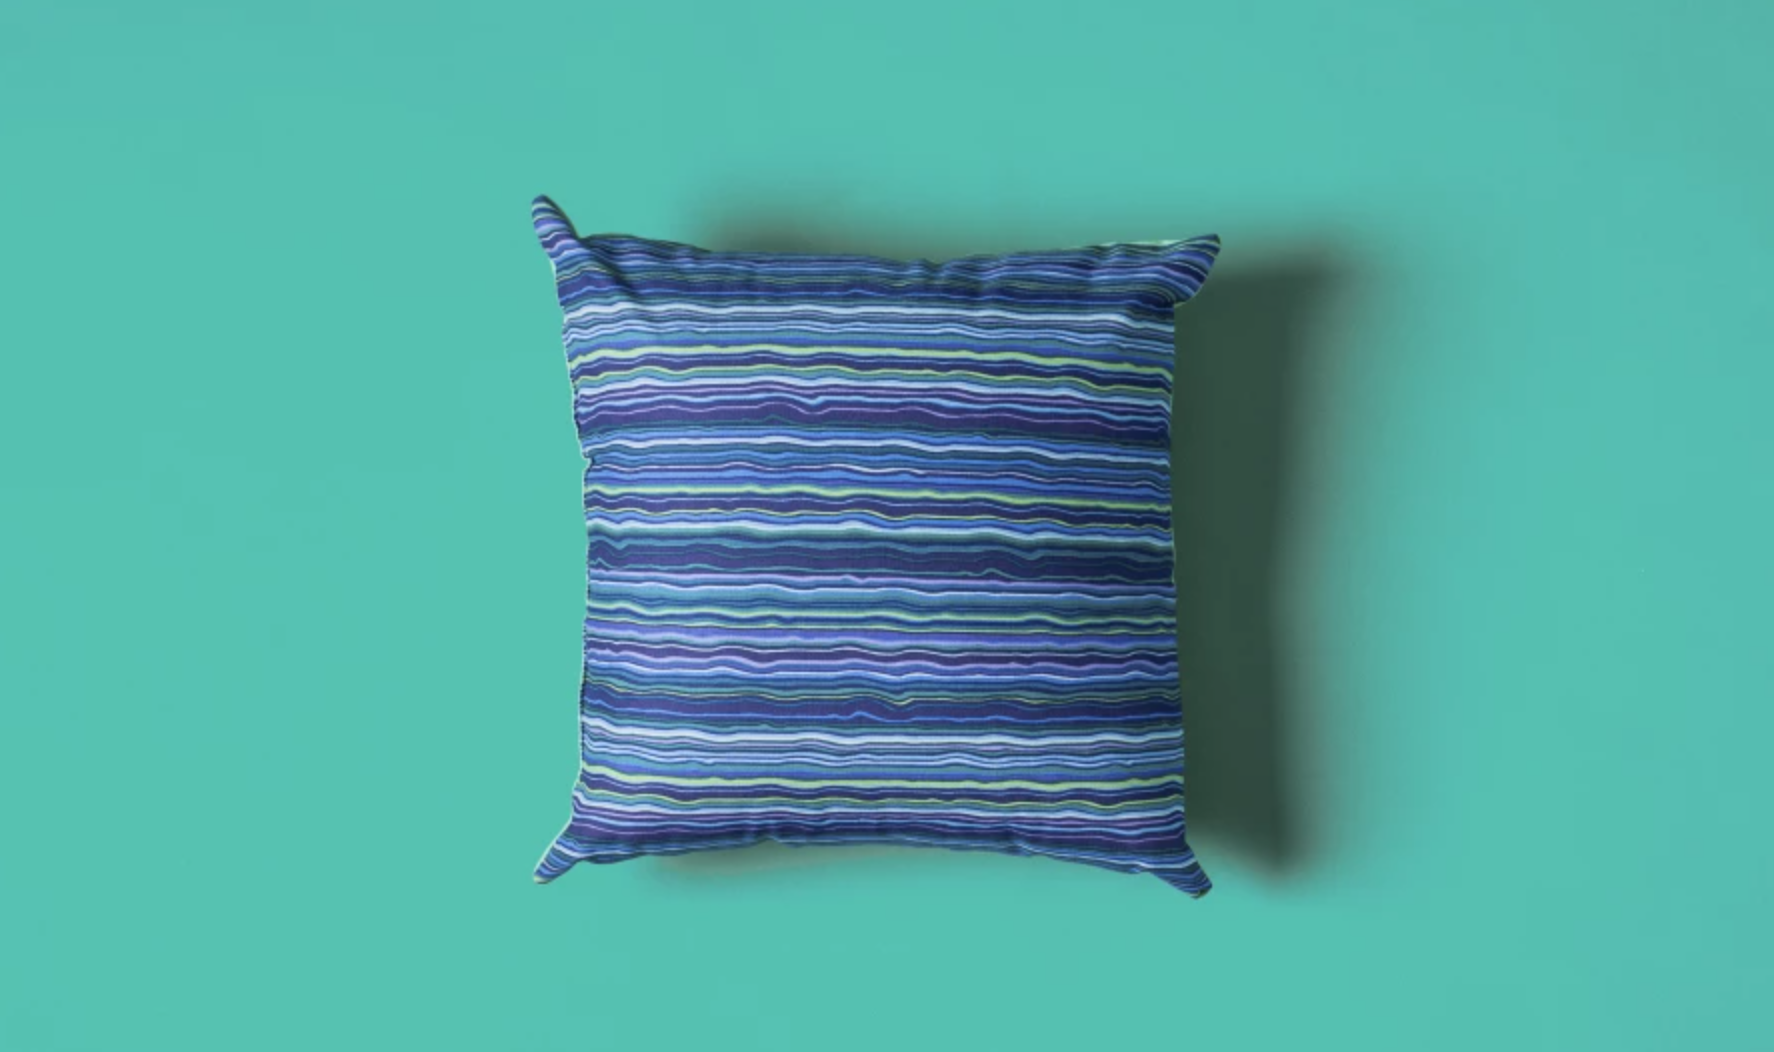
It's true: pillows are the ideal way to get started sewing. This one's super easy to pull together — so easy that you could make it with your kids — and it'll teach you a bunch of key skills you can apply to future projects. Or maybe you'll just keep making pillows! If you ask us, every room in the house deserves at least a few.
Striped Pillow
Level: Easy
Size: 14" x 14"
What You Need
Pro Tip: In this tutorial, we're making a pillow with a patterned front and solid-colored back. If you want to make yours using all one fabric, you'll only need one ½ yard of quilting cotton.
Instructions
Good to Know: To watch this tutorial step-by-step, check out our class Jump Into Sewing.
1. Print Your Pattern
Print out the downloadable pattern pieces and cut along the labeled "cutting line." Tape the pieces so that the circle of the smiley face, eyes and mouth are all right side up.
2. Press and Cut the Fabric
With the iron on its cotton setting, press both pieces of fabric.
Place your patterned fabric on top of your solid, right sides together. Pin your pattern to the fabric so that it's in line with the edge of the fabric. (Place your pins on the inside of the dashed lines so it's easier to trace in the next step.) Cut around the edge of the pattern through both fabrics.
3. Mark Your Stitch Lines
Place transfer paper under the edge of the pattern (which is still pinned), in between the paper and your fabric. Use your tracing wheel to transfer the stitching lines labeled on your pattern onto your fabric. Unpin the pattern and set aside. Repin your fabrics, keeping the stitching lines on top. (Know that marking these stitching lines on your fabric isn't absolutely required — feel free to stitch your seams freehand if you like. But marking lines can be helpful if you're a newbie.)
Good to Know: On your pillow pattern, you’ll notice there’s a section with no stitching lines. That’s not a mistake! This is where you’ll flip your pillow right side out once you finish sewing, so make sure you don’t trace a line over that area when you make your stitch line markings.
4. Stitch the Seams
Place the fabric underneath the presser foot and needle, with the raw edges closer to the machine. (Also, double check your machine is in straight stitch mode with a stitch length between 2 and 3 mm.) Stitch along your marked lines.
5. Flip and Stuff
Turn your fabric right side out, gently poking the corners out. Fold your pillow form in half, then insert into your pillow case.
6. Hand Sew the Gap
Tuck the raw edges of your fabric opening inside. In the middle of the gap, pinch the two folded edges together and pin. Thread your hand sewing needle, then whipstitch the gap to close.
Mix It Up!

Now that you've got the steps to constructing your pillow down pat, it's time to make more! Remember, you don't have to use the same fabric on the front and back — you can mix and match patterns, and even use your scraps to add extra embellishments. Just try to start with fabrics that have a similar thickness or weight.

Share tips, start a discussion or ask other students a question. If you have a question for an expert, please click here.
Already a member?
No Responses to “This Fun Striped Pillow Is the Perfect Beginner Project”